
- Joined
- Jun 28, 2002
- Threads
- 165
- Messages
- 2,105
- Location
- Colorado Springs, CO
- Website
- www.mntoyx4.com
So after 4 or 5 years, the TPI/Smokey Mtn suspension springs were starting to show their wear. I've beat on these springs pretty hard, and they have held up great to the abuse. I have been running the 2.5" springs with a body lift and big shackles with 35" BFG's. As a referance a friend of mine who recently installed an OME kit with big shackles sat at the same height on 33's. That's how much my springs have sagged.
I had a decision to make. Either try to band aid my current set up or go SOA. Doing an SOA is my ultimate goal. I just could not come up with the money to do it right, so I decided to wait and try to get my SOA suspension to last me a little longer.
I picked up some long Add a leafs from Man a fre. They were quite a big thicker that I was expecting. I don't have a pic hand, but could procure one easily. I also picked up a set of the 4+ u bolt flip kits. I also had a set of steel caster shims with a 4* angle to correct my caster.
I had everything I needed, except the fixed eye spring pins. I honestly wasn't willing to pay $35 each corner for a set of these. We did manage to get them out and reuse them, but it wasn't easy. If these parts were wrecked I would have been screwed.
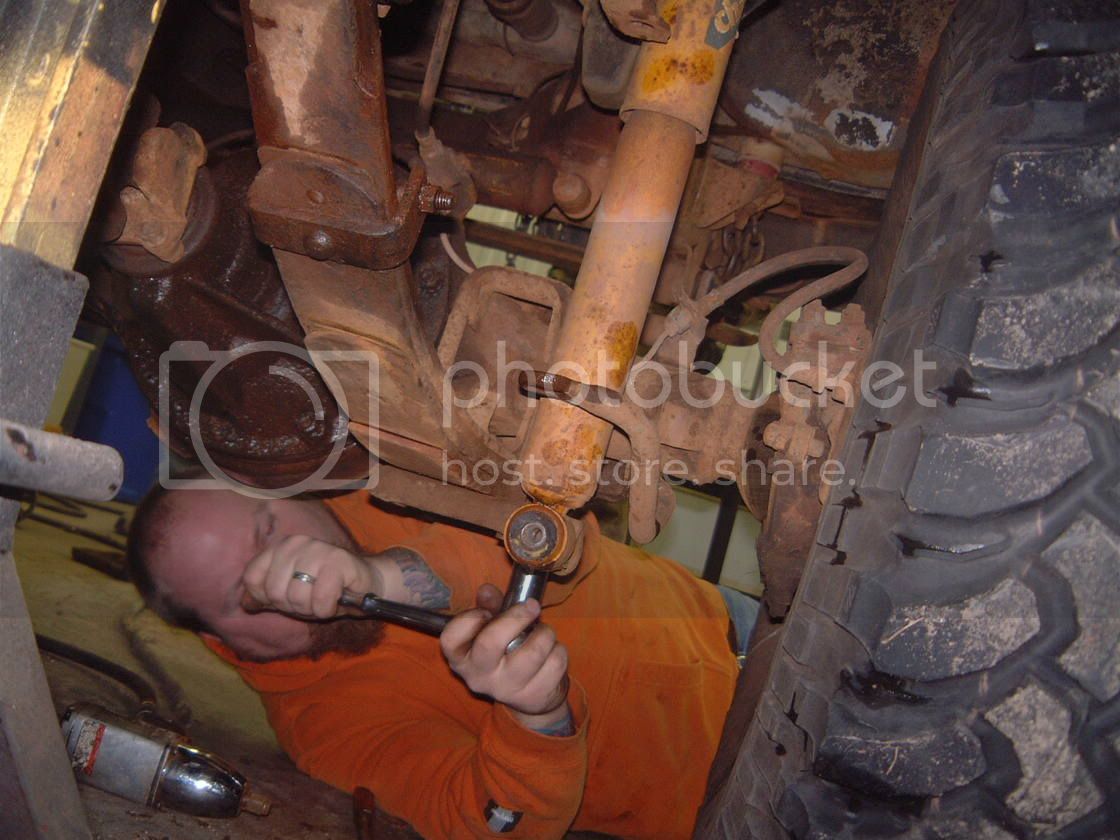
So we managed to pull the springs without too much trouble. These things looked nasty, and had a slight "w" shape to them
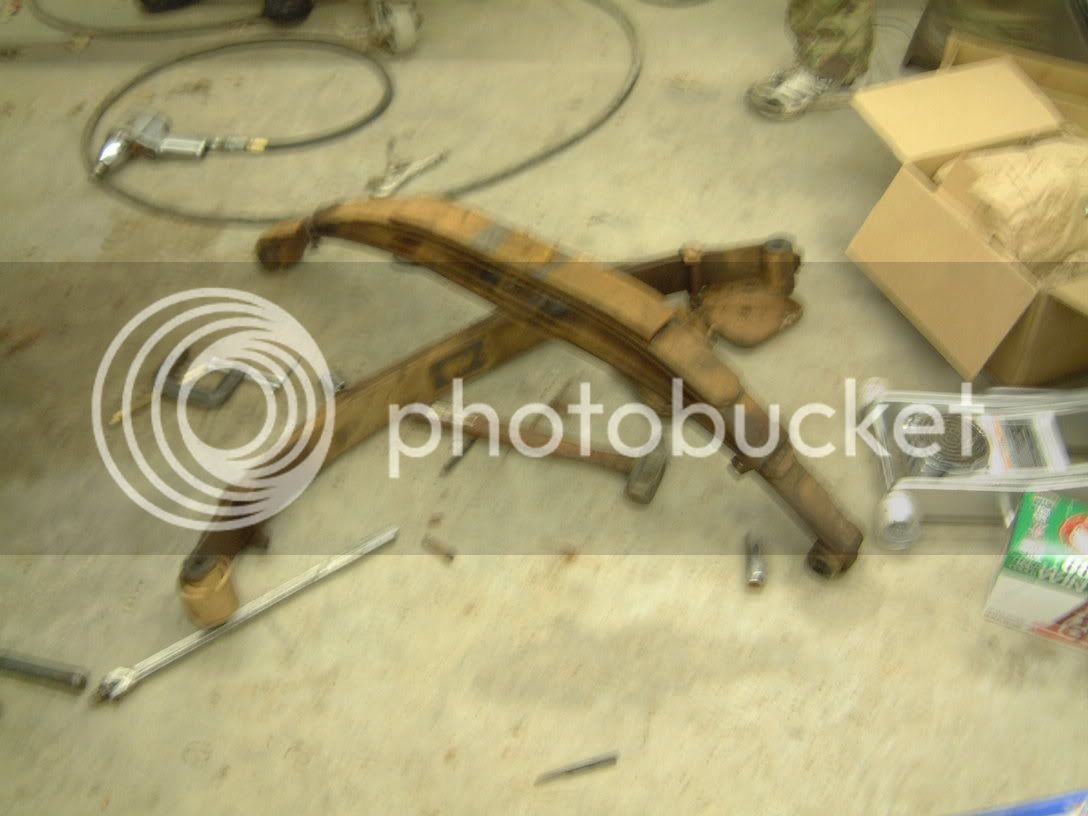
To dismantle the spring, first us a c clamp and clamp them together. Some time ago I was cleaning up a set of stockers and just went at the spring pin with a grinder. When the let loose they went hard and I needed a change of shorts. So make sure to clamp them.
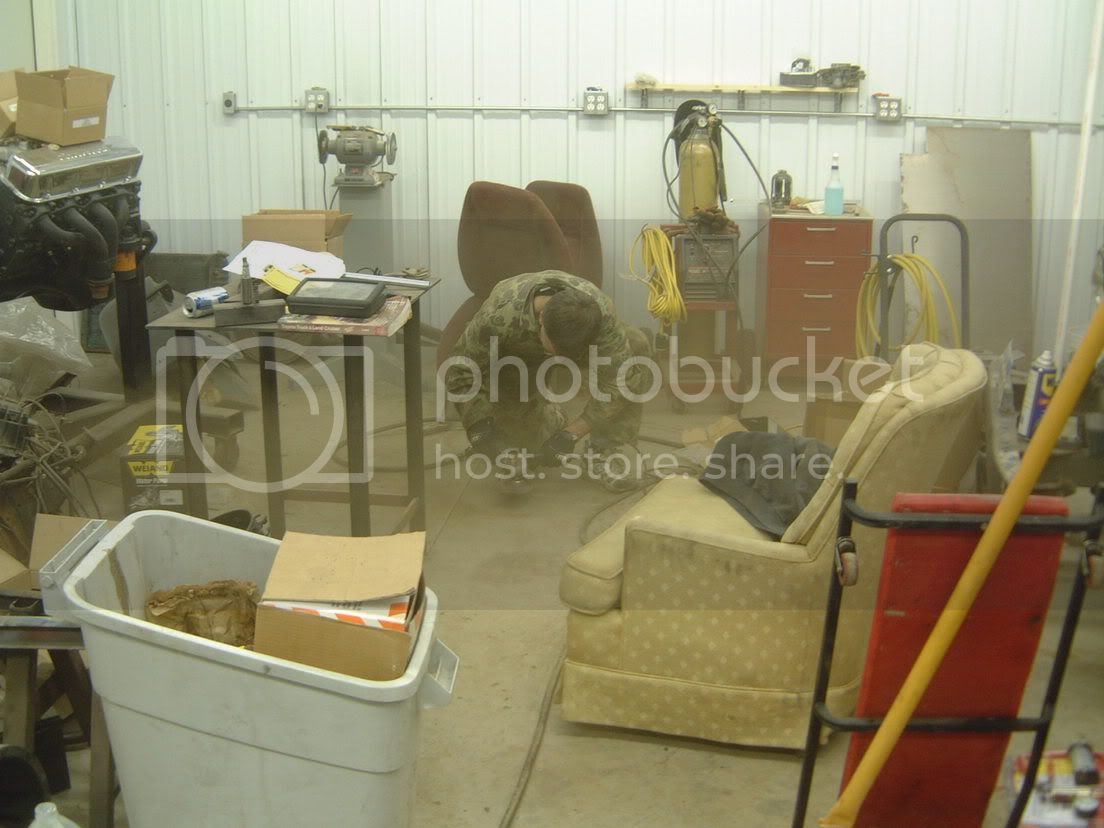
We wire wheeled each individual leaf. This was very time consuming, and very very messy.
Then each leaf was wiped down with a rag soaked in Mineral spirits to get the rest of the gunk, then wiped down dry. I had sourced some impliment paint that had graphite in it. Each leaf was given 2 coats of paint. It was tough to sit around and watch the paint dry, but couldn't do anything till it did. The can says to wait an hour between coats, but I tried to speed it up with the use of a heat gun.
Here is a before leaf and an after leaf

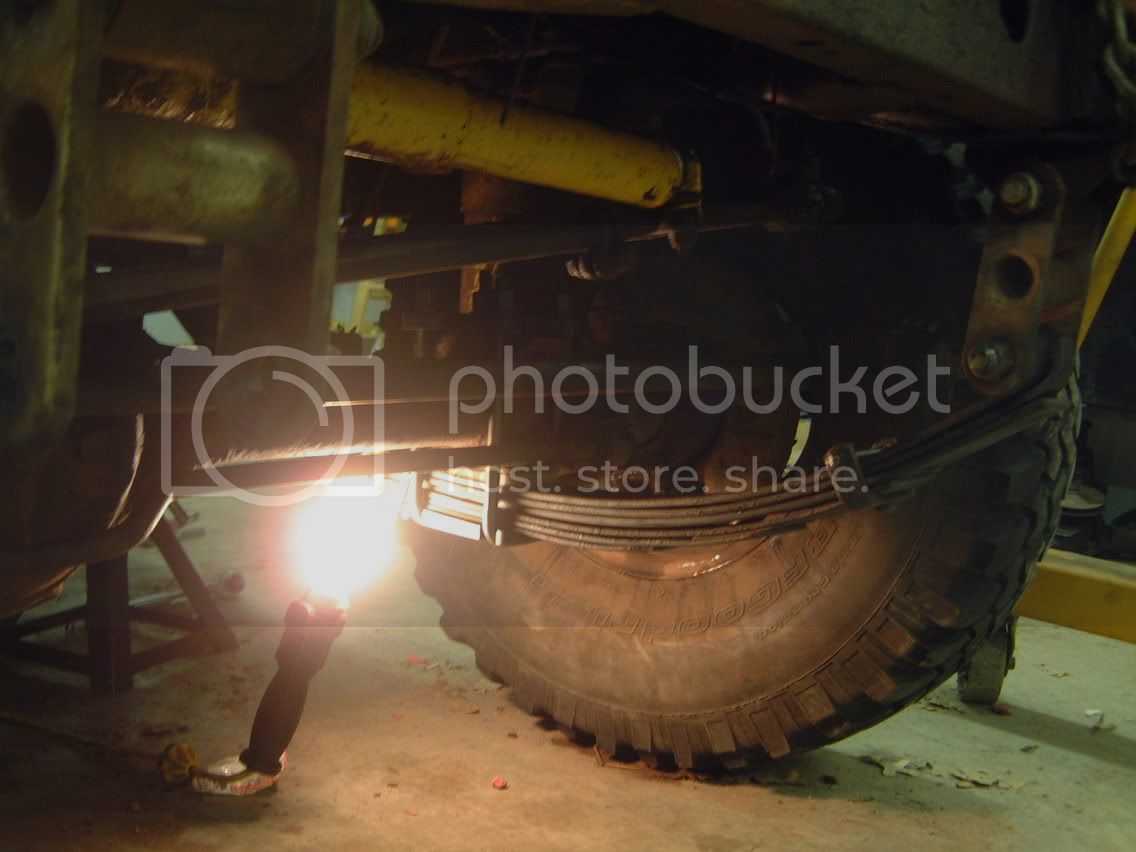
Then the leaf packs were reassembled with new spring pins, bushings and caster shims.

Then the "new" spring packs were hoisted into place and hooked back up.
Unfortunately I forgot to take any before shots, but I'm guessing I got a good inch or 2 out of the deal.

We only got the fronts done today, so it sits at a bit of a rake. Hopefully we get the rears done soon. I also have a set of wheel spacers to bolt on. This will give me 1.5" at each corner, or 3" per axle. That will make the stance nice and wide.
I expect the springs to settle a bit. The drive home was pleasent. I don't feel that the ride quality (or lack there of) changed that much. I expected it to feel a lot stiffer. It doesn't lean into turns as much. I haven't bothered with my sway bar links for a couple of years.
Anyway, sorry for the long post, and for the huge pics. Too tired to resize them all.

I had a decision to make. Either try to band aid my current set up or go SOA. Doing an SOA is my ultimate goal. I just could not come up with the money to do it right, so I decided to wait and try to get my SOA suspension to last me a little longer.
I picked up some long Add a leafs from Man a fre. They were quite a big thicker that I was expecting. I don't have a pic hand, but could procure one easily. I also picked up a set of the 4+ u bolt flip kits. I also had a set of steel caster shims with a 4* angle to correct my caster.
I had everything I needed, except the fixed eye spring pins. I honestly wasn't willing to pay $35 each corner for a set of these. We did manage to get them out and reuse them, but it wasn't easy. If these parts were wrecked I would have been screwed.
So we managed to pull the springs without too much trouble. These things looked nasty, and had a slight "w" shape to them
To dismantle the spring, first us a c clamp and clamp them together. Some time ago I was cleaning up a set of stockers and just went at the spring pin with a grinder. When the let loose they went hard and I needed a change of shorts. So make sure to clamp them.
We wire wheeled each individual leaf. This was very time consuming, and very very messy.
Then each leaf was wiped down with a rag soaked in Mineral spirits to get the rest of the gunk, then wiped down dry. I had sourced some impliment paint that had graphite in it. Each leaf was given 2 coats of paint. It was tough to sit around and watch the paint dry, but couldn't do anything till it did. The can says to wait an hour between coats, but I tried to speed it up with the use of a heat gun.
Here is a before leaf and an after leaf
Then the leaf packs were reassembled with new spring pins, bushings and caster shims.
Then the "new" spring packs were hoisted into place and hooked back up.
Unfortunately I forgot to take any before shots, but I'm guessing I got a good inch or 2 out of the deal.
We only got the fronts done today, so it sits at a bit of a rake. Hopefully we get the rears done soon. I also have a set of wheel spacers to bolt on. This will give me 1.5" at each corner, or 3" per axle. That will make the stance nice and wide.
I expect the springs to settle a bit. The drive home was pleasent. I don't feel that the ride quality (or lack there of) changed that much. I expected it to feel a lot stiffer. It doesn't lean into turns as much. I haven't bothered with my sway bar links for a couple of years.
Anyway, sorry for the long post, and for the huge pics. Too tired to resize them all.

