Patineto
"Clueless" fourwheel rabbit
Sorry it i post this before, not sure.
I'm not even close to be done with this one...
Is made of 80-20 extrusion profiles, longitudinal beams "3015" (3"x1.5") and the two main stiffener one in the front one at the back of "3030 (3" by 3" massive chunks)
Basic lay out, 4" extending over the back (form a extended platform).
My main issues where..
The discrepancy in how wide the roof of polar bear is. (1 1/16") total)

Measure it a few times with my own "Caliper" (all the results where repitable)
 Actually today I have some progress..
Let me tell you this 80-20 stuff is a dream to work with (they are a few imitators some of them with even better features
I love the adjustable, is just so flexible a few minute and you can be really to carry something very specific..
this is my current interpretations, remember I got the material used so some of the lengths where already preset (the longitudinal beams for example.

Working in-Situ and in the snow is kind of a pain (my driveway is super step, everything tends to roll and slide.

I also love to use recycle, purpose materials, for example the upper pieces are from my old motorcycle company (KTM 950 GPS/whatever mounting for the handlebar) (they cost crazy money to make but it was a market interpretation mistake)
The lower part is a lower triple clamp from a KTM 65cc (I have tons of friends in the industry (Sadly I only have 9 it will be perfect to have Ten) obviously the steering stem will be modified (I need to head them up, extract the steer tube and reattach the last 65mm) I don't think I have picture of the ensemble but all the parts are ready.(mostly turn delrin "Coins"

Everything is made to "Float" so some flex of the interface, but is also extremely stable as a platform.

Sorry mosquito netting at the windows, hopefully tomorrow I will have some more..

The whole "Base/foundation" is made to spread the load OVER the whole surface of the roof, I love Riv-nuts but I also understand their limitations, so I want to prevent them from pooping out and damage the "Rail mounts"
Here are all the pictures I have collect on the 80-20 but they are thousands over the internet, this system change the "Working prototype" industry in days, is just very pragmatic and adjustable to wonder a great majority of the DIY CNC machine are made of it.
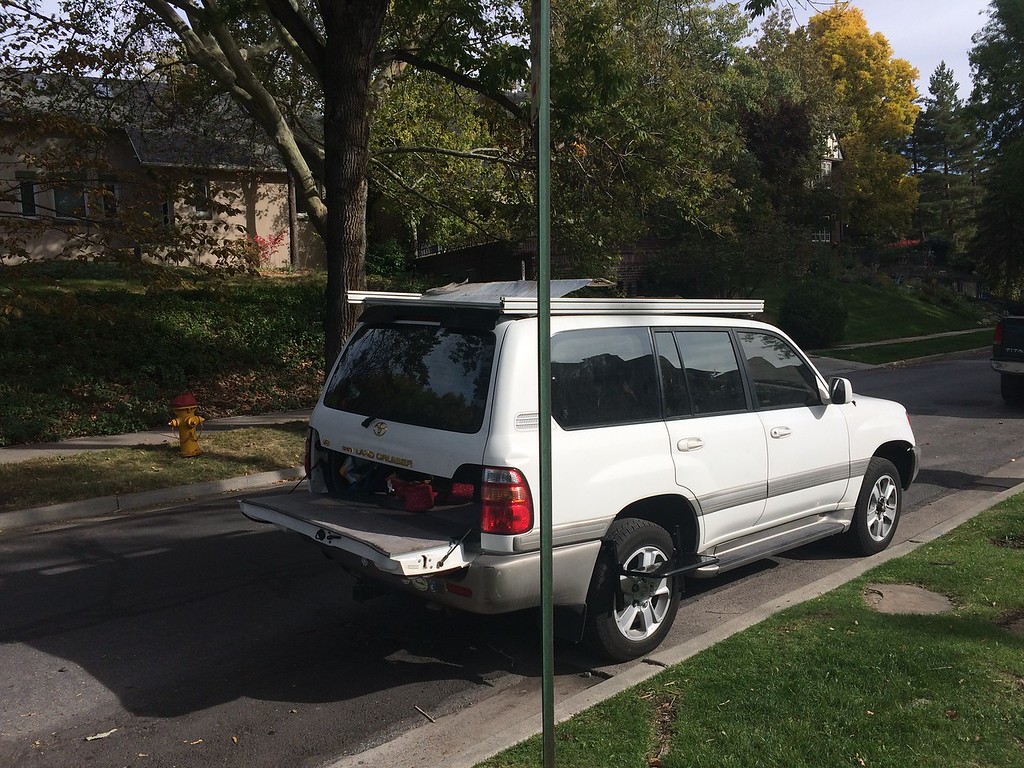
80-20 roof platform
So much more to come, front air control management via a "Hack" Wakeboard with variable angle property, also the back side is going to be very funky but with a lot of potential for flexibility..
Most parts are from my fail Rcikybar company, motorcycle parts that where not suitable for, tons of repeatable parts that i just got lucky to find, most simple pieces (Made out of the same recycle chuck of delrin "pucks" (thanks JP Morgen) modified with my Unimat latte that serve a bunch of different functions..
I will post as the progress happen..
I'm not even close to be done with this one...
Is made of 80-20 extrusion profiles, longitudinal beams "3015" (3"x1.5") and the two main stiffener one in the front one at the back of "3030 (3" by 3" massive chunks)
Basic lay out, 4" extending over the back (form a extended platform).
My main issues where..
The discrepancy in how wide the roof of polar bear is. (1 1/16") total)
Measure it a few times with my own "Caliper" (all the results where repitable)
Let me tell you this 80-20 stuff is a dream to work with (they are a few imitators some of them with even better features
I love the adjustable, is just so flexible a few minute and you can be really to carry something very specific..
this is my current interpretations, remember I got the material used so some of the lengths where already preset (the longitudinal beams for example.
Working in-Situ and in the snow is kind of a pain (my driveway is super step, everything tends to roll and slide.
I also love to use recycle, purpose materials, for example the upper pieces are from my old motorcycle company (KTM 950 GPS/whatever mounting for the handlebar) (they cost crazy money to make but it was a market interpretation mistake)
The lower part is a lower triple clamp from a KTM 65cc (I have tons of friends in the industry (Sadly I only have 9 it will be perfect to have Ten) obviously the steering stem will be modified (I need to head them up, extract the steer tube and reattach the last 65mm) I don't think I have picture of the ensemble but all the parts are ready.(mostly turn delrin "Coins"
Everything is made to "Float" so some flex of the interface, but is also extremely stable as a platform.
Sorry mosquito netting at the windows, hopefully tomorrow I will have some more..
The whole "Base/foundation" is made to spread the load OVER the whole surface of the roof, I love Riv-nuts but I also understand their limitations, so I want to prevent them from pooping out and damage the "Rail mounts"
Here are all the pictures I have collect on the 80-20 but they are thousands over the internet, this system change the "Working prototype" industry in days, is just very pragmatic and adjustable to wonder a great majority of the DIY CNC machine are made of it.
80-20 roof platform
So much more to come, front air control management via a "Hack" Wakeboard with variable angle property, also the back side is going to be very funky but with a lot of potential for flexibility..
Most parts are from my fail Rcikybar company, motorcycle parts that where not suitable for, tons of repeatable parts that i just got lucky to find, most simple pieces (Made out of the same recycle chuck of delrin "pucks" (thanks JP Morgen) modified with my Unimat latte that serve a bunch of different functions..
I will post as the progress happen..


