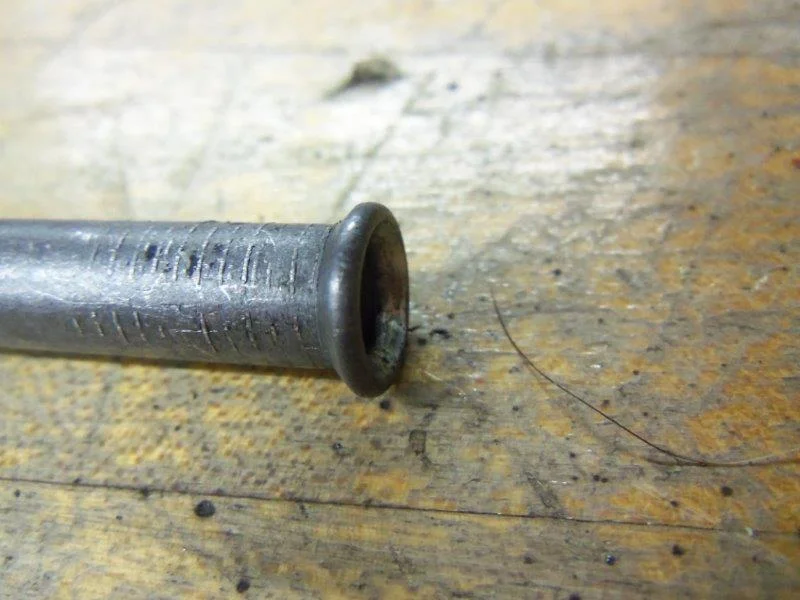
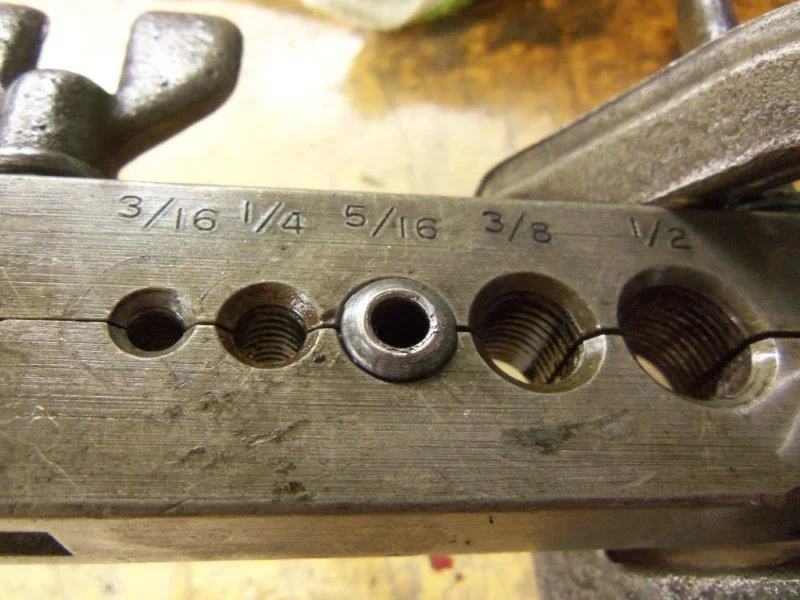
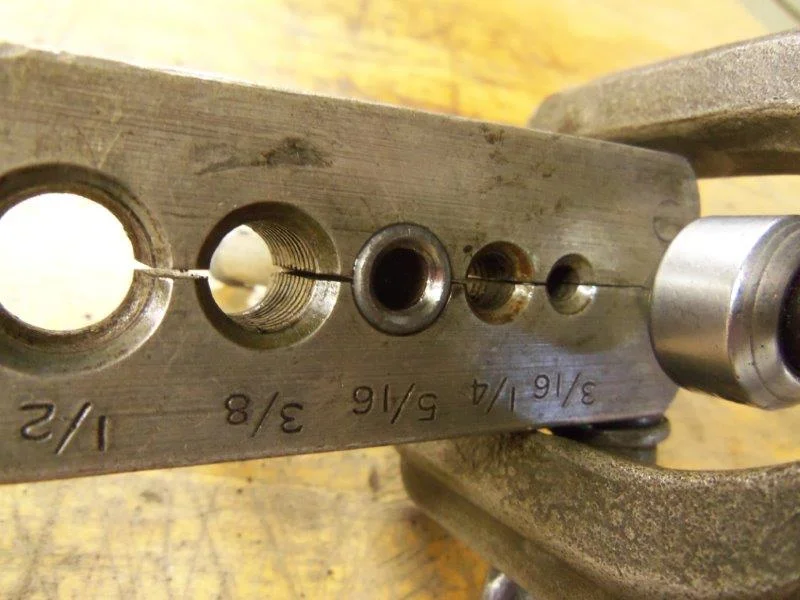
When double flaring the 4.75mm brake lines with an OEM brand Double Flaring Tool Metric, I am having problems with doing the first flare with the button. The button keeps leaning off center when compressing it.
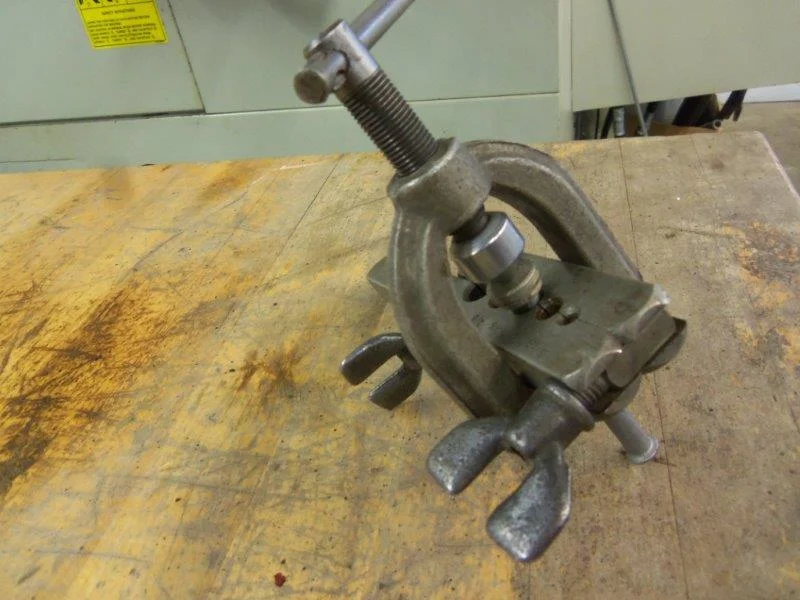
I follow the directions on the outside of flaring tool box where it says to:
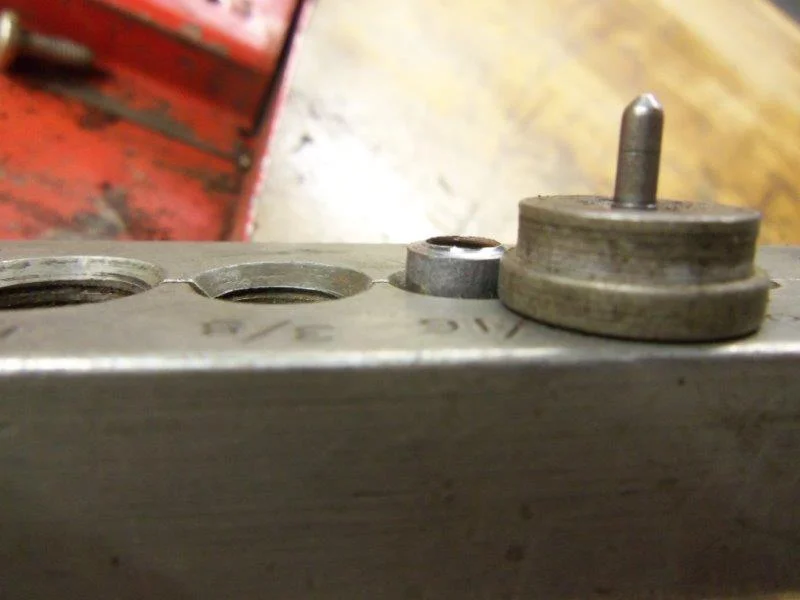
Place yoke over flaring var and using the swivel press adapter down into tubing, stopping just before adapter touches the flare bar. There is a pic showing to leave a gap between the adapter and flare bar. (I did this and there are no leaks so far when testing)
BUT inside the box it says to:
Turn yoke till adapter is flush with vice.
Its like two different directions for different tools. Outside directions call it a flaring bar and inside calls it a vice. I hate it when you are trying to learn something new and get conflicting instructions, even worse when its the manufacturer of the tool that is giving the conflicting instructions.
Which directions is correct?
When watching videos on using a flaring tool they all press the button all the way to the flaring bar. Do other flaring kits have you stop compressing the button just before you hit the flaring bar too or is it just with this brand of tool?
Note, the 4.75mm button is sloppy in the 4.75mm line. The 5mm button is even sloppy in the 4.75mm line too.
I follow the directions on the outside of flaring tool box where it says to:
Place yoke over flaring var and using the swivel press adapter down into tubing, stopping just before adapter touches the flare bar. There is a pic showing to leave a gap between the adapter and flare bar. (I did this and there are no leaks so far when testing)
BUT inside the box it says to:
Turn yoke till adapter is flush with vice.
Its like two different directions for different tools. Outside directions call it a flaring bar and inside calls it a vice. I hate it when you are trying to learn something new and get conflicting instructions, even worse when its the manufacturer of the tool that is giving the conflicting instructions.
Which directions is correct?
When watching videos on using a flaring tool they all press the button all the way to the flaring bar. Do other flaring kits have you stop compressing the button just before you hit the flaring bar too or is it just with this brand of tool?
Note, the 4.75mm button is sloppy in the 4.75mm line. The 5mm button is even sloppy in the 4.75mm line too.
Last edited:
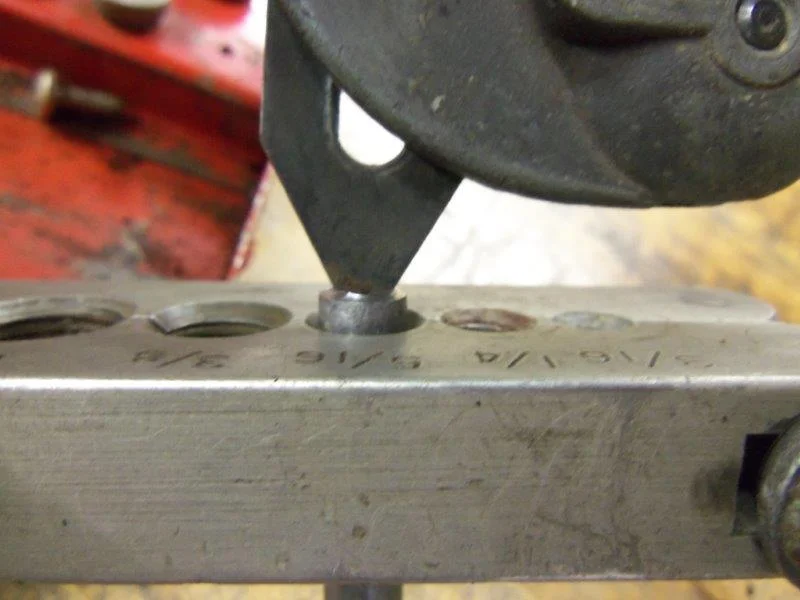
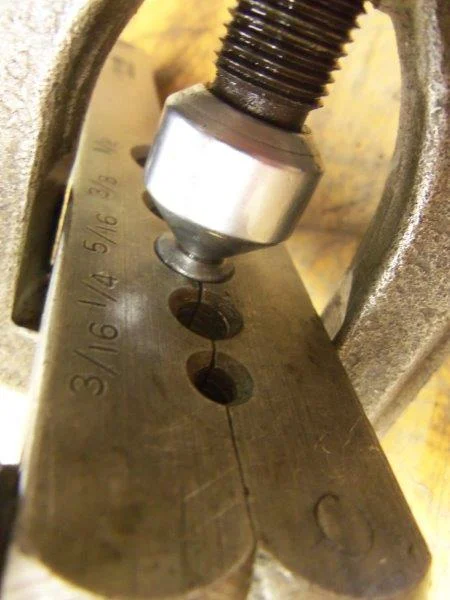
") and it says to tighten it down till the button is flat to the flaring bar.
and it says to tighten it down till the button is flat to the flaring bar.