I needed to clean my wiring and relays up, so I decided a new fuse box was in order. Enter the Bussmann box:

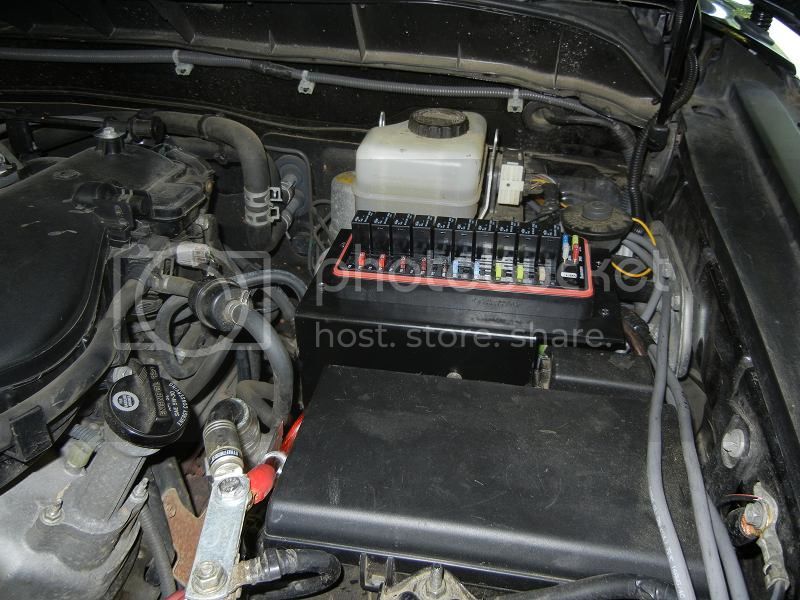
It'll hold 10 relays and 40 fuses. I'm using it a little differently and it'll only have 10 relays and 20 fuses, but it should power all my lights and misc. interior electronics.
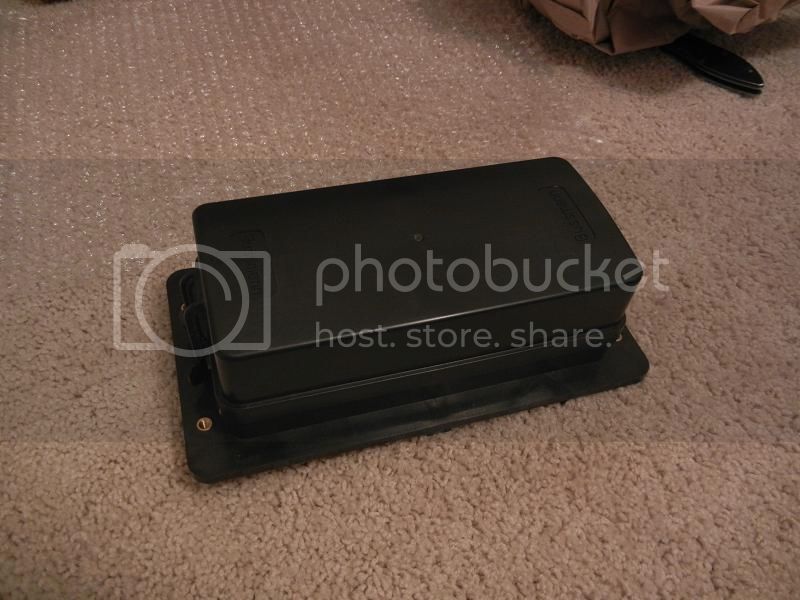
Lots of friggin' wiring out the back. Simple connectors for everything as well:
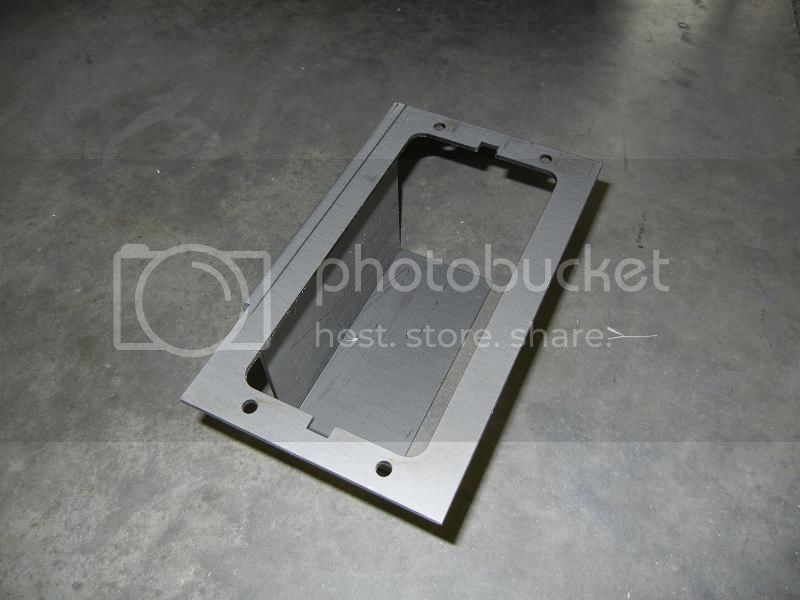
Had a bracket cut and bent while I was doing the front bumper:
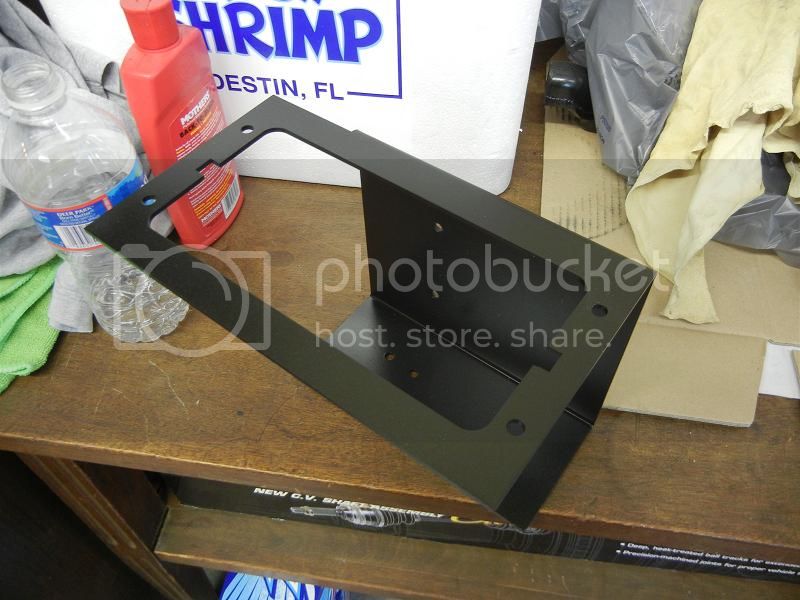
New mounting holes drilled for solenoid and mounting to fender. Primed and painted as well:
Solenoid mounted to bracket. Provides 200A of power to block when ignition is on:
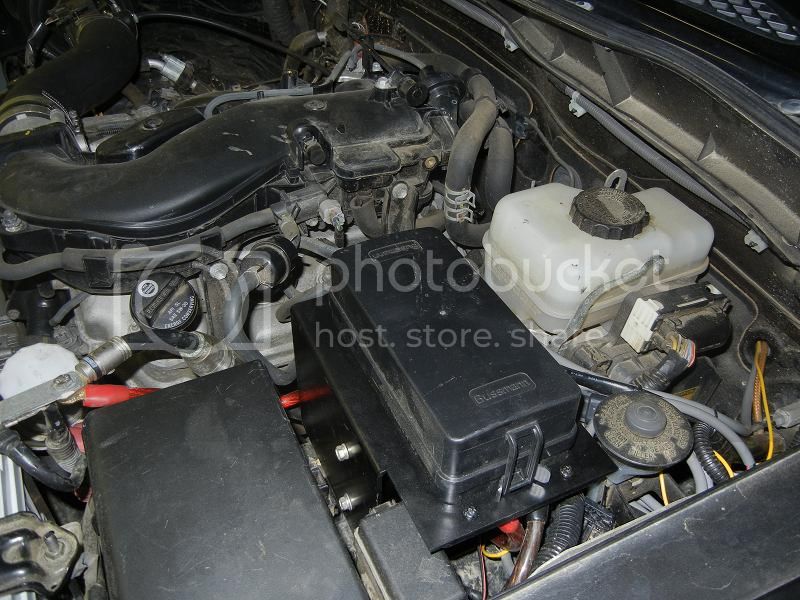
Final mounting. Wires will be cleaned up some when new bumper is done and lights are reattached:
As it is now, it's powering 5 pairs of lights, CB, video system, heated seats with much more expandability.
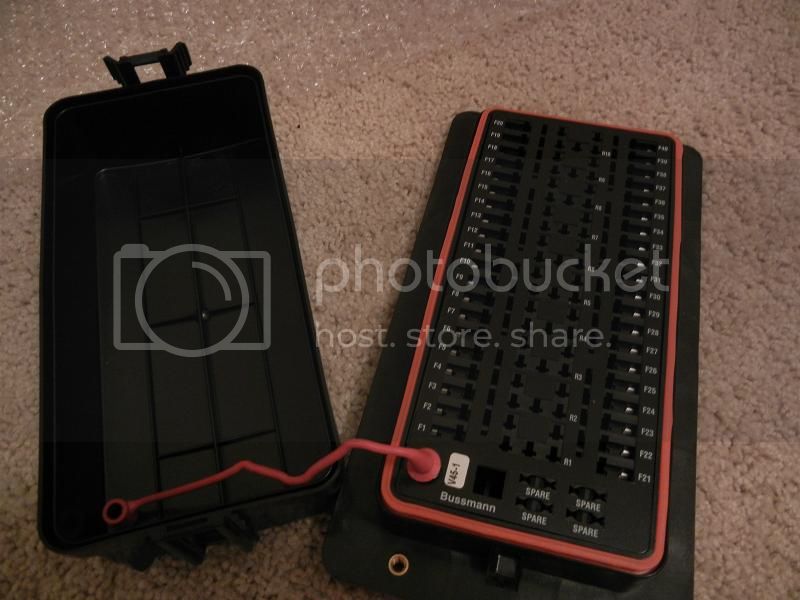

It'll hold 10 relays and 40 fuses. I'm using it a little differently and it'll only have 10 relays and 20 fuses, but it should power all my lights and misc. interior electronics.

Lots of friggin' wiring out the back. Simple connectors for everything as well:

Had a bracket cut and bent while I was doing the front bumper:
New mounting holes drilled for solenoid and mounting to fender. Primed and painted as well:
Solenoid mounted to bracket. Provides 200A of power to block when ignition is on:

Final mounting. Wires will be cleaned up some when new bumper is done and lights are reattached:
As it is now, it's powering 5 pairs of lights, CB, video system, heated seats with much more expandability.
