
Some of you may recall that I am in the process of sending a 2000 model 100 down to South America to a relative to use as a daily driver. I've been doing little things to try an improve the appearance before shipping it off. I thought some of you might be interested in my experience of addressing the wear-through on the brownish gray at the top of the driver's door--the place where you put your arm all the time:
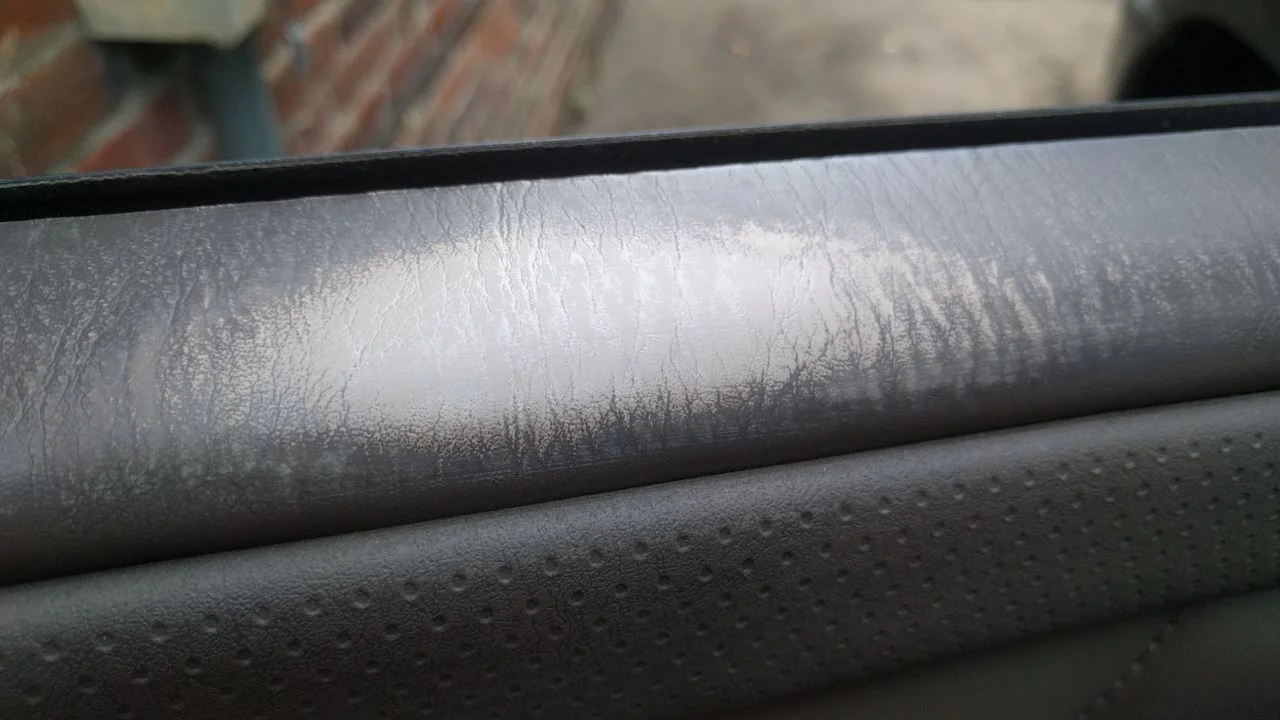
All three of my model 100's have this problem, so this was an effort to see if I had a workable solution for my other trucks as well. I'd actually looked at replacing the entire door panel--but the guy up at the breaker yard suggested I just paint--which had not occurred to me.
After a bit of research I bought this kit on amazon:
https://www.amazon.com/gp/product/B01MEG4BFK/?tag=ihco-20
It appears to be a set of various colors of a flexible kind of acrylic paint. The idea is that you mix it up to get the color you need. You don't get a lot, but it is enough to do a small area. And while I was at it I decided to try to see if I could improve the drivers's seat leather which was looking a bit sad as well:

In terms of surface prep I used leather cleaner first, then several cleanings with rubbing alcohol, then light sanding with 800 grit. For the window sill some white with a small amount of black and a dab of brown seemed to end up with a pretty ok match:
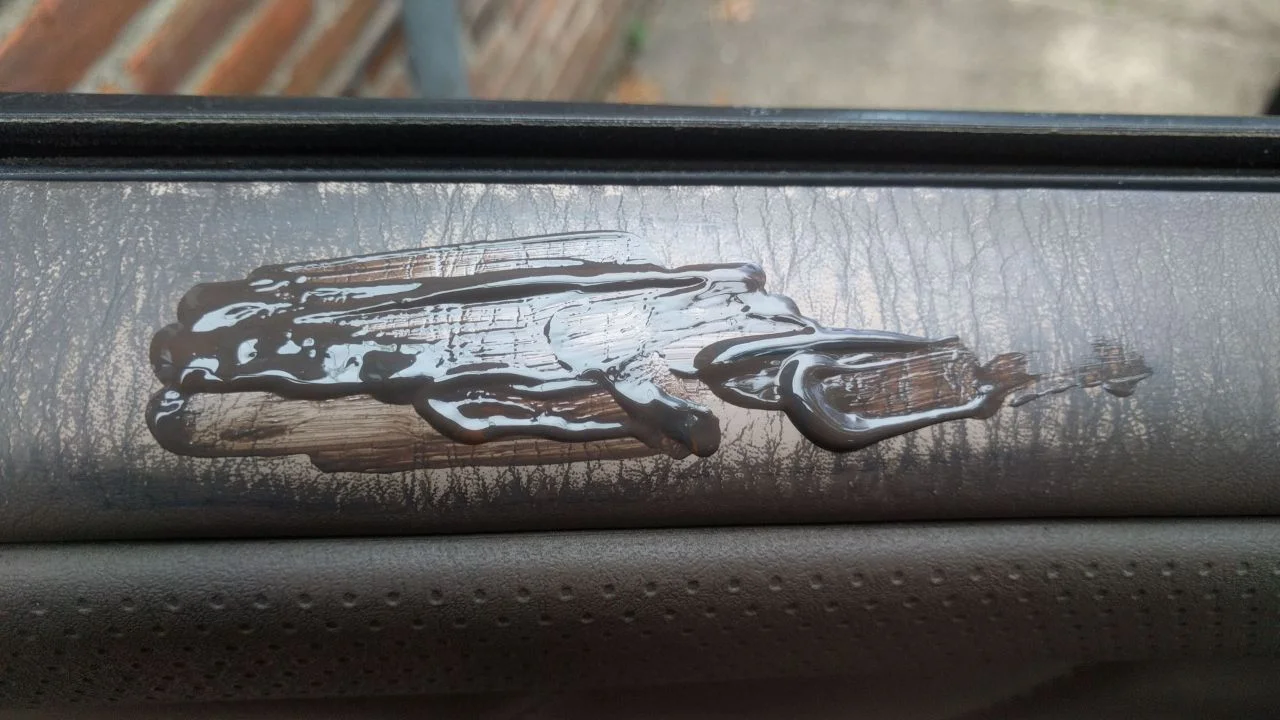
Wiping it on did not work well. Dabbing it on worked much better. They included a sponge but I found that the fuzzy side of a 5 inch disk of sandpaper meant for random orbital sanders worked very well as an applicator. It's pretty fine-grained. Here's what it looked like after one coat:
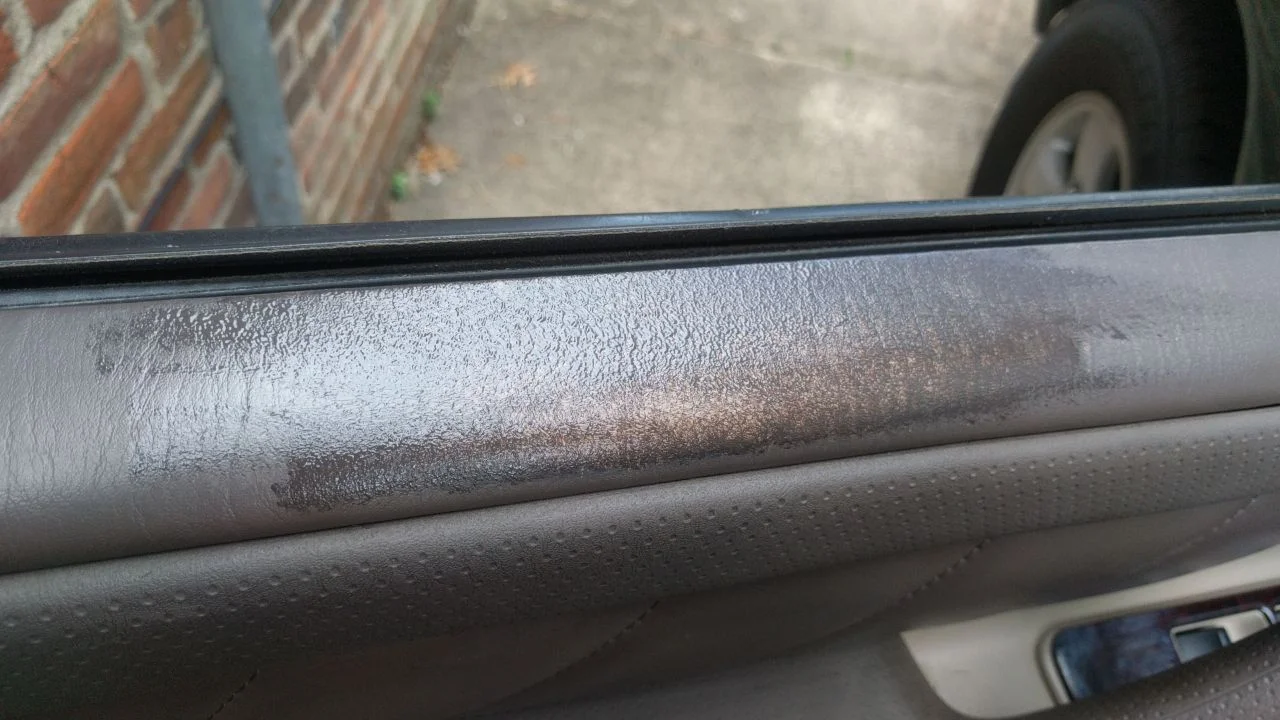
And here's the finished product after a few coats of color and sealing with a matte finish leather sealer (which seems to be some kind of flexible water-born polyurethane):
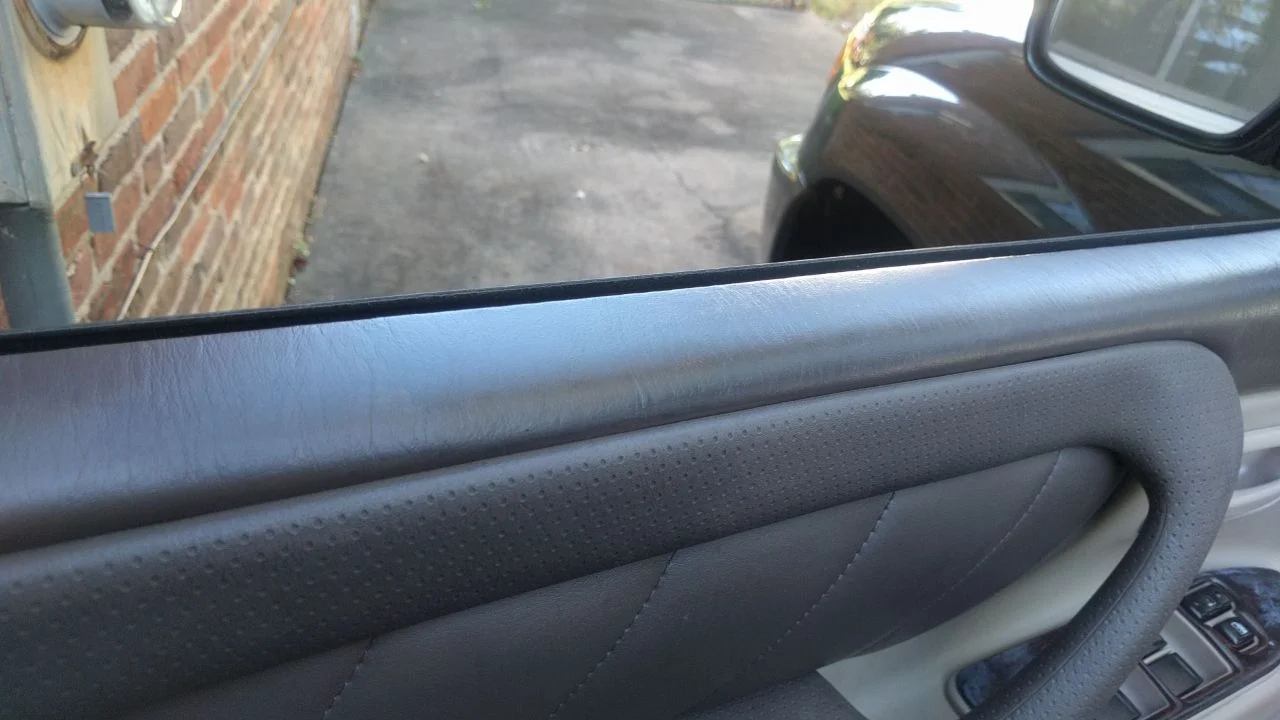
In person you can see it is not the same color quite as the original--but it is close enough that unless you are looking closely at it you probably won't notice.
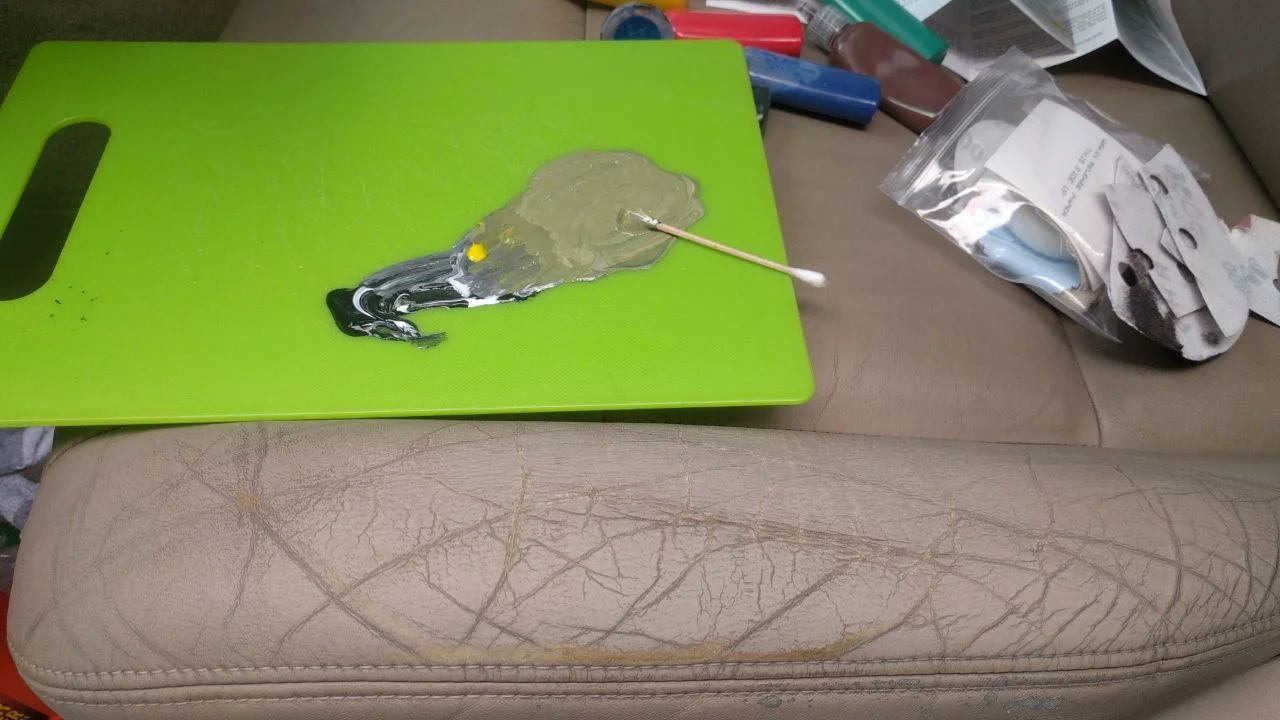
Turning to the driver's seat I used mostly white with a little yellow and brown and a tiny bit of black:
(BTW if you look very closely at the bottom part of this photo you can see proof that the sides of our leather seats are actually vinyl, and only the top surface is leather.)
And here's the finished product after a few coats as well as sealing:
The color difference in these photos is partly due to differing light conditions.
So again, if you look you will see that the wear is still there, but it does look much better. I don't know how well this will wear over time, but that's part of the fun of playing with this.
There are a few more photos in this album if you'd like to look: cosmetic improvement of seat and door panel
If I were doing it over again I would buy individual jars of acrylic leather paint: white (4 oz), black (1 oz), brown (1 oz) and maybe also yellow (1 oz). The kit itself is great to give you some exposure to the process.
Another thing this has taught me is that next time I am buying a used car I am going to look very closely at the drivers seat and window sill. I'm sure a skilled person can produce results that are easy to overlook. But I do suspect the cosmetic improvement will wear pretty fast.
All three of my model 100's have this problem, so this was an effort to see if I had a workable solution for my other trucks as well. I'd actually looked at replacing the entire door panel--but the guy up at the breaker yard suggested I just paint--which had not occurred to me.
After a bit of research I bought this kit on amazon:
https://www.amazon.com/gp/product/B01MEG4BFK/?tag=ihco-20
It appears to be a set of various colors of a flexible kind of acrylic paint. The idea is that you mix it up to get the color you need. You don't get a lot, but it is enough to do a small area. And while I was at it I decided to try to see if I could improve the drivers's seat leather which was looking a bit sad as well:
In terms of surface prep I used leather cleaner first, then several cleanings with rubbing alcohol, then light sanding with 800 grit. For the window sill some white with a small amount of black and a dab of brown seemed to end up with a pretty ok match:
Wiping it on did not work well. Dabbing it on worked much better. They included a sponge but I found that the fuzzy side of a 5 inch disk of sandpaper meant for random orbital sanders worked very well as an applicator. It's pretty fine-grained. Here's what it looked like after one coat:
And here's the finished product after a few coats of color and sealing with a matte finish leather sealer (which seems to be some kind of flexible water-born polyurethane):
In person you can see it is not the same color quite as the original--but it is close enough that unless you are looking closely at it you probably won't notice.
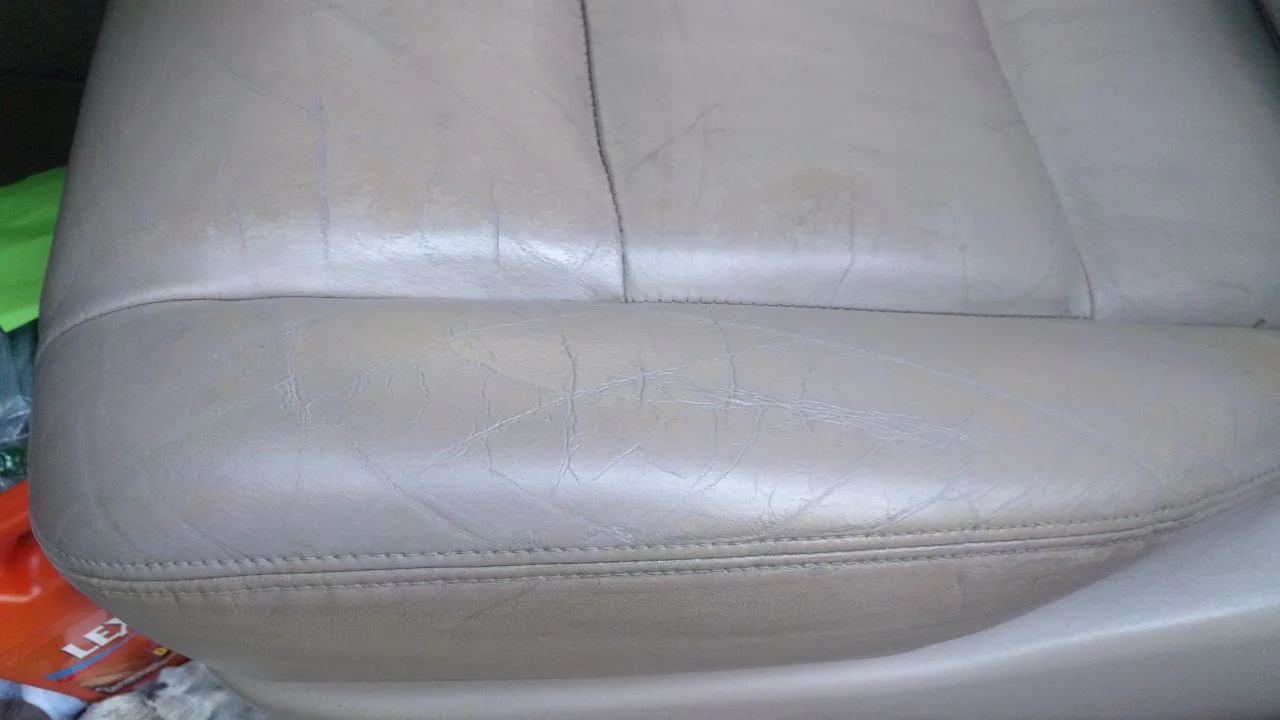
Turning to the driver's seat I used mostly white with a little yellow and brown and a tiny bit of black:
(BTW if you look very closely at the bottom part of this photo you can see proof that the sides of our leather seats are actually vinyl, and only the top surface is leather.)
And here's the finished product after a few coats as well as sealing:
The color difference in these photos is partly due to differing light conditions.
So again, if you look you will see that the wear is still there, but it does look much better. I don't know how well this will wear over time, but that's part of the fun of playing with this.
There are a few more photos in this album if you'd like to look: cosmetic improvement of seat and door panel
If I were doing it over again I would buy individual jars of acrylic leather paint: white (4 oz), black (1 oz), brown (1 oz) and maybe also yellow (1 oz). The kit itself is great to give you some exposure to the process.
Another thing this has taught me is that next time I am buying a used car I am going to look very closely at the drivers seat and window sill. I'm sure a skilled person can produce results that are easy to overlook. But I do suspect the cosmetic improvement will wear pretty fast.
Last edited: