
I can't leave well enough alone and took advantage of Metal Tech selling some OME lifts at a nice discount. I picked up a "J" lift since I really only wanted to do it once. I also picked up their 1.5" spacers for the front to help reduce the "stinkbug" look and got the LandTank castor correction brackets.
All said and done, with hindsight, the lift install went very well and fairly easily with the experience of Jon, Greg and Clint. It probably would have been easier to drill the holes for the castor brackets with everything off in the front. But, we did it "mostly" as instructed and it went fine, just drilling those holes given the space constraints is a friggen pain in the @ss.
If it weren't for Greg applying the force on the head of the drill, I'd still be drilling. I blew my wad in the first 2 holes and had no more arm strength left so we used Greg's leg strength to finish the rest of the holes.
I drove it before we installed the castor correction brackets, then again this morning to see if I could tell the difference and it was definitely noticeable. Very glad I did it though I was cursing myself at the time. The project did get interrupted with the bit of storm that blew through with 3 bolts left to install. So, the girls and I went out to finish it this morning, leaving Regina to do as she wanted to, it is Mother's Day after all.
Enough talk, now for the pics...
Metal Tech spacers, just drop the bump stops, install the bump stop into the spacer, install the spacer back into the bump stop holes, piece of cake...
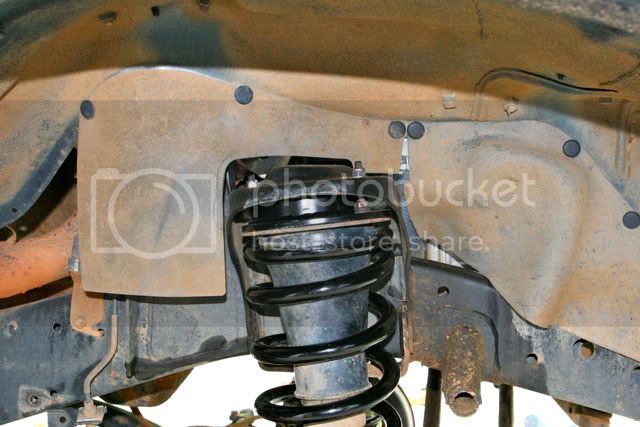
Springs, spacer, installed in front...

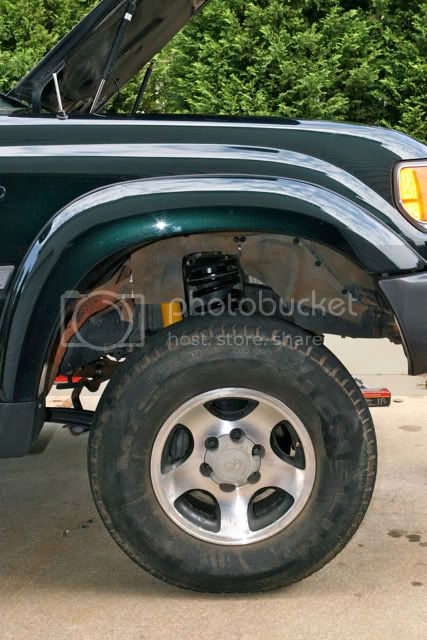
Passenger side complete...
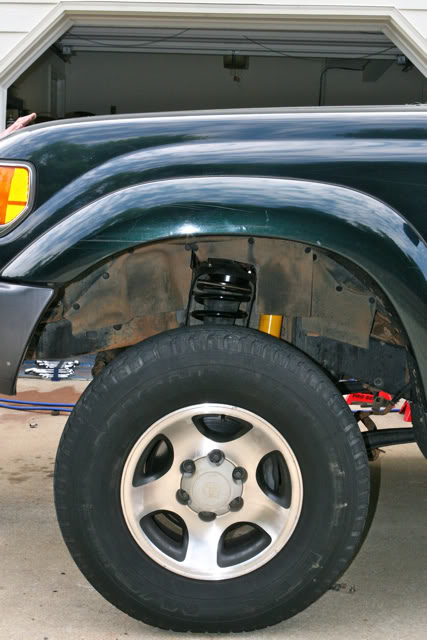
Driver side complete...
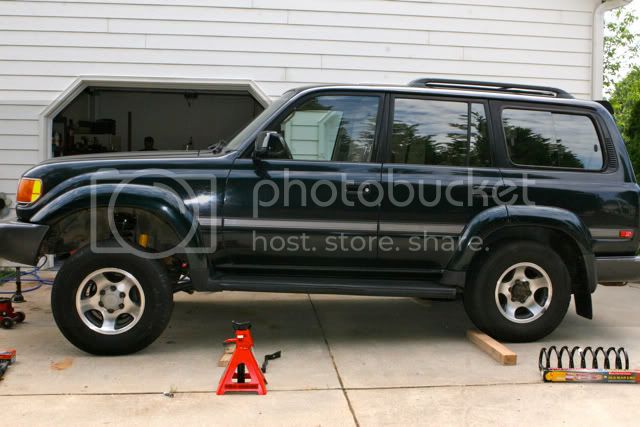
The inverted stickbug look...
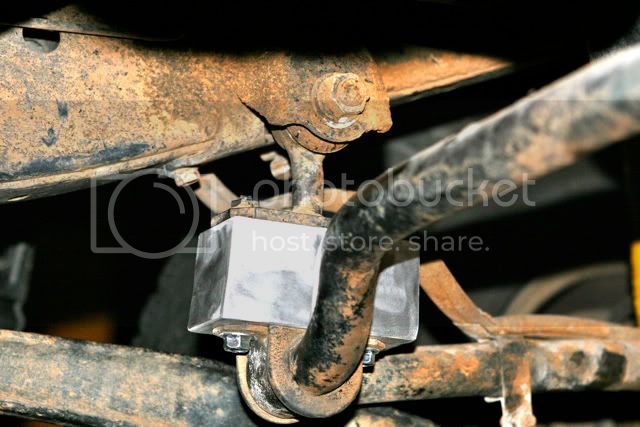
Close up of Land Tank's castor correction brackets installed...
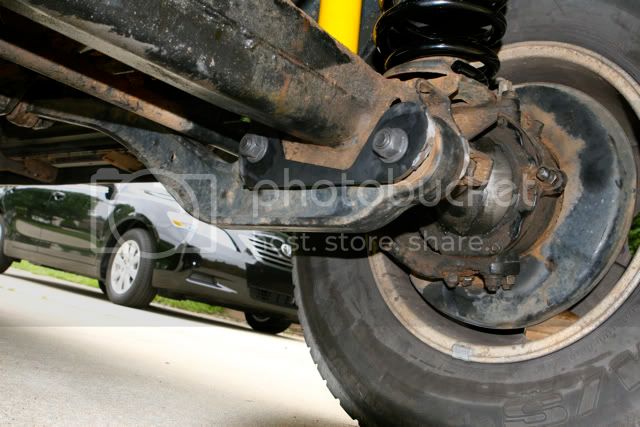
Back complete...
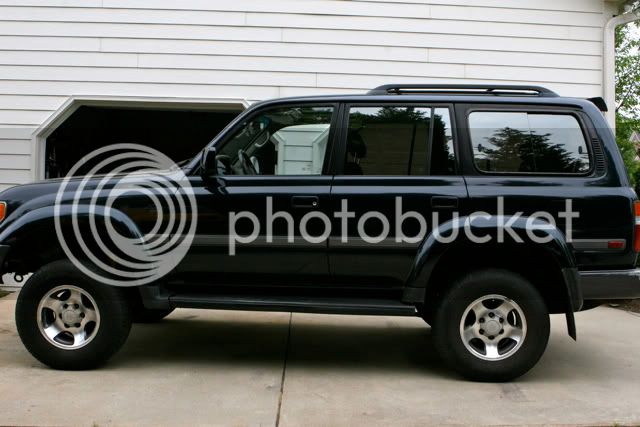
Before pic just for reference...

Thanks again for Jon, Greg, Clint and Lil Clint for all your help. The suspension would have been reasonable to do alone, or with my girls. Doing the castor brackets alone would have taken longer unless I figured another way to get leverage on the head of the drill. Otherwise, nice project, makes it drive WAY better than it was before. But, it won't fit in the garage any longer...
All said and done, with hindsight, the lift install went very well and fairly easily with the experience of Jon, Greg and Clint. It probably would have been easier to drill the holes for the castor brackets with everything off in the front. But, we did it "mostly" as instructed and it went fine, just drilling those holes given the space constraints is a friggen pain in the @ss.
If it weren't for Greg applying the force on the head of the drill, I'd still be drilling. I blew my wad in the first 2 holes and had no more arm strength left so we used Greg's leg strength to finish the rest of the holes.
I drove it before we installed the castor correction brackets, then again this morning to see if I could tell the difference and it was definitely noticeable. Very glad I did it though I was cursing myself at the time. The project did get interrupted with the bit of storm that blew through with 3 bolts left to install. So, the girls and I went out to finish it this morning, leaving Regina to do as she wanted to, it is Mother's Day after all.
Enough talk, now for the pics...
Metal Tech spacers, just drop the bump stops, install the bump stop into the spacer, install the spacer back into the bump stop holes, piece of cake...
Springs, spacer, installed in front...
Passenger side complete...
Driver side complete...
The inverted stickbug look...
Close up of Land Tank's castor correction brackets installed...
Back complete...
Before pic just for reference...
Thanks again for Jon, Greg, Clint and Lil Clint for all your help. The suspension would have been reasonable to do alone, or with my girls. Doing the castor brackets alone would have taken longer unless I figured another way to get leverage on the head of the drill. Otherwise, nice project, makes it drive WAY better than it was before. But, it won't fit in the garage any longer...
")


")
