The AC compressor has been making noise for about a month. Changed out the clutch assembly, but it didn't help. As far as I can tell, it's the original compressor. 19 years and 250k miles. Decided to go ahead and replace it.
Searched the forum and found a few tips, but couldn't find the complete write up. Figured it's my turn to give something back to this community. Got my Land Cruiser 2 years ago, and have been using ih8mud to find tutorials, but this is my first post.
Note that my car has no rear AC. The amount of refrigerant is different if you have a rear AC.
Replacement Parts
Compressor (DENSO 471-1220)
Drier (DENSO 478-1500)
Expansion valve (DENSO 475-2024)
O-ring kit (GPD 1321283)
Not sure if I am going to replace an expansion valve yet, but the compressor warranty says the replacement of the expansion valve is required. It's not expensive, so went ahead and bought it.
Was going to get the OEM compressor, drier and expansion valve from one of the Toyota dealers, but found out DENSO parts (same as OEM) from RockAuto are a lot cheaper, so I got them from RockAuto.
Fluids and Misc.
R-134a refrigerant: 21.2 - 24.7 oz, according to the sticker in the engine bay. Not purchased yet, probably DuPont Suva R-134a.
Oil: TBD oz (not noted in FSM, 7.25 oz per the data found on the internet). PAG-46 (ND-OIL 8 according to the sticker on the compressor, but it's not readily available).
O-ring lubricant/sealant (optional): Nylog Blue. The FSM says to use compressor oil (PAG), but PAG oil absorbs moisture, and some people don't recommend it. Did some search and found Nylog Blue, which is compatible with the refrigerant/oil and never gets dry.
Refrigerant leak detector dye (optional)
Condenser cleaner (optional): Nu Calgon Nu Brite
Refrigerant evacuation
Got the refrigerant evacuated at a shop. Called at least 10 places to get pricing. The lowest was $60. Higher than expected. Most shops will try to charge you for both evacuation and recharge, even if you tell them you just need evacuation. My plan is to do the vacuum and recharge by myself, with loaner tools from AutoZone.
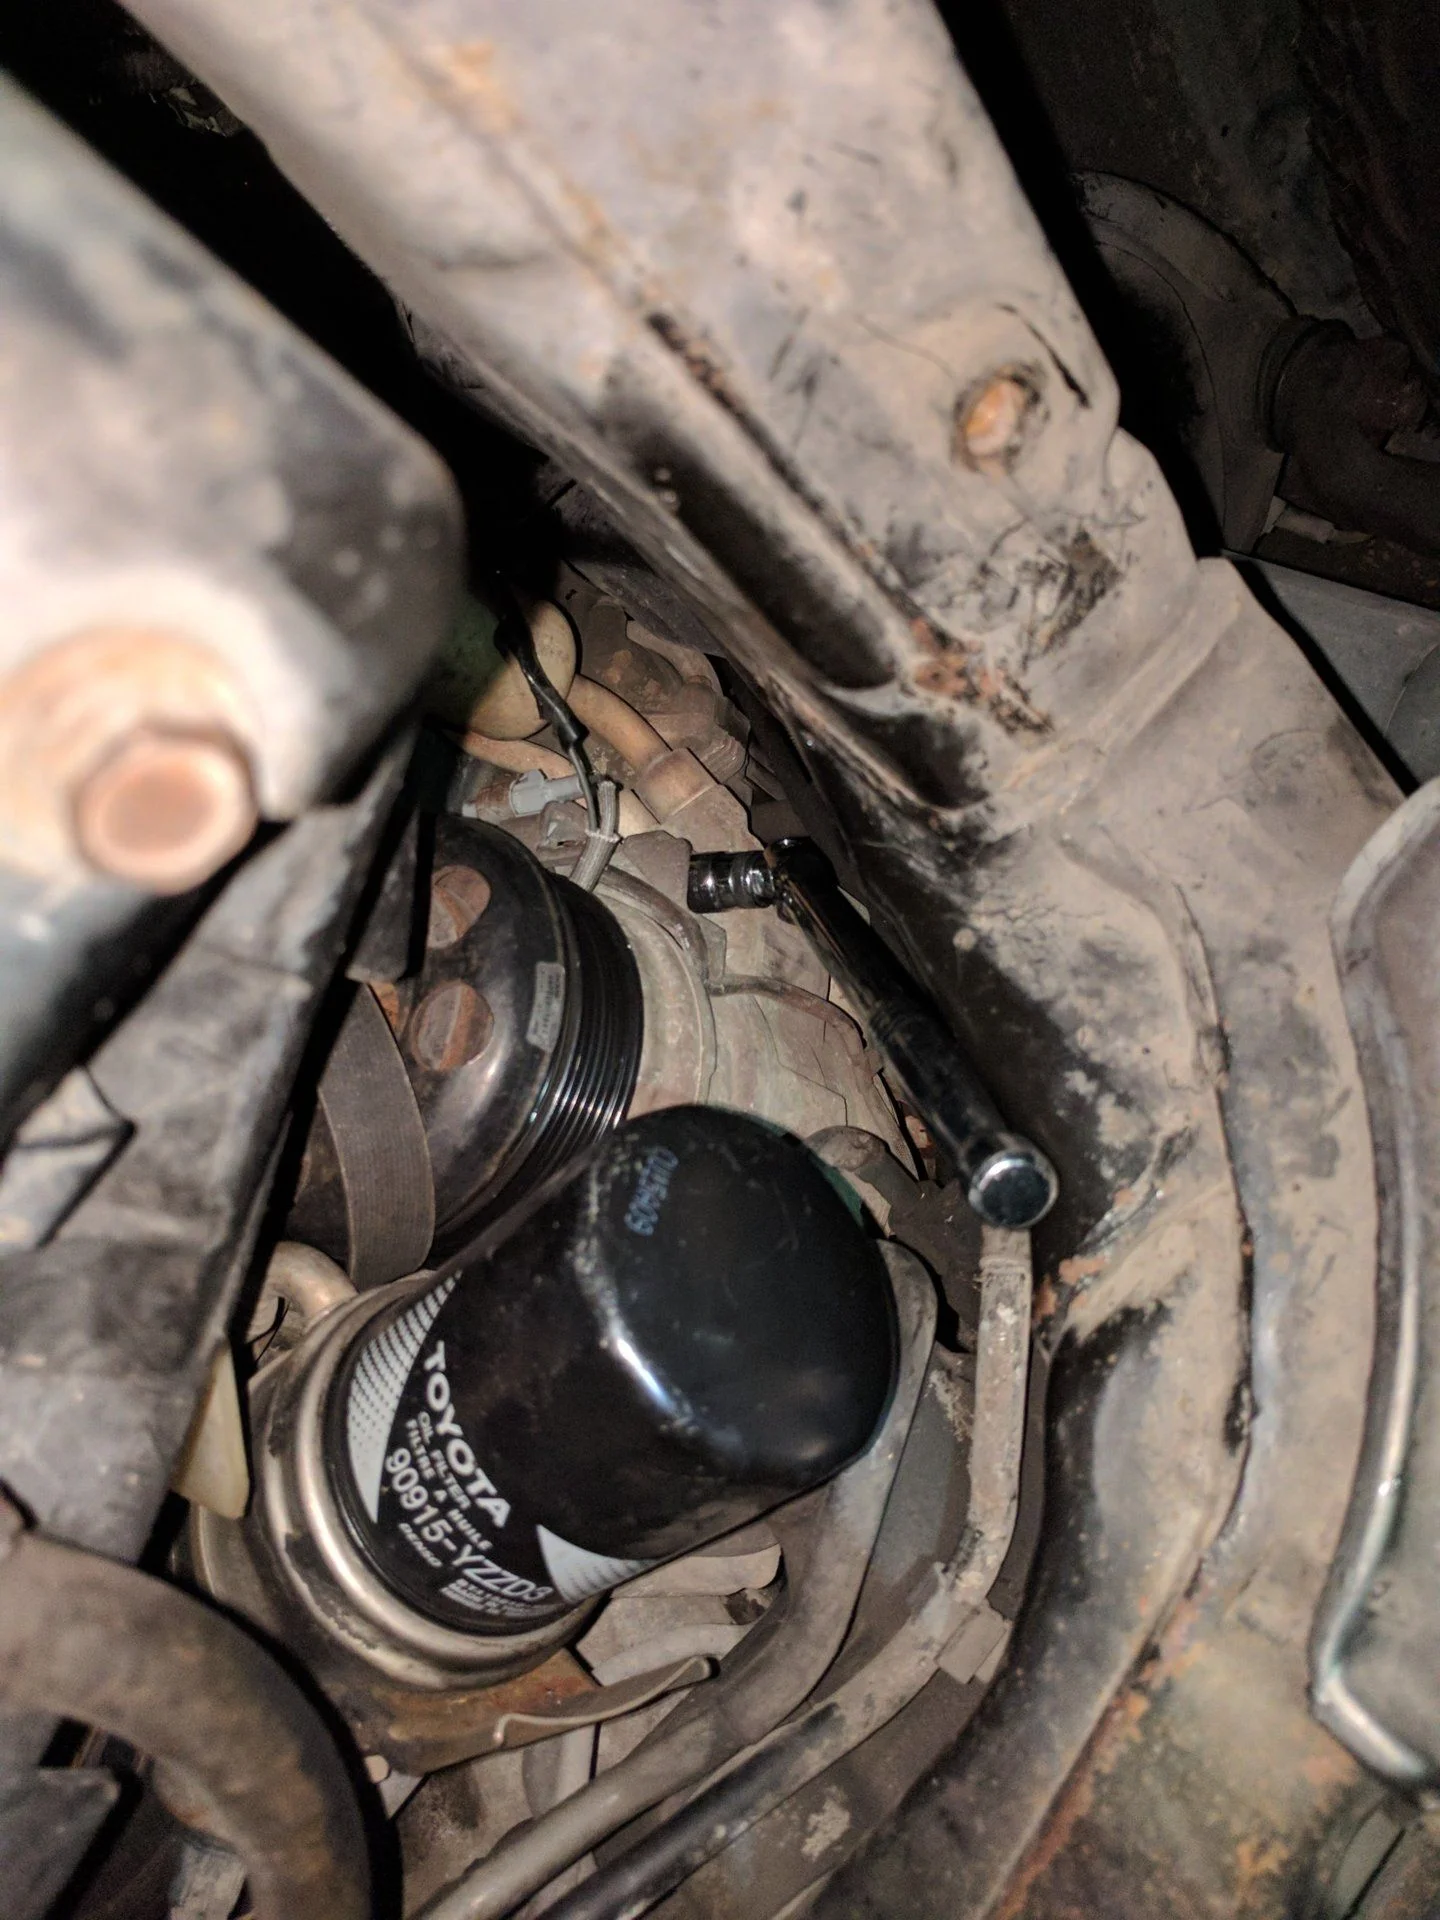
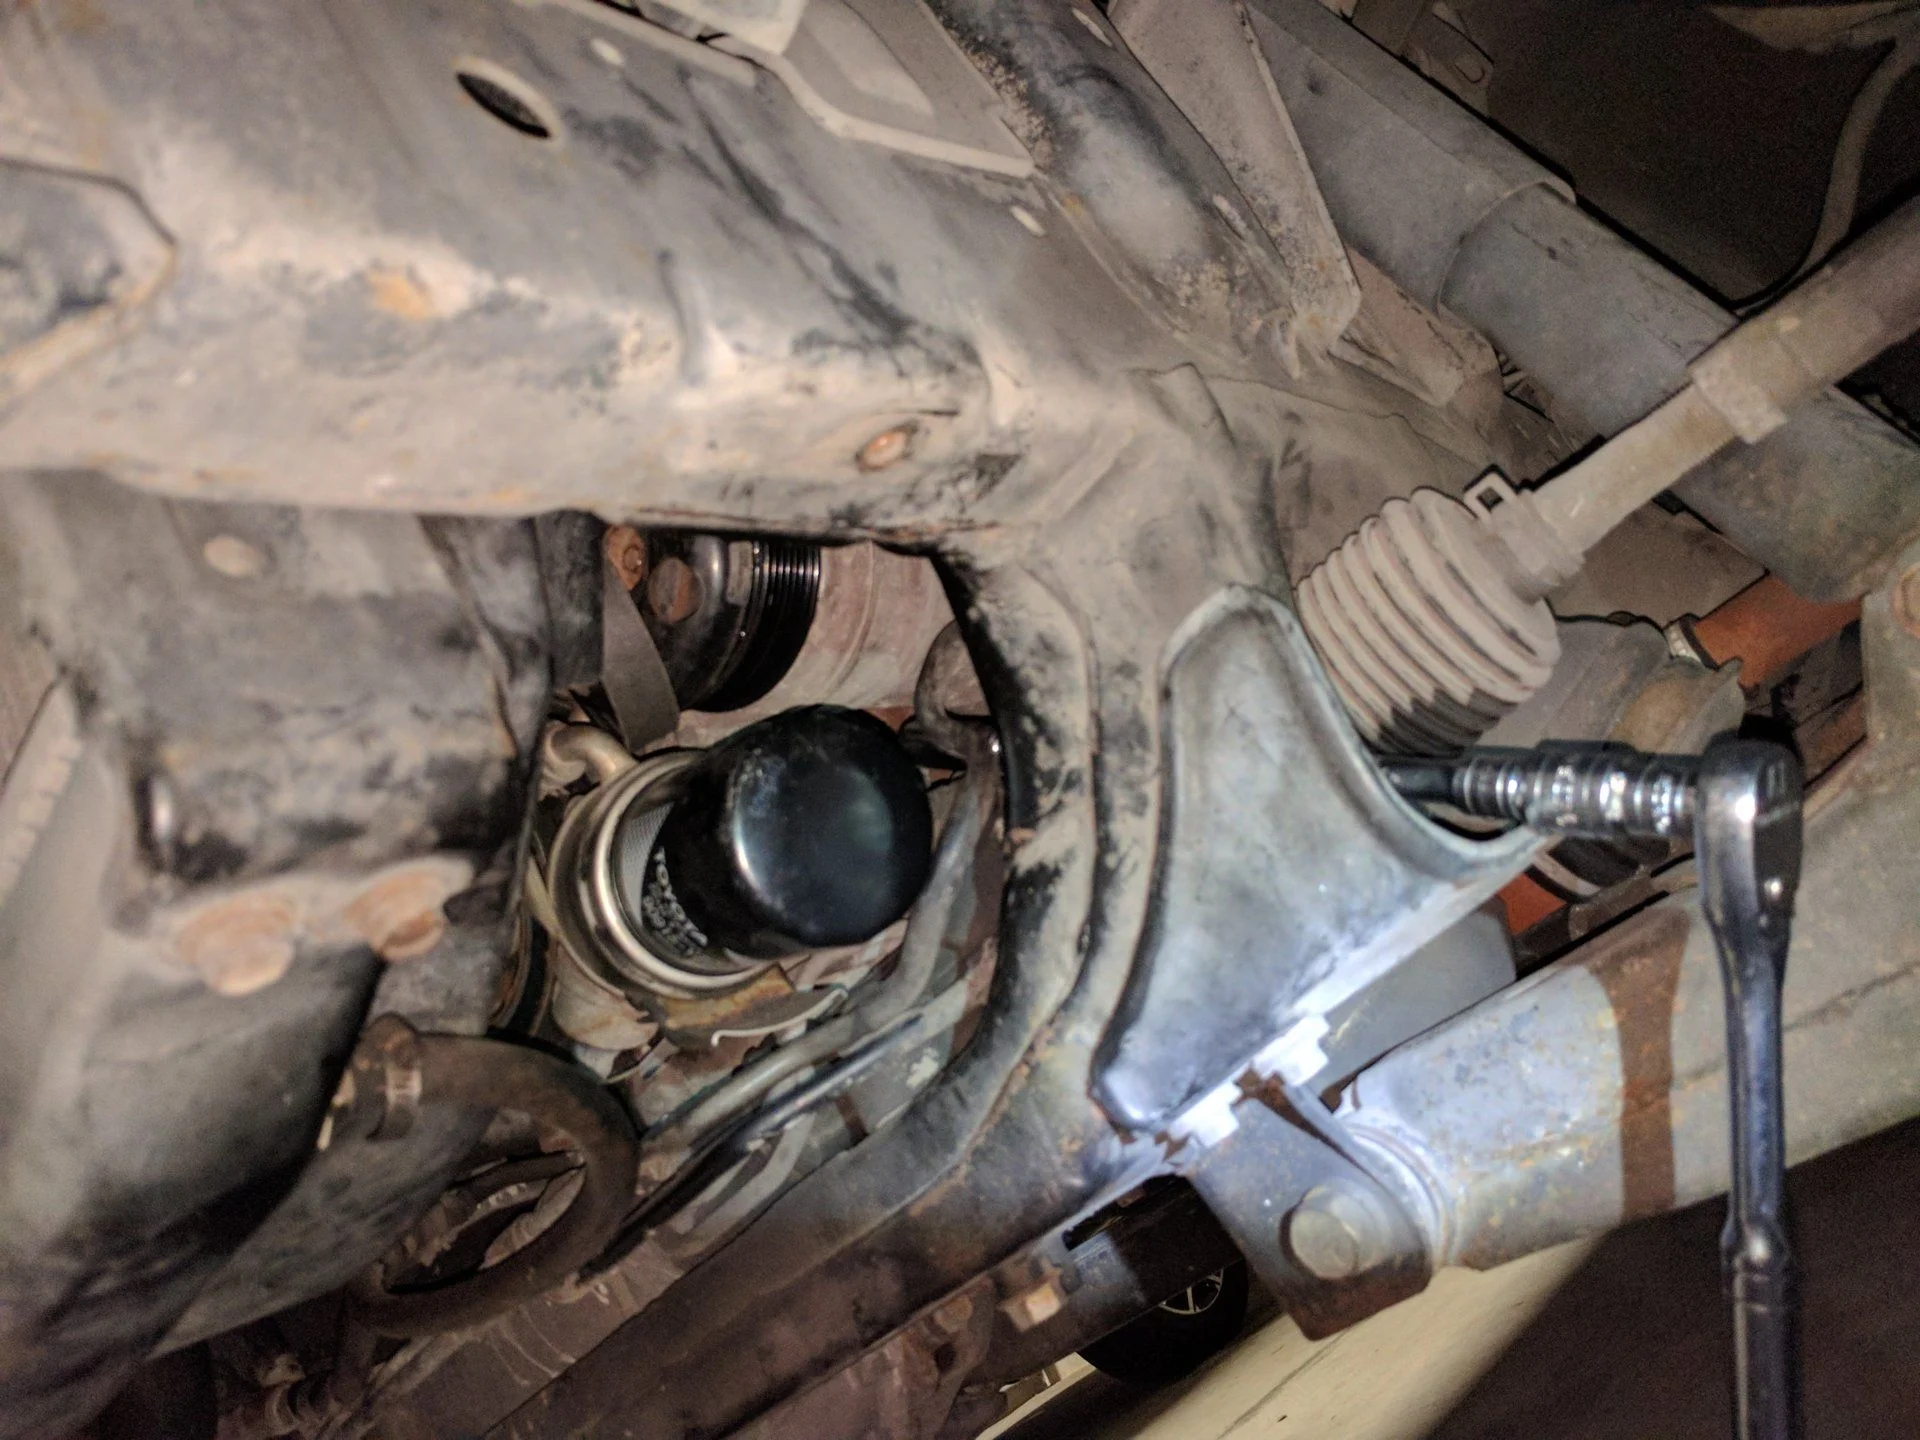
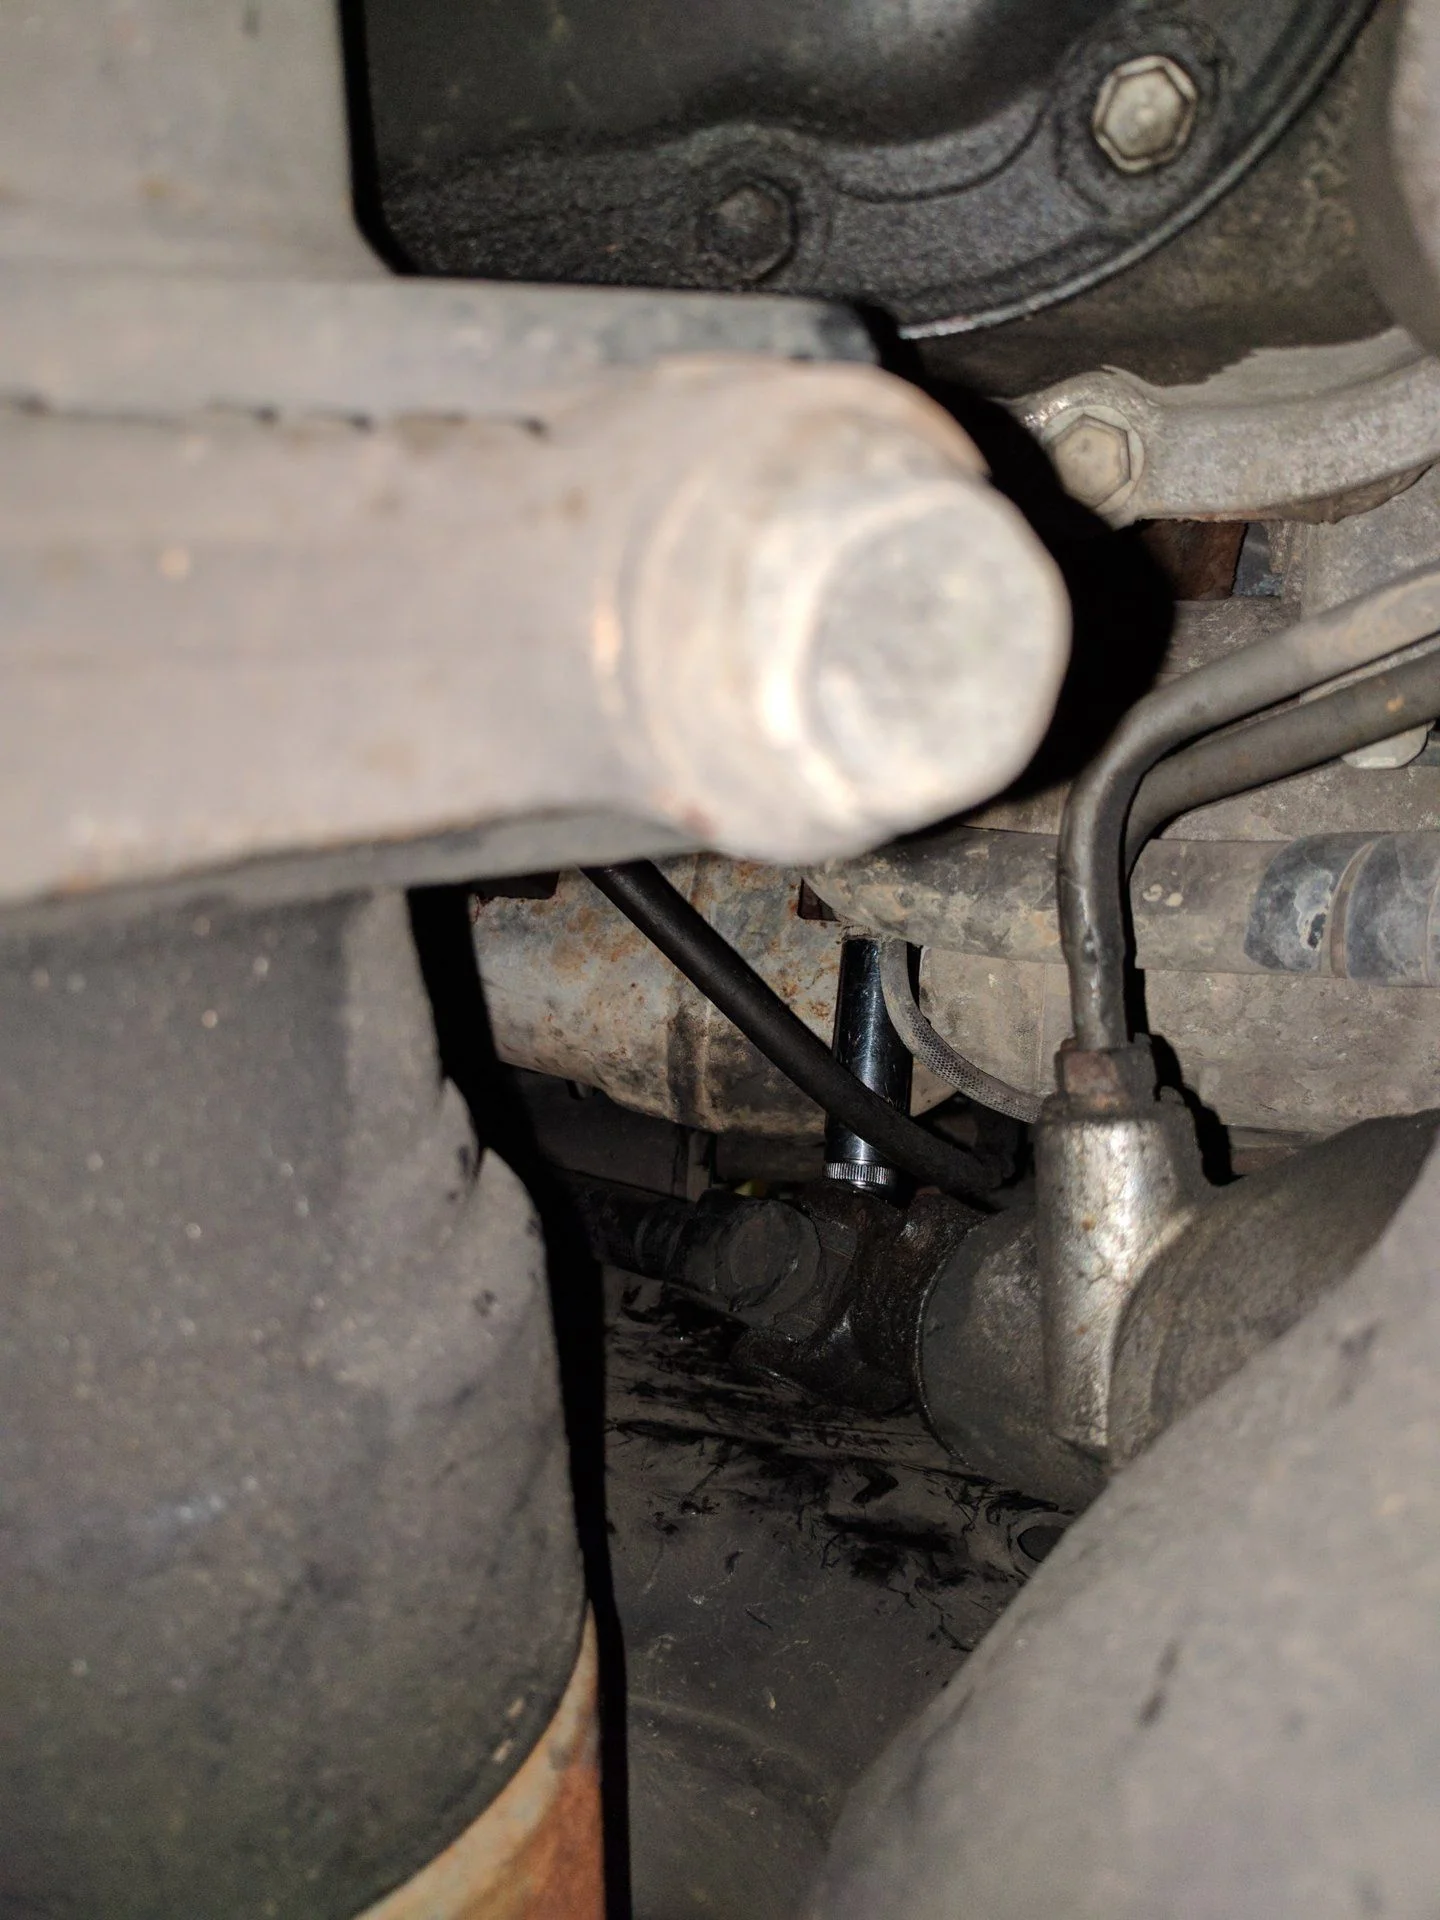
Compressor removal
Was nervous about it because the three bolts holding the compressor are located in tight areas. The FSM says to remove the LF drive shaft , but I know some people replaced the compressor without doing that, so I tried without it.
First bolt - front top
Accessed from the bottom. Used a 14mm shallow socket, 3/8" breaker bar with a cheater pipe. It wasn't bad.
Second bolt - front bottom
Accessed through the area where the tie-rod goes through. Used a 14mm socket and long 3/8" extensions. Not an exact straight shot, so a tilt socket would help.
Third bolt - rear bottom
Used a 14mm deep socket (12 point), 3/8" breaker bar with a cheater pipe. Set it up from the bottom (around the LF drive shaft) so that the breaker bar points upwards through the engine bay. Tried 6 point socket first, but the bay is too tight and I couldn't insert the cheater pipe. It would have been easier if I had a helper to hold the socket from the bottom.
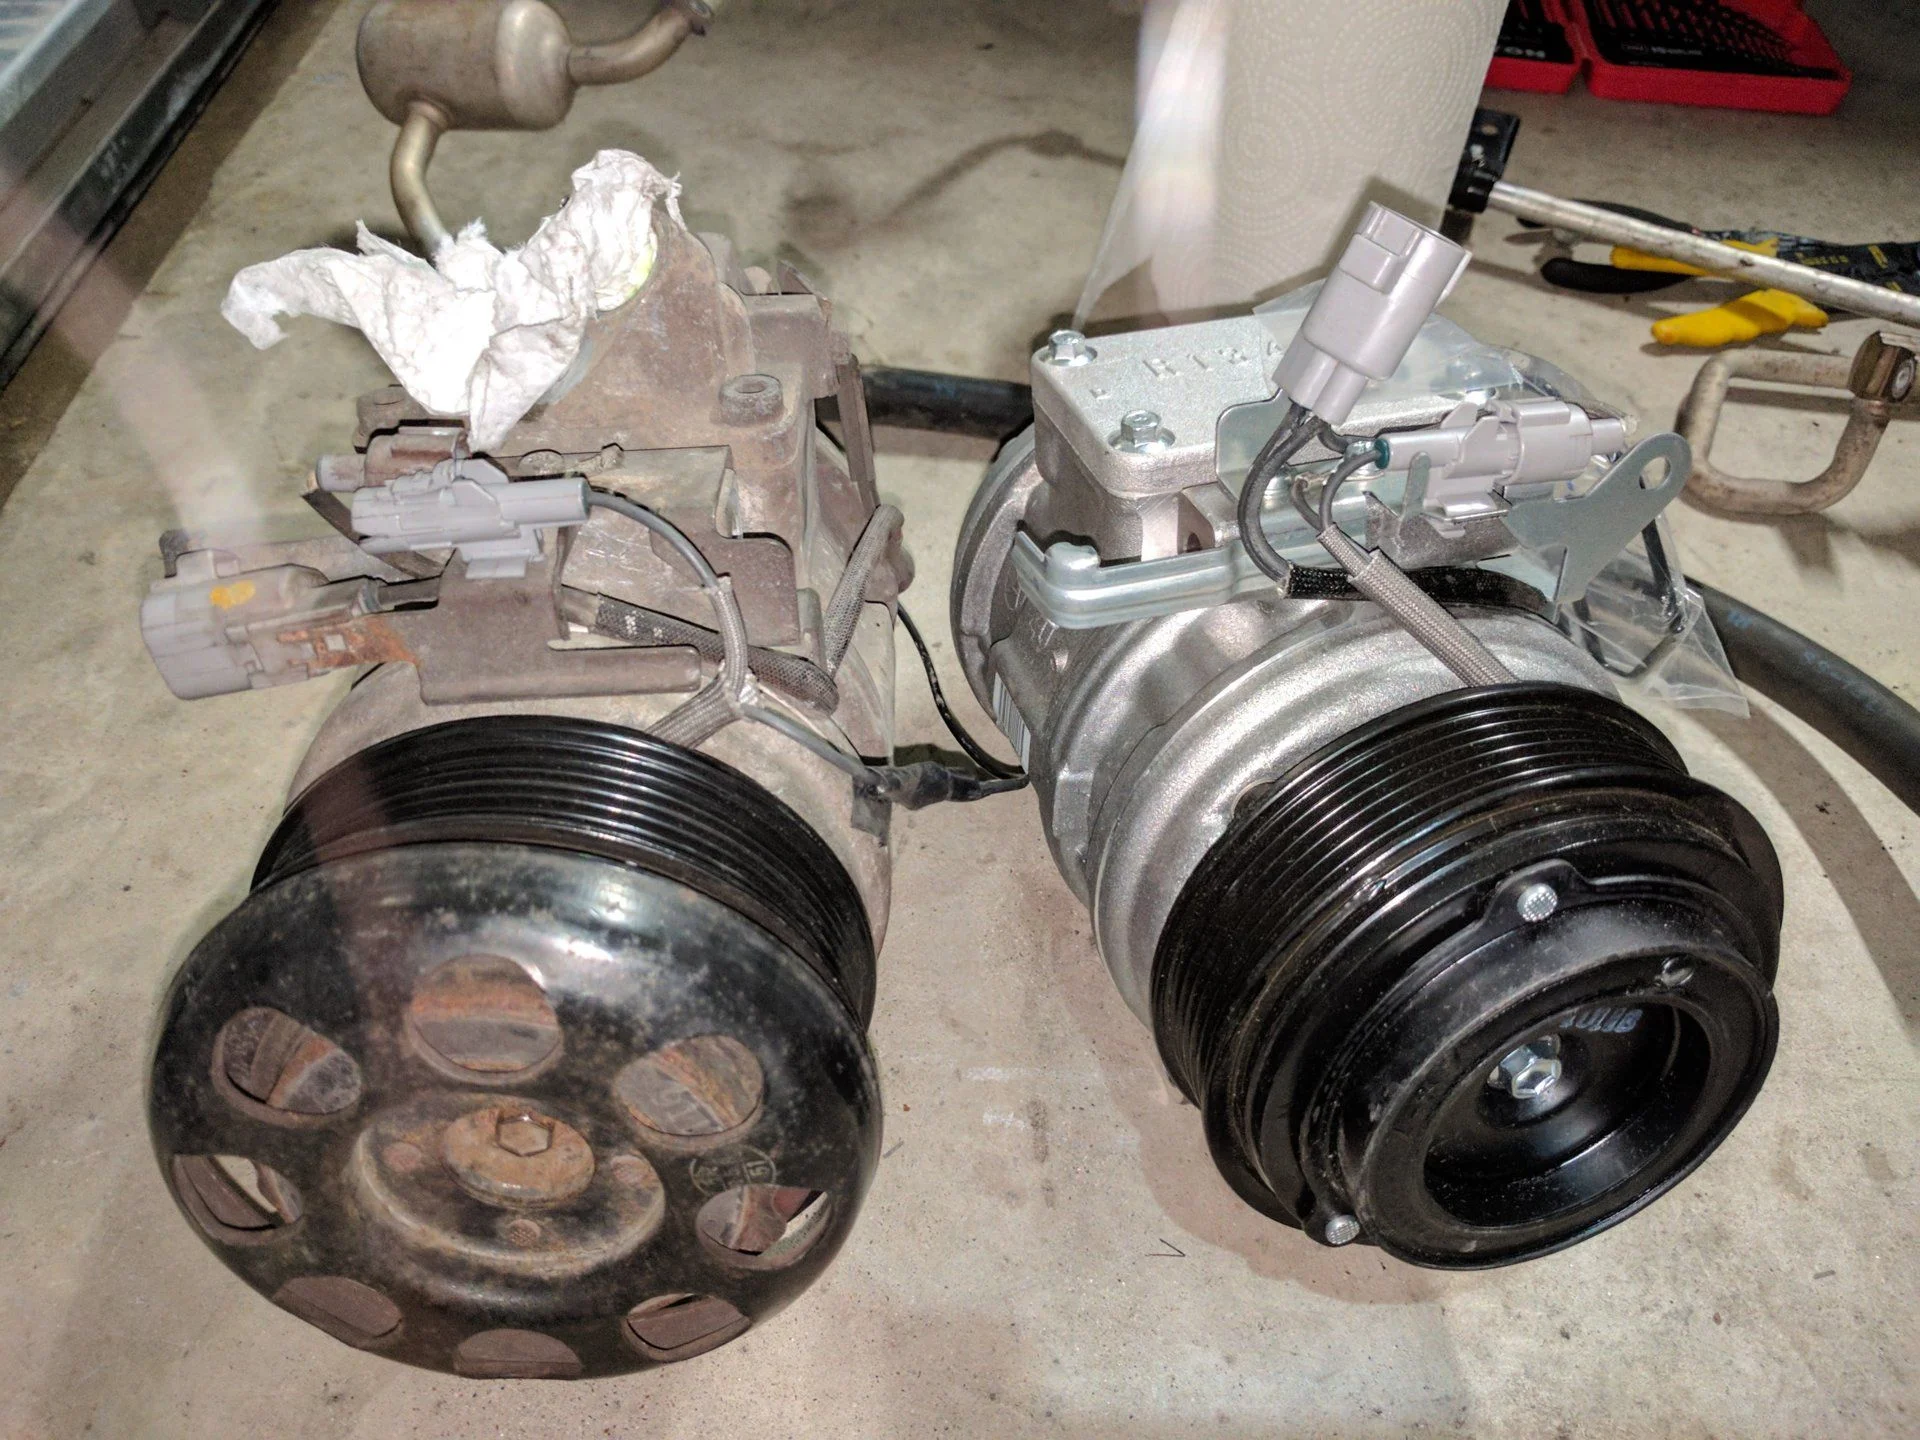
Compressor comparison
There is a slight difference between the old and new compressors.
One of the connectors is at a different location.
Compressor oil draining and charge
The manual that came with the compressor says to drain the oil from the old compressor, measure it and put the same amount of oil in the new compressor. Tried to drain the oil from the old compressor. Nothing came out, even after leaving it upside down over night and turning the shaft... No wonder why the compressor was making noise.
Now I don't know how much oil to put in the compressor. I'm thinking about putting the following amount. Any thought?
Compressor: 3.0 oz
Condenser: 1.4 - 1.7 oz (per 2004 FSM, might be less for AC without rear)
Evaporator: 1.4 oz (per FSM)
Drier: 0.7 oz
Rest: 0.7 oz
Used the following as a reference:
http://www.denso-am.com/products/au...-compressors/practical-tip-on-compressor-oil/
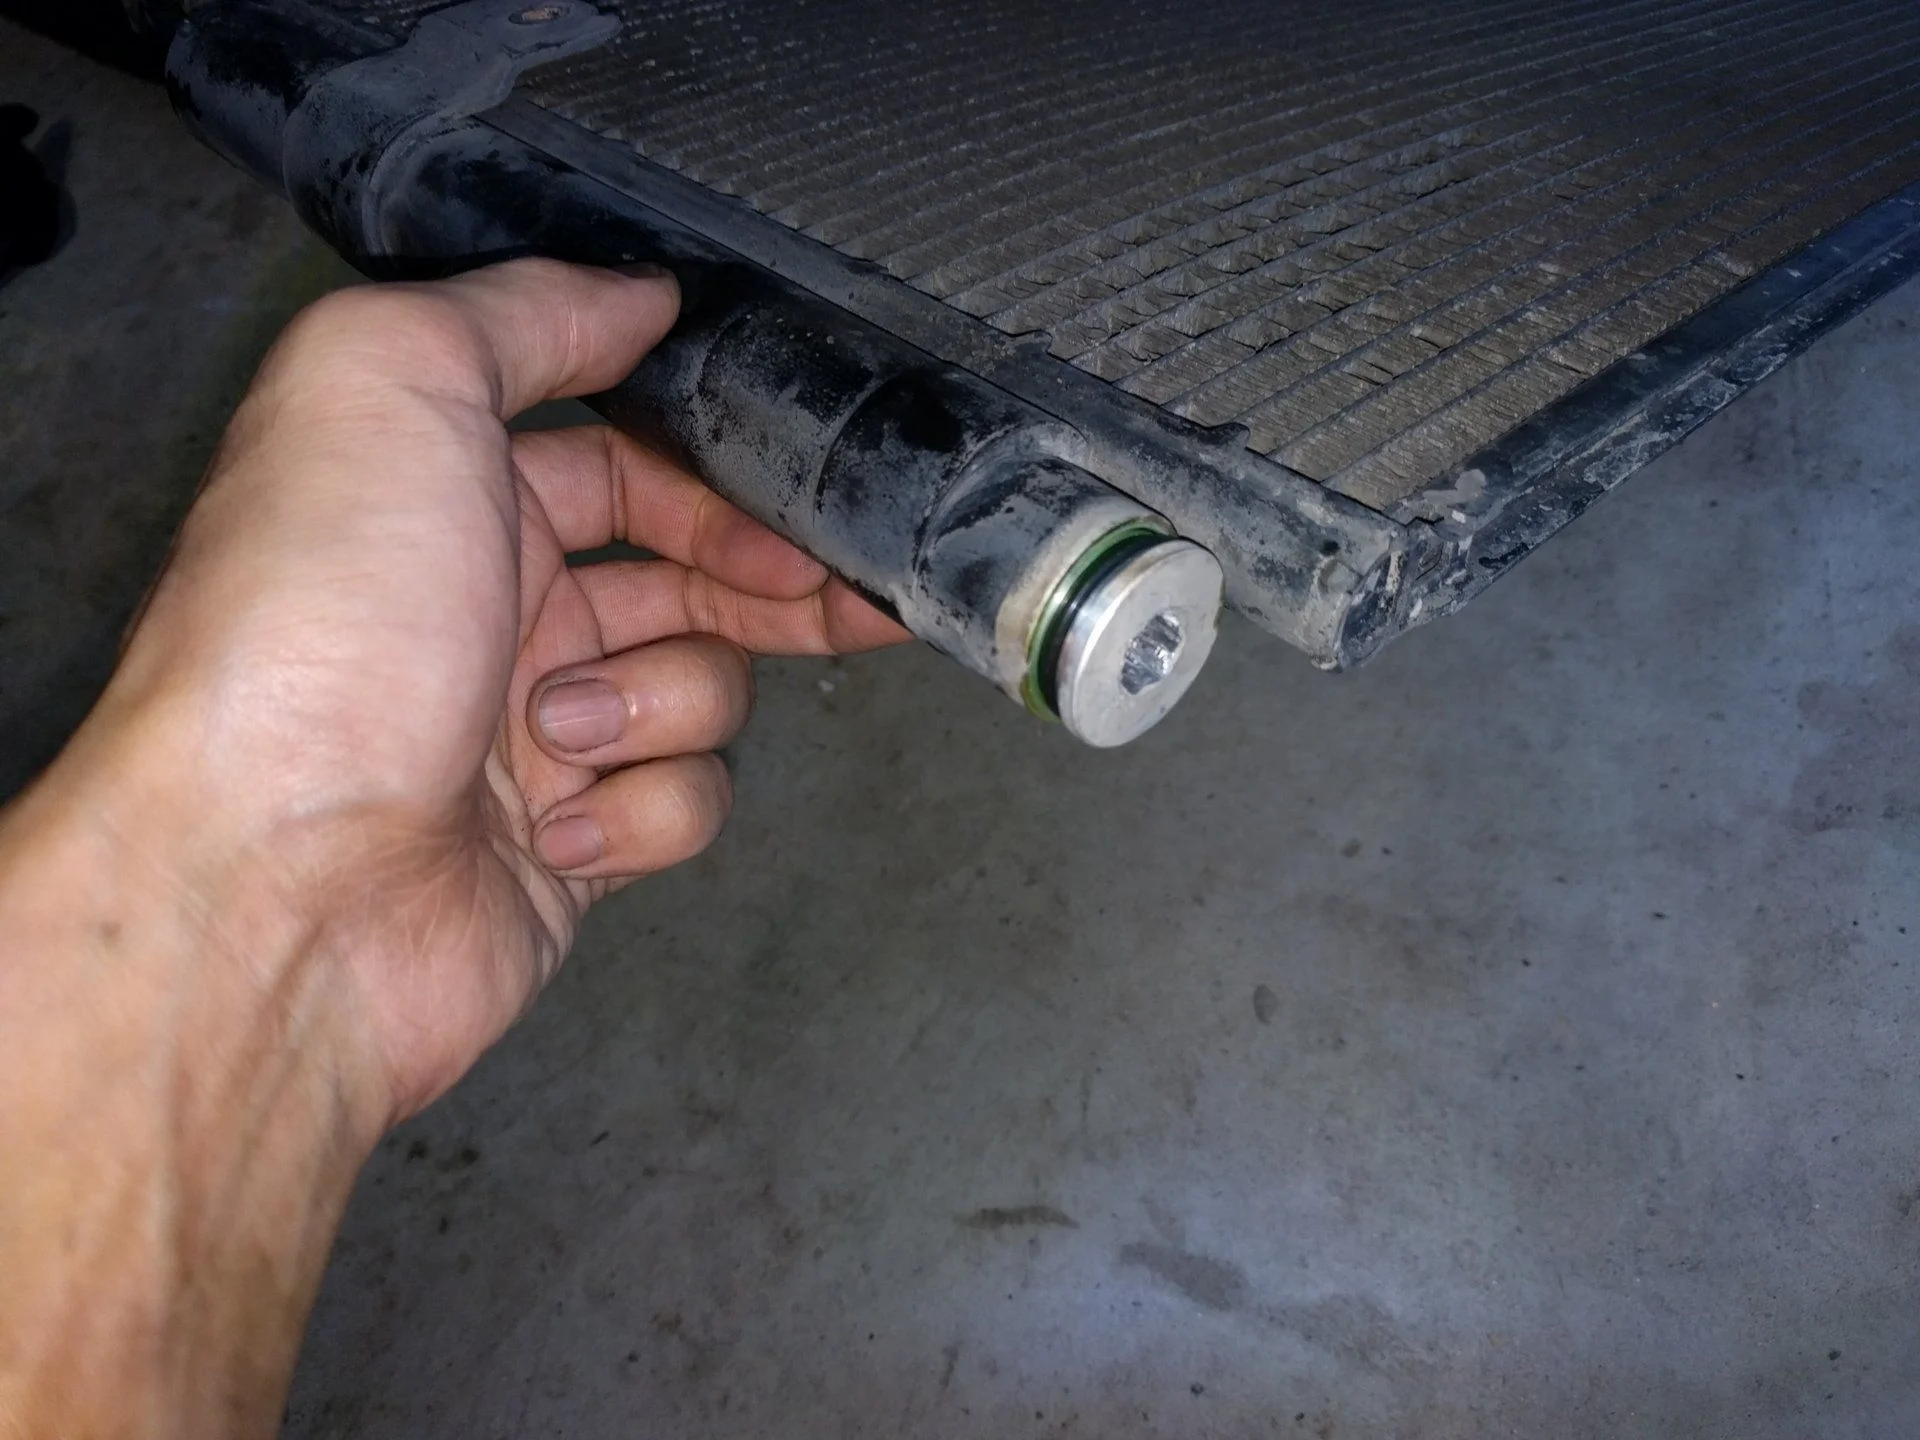
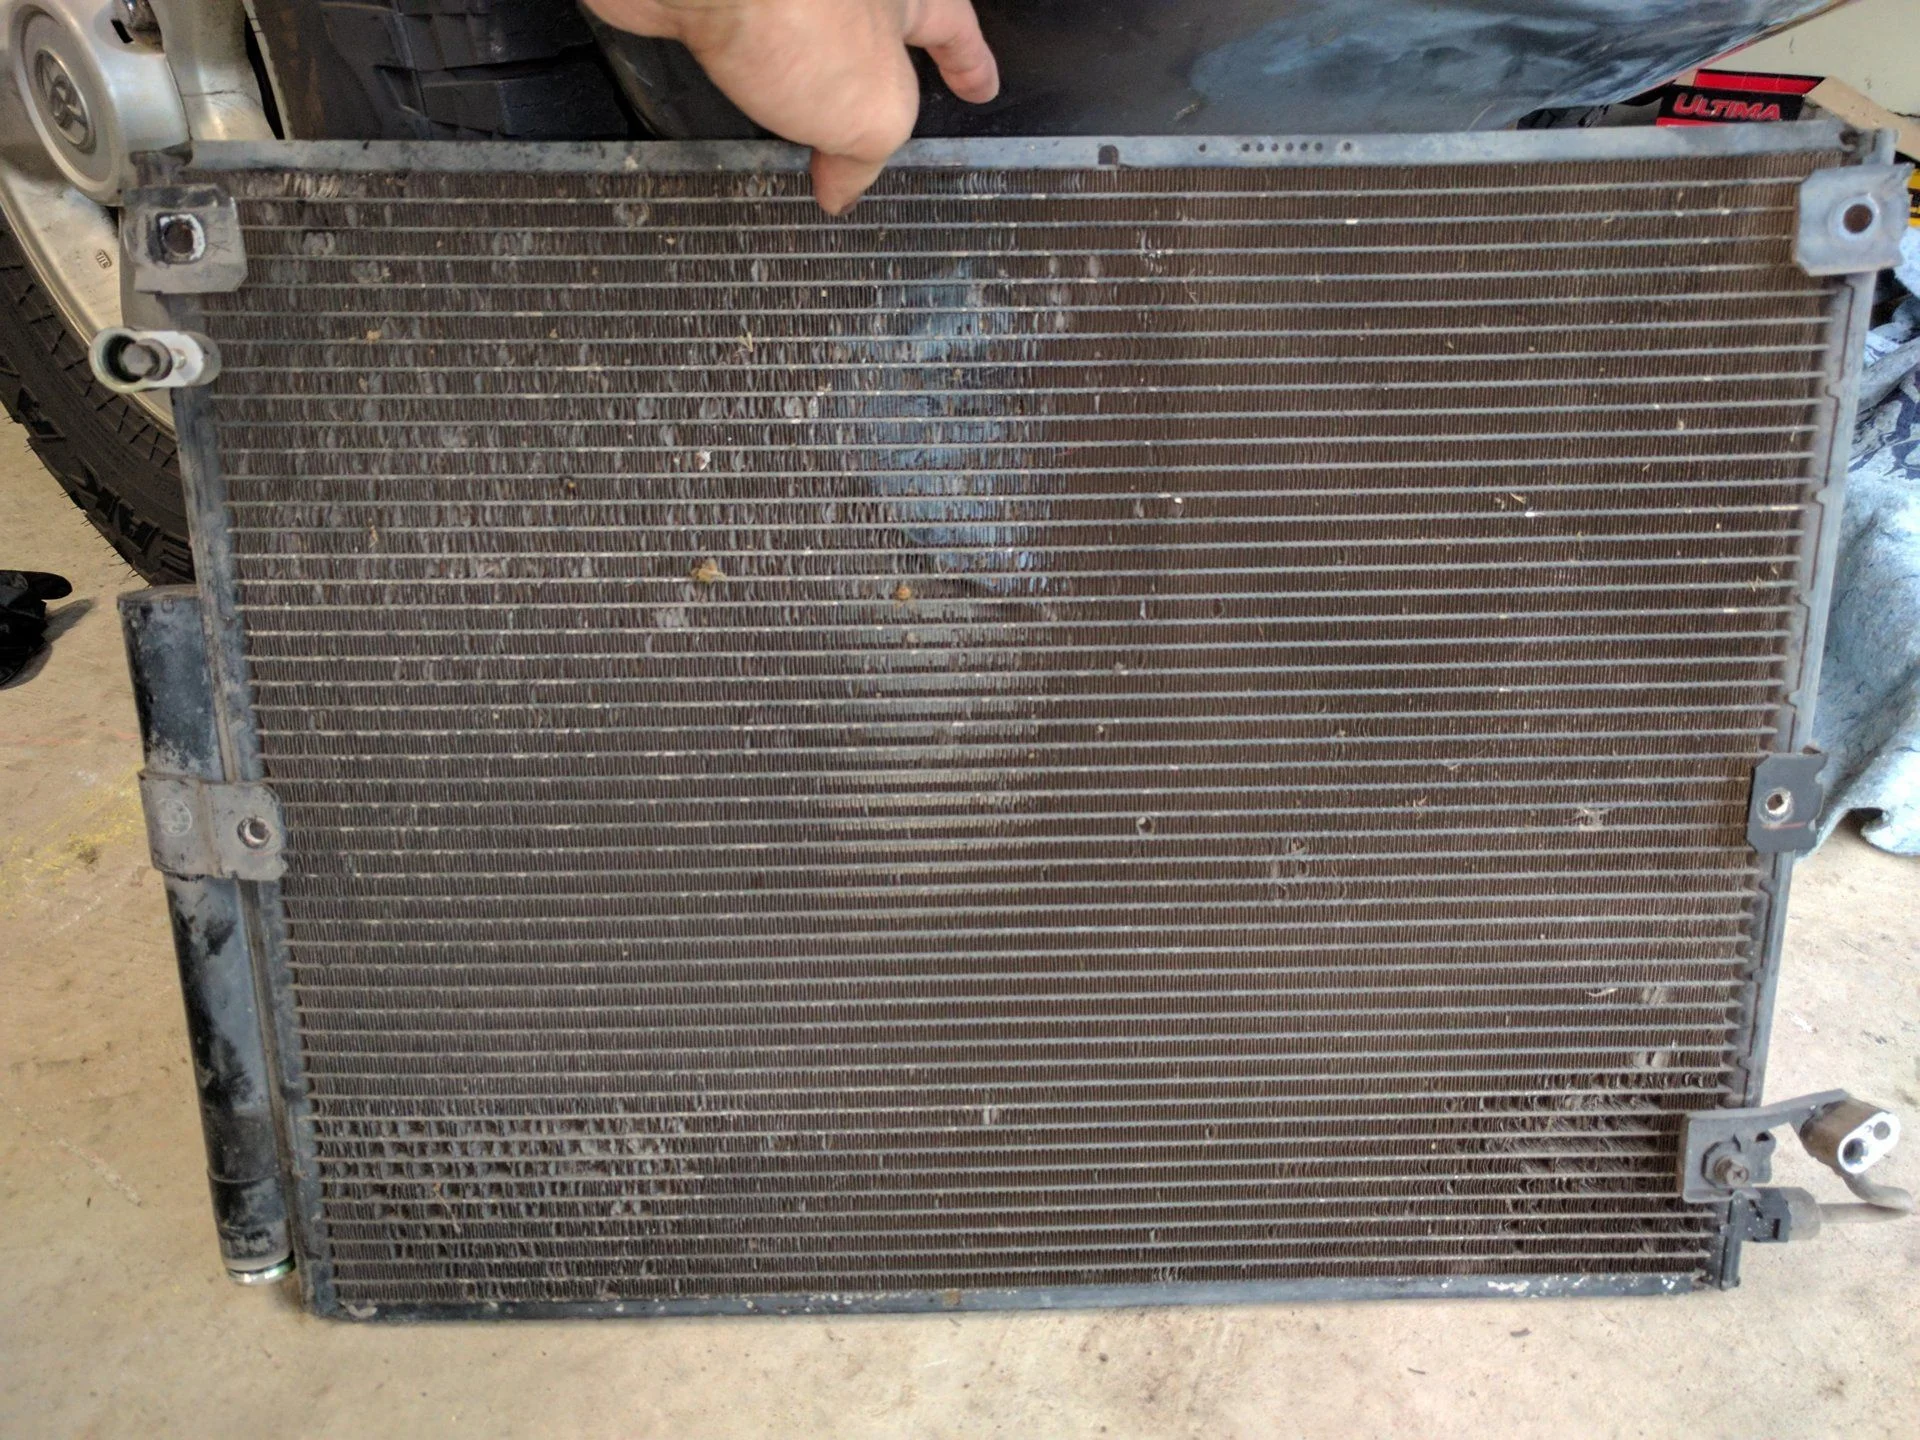
Condenser removal
Removal is not really required, but I decided to do it to inspect and clean it. The FSM says to remove the oil cooler, but I just took the bolts off and moved it out of the way.
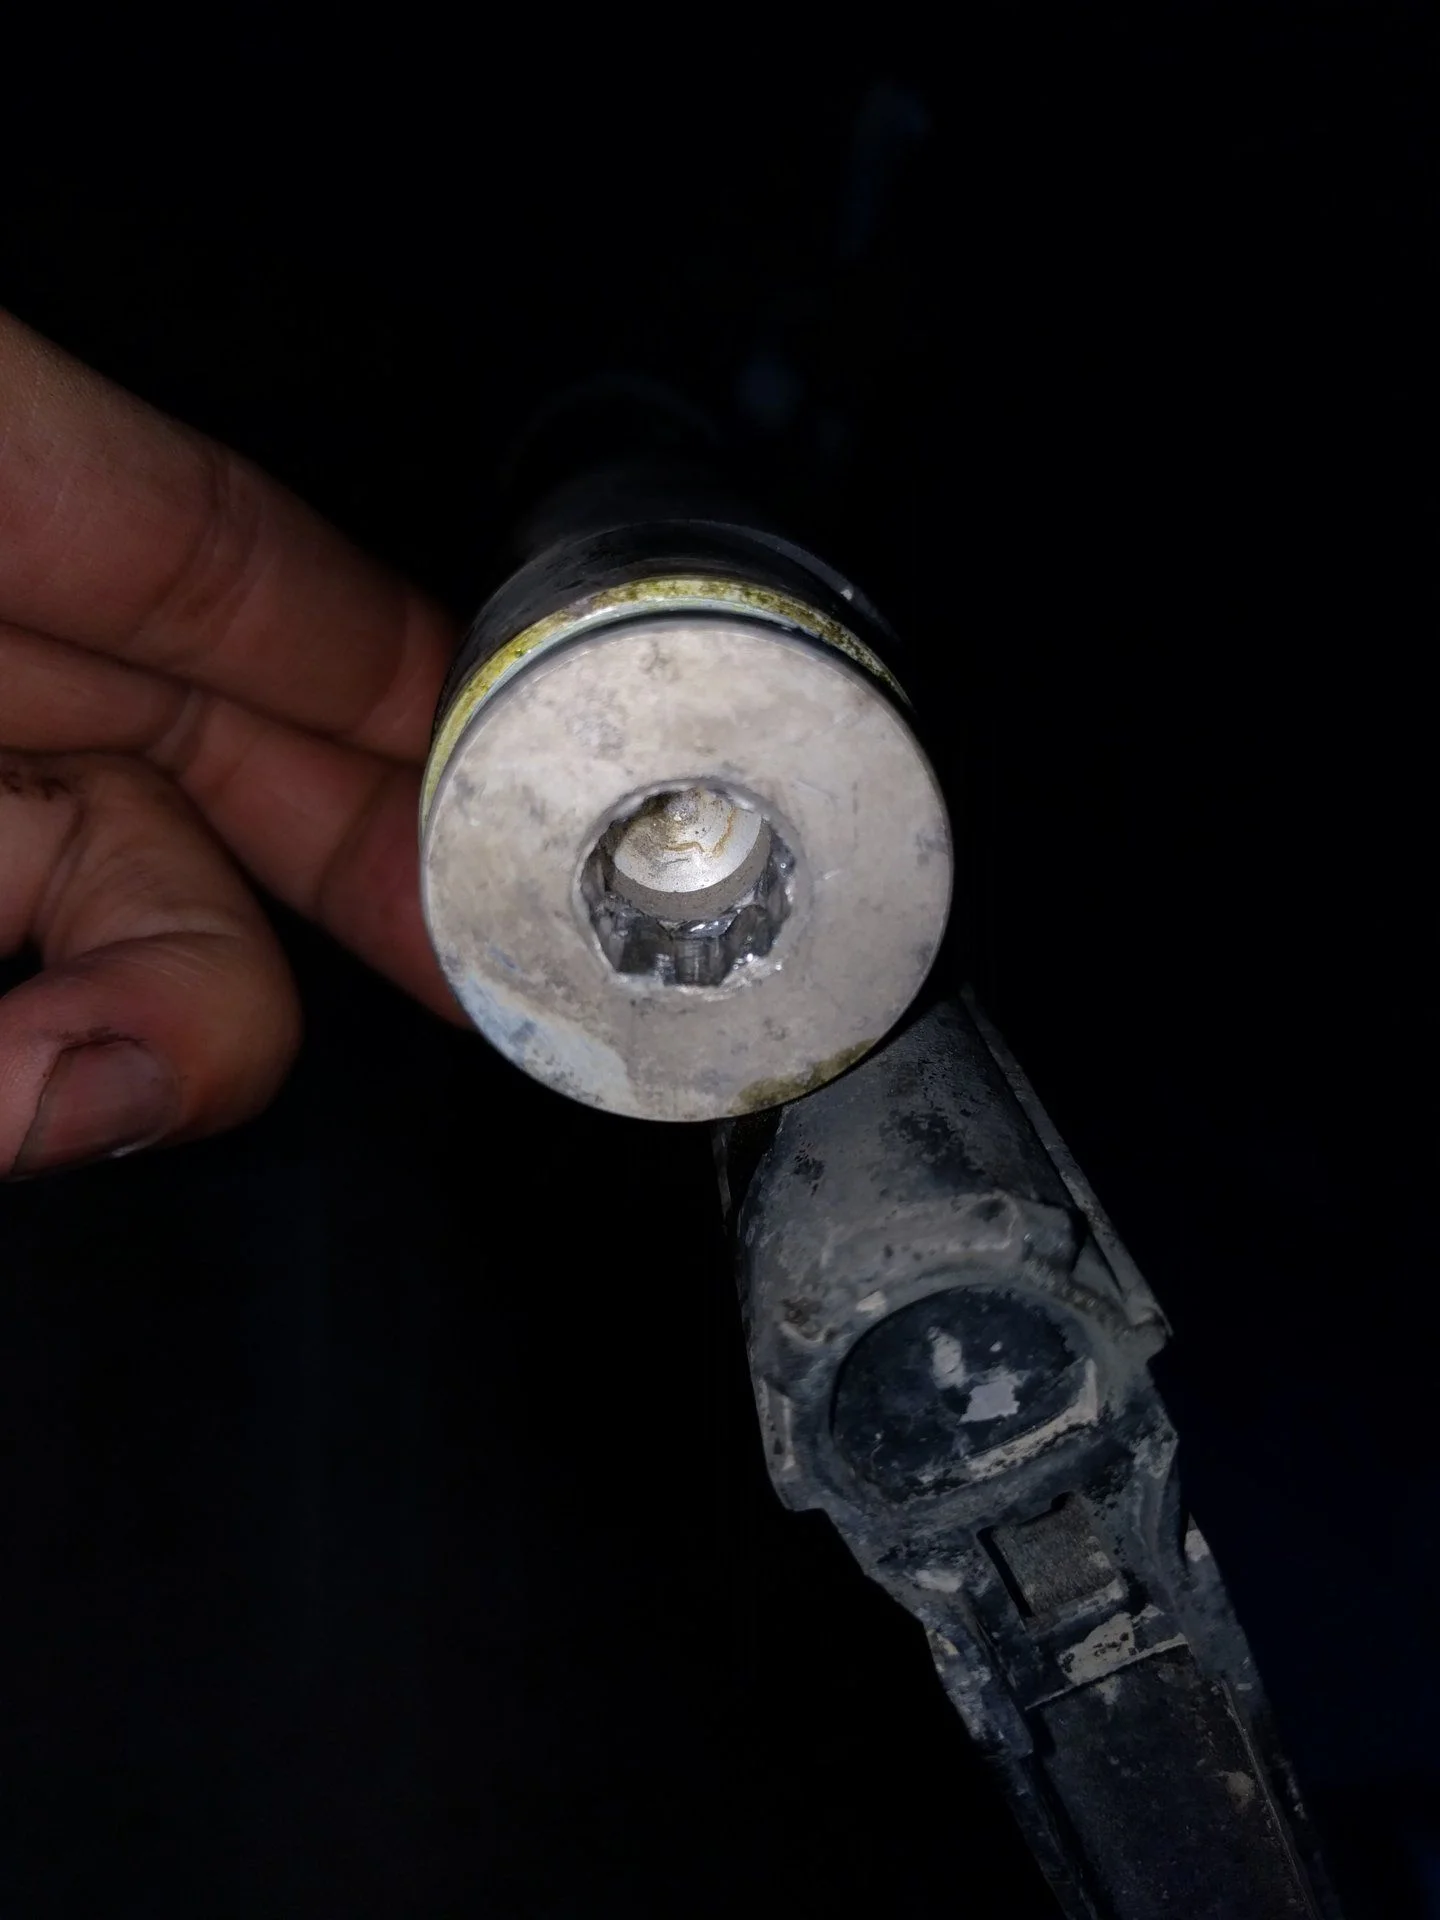
Drier removal
Failed. Used 10mm hex key. It turned a couple of times without an issue and stopped. Used a cheater pipe, but still couldn't get it out. Damaged the head. Have to buy a new condenser. Looking at the condition of the original condenser, not a bad idea to replace it anyway. Just have to wait for another week to complete...
To be continued...
Searched the forum and found a few tips, but couldn't find the complete write up. Figured it's my turn to give something back to this community. Got my Land Cruiser 2 years ago, and have been using ih8mud to find tutorials, but this is my first post.
Note that my car has no rear AC. The amount of refrigerant is different if you have a rear AC.
Replacement Parts
Compressor (DENSO 471-1220)
Drier (DENSO 478-1500)
Expansion valve (DENSO 475-2024)
O-ring kit (GPD 1321283)
Not sure if I am going to replace an expansion valve yet, but the compressor warranty says the replacement of the expansion valve is required. It's not expensive, so went ahead and bought it.
Was going to get the OEM compressor, drier and expansion valve from one of the Toyota dealers, but found out DENSO parts (same as OEM) from RockAuto are a lot cheaper, so I got them from RockAuto.
Fluids and Misc.
R-134a refrigerant: 21.2 - 24.7 oz, according to the sticker in the engine bay. Not purchased yet, probably DuPont Suva R-134a.
Oil: TBD oz (not noted in FSM, 7.25 oz per the data found on the internet). PAG-46 (ND-OIL 8 according to the sticker on the compressor, but it's not readily available).
O-ring lubricant/sealant (optional): Nylog Blue. The FSM says to use compressor oil (PAG), but PAG oil absorbs moisture, and some people don't recommend it. Did some search and found Nylog Blue, which is compatible with the refrigerant/oil and never gets dry.
Refrigerant leak detector dye (optional)
Condenser cleaner (optional): Nu Calgon Nu Brite
Refrigerant evacuation
Got the refrigerant evacuated at a shop. Called at least 10 places to get pricing. The lowest was $60. Higher than expected. Most shops will try to charge you for both evacuation and recharge, even if you tell them you just need evacuation. My plan is to do the vacuum and recharge by myself, with loaner tools from AutoZone.
Compressor removal
Was nervous about it because the three bolts holding the compressor are located in tight areas. The FSM says to remove the LF drive shaft , but I know some people replaced the compressor without doing that, so I tried without it.
First bolt - front top
Accessed from the bottom. Used a 14mm shallow socket, 3/8" breaker bar with a cheater pipe. It wasn't bad.
Second bolt - front bottom
Accessed through the area where the tie-rod goes through. Used a 14mm socket and long 3/8" extensions. Not an exact straight shot, so a tilt socket would help.
Third bolt - rear bottom
Used a 14mm deep socket (12 point), 3/8" breaker bar with a cheater pipe. Set it up from the bottom (around the LF drive shaft) so that the breaker bar points upwards through the engine bay. Tried 6 point socket first, but the bay is too tight and I couldn't insert the cheater pipe. It would have been easier if I had a helper to hold the socket from the bottom.
Compressor comparison
There is a slight difference between the old and new compressors.
One of the connectors is at a different location.
Compressor oil draining and charge
The manual that came with the compressor says to drain the oil from the old compressor, measure it and put the same amount of oil in the new compressor. Tried to drain the oil from the old compressor. Nothing came out, even after leaving it upside down over night and turning the shaft... No wonder why the compressor was making noise.
Now I don't know how much oil to put in the compressor. I'm thinking about putting the following amount. Any thought?
Compressor: 3.0 oz
Condenser: 1.4 - 1.7 oz (per 2004 FSM, might be less for AC without rear)
Evaporator: 1.4 oz (per FSM)
Drier: 0.7 oz
Rest: 0.7 oz
Used the following as a reference:
http://www.denso-am.com/products/au...-compressors/practical-tip-on-compressor-oil/
Condenser removal
Removal is not really required, but I decided to do it to inspect and clean it. The FSM says to remove the oil cooler, but I just took the bolts off and moved it out of the way.
Drier removal
Failed. Used 10mm hex key. It turned a couple of times without an issue and stopped. Used a cheater pipe, but still couldn't get it out. Damaged the head. Have to buy a new condenser. Looking at the condition of the original condenser, not a bad idea to replace it anyway. Just have to wait for another week to complete...
To be continued...
 .
.