1999 4Runner SAS and Buildup (1 Viewer)

This site may earn a commission from merchant affiliate
links, including eBay, Amazon, Skimlinks, and others.

Joined
Jun 11, 2005
Threads
89
Messages
446
Location
Cumming GA
I originally planned for the last few years to start over with my 1995 4Runner that I use to wheel but after thinking it over and then this 99 popping up for sale I decided to start completely over. It also helped that the 95 was basically stripped anyways. It would have cost more to buy the stuff to do a 3.4 just to get me where I'm at with the 99 also.

It's so sad to see the 95 look so hopeless. This truck was my first Toyota ever. :( I'm very very sad to see her go. Enough with the online memorial onto the fun stuff.

IMG_1865.jpg


Now let me introduce you to the new victim. :D It's a 1999 3.4 sport edition, 5 speed.

start1.jpg

start2.jpg

start3.jpg


My main goal with this 4Runner is to keep it LOW with 37" tires. I want it to be under 24" ground to frame.

Front Specs:


  • Custom 9.5" Cruiser Third Front Housing - ~66" WMS to WMS
  • 31" Center to Center Spring Perches.
  • Aussie Locker
  • 30 spline Long Birfs
  • Custom Shafts
  • Tundra Calipers and Rotors
  • IFS Hub Body's
  • Custom leaf packs – using 48" and/or 51” Toyota Rear Leafs
  • Cryo-ed and heat treated 5.29's
  • 9.5” third
  • Datin Fab Front Hanger
  • Shackles through frame
  • FJ80 steering box

Rear Specs:


  • FJ80 E-locked Rear Axle
  • Datin Fab Front Hangers
  • Shackles through frame
  • F150 springs
  • 9.5” third
  • Cryo-ed 5.29's

Other Specs:


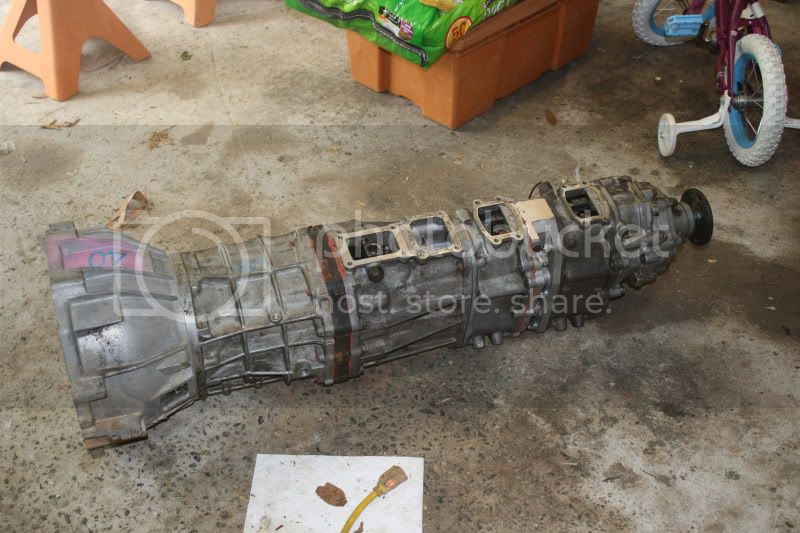
  • Dual T-cases – 2.28 front and rear - both 23 spline inputs
  • Triple Shifters – I want to keep my cup holders so I don't want anymore holes in the floorboard
  • Pitbull Rocker Radial Tires - 37x12.5x17
  • 17" x 9" Centerline ICE DOT beadlocks.
  • Custom Front and Rear Bumpers
 
These are my 5.29 gears. Front has been heat treated and cryo-ed, the rear was just cryo-ed. You can see the heat marks on the front.

IMG_1998.jpg

IMG_2000.jpg


I also got Long's extra dowl pin kit and felt eliminators.
IMG_2001.jpg
 
This is my R151/R150 hybrid transmission. I didn't want to purchase the $350 adapter and $150.00 23 spline input needed to bolt gear drive dual cases behind my 96+ R150 so I took 3 transmissions I had in the garage and made the one I wanted.

This is my set-up now.

3.4 Motor -|- 96+ R150 Bell-housing and input -|- 89 R150 Trans Gears -|- R151 Tail-Housing -|- R151 Transfer Case -|- 23 spline Dual Adapter -|- 23 spine top-shift case.

I had to use the 96+ bell-housing and input because they are 1" longer than the 95 and older ones. I had to use a 95- R150 as the R151 tail-housing wouldn't bolt up to the 96+ trans because it a little different.

Here are a few pictures. I know everyone loves pictures. :bounce:

R150 Inputs - left = 96+ | right = 95 and older
IMG_1994.jpg

IMG_1991.jpg


IMG_1982.jpg


The yellow circled areas show the difference between the R151, PRE 95 R150 and the 96+ R150. The newer R150 was changed around in the rear tail-housing a little. The internals are the same as the older R151 and R150.
IMG_1934.jpg
 
I found the same kind of snap ring pliers Marlin sells at Sears for $13.00. They work great. I also found an awesome set of lock ring pliers to remove the out put shaft lock ring so I can get the lock rang gear off and also install my cromo Bobby Long output.

Here's some pictures. The napa ones on the far left are P.O.S. crap. Plus they charged me $40.00. :pissed: Sears had the same ones for $12.00.
IMG_2061.jpg

IMG_2063.jpg


Aussie Locker for the front axle.
IMG_2064.jpg
 
Picked up my Rockers.

I think the kid approves. I really liked these pictures, goes with the name of the tires. :D

IMG_2137.jpg


IMG_2141.jpg


IMG_2134.jpg


IMG_2135.jpg
 
Finished trans and dual cases.

IMG_2145.jpg

IMG_2149.jpg
 
I removed all of the stickers from the darn thing. I hate stickers all over trucks so they had to go.

IMG_2164.jpg

IMG_2163.jpg


IMG_2166.jpg

IMG_2167.jpg

IMG_2168.jpg
 
DAY 2. April 17.

I got the front IFS crap cut out today. I was going good and planned to get everything ground down when my neighbors asked me to stop as it was loud. Tomorrow will be game on.

IMG_2225.jpg

IMG_2228.jpg

IMG_2230.jpg
 
All ground smooth. Now I have to wait for some parts.

IMG_2231.jpg


IMG_2232.jpg
 
I got all of the rear brackets cut off and ground smooth. I also took a trip to pull a part and got some F150 springs for the rear.

I got my wheels the other day. I needed to get some motivation so I mounted one of the wheels. This is with the frame right around 24". The truck still has a 2" body lift also. It will be coming out later.
IMG_2241.jpg

IMG_2242.jpg


Now I'm just waiting on more parts so I can move forward. I can't wait to get this on the trails.
 
I got some parts today.

Anyone need gears installed in a 9.5 LC E-locked Diff. These are the washers needed to set BL and CBPL correctly. There are 23 and they are kind of pricey.
IMG_2258.jpg


I also got my front housing in. Still trying to figure out how to do the right spring perch. I didn't think that far ahead of I would have moved the third over a couple inches.
IMG_2254.jpg

IMG_2255.jpg

IMG_2256.jpg
 
I've been working on the rear suspension and I think I got it all dialed in. Tell me what you guys think about the tire placement. The body will be coming down 2" (body lift coming off) and these are pictures of the tire fully stuffed.

IMG_2316.jpg

IMG_2318.jpg


Here's a picture of the stance. This is with 4.5" BS wheels. I may run 1" spacers on the rear axle to better match the front 66.5" width.
IMG_2314.jpg


My plan for the shackles it to go thought the frame. I had to cut the body mount a little. I'll brace it after everything is done.
IMG_2321.jpg

IMG_2327.jpg

IMG_2324.jpg


Here's the front spring hanger.
IMG_2329.jpg
 
Rear suspension done for now. Everything is just tacked on but it all looks good for now.
100_2618.jpg

100_2623.jpg


I'm using steel sleeves in the bushings so the hole was to big. Easy fix is to just weld new ones on. Ruff-Stuff had a sell on shock tabs.
100_2616.jpg


Rear Shackles thought the frame with enforcement plates.
100_2630.jpg


Shackle angle. Looks good for now. I plan to cut an inch of so out of the shackle and might also take one leaf out of the F150 pack. It has 4 leafs in it right now. All the weight is forward also. I think it'll end up around 35-40 degrees. It's right at around 20-25 now.
100_2619.jpg
 
Worked on the POS today.

Took a leaf out of the F150 pack and now have a 25 degree angle. I'm planning on cutting the 6" shackle to about 4.5-5" that should be just right.
100_2632.jpg


Worked on the front most of the damn day.
100_2633.jpg

100_2634.jpg


This is how I'm doing the shackle. Took forever to make sure everything was straight and square. The spacers are 3/8" think. I will weld them together to make it just one large spacer.
100_2642.jpg

100_2635.jpg

100_2636.jpg

100_2643.jpg

100_2641.jpg

100_2645.jpg
 
Worked on the front some more today.

100_2647.jpg


25 degree shackle angle. Still need cut down the leaf springs so I should somewhere around 35-40 after that.
100_2649.jpg


Ended up moving 2 of the spacers on the other side.
IMG_3510.jpg
 
Why not cut the frame tube in the front down and eliminate some spacers?

Kinda late now, but I would've built more angle into the front shackles by moving the frame holes forward and down some.

Aren't the front and rear shackles going to hit the body mounts at full articulation?
 
Why not cut the frame tube in the front down and eliminate some spacers?

Kinda late now, but I would've built more angle into the front shackles by moving the frame holes forward and down some.

Aren't the front and rear shackles going to hit the body mounts at full articulation?
The front shackles barley touch on full stuff. The rear is fine. Doesn't even come close.

It's hard to explain but the frames on these newer trucks come in a lot right there. If I cut the frame tub down anymore I'll start having problems.

Once I cut the leafs down some and add my winch/bumper the front shackles will have more angle. I'm trying to make this truck LOW.
 
It's hard to explain but the frames on these newer trucks come in a lot right there. If I cut the frame tub down anymore I'll start having problems.

Thats what I figured all the spacers were for.

Looks good! Sad to see the 2nd gen go, I remember when you were building that back in the day on yotatech.

How did you keep those 2nd gen doors so damn strait, mine are destroyed!!!

Ill keep an eye on this thread...
 

Users who are viewing this thread

Back
Top Bottom