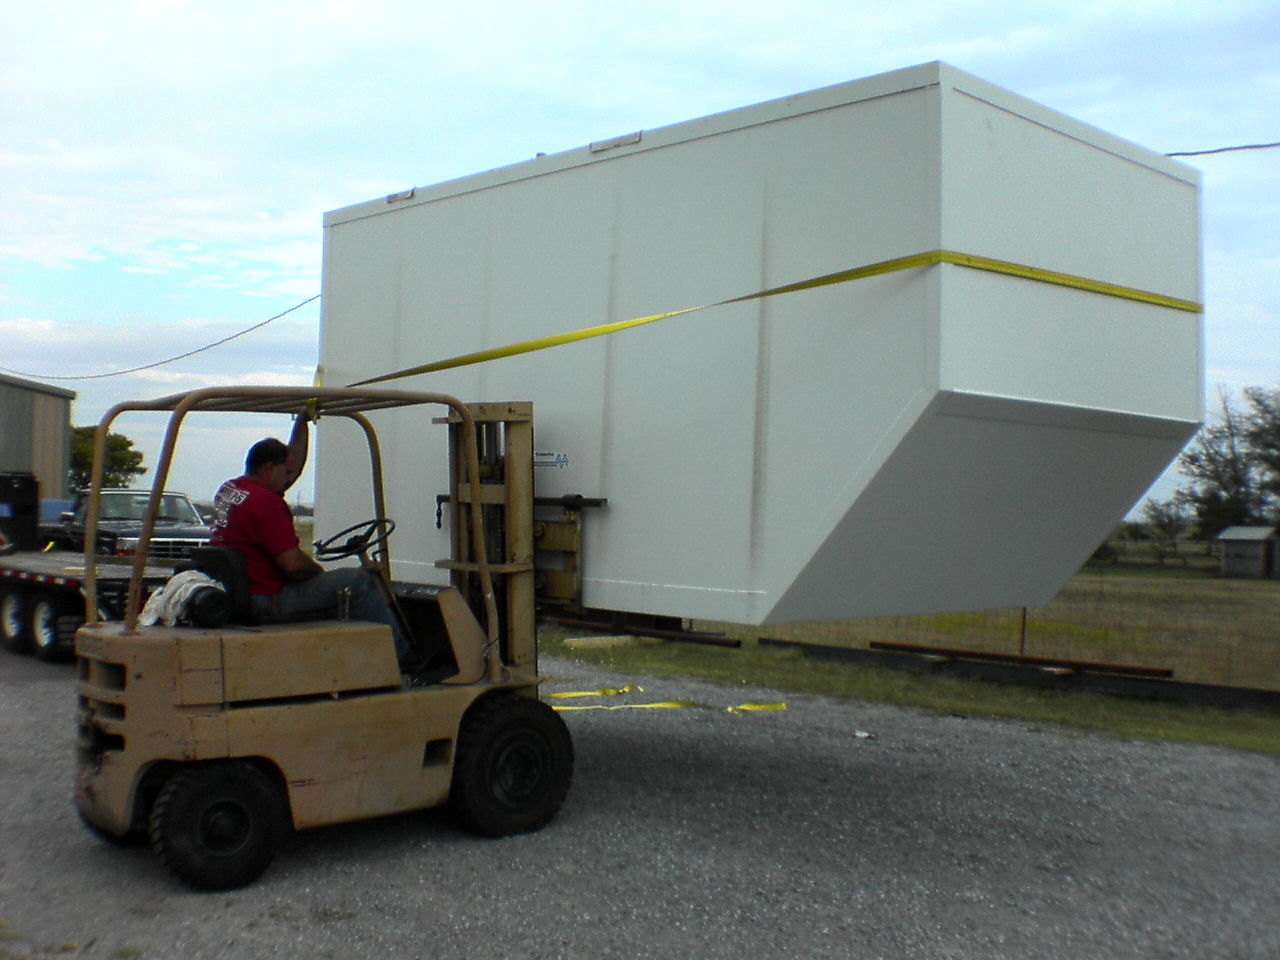
I did lots of research on SIP type panels a few years back, and there are many US makers too. Nothing new here. Did you know with a flat vacuum table you can make your own SIPs using commonly available materials. That way you can use a sturdier aluminum skin exterior and a light easy to clean FRP interior. You can also embed mounting blocks of hardwoods where you will need fastener holding strength, or structural strength for something else like a rack or roof vent. You can even do things like build door and window frames right into the panel. Even the edges of the panels can be made to seamlessly mate with other panels. The biggest issues is you really need to plan ahead, and include those conduits for running electrical, etc. Once the panel is made, it's kinda hard to add wiring without harming it's strength.
This is designed so a plunge router can be used to separate the door from the wall after vacuum bonding of the SIP wall. A void would need to be built into the door frame where the D weather seal is. Once the plunge router is used to cut the inside and outside blocks, the door should be removable. The dark green angles an aluminum angle that is bonded in place, then cut to shape with a quarter round carbide router bit. As that is done, the wood and skin are also rounded off in the same operation. Then an aluminum skin sheet (yellow) is bonded and bent over to provide the moulding. The blue is caulk to seal the gap to keep water out. The light green are aluminum angles. The black is a D moulding, or a bulb moulding with tangent side strip. Note, the aluminum angles will need to be carefully bent at the door corners to follow the curves at the corners. If you use sharp 9 degree corners and protect the wood behind with epoxy resin, you should be able to change the aluminum angles to FRP angles and cut heat conduction.
View attachment 1385930
This is a joint detail for two panels with wood edges, and held together with a glued and keyed joint. No more attachment should be needed. The pink is 2" thick foam insulation like available from most home stores. the wood edges would have to be milled to the thickness of the insulation.
Before gluing to show the panels and key block.
View attachment 1385914
After gluing panels together.
View attachment 1385917
With the added surface are provided by the key piece, and it's placement, the joint has sufficient glue area, and multi directional glue planes so it will hold up to forces trying to break it apart. Water ingress can only happen at the inside corner and outside corner. The inside corner could have a caulk bead ran along it. With a quarter round at the outside corner, bending the aluminum skin around, then overlapping it over the bottom skin water ingress can be eliminated. The wood could also be pretreated with pore filling epoxy resins to be waterproof in that corner. They just need to be compatible with the skin attachment glue.
An alternate corner for more strength against external impacts to it. This was designed for a hard sided popup so there are two wall sets. The one with the rounded outside corner is for the popup top. The aluminum sheet is bent with a 2" radius via a slip roll of sufficient length. the rest of the pieces are common off the shelf parts cut to size. The red blocks are plastic glides, and likely should have a bit of gap for easy sliding. The darker orange are SIP panels. The lighter orange is spray in foam to fill the voids. I think I was planning on using VHB tapes to glue the panels to the angle irons and outer corner. Any automotive body gluing technique could be used.
View attachment 1385923
You could make that outer corner in the above a bit stronger using hat channels to stiffen it up. The hat channels can easily be bent using a metal break.
View attachment 1385924
You may also wish to look at this thread for more ideas.
Travelling Cruisers The cruiser build in it uses an external frame with SIP panels.