M100 Tactical Overlanding Trailer build (1 Viewer)

This site may earn a commission from merchant affiliate
links, including eBay, Amazon, Skimlinks, and others.

Joined
Jan 13, 2012
Threads
4
Messages
42
Location
Southern Arizona
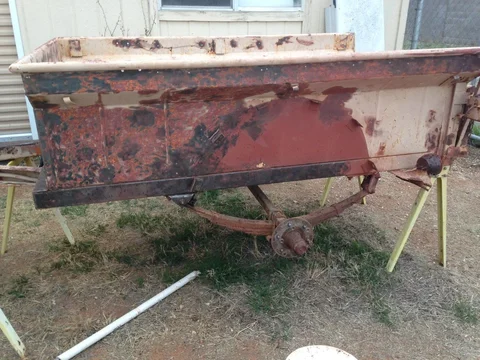
I'm opening a thread for my trailer build on what I think is an M100, but it may be a modified Bantam...
Regardless, I bought this little gem for $250 from a landscaper... it obviously needs some work.
This is day 1:
IMG_1192.JPG
 
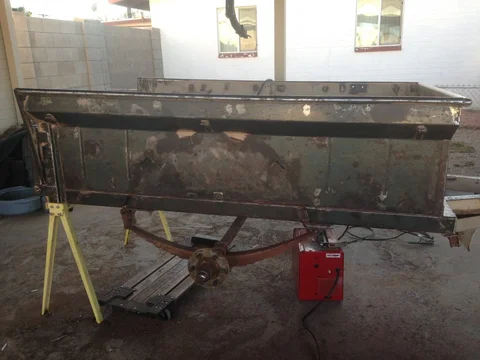
Once we stripped all the crap off it, we knew our two teenage sons had some wire-wheeling to do!
IMG_1199.JPG IMG_1310.JPG IMG_1357.JPG
 
I repacked the bearings, and checked the axle hub size... Whad'Ya Know! The axle's been converted over to 6 x 5.5" already!
IMG_1231.jpg
 
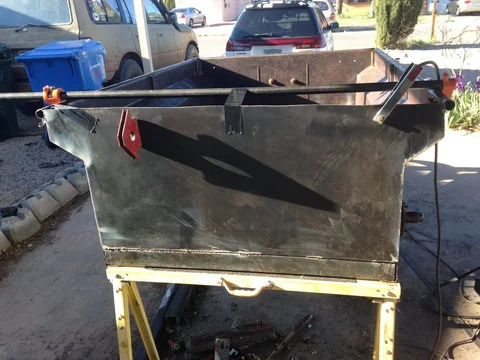
The rough-shod, barnyard tailgate conversion has irked me but full-tub trailers fetch a premium! I decided I would look into grinding, grinding, grinding, and some more grinding to remove the tailgate, hinges, brackets, brake light do-hickeys, and what looks like farm stakes to support it all.
IMG_1365.JPG IMG_1366.jpg IMG_1367.jpg IMG_1370.jpg IMG_1373.jpg
 
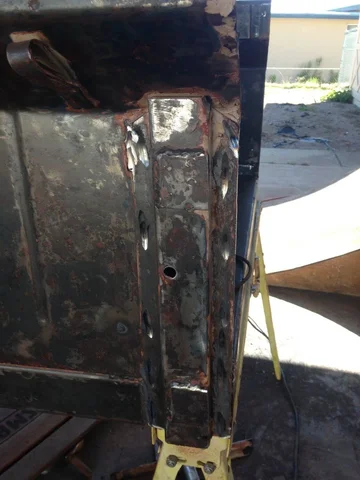
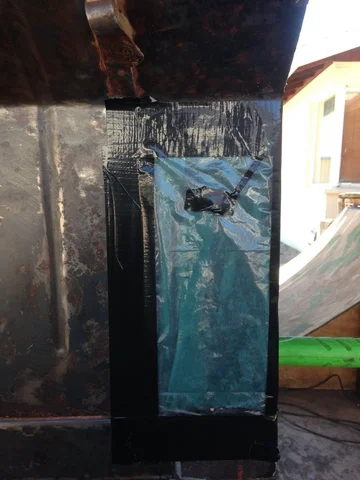
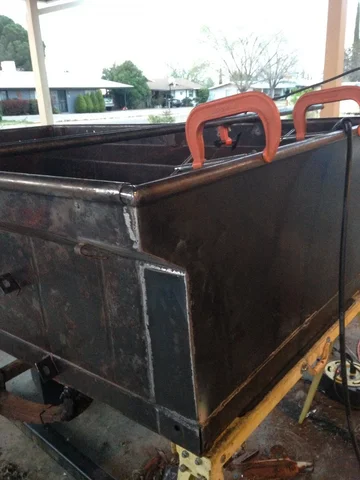
I found uber rust... Using a wire wheel, Evaporust, followed by K-Phos treatment, I welded a 16 ga plate in place of the tailgate and small side plates to provide addition support for the rear of the tub. One step closer to being an amphibious trailer again!
IMG_1379.jpg IMG_1382.jpg IMG_1391.JPG IMG_1402.jpg
 
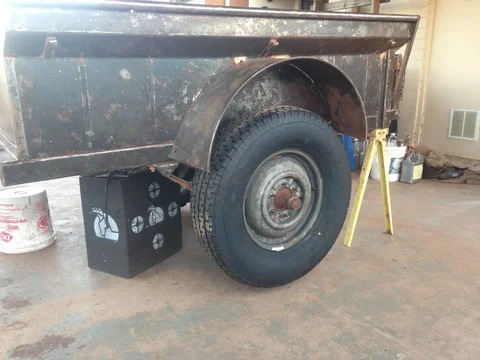
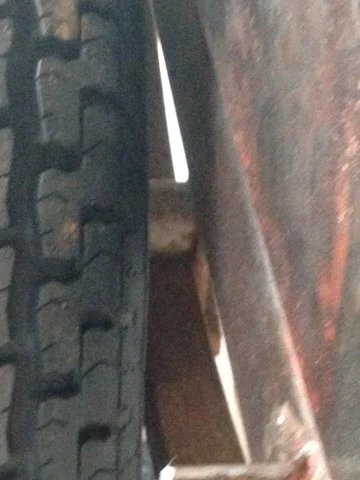
I can't start out with Landcruiser steelies on the trailer because they were all taken to the moon and are being held ransom by Dr. Evil... so I have to start out with the 6" wide 16" steelies the trailer came with... but I did check to make sure it clears my BFG KM2 MT LT255/85R16's
(Yes, my spare wheel on my 80 is probably off a Tacoma, which I'd like to remedy someday, but I have a budget to get me to the Overland Expo in May!)
IMG_1360.JPG IMG_1359.JPG IMG_1363.jpg
 
Looks real good so far. Keep up on the posts. I hope to get a small trailer myself and enjoy reading others journeys.
 
Now that you're all caught up with the build... things I have to consider as I move forward:
  • I'm planning some type of exo-skeleton on the sides to protect the fenders from brush, and give me a place to put goodies for the trail. I'm thinking I want to include a 9" section of Class III 2.5" .25" wall square tubing mounted directly to the frame... I can use them to hold a table or legs at the rear corners.
  • Tail light brackets... pretty much anything store-bought won't survive my kids driving off-road, so I think I'm going to fabricate something from steel.
  • The Class III tongue and the Class III at the very back of the trailer. I want Class III on both ends, so I'm going to cut 2" square holes for a .25" wall 2" square tubing... run it the entire length of the trailer and reinforce it using plates and bolt/weld and then weld 2.5" hitches at either end. I'm looking at about 12' of it from the chopyard, plus the length of the 2.5" bringing OAL to about 13 feet. Any trail restrictions on that length of trailer that anyone knows about?
  • I'm comparing the TSC 3-axis coupler to the Max Coupler in cost and on-the-road-use (legal stuff), or just going old-school with a pintle hook and eyelet loop.
  • Hardtop/tarp/rack/rooftop tent are all additional considerations down the road after me find me pot of gold...
 
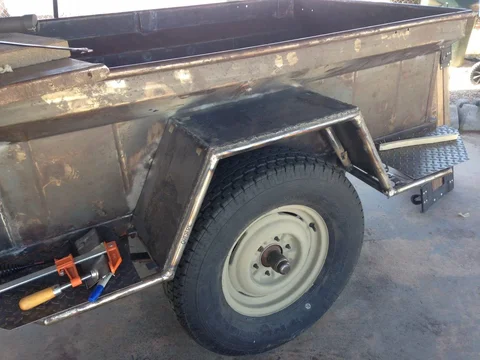
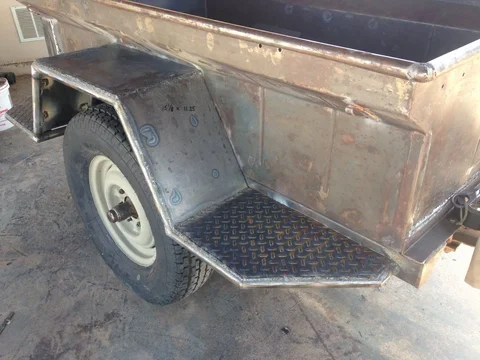
Exoskeleton/sliders/fenders/steps have begun! I'm using 1.25" .125" wall round tubing sourced from Home Depot scrapped steps!
CCae6feUEAAbq1f.jpg
CCWC7O6WMAAEVQC.jpg
CCer58kUsAAf5yv.jpg
 
Nice score on the trailer. She's cleaning up nicely!
 
So I finished the left side of the trailer... these will function as sliders, fenders, and steps.
I've begun planning the rear signals and back-up lights, as well as the rear side markers. IMG_1527.JPG
IMG_1533.JPG IMG_1535.JPG IMG_1542.JPG IMG_1544.JPG
 
Also, I wanted a second back-up light, so I'm figuring out how to run a second set at an oblique to help light up the ground on either side of the trailer, as well as what's behind it.

IMG_1517.JPG
 
I'm still trying to figure out how to run a 7-pin setup with the 80... Mainly so I can have backup lights, but also so I can use the power to trickle-charge the battery I plan on putting in the tongue box.

I'm wired for 4-pin but haven't had any luck finding a 7-pin harness for the 80, so if anyone has any suggestions, that would be awesome.
 
IMG_1553.JPG
IMG_1555.JPG
IMG_1556.JPG
IMG_1557.JPG

I found drilling out the welds on the fender tabs was a very effective means for removal!
 
I finished the Exo-skeleton on the right side today:
IMG_1561.JPG
IMG_1565.JPG
IMG_1570.JPG
IMG_1574.JPG

The diamond plate is already cut, I just need to cut the plates for the fender and weld them on.
Someone mentioned I should put the OEM fenders up for sale, so I'm going to look into that... it seems they would be expensive to ship though.
 
I finished the exoskeleton today... both sides have sliders, fenders and steps installed...
IMG_1576.JPG IMG_1581.JPG IMG_1584.JPG IMG_1585.JPG IMG_1586.JPG
I've seen a noticeable improvement on my welds and my ability to regulate the power and wire speed based on the thickness.
 
Since I'm on a time schedule with the Overland Expo in Flagstaff, I'm trying to get trailer tagged and inspected... which brings me to the light boxes...
I'm building two boxes to house the tail lights, backup lights, and rear side markers, as well as two boxes to house the oblique backup lights and front side markers.
IMG_1595.JPG IMG_1600.JPG IMG_1601.JPG IMG_1602.JPG IMG_1607.JPG
 
Tomorrow I will be attempting a hole saw first, but if not, it'll be back to the cut-off wheel and grinder!
IMG_1610.JPG
 
Okay, the light brackets are done and mounted.
IMG_1659.JPG


I have the bottom under-coated and wired.
IMG_1692.JPG


The outside is painted to match the 80... Spray bedliner and flat tan.
IMG_1705.JPG


Hooked up and ready to roll to the title agency... all that's left is the roll-in bedliner on the inside and the diamond plate tread.
IMG_1715.JPG


Thursday we'll be headed to the Overland Expo in Flagstaff. I have a lot more plans for it afterwards!
 
IMG_1495.JPG

Oh yeah.... love the sticker :)
 

Users who are viewing this thread

Back
Top Bottom