Builds Fugly's Yota (1 Viewer)

This site may earn a commission from merchant affiliate
links, including eBay, Amazon, Skimlinks, and others.

Linkage well underway........

4A0EFE1C-8BED-412B-A52E-70145C69644B.jpeg


5AA9DA2A-3D54-4F11-A27F-128698F53D9F.jpeg
 
P.S. - does anyone want the SM465 / AA Adapeter / 3 Speed with manual shift in the background? PM me, if you’re local I’ll hook you up.
 
If I hadn’t just picked up a H41 I’d be all over that 465.
 
Little more progress.

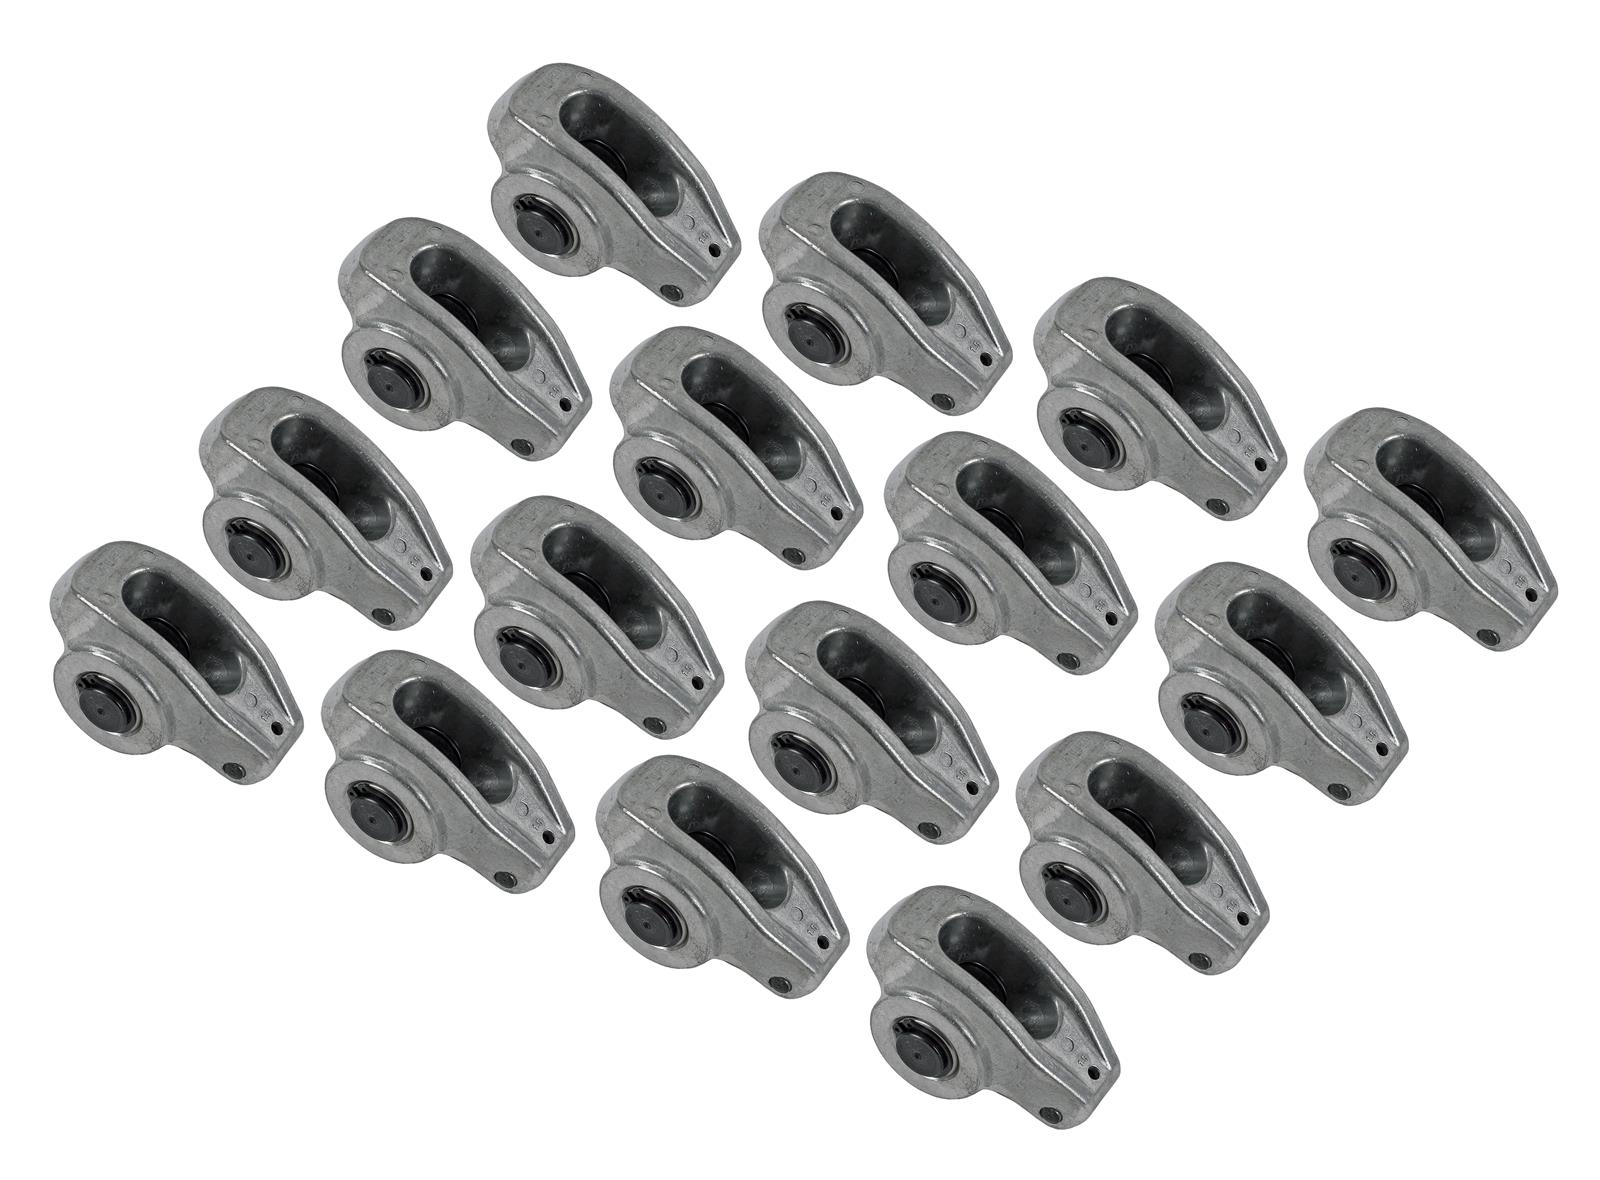
Engine is home and ready for assembly. Started on the brakes and fender flares. Smittybilt TJ flares that will get a little modified for more opening and the longer wheelbase. Engine will get shortblock assembles in the basement and then final done in the garage.

D1CA7B3D-5131-4706-B2DC-843C3096F536.jpeg


223A1F2B-0053-4161-B511-7DA5618569FA.jpeg


EBD3249A-CC5C-4D7C-BA68-2922A4D33F49.jpeg


0D8C2D11-F5AA-41E7-B219-C9D4F9FC8554.jpeg


487256A8-FBDB-4C7F-B885-1CDCE2FC7014.jpeg
 
Got the rear fenders done. There’s an inner sleeve and an outer section for the tube, and I had some 14 ga flat material which is a little thinner than the 12 ga or 1/8 flat thats factory. But with a little welding and grinding it blends pretty well. The hammered texture paint that i’ll patch it with should hide the rest. I could have done more welding and grinding, but I am not the best body guy and the whole truck is a 40-footer anyway :)

E34BE6E9-549E-4FD3-B3A0-78DF1406FA7E.jpeg


827E02C5-B85B-4B6E-8AA1-9A7952872419.jpeg


BCC67648-7926-4107-8392-E0950B5C0287.jpeg
 
Started putting the front sheetmetal back on to mock everything up before painting. And the stuff needed to come out of the shed, because the patio furniture needed to go in for the winter :)

Started mocking the winch up, have had it in the box for over a year and never opened it. Should fit fine, just need some mounts.

So next dilemma. The front axle is waaayyy forward from stock. I knew i’d need to do some kind of sheetmetal work to get the front tires to clear under compression, so part of sheetmetal on was to start figuring that out. I’ve looked at a bunch of front fender mods on pirate and here, most of them raise the front fenders but also push them forward a little. With what i’ve done the rig is pretty low, and even with 37’s I think uptravel won’t be a problem. Except for the front turn down, which is now about centered on the tire. So I started playing with some painters tape to see what cutting the turn down would do. It’s a little hard to see but i’d cut below the bottom of the black electrical tape.


I think I like it, it’s the easy way out and so much less work than taking the fenders apart, drilling out spot welds, rebuilding the inner fenders, etc. If it dosen’’t work, I’ll do something different later. Maybe tube front fenders, but no budget for that now. I’m no purist (obviously!) and am not above cutting perfectly good stock sheetmetal. What do you all think, does it work?

318C1429-230C-4AC0-8F11-689F59AB6A05.jpeg


7F3E8F81-93AF-4BC5-8504-D6C15118A253.jpeg


772A3AEA-53C1-4882-944A-A3675FFC155D.jpeg


AF0029B4-C0BD-4F82-B324-786CF53945CB.jpeg


AB03ED81-2787-46AB-84A9-E523DA6DE2E3.jpeg
 
Winch mount done, that’s C3 channel which is like 3/16+ thick, and the front & mid crossmembers it’s welded to are 1/4 tube.

Front fenders also shaved, need touch up paint but overall I think it came out pretty good. Rear flares also done. There’s lots of room there, but remember I’m building for 37’s eventually and those are 33’s there now. Looking at it more, with no motor in the front, and without all that much weight going in the back It’s sitting pretty high in the rear. I may take a leaf out in the back and add one in the front to lower the back and even it out. Will wait to get the motor in and real weight put back on it. I want it to sit even with a decent trail load in there, tools, spares, kids, etc.

B7DA872B-2227-4A0E-934B-9B2B202C3B88.jpeg


1EB52898-87C4-4A89-8B2D-4D6F86CBB079.jpeg


320A8550-BEBE-4C39-95C4-FEDDB41A32E8.jpeg


48540C57-90F5-4E75-9B26-C068D34B89A6.jpeg


9F2737BB-E57C-4EA3-AE48-638B1DC09543.jpeg
 
So here’s a question. I need to order rockers, motor came with stock style but I’d like to go full roller to take advantage of less friction, more longevity and performance. Can I run a roller rocker with poly locks on a stock style, 3/8” press in stud? This is kinda what I was thinking since the entire valve trim is Comp:


Cam is a Complete extreme 4x4 262H grind, moderate lift. I got the full kit with matched lifters, springs, etc. Heads are stock -262 cleaned up iron double humps with new calves, springs, etc. Stock guides for the pushrods. Pics of head and cam card attached. Done a lot of reading, but very conflicting info. I may call Comps tech line, but also looking for any experience here.

More information: this engine will never see 6000 rpm or more, rev limiter will be set at no more than 5800 and mostly will be below 5000 just driving around. I’m not so worried about pushing out the studs (or should I be?) as I am the rockers fitting and functioning properly.

31FF000B-DB52-4BE3-8624-CCD724355B7C.jpeg


561B1764-717B-4C7B-B9DE-53B8358E0DC1.jpeg
 
Last edited:
Really nice build, you came up with some unique solutions for your suspension. I used the ruff stuff outriggers for my front springs as well, they are a nice piece.
 
Thanks, hopefully the suspension works as well as I’d like. I’m sure it will need some tuning but overall i’m happy I went with it.

Outriggers were clutch for the wider axles. Ruff Stuff makes some good .......... stuff :)
 
Well the basement is about finished and it was time to get the motor up into the garage to finish. I have a few sticks of 1.5” 1/8” wall tubing, so how abut a people powered hoist? Weld on some tabs for the chain, screw in a few head studs and walk up the stairs. Problem solved!

D00F94B4-9A08-409A-8255-87F79F8C37BE.jpeg


824786DC-950C-491E-955F-DCB2BF6DF061.jpeg


644238FA-132E-4848-972C-48D33506B33B.jpeg
 
Picked away at the top end install this weekend. Heads installed, valve train installed and initial lash set. Filled it with oil and got 60 psi with the drill and priming tool. Any more speed on the drill and it makes a mess withe the valve covers off. Oil comes out of all the pushrods to feed the rockers, no leaks that I’ve seen so far. Time to button up the intake, install the flywheel and clutch, and park it in the Cruiser.

A4511D19-2864-4F64-AEB8-5E8DD621B70A.jpeg


D2B0377C-5A67-4253-A998-4B9A1B6A709A.jpeg
 
Progress. Engine about buttoned up and ready to come off the stand.

Pulled the rest out into the driveway to clean off under the gas tank, repainted with bed liner, back into the garage. Ready to install the drivetrain

57EBF4FA-0AA2-41A7-91EF-9034217FBD62.jpeg


10685E08-EC1A-45CD-A0F9-C0EF3A5BC65F.jpeg


49A7884A-9BF7-4AAE-AF21-10EA10A600A6.jpeg


F7E15CB7-E092-496F-B7CE-6A18B40A9A81.jpeg


DFD07339-2C2D-43CD-A03A-E228E5DA7520.jpeg
 

Users who are viewing this thread

Back
Top Bottom