
I've wanted to post a bit of information and a little bit about what I think of these arms since they're new to the market, and also now that I've got ~1000 miles or so on them.
Rear Lower Control Arms

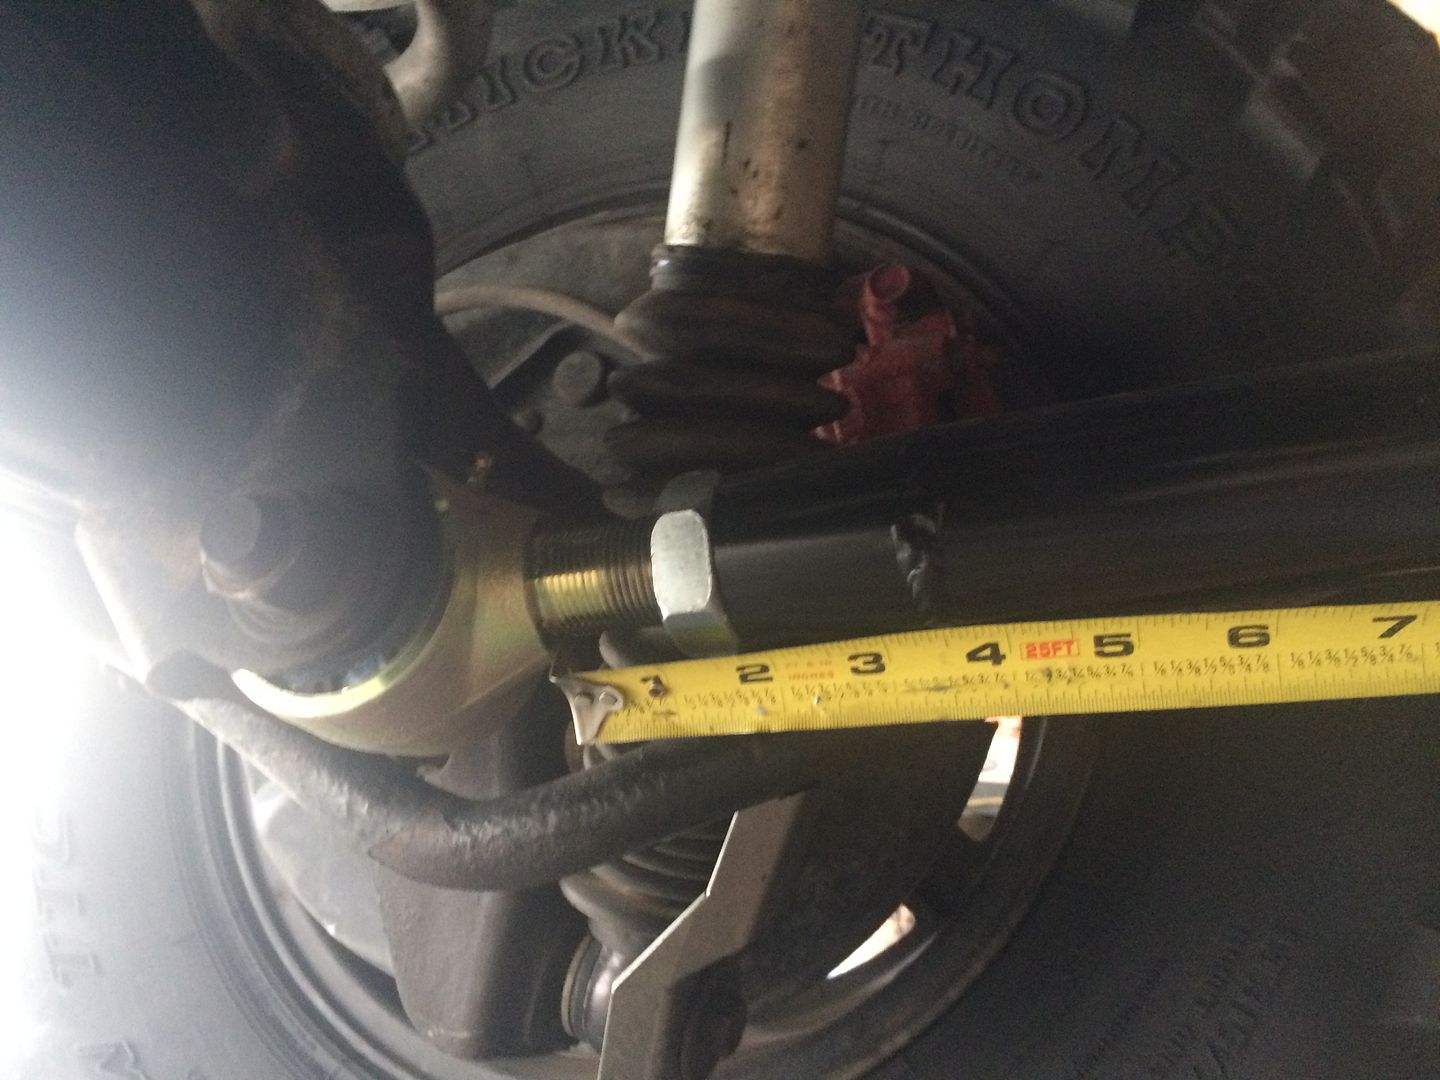
For anyone that doesn't know, @reevesci released these recently and they use a HD Currie Johnny Joint at one end with a beefy 1" shank (3" long), and sleeved poly bushings at the other end. They can be adjusted for length by threading the Joints either farther in or out and then "setting" them with the jam nut. Both the joint and the poly end have grease zerks and are both fully rebuildable.
The arms themselves are made of heavy wall 1.75" DOM. That's a nice upgrade from the OEM control arms that are prone to bending when they get dragged over rocks. I don't worry at all about thrashing these on the rocks at Cruise Moab and elsewhere this spring, not something I could have said with my factory arms.
I got a full set of upper and lower arms. For me I was looking forward to these because I've always had a bit of driveline vibration from the rear driveline. Its a common issue with lifted trucks since the t-case and pinion flanges are no longer parallel after installing a lift. I have a DC front driveshaft and could have gone the same route with the rear, but upgrading the factory control arms was a good idea for strength. And it just made sense to use adjustable arms that could correct pinion angle and get the flanges parallel again. The second benefit is that you can make these slightly longer than the factory arms to relocate the axle and get it re-centered in the wheel wells since when an 80 is lifted the axle is moved forward at static ride height. So if you have issues with your tires rubbing the front of the rear wheel wells (very common with 37's as well as some 35's) these arms can give you a bit more room back and eliminate or reduce any tire rub.
Ok, enough description. How do I think they work? So far they've been excellent. They're quiet; not that I expected them to be noisy but with more moving parts than the factory arms there's potential for a bit of noise. Haven't noticed any.
The installation was simple. I should know since Jason sent me the first prototype set that were a little too short for me to be comfortable with (left too much threaded shank on the JJ exposed).
I chatted with Jason about it and he quickly sent me replacements that added just over an inch of length to the arms. (The production arms are this new length.) So I installed them twice for that, but also installed them with the JJ's at the axle side, then at the frame side. So the arms were in and out of the truck no less than 4 times. After the first time, it was roughly an hour job to do it again. No big deal.
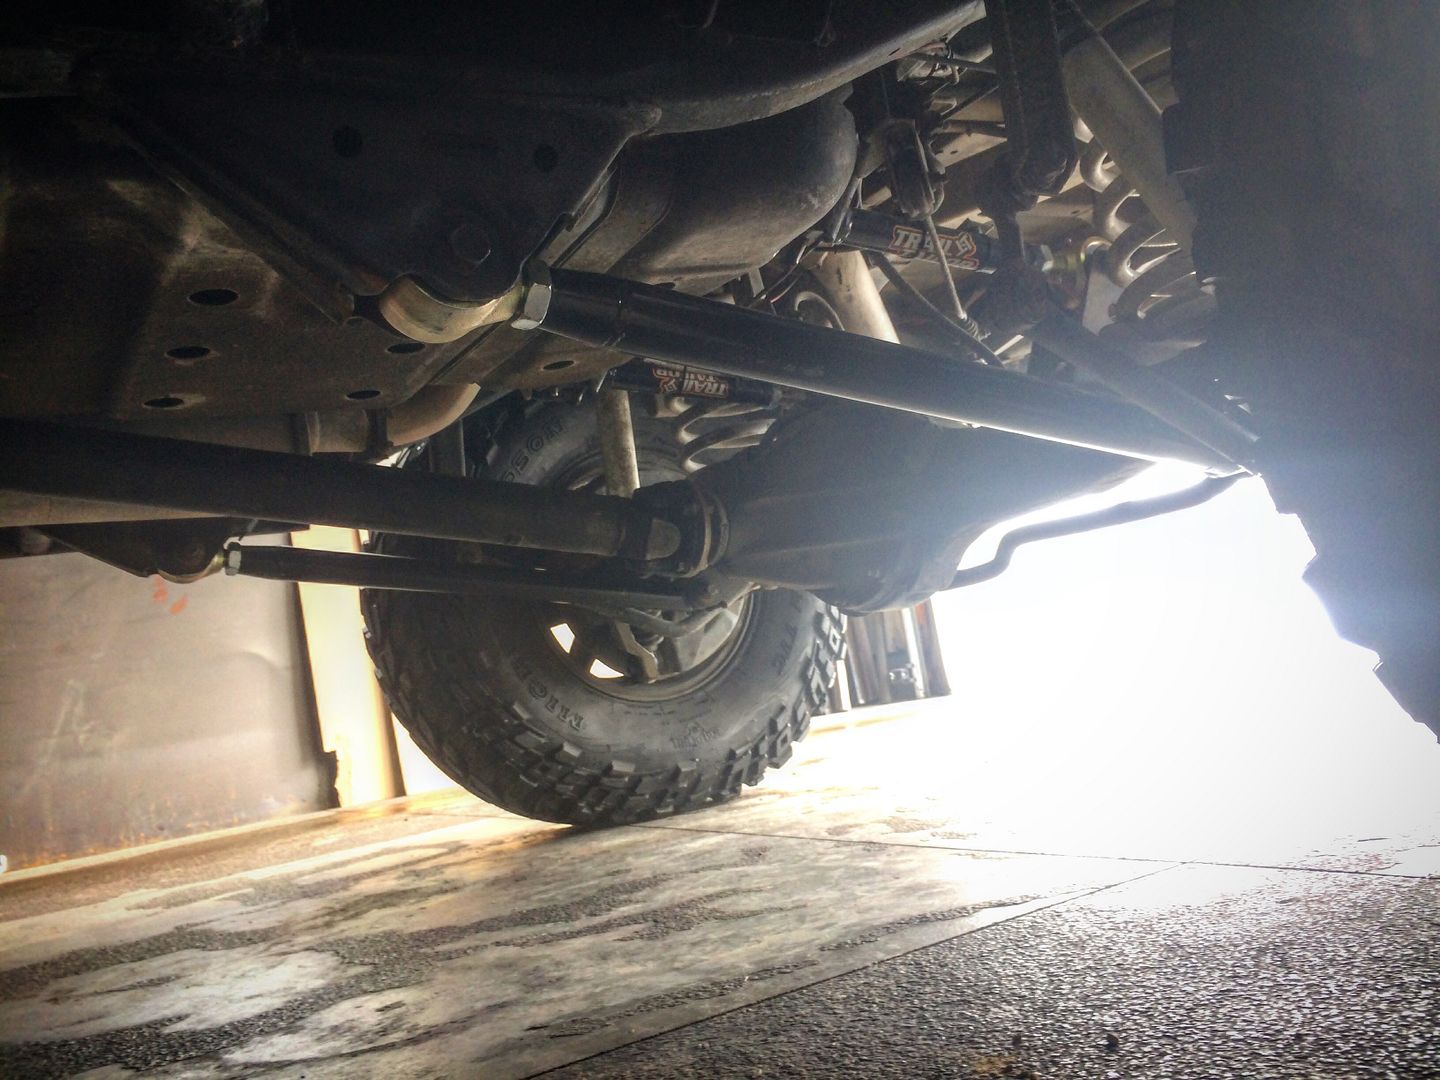
NOTE: in the above photo the JJ is at the axle end. Final installation has the JJ at the frame end (as Jason recommends). You can also see the difference in how much of the Joint threads are exposed between the above photo and the one below with the new longer arms.
Quality is great and welds look good. Jason has an excellent reputation for his fabwork and the quality was what I would expect from him.
It was pretty simple to correct the pinion angle. You could do this with just lower arms, or with just the upper arms. On lifted 80s it normally means shortening the upper arms, or adding somewhere in the ballpark of 3/8"-1" of length to the lowers depending on the lift. Since I had both uppers and lowers I started by setting the upper to match the length of the factory uppers and took care of the adjustment with the lowers since I also wanted to axle to move backward a bit. It just made sense to make the lowers a little longer than the factory lowers. I didn't do anything scientific, I just got them where I thought they were close than put an angle finder on the pinion flange and t-case flange. It took a few minor adjustments to get the length correct and make the flanges parallel, then locked them in with the jam nuts.
After the installation I noticed an immediate change with no more driveshaft vibrations. Success!
However, it did expose that one of my ujoints needed to be replaced. So that was good too and I got that swapped out. Rear Driveshaft is nice and smooth and quiet now.
I have several hundred road miles with the arms and a few hundred dirt miles now too. A mod like this is one of those where you know it's right when you don't notice anything and the truck just feels like it should. That's how these arms feel. Nice and solid with no weird road manners.
I've been able to flex the rear suspension a bit and I can already tell that I've gained a bit of travel because of the Johnny Joints allowing more movement before binding than the factory arms. I don't have any hard science behind the flex gains yet but I plan to update this thread with some new pics to show how they work in that regard.
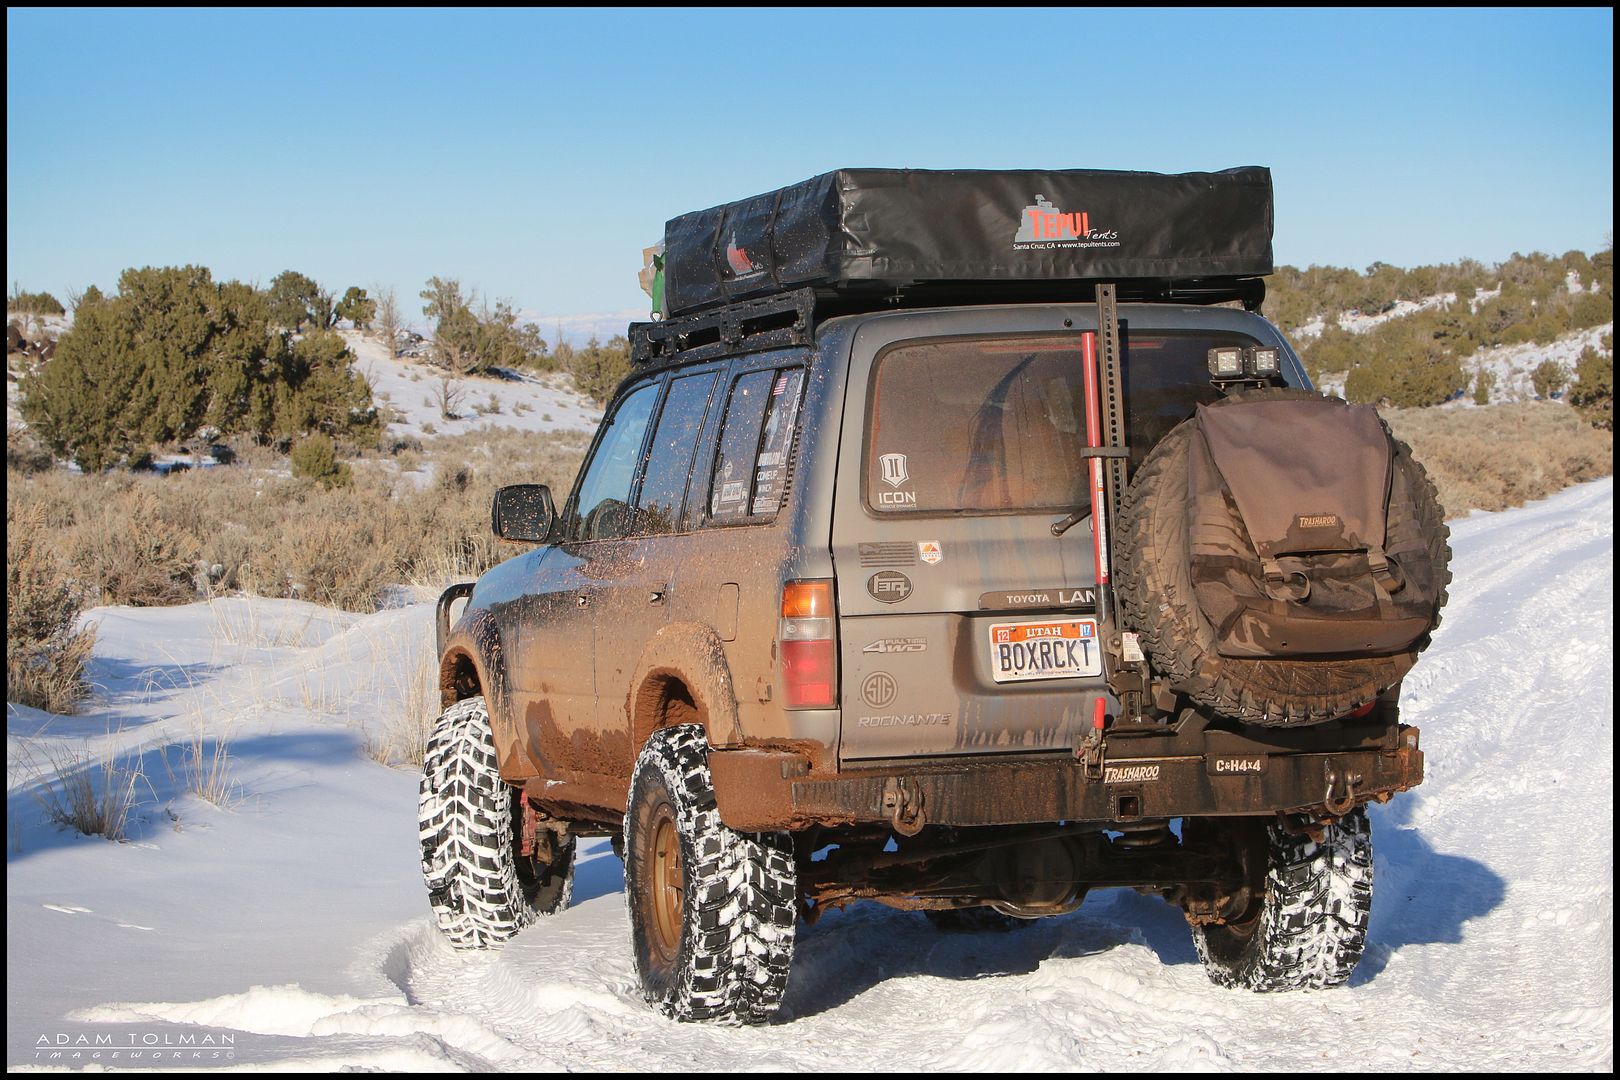
I spent 4 days on the trails this past weekend but between keeping a fast pace and it being very muddy I didn't get any pics of the arms in action. Sorry, I just didn't want to lie in the mud to get the photos. But I promise I'll get some soon that show some flex.
In conclusion, I'm really happy with these and I think Jason has another quality item available to 80/100 owners looking to upgrade their factory arms and who need a solution for pinion angle and axle location. Increased flex is just a bonus.
Rear Lower Control Arms

For anyone that doesn't know, @reevesci released these recently and they use a HD Currie Johnny Joint at one end with a beefy 1" shank (3" long), and sleeved poly bushings at the other end. They can be adjusted for length by threading the Joints either farther in or out and then "setting" them with the jam nut. Both the joint and the poly end have grease zerks and are both fully rebuildable.
The arms themselves are made of heavy wall 1.75" DOM. That's a nice upgrade from the OEM control arms that are prone to bending when they get dragged over rocks. I don't worry at all about thrashing these on the rocks at Cruise Moab and elsewhere this spring, not something I could have said with my factory arms.
I got a full set of upper and lower arms. For me I was looking forward to these because I've always had a bit of driveline vibration from the rear driveline. Its a common issue with lifted trucks since the t-case and pinion flanges are no longer parallel after installing a lift. I have a DC front driveshaft and could have gone the same route with the rear, but upgrading the factory control arms was a good idea for strength. And it just made sense to use adjustable arms that could correct pinion angle and get the flanges parallel again. The second benefit is that you can make these slightly longer than the factory arms to relocate the axle and get it re-centered in the wheel wells since when an 80 is lifted the axle is moved forward at static ride height. So if you have issues with your tires rubbing the front of the rear wheel wells (very common with 37's as well as some 35's) these arms can give you a bit more room back and eliminate or reduce any tire rub.
Ok, enough description. How do I think they work? So far they've been excellent. They're quiet; not that I expected them to be noisy but with more moving parts than the factory arms there's potential for a bit of noise. Haven't noticed any.
The installation was simple. I should know since Jason sent me the first prototype set that were a little too short for me to be comfortable with (left too much threaded shank on the JJ exposed).

I chatted with Jason about it and he quickly sent me replacements that added just over an inch of length to the arms. (The production arms are this new length.) So I installed them twice for that, but also installed them with the JJ's at the axle side, then at the frame side. So the arms were in and out of the truck no less than 4 times. After the first time, it was roughly an hour job to do it again. No big deal.
NOTE: in the above photo the JJ is at the axle end. Final installation has the JJ at the frame end (as Jason recommends). You can also see the difference in how much of the Joint threads are exposed between the above photo and the one below with the new longer arms.

Quality is great and welds look good. Jason has an excellent reputation for his fabwork and the quality was what I would expect from him.
It was pretty simple to correct the pinion angle. You could do this with just lower arms, or with just the upper arms. On lifted 80s it normally means shortening the upper arms, or adding somewhere in the ballpark of 3/8"-1" of length to the lowers depending on the lift. Since I had both uppers and lowers I started by setting the upper to match the length of the factory uppers and took care of the adjustment with the lowers since I also wanted to axle to move backward a bit. It just made sense to make the lowers a little longer than the factory lowers. I didn't do anything scientific, I just got them where I thought they were close than put an angle finder on the pinion flange and t-case flange. It took a few minor adjustments to get the length correct and make the flanges parallel, then locked them in with the jam nuts.
After the installation I noticed an immediate change with no more driveshaft vibrations. Success!
However, it did expose that one of my ujoints needed to be replaced. So that was good too and I got that swapped out. Rear Driveshaft is nice and smooth and quiet now.
I have several hundred road miles with the arms and a few hundred dirt miles now too. A mod like this is one of those where you know it's right when you don't notice anything and the truck just feels like it should. That's how these arms feel. Nice and solid with no weird road manners.
I've been able to flex the rear suspension a bit and I can already tell that I've gained a bit of travel because of the Johnny Joints allowing more movement before binding than the factory arms. I don't have any hard science behind the flex gains yet but I plan to update this thread with some new pics to show how they work in that regard.
I spent 4 days on the trails this past weekend but between keeping a fast pace and it being very muddy I didn't get any pics of the arms in action. Sorry, I just didn't want to lie in the mud to get the photos.
But I promise I'll get some soon that show some flex.
In conclusion, I'm really happy with these and I think Jason has another quality item available to 80/100 owners looking to upgrade their factory arms and who need a solution for pinion angle and axle location. Increased flex is just a bonus.

")