- Thread starter
- #121
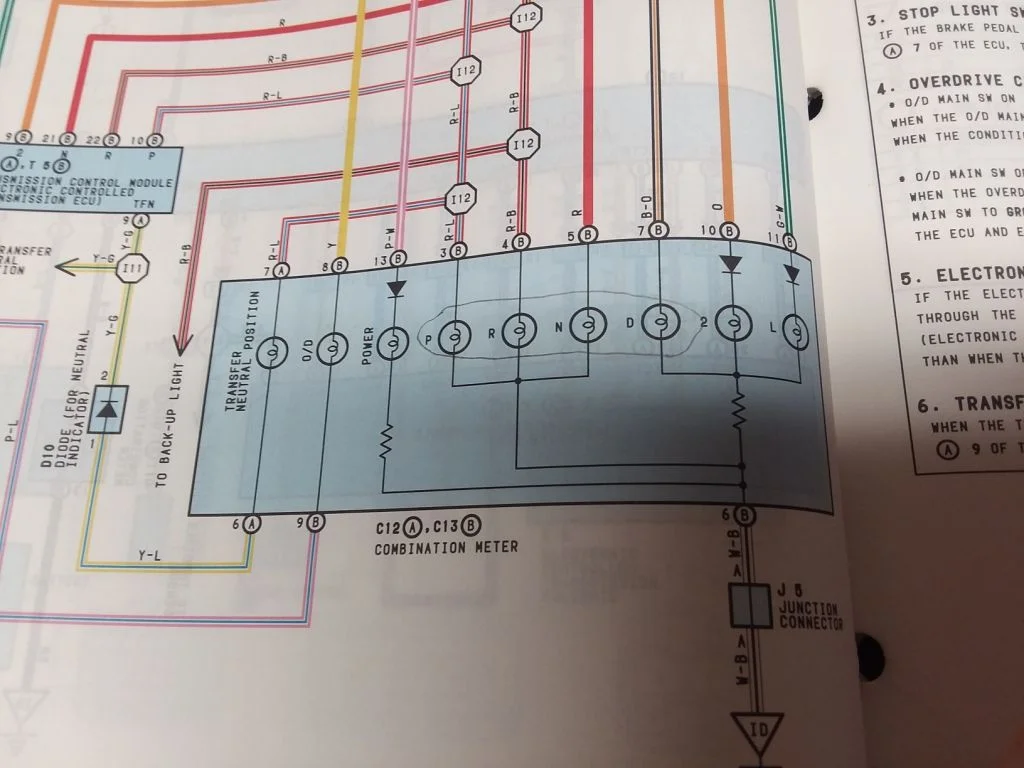
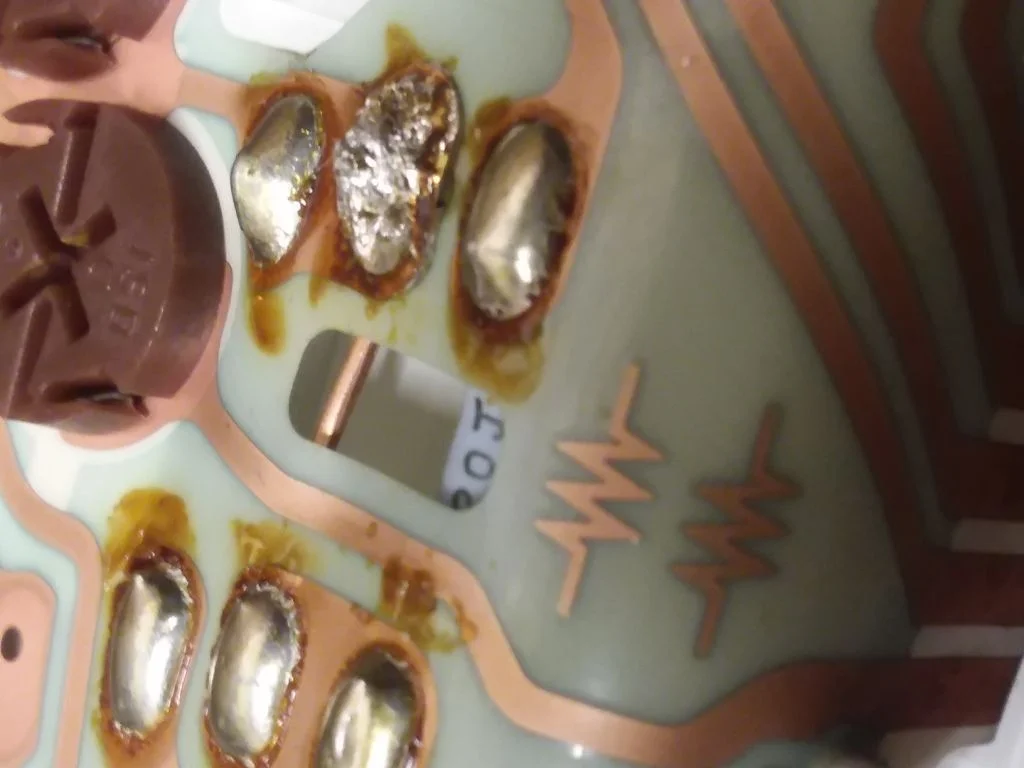
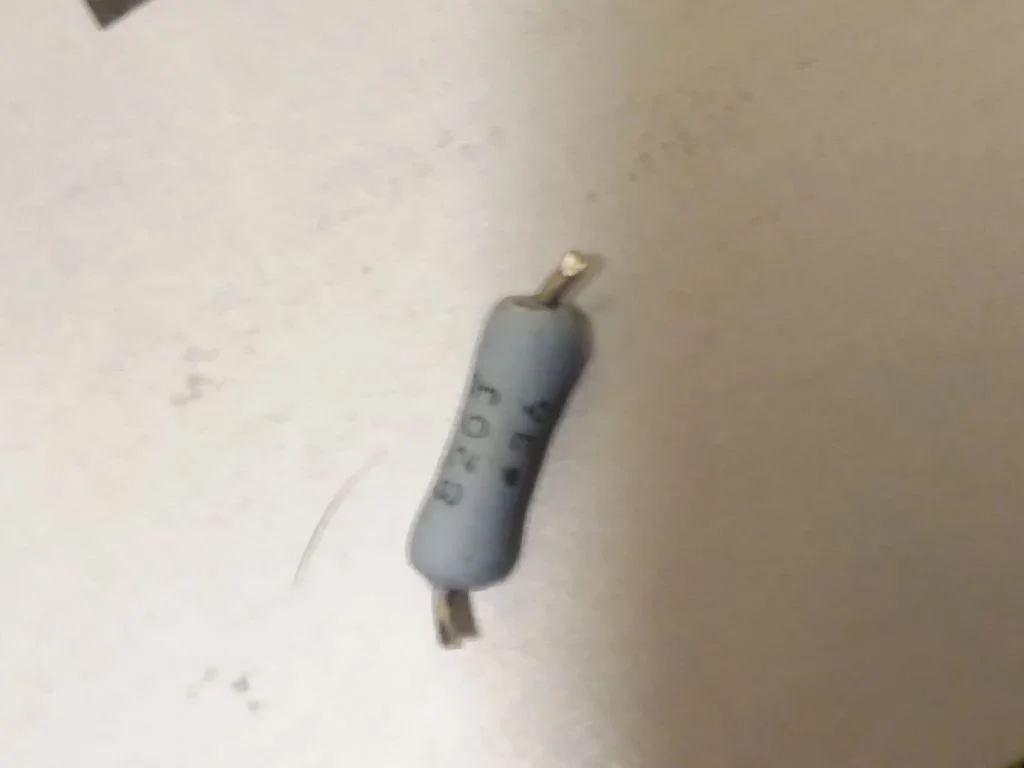
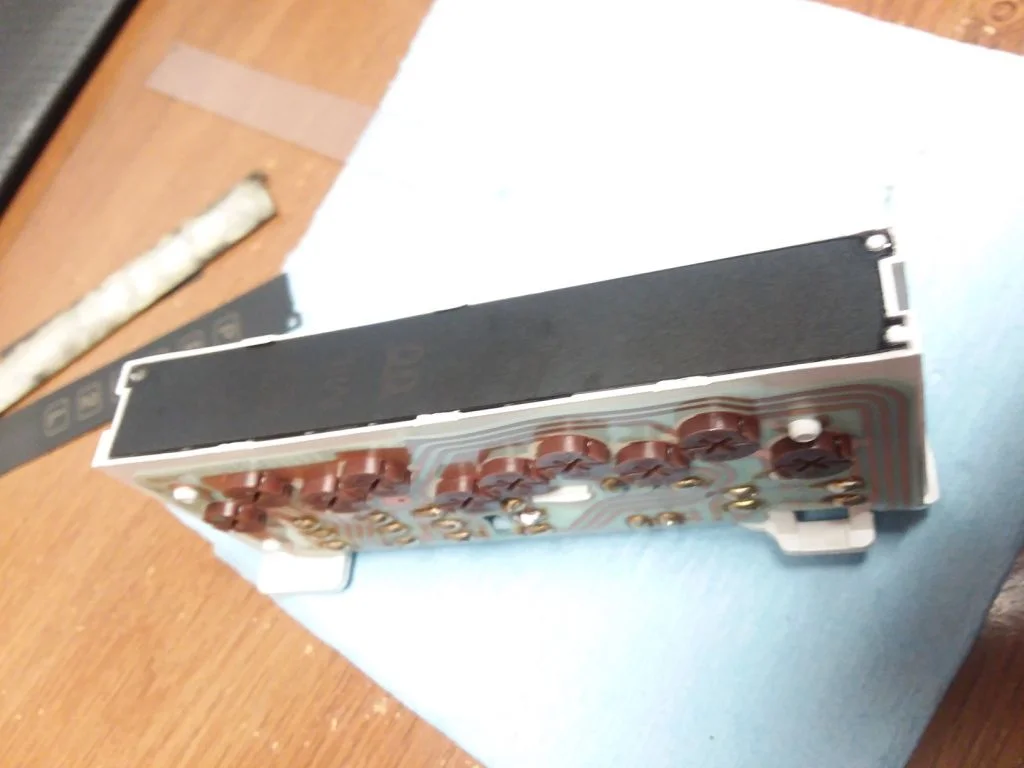
I have got a small electrical problem, perhaps someone has delt with this before. I am going to use the PRNDL display for the Cummins R2.8 warning lights. I have the 4 required lights using the Park, Neutral, Drive, 2 spots. The problem is that there is a resistor in series with the light bulb that illuminates the "D". This will make the fourth warning light dimmer than the first three.
See this diagram
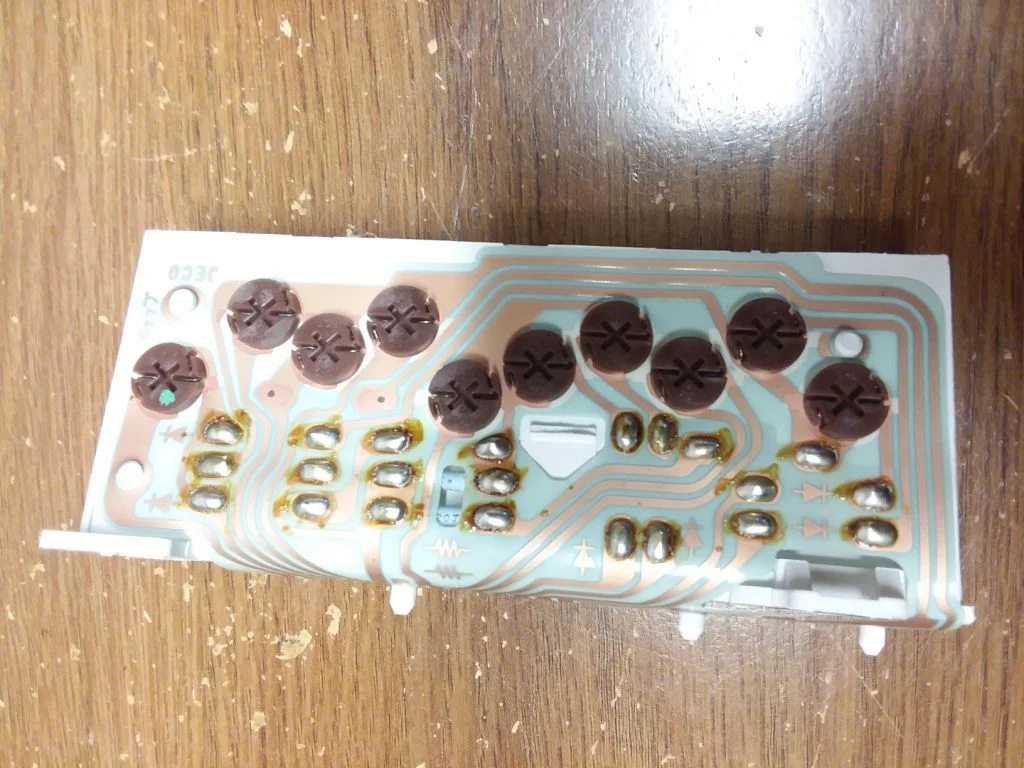
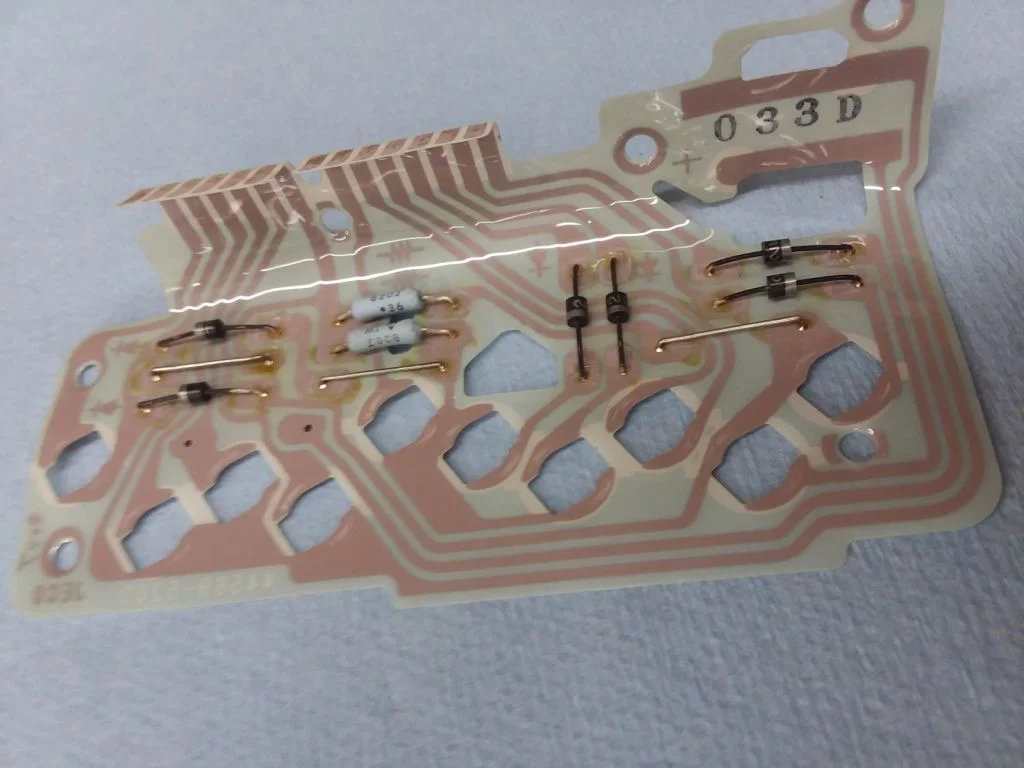
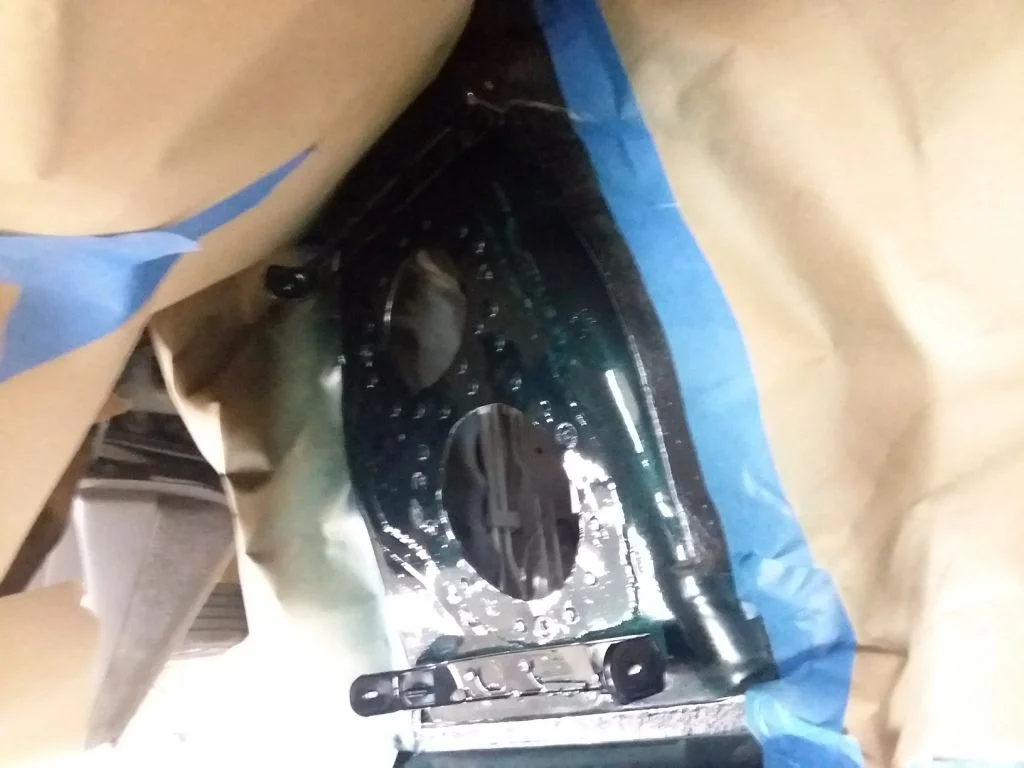
The PRNDL assembly has one of those flexible circuit board things, I suppose with enough care it could be removed. Has anyone ever done surgery on one of these things before?
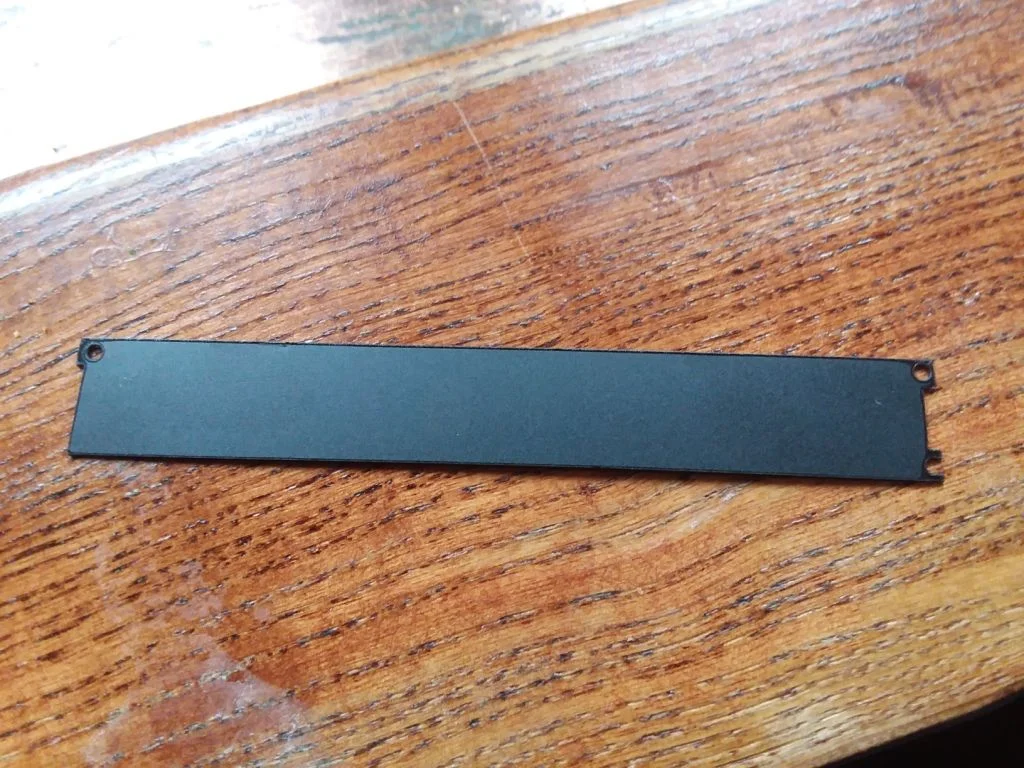
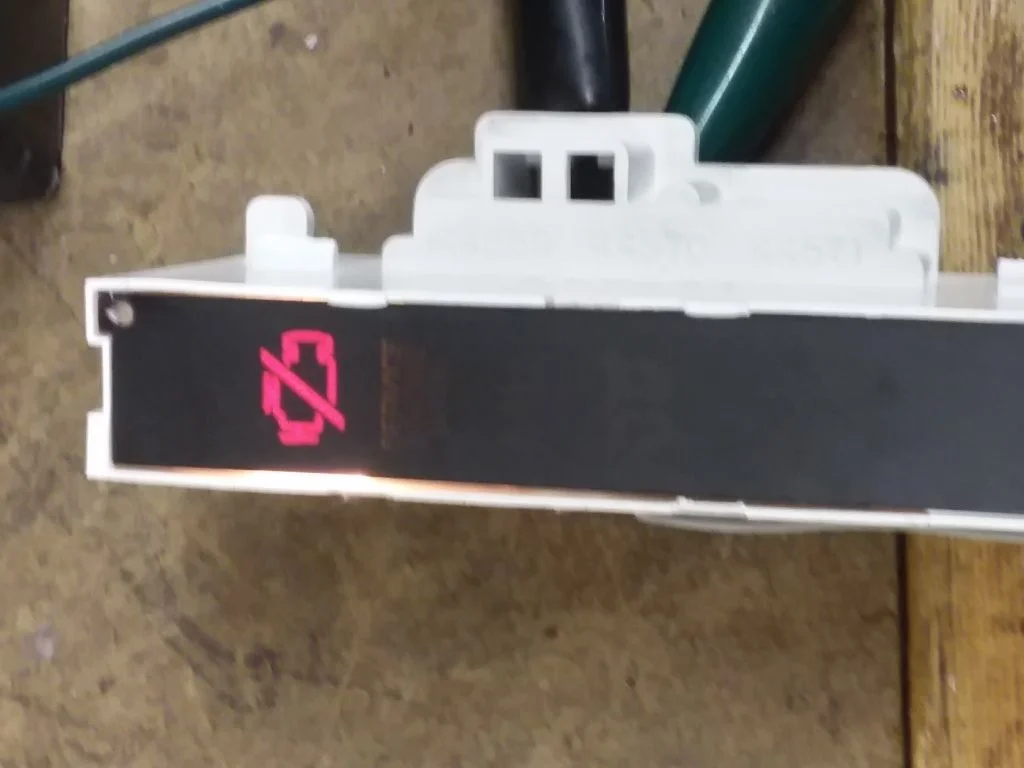
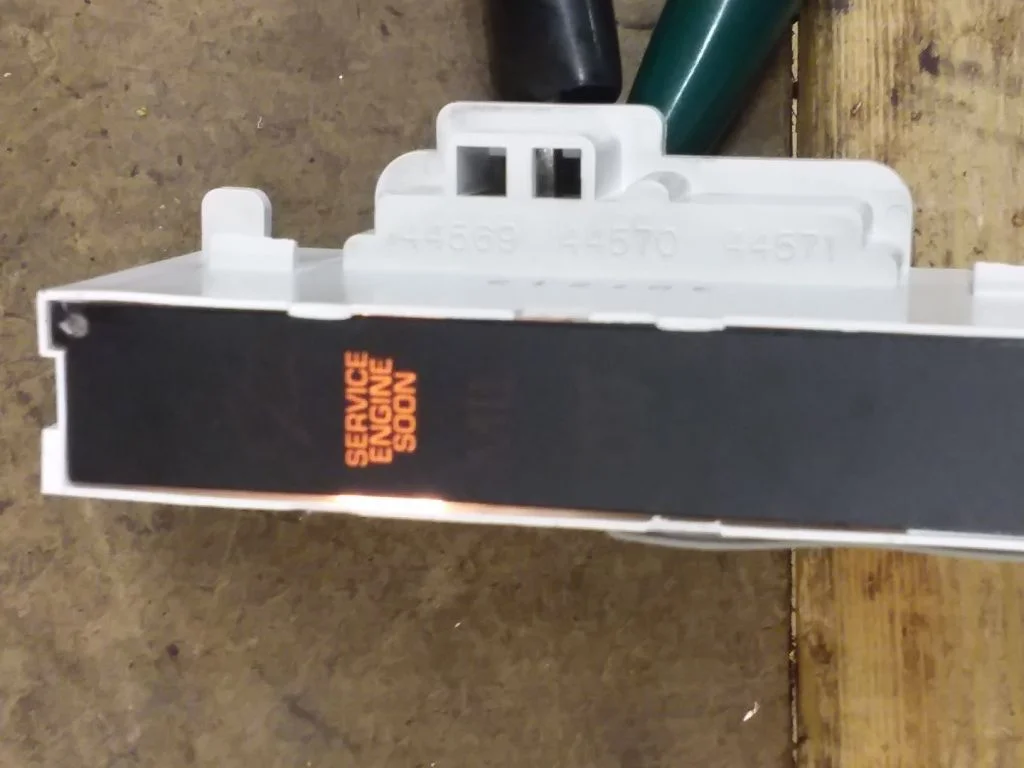
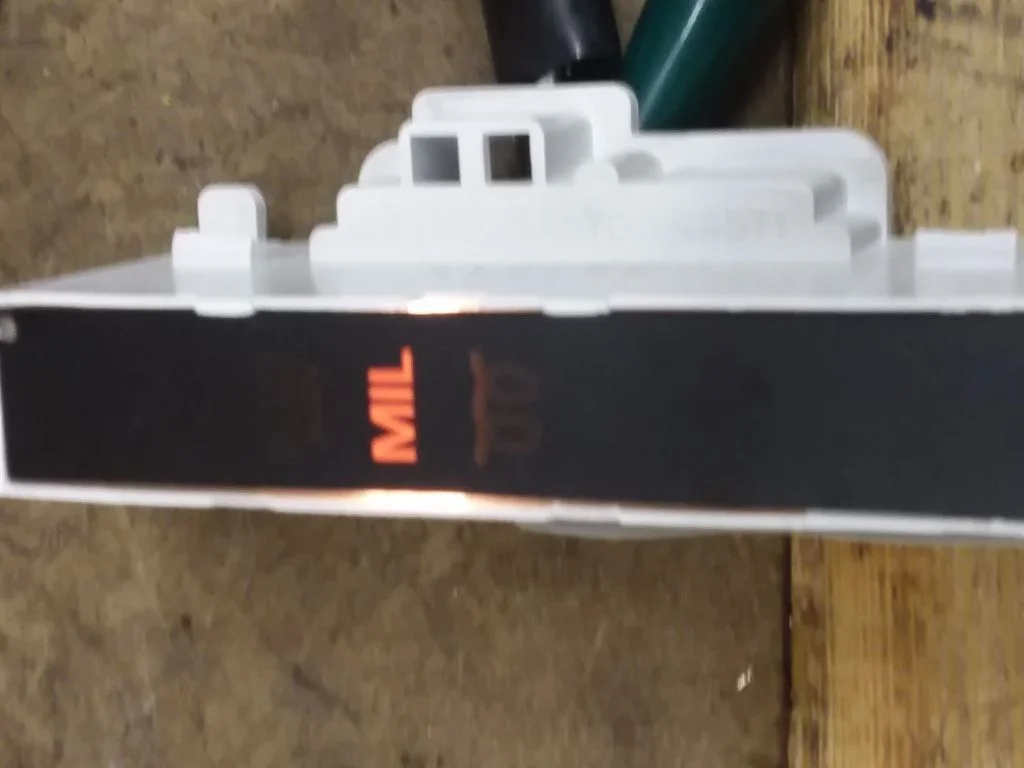
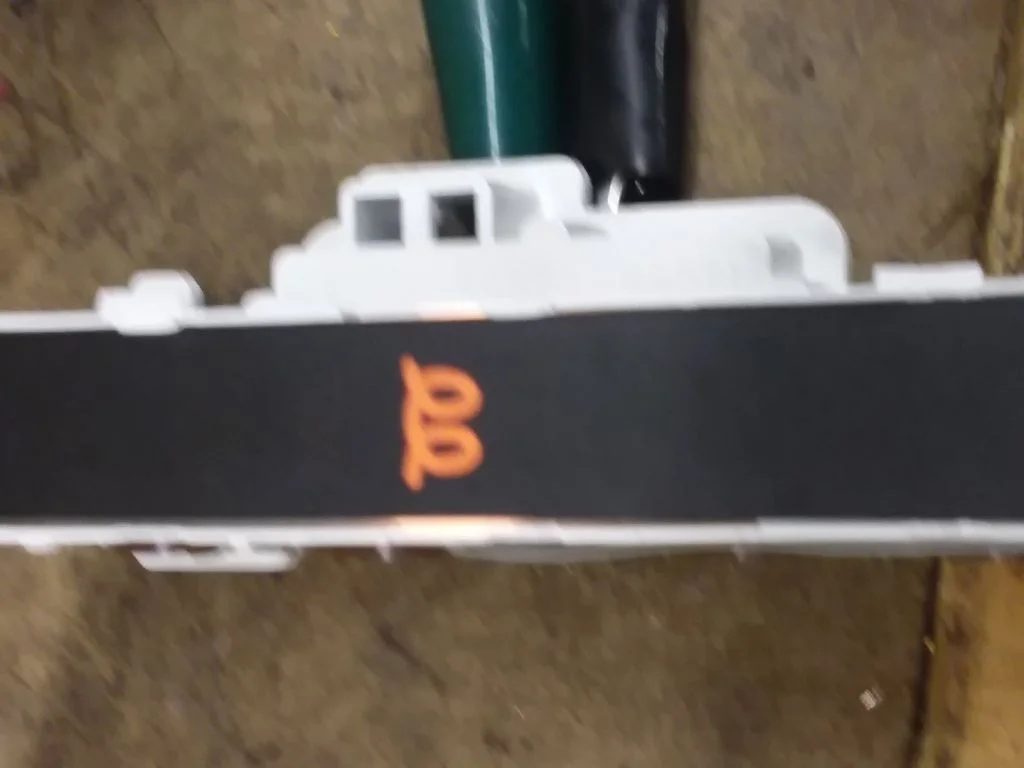
In the intrest of making this swap look as professional as possible I went to New Vintage USA in Detroit for a custom gauge face plate, this will plug right into the factory PRNDL display. It has black face, so you will not really be able to see the symbols unless they are in direct sunlight, this is different from the OEM Toyota PRNDL display.
With light behind
Without
On a side note, I dont suppose anyone has the older style shifter boot from post #119? It seems I messed up and got consoul parts for the new style dash.
See this diagram
The PRNDL assembly has one of those flexible circuit board things, I suppose with enough care it could be removed. Has anyone ever done surgery on one of these things before?
In the intrest of making this swap look as professional as possible I went to New Vintage USA in Detroit for a custom gauge face plate, this will plug right into the factory PRNDL display. It has black face, so you will not really be able to see the symbols unless they are in direct sunlight, this is different from the OEM Toyota PRNDL display.
With light behind

Without
On a side note, I dont suppose anyone has the older style shifter boot from post #119? It seems I messed up and got consoul parts for the new style dash.


")