

Build Work In Progress aka: Badass

Member Builds and Stories

This site may earn a commission from merchant affiliate
links, including eBay, Amazon, Skimlinks, and others.

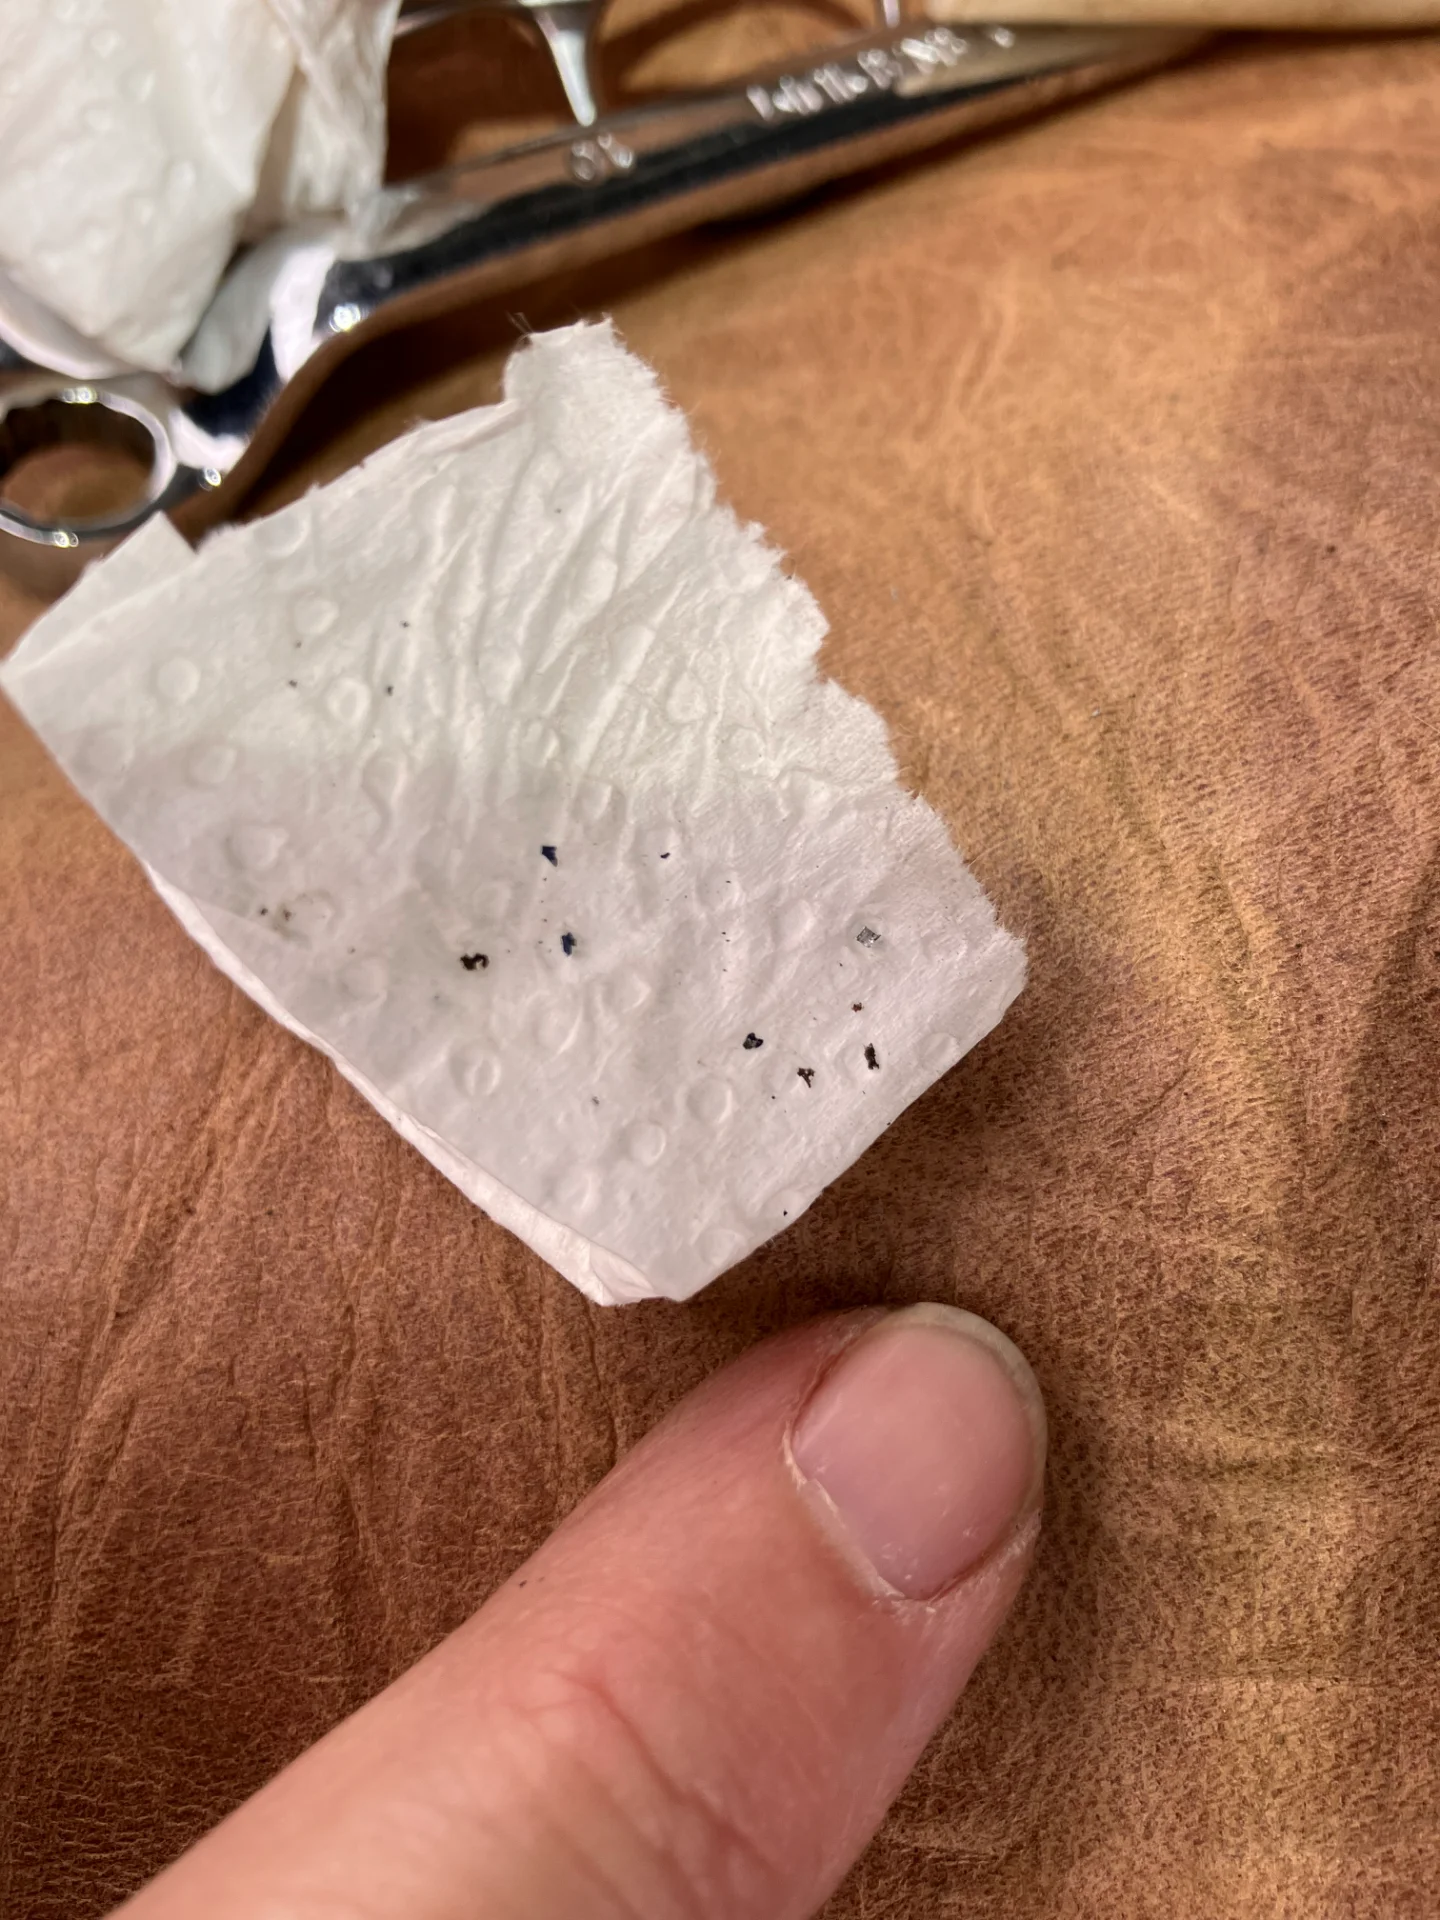
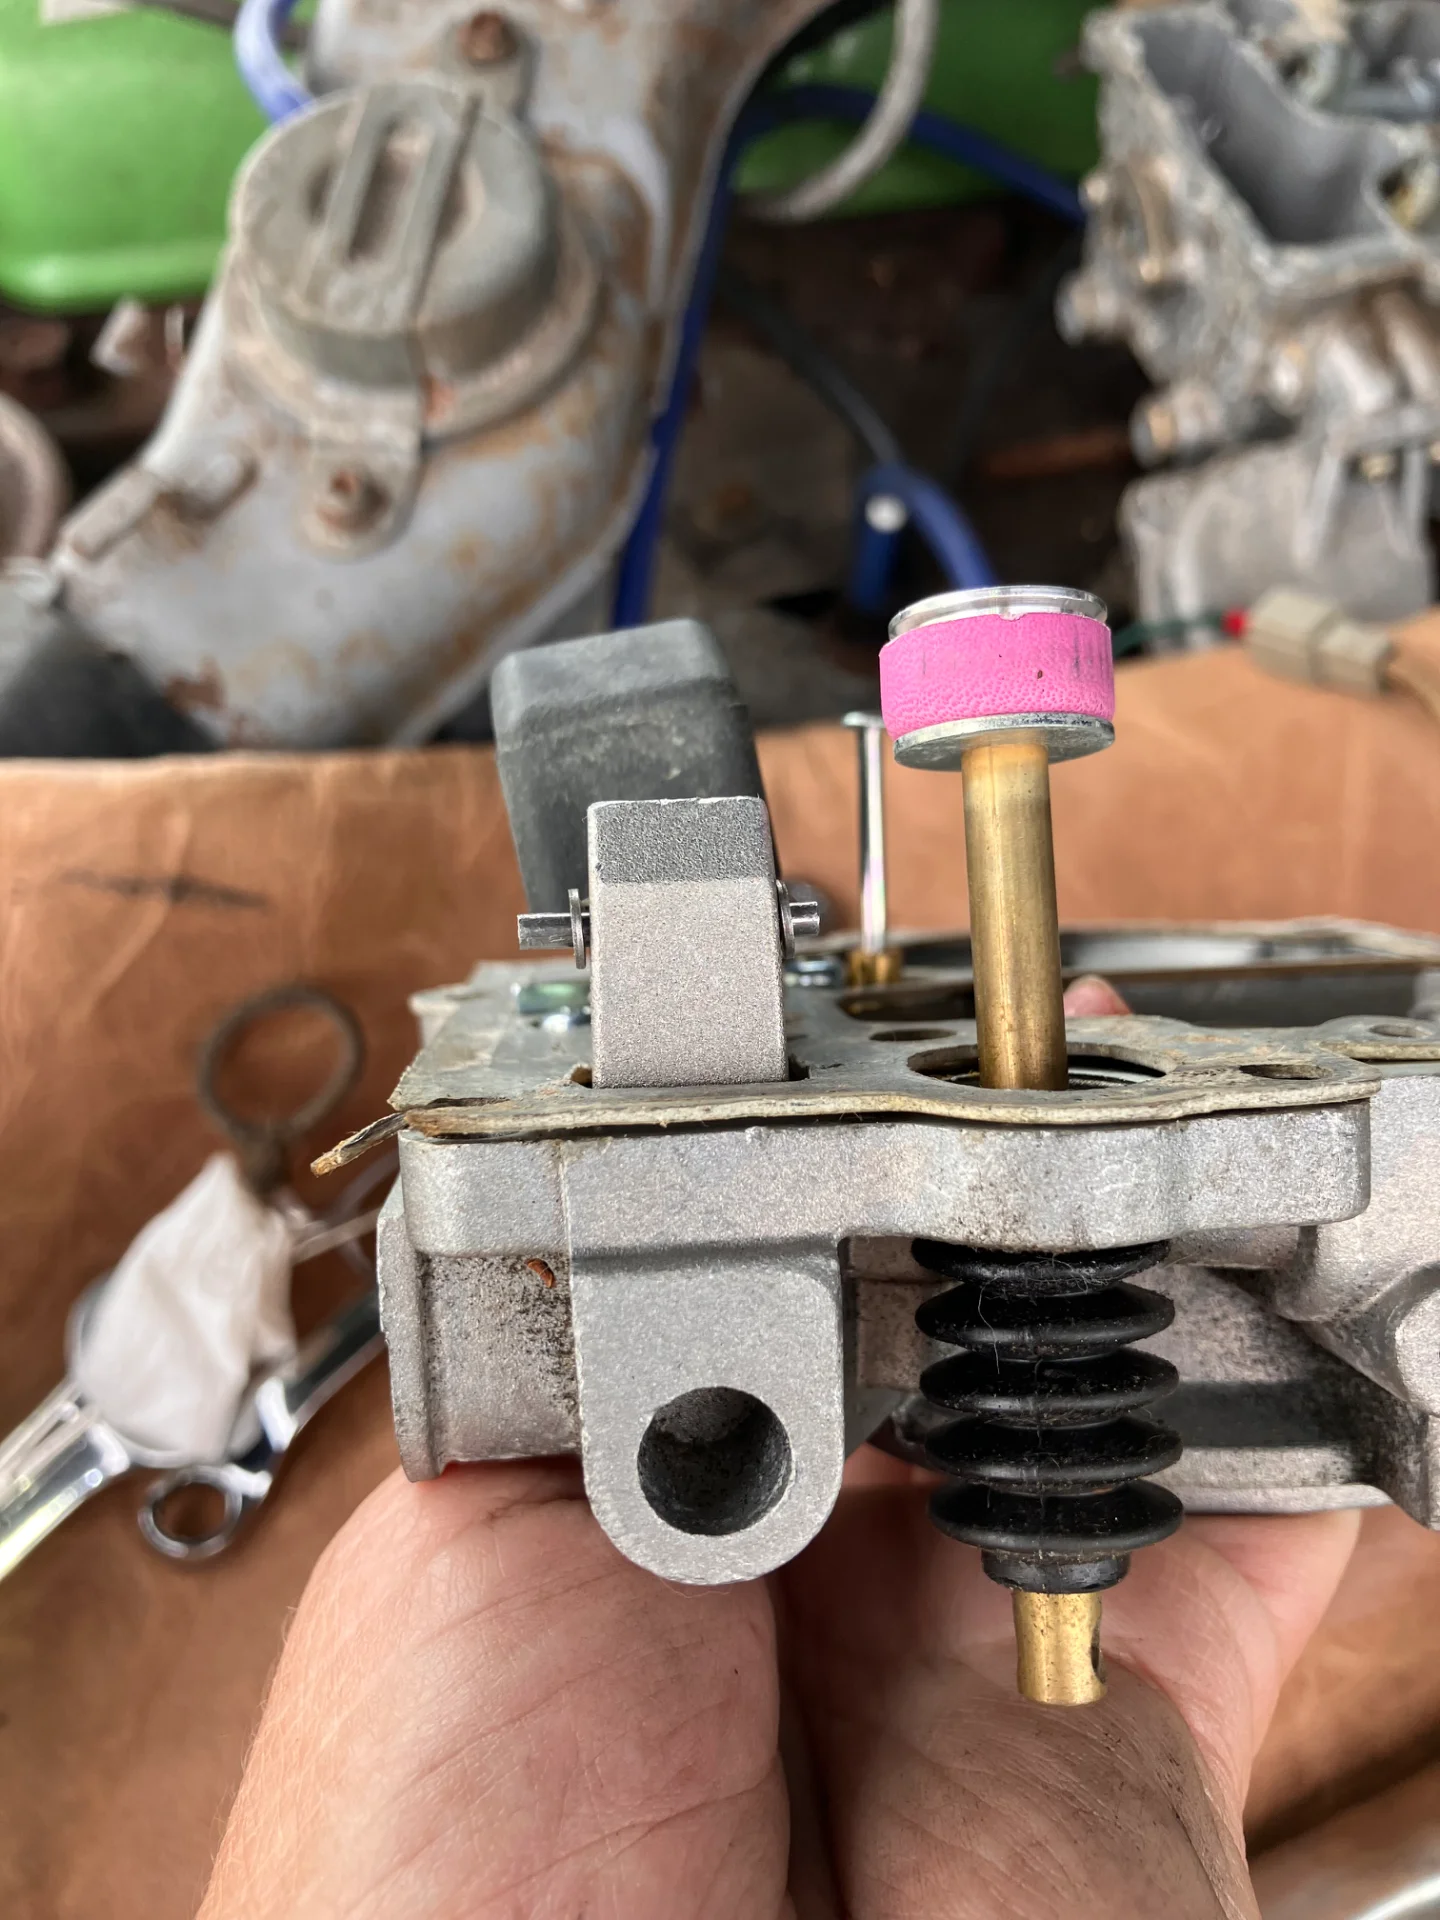
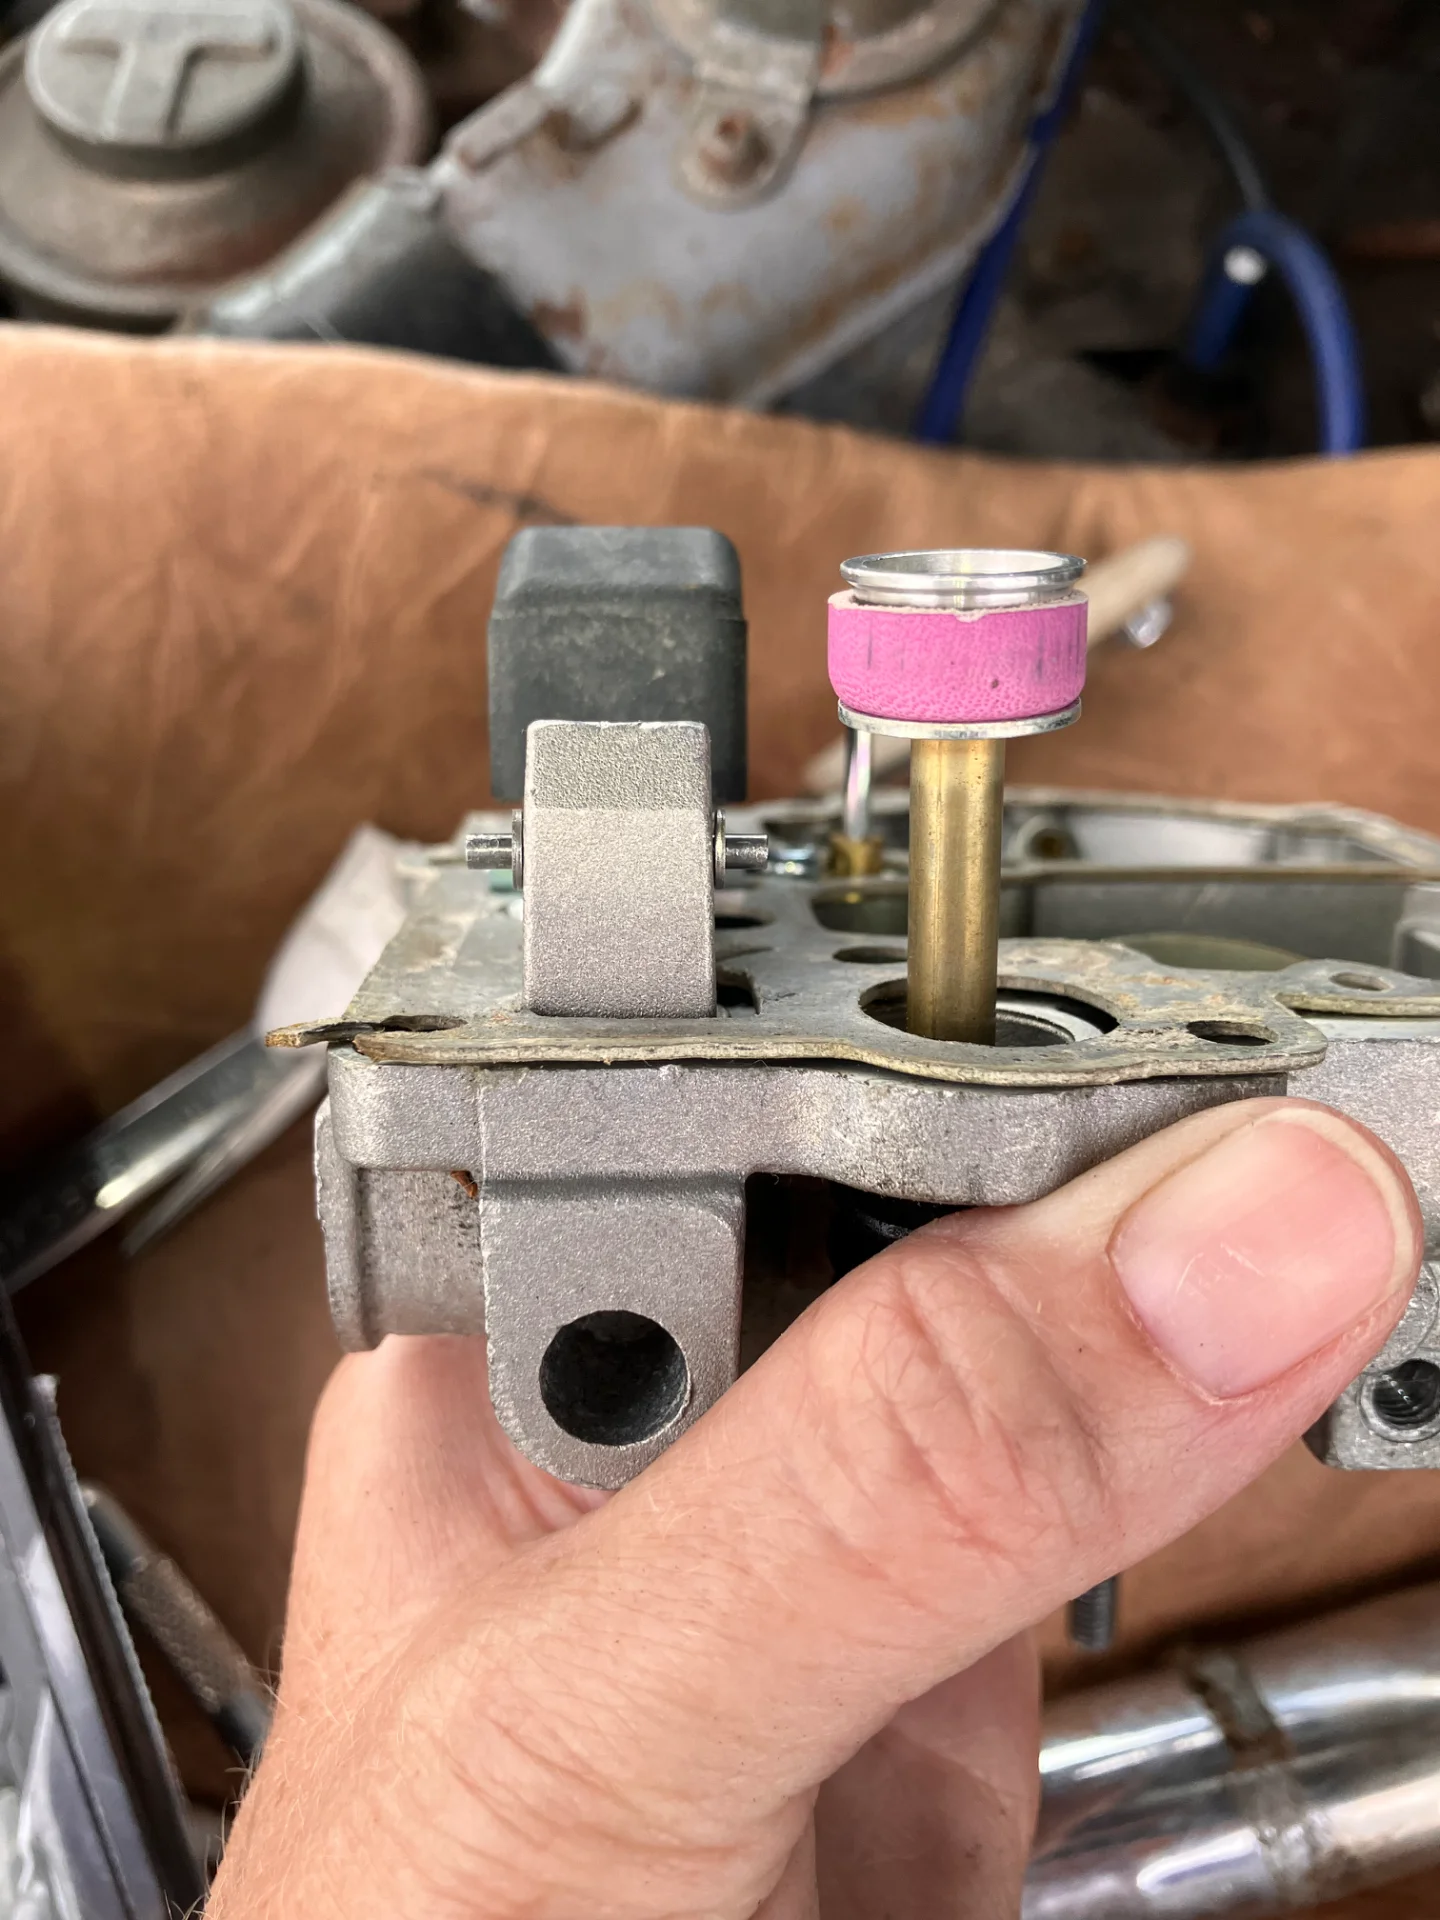
Bunch of sediment under the ACC spring. Boot is in great shape so idk. Got it out. And noticed last time I screwed around in there adjusting the float I did a shoddy job. Fuel level just a smidge higher now.
Straightened it out. Started it up. Drove a few miles each way to the store and no hiccups.
IMG_4392.webp


IMG_4393.webp


IMG_4394.webp
 
Bunch of sediment under the ACC spring. Boot is in great shape so idk. Got it out. And noticed last time I screwed around in there adjusting the float I did a shoddy job. Fuel level just a smidge higher now.
Straightened it out. Started it up. Drove a few miles each way to the store and no hiccups.
View attachment 4196004

View attachment 4196005

View attachment 4196006
My truck has been running super rich and stumbling on occasion lately and when I remove the air cleaner lid to watch the accel pump, it seems like it's spraying a LOT of fuel and possibly dribbling. I wonder if I got some schmutz in there too causing some issues. Leave it to this thread to be continually inspiring for me to get off my ass and go fix my s***!
 
My truck has been running super rich and stumbling on occasion lately and when I remove the air cleaner lid to watch the accel pump, it seems like it's spraying a LOT of fuel and possibly dribbling. I wonder if I got some schmutz in there too causing some issues. Leave it to this thread to be continually inspiring for me to get off my ass and go fix my s***!
I just had these exact symptoms on a 76’ FJ40, was missing the pump spring stopper. Also check the primary slow jet is sized correctly.
 
Drove the truck about 12 miles today doing errands in town. A slight flat spot a couple times starting out in first at a light but was able to push through it. Brought home 400%#s of pea gravel for the bog and pond. Nice to have her back rolling and doing her part in the necessary heavy chores. Kid who loaded up the gravel in the truck was drooling over her…. Spotted some guy craning his neck out of his Dodge to keep his eyes on her too. Always fun to be the center of attention.

IMG_4469.webp
 
How much of a nightmare is it to pull the rear glass? I searched and found a post where a guy did it from inside w/ bicycle tire lifters and flatheads. He got it all separated and kept outer trim and seal intact on it.
I happened to spot that an ugly area behind my rear wiper is now a gaping hole. My tent is still up so spun truck around to prevent rain getting in…. I never drive in wet weather either. But obviously I need to get at it and if I don’t pull the window then I can’t really get a decent seal.

IMG_5040.webp


IMG_5066.webp
 
Last edited:
How much of a nightmare is it to pull the rear glass? I searched and found a post where a guy did it from inside w/ bicycle tire lifters and flatheads. He got it all separated and kept outer trim and seal intact on it.
I happened to spot that an ugly area behind my rear wiper is now a gaping hole. My tent is still up so spun truck around to prevent rain getting in…. I never drive in wet weather either. But obviously I need to get at it and if I don’t pull the window then I can’t really get a decent seal.

View attachment 4224805

View attachment 4224940
I pulled the cargo side windows and used about 20 tools on each - plastic trim tools, flathead screwdrivers, everything I had in my tool box. Metal tools aren't ideal because they can bend the pinch weld. Maybe Amazon has a big multipack of plastic trim tools! Just get them under the inside lip of the rubber seal, then feel over the pinch weld. On the cargo windows I was able to grab them from the outside and pull them off once I worked tools along the top edge, around the corners, and down about halfway. Make sure you have somebody to catch the window in case it pops out abruptly. FWIW, my side windows came out with the chrome strip intact.
 
Hey all…. Figured I’m stuck at home (covid positive again) so I’d get at the areas of concern around my rear window.
Spoke w/ Jimmy @CenTXFJ60 this AM who suggested I pull the whole lift gate but that didn’t prove easy. Two nuts are locked in place on each hinge. One was beginning to slightly round out so I stopped before I made a bigger mistake than I wanted. Reinstalled the strut bolts (only pulled uppers) which was a beast of a chore. Slightly cross threaded one bolt but finally got it back in.
Borrowed a bunch of hard plastic tire levers from a local bike shop… Tried prying up lower edge of window seal from inside…. Def found a crunchy lip in some spots. Corners were freaking me out so I stopped.
Loosened the metal fork thing that holds the lock in place and was able to shift it up. Couldn’t find my locking ring pliers… maybe kid, maybe I never had any, idk, I remember doing some weird magic act years ago when I didn’t have any… I’ll give my body another day to clear out the COVID before going to Ace. But amazingly the metal is pretty clear under that rubber grommet thing.
It seems like that rubber is integral to the lock? Can someone say so?

And thought I’d share double circumzenithal arcs I saw over my yard earlier today.

IMG_5302.webp


IMG_5303.webp


IMG_5300.webp
 
Last edited:
Yep, that rubber is integral to the lock mechanism.
Fawk. I had a feeling.
Who sells that now? Or maybe someone has a good used one? Obviously key included.
 
Found that pad separate from the lock cylinder. Some guy has one for sale from 6 days ago, $200. Yeesh.

IMG_5304.webp


IMG_5305.webp
 
City Racer does a nice reproduction rear lock pad! I forget how much it cost but it was definitely less than $200.
 
City Racer does a nice reproduction rear lock pad! I forget how much it cost but it was definitely less than $200.
1. Confirmed on city racer - I grabbed one from them ($45, if memory serves), it’s sitting on my workbench. But/because…
2. It’s not integral to (or required for) the lock, at least not on my 1982. My old one was super crunchy when I removed it about six weeks ago; I reinstalled lock cylinder without it while I waited for the replacement pad, it’s working fine without it. YMMV, I suppose…
 
1. Confirmed on city racer - I grabbed one from them ($45, if memory serves), it’s sitting on my workbench. But/because…
2. It’s not integral to (or required for) the lock, at least not on my 1982. My old one was super crunchy when I removed it about six weeks ago; I reinstalled lock cylinder without it while I waited for the replacement pad, it’s working fine without it. YMMV, I suppose…
I had that exact thought today as I inspected it a bit more. Thank you so much for speaking up and confirming the price through city racer.
 
I had that exact thought today as I inspected it a bit more. Thank you so much for speaking up and confirming the price through city racer.
To be honest I'm not entirely sure why it works without the pad. It seems like the thickness would be off and it would be too loose without the pad, but those retainer clips have enough flex that I suppose they can compensate for some thickness variation. The hole notches keep the cylinder from rotating, so that's not an issue. It does look kinda funny without it since a PO's re-spray outline makes it pretty obvious that something's missing. 😆
IMG_8726.webp


One note to be fair - I was swapping the lock cylinder when I removed the pad, so there's a chance there was a difference between the cylinders that I didn't notice. Regardless, since you (probably) still have the lift gate cavity open it would be easy enough to reinstall the cylinder by itself and see how it does. 🤷‍♂️
 
Back
Top Bottom