
Looks sick! Is that cutout on the bottom for sunroof access?
Navigation
Install the app
How to install the app on iOS
Follow along with the video below to see how to install our site as a web app on your home screen.
Note: This feature may not be available in some browsers.
More options
Style variation
You are using an out of date browser. It may not display this or other websites correctly.
You should upgrade or use an alternative browser.
You should upgrade or use an alternative browser.
Build Land Crusher Build Thread
- Thread starter Somebodyelse5
- Start date
Member Build Threads
This site may earn a commission from merchant affiliate
links, including eBay, Amazon, Skimlinks, and others.
- Thread starter
- #82
Looks sick! Is that cutout on the bottom for sunroof access?
Sure is, haven't tackled how I'll weather proof that connection just yet. Thinking a double bulb seal and some tubing? We'll see, this project is a long ways off...
- Thread starter
- #84
Thanks man! I am in Tukee, real close to Tempe. Me and @CruiseLanderAZ are working on my cruiser this weekend if you wanna come by@Somebodyelse5, really great work man!
- Thread starter
- #85
Here's where stuff is with the RTT tent idea, had to fight with the 100 series 3D model a bit, couldn't get the whole thing to scale for some reason. But I got the rack and the rtt sort of in position to get an idea of how it'd look. I was afraid the 3x 80/20 extrusion for the bottom frame would be too tall and look goofy... but I think it looks alright. There are still a lot of things that I need to work out.


The rack is going to be pretty similar to what gamiviti offers, I'm going to use their mounts. I have a bender and I want to have a go at making one myself... and welding is fun
The rack is going to be pretty similar to what gamiviti offers, I'm going to use their mounts. I have a bender and I want to have a go at making one myself... and welding is fun
- Thread starter
- #86
Finished up the steering rack replacement today, few things to note:
- LIFT THE ENGINE, disconnecting the DS engine mount and jacking it up a few inches made the rack replacement super easy. Had the whole thing out in about 2 hours.
- You'll need to pull the DS tie rod end to get the rack out, so make sure to go ahead and pull that.
- My low pressure line came off a lot easier than anticipated.
- I replaced my rubber hoses with 3/8" and 5/8" heater hoses and tube clamps
- Make sure you have a big breaker bar for the rack bolts, my 1/2 breaker came in handy.
- Stubby adjustable head 3/8" drive ratchet was really nice for the steering column clamp bolt
- Completely empty system took exactly 1 quart of mobile 1 synthetic ATF
Alignment happens tomorrow and then everything should be good to go.
Next up:
- CB install: Cobra 75 WXST and Firestik ant
- Headunit install: Pioneer AVIC-8201 (i think thats the number)
- Thread starter
- #87
CB and new head unit installed:

Need to add a stud on the cb, but the stud reciever is mounted to the plastic filler (behind the cb in the picture).
Installed a 4’ blue firestik onto the slee swingout
Need to add a stud on the cb, but the stud reciever is mounted to the plastic filler (behind the cb in the picture).
Installed a 4’ blue firestik onto the slee swingout
- Thread starter
- #88
The gf made a cool sign for the kitchen:

Last edited:
- Thread starter
- #89
Planning on ordering the rear brake guide pins in hopes that it will solve my pulsing brake problem. Will likely replace the front pins while I'm at at, still can't find the P/N's for those though. Will post when I find them.
References:
Rear brake guide pin ("PIN, CYLINDER SLIDE")
Part Number: 47715-60010 OR 47715-60020 (not sure the difference, the 20 is the "sub")
Bushing for rear pin ("BOOT, PIN")
Part Number: 47775-30040
for future searchers:
rear brake guide pin part number rear brake guide pin p/n rear brake pin part number rear brake pin p/n
There are no guiding pins for the front calipers. The front calipers are 4 pistons, 2 per side. The caliper doesn't move, only the pistons. The rear has one piston on one side only, so part of the caliper moves to "equalize" brake pad pressure on both sides.Planning on ordering the rear brake guide pins in hopes that it will solve my pulsing brake problem. Will likely replace the front pins while I'm at at, still can't find the P/N's for those though. Will post when I find them.
References:
Rear brake guide pin ("PIN, CYLINDER SLIDE")
Part Number: 47715-60010 OR 47715-60020 (not sure the difference, the 20 is the "sub")
Bushing for rear pin ("BOOT, PIN")
Part Number: 47775-30040
for future searchers:
rear brake guide pin part number rear brake guide pin p/n rear brake pin part number rear brake pin p/n
- Thread starter
- #92
There are no guiding pins for the front calipers. The front calipers are 4 pistons, 2 per side. The caliper doesn't move, only the pistons. The rear has one piston on one side only, so part of the caliper moves to "equalize" brake pad pressure on both sides.
Thanks, been trying to figure this out. I saw in a few places the pins on the front calipers (whatever they are called, I cannot determine) and figure'd I'd replace those while I was at it.
- Thread starter
- #93
I'll just leave this here")
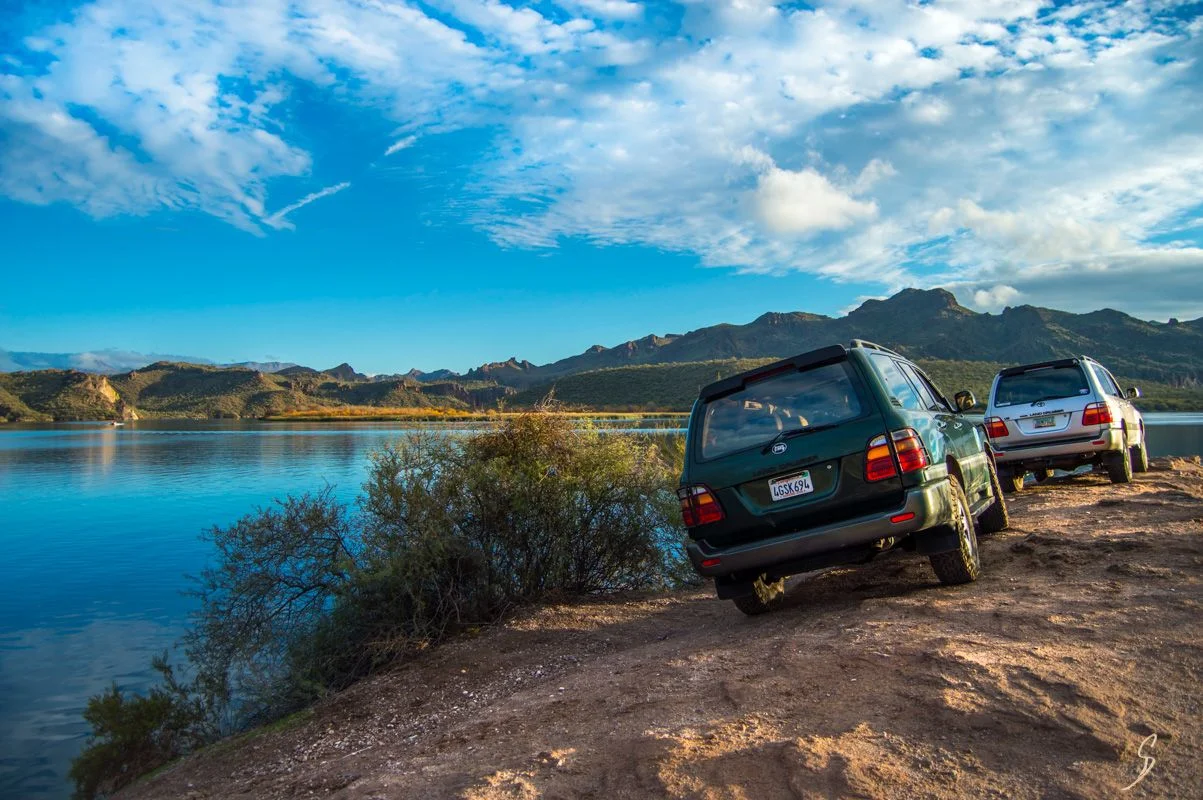
That was a good day, come back and visit again soon
")
- Thread starter
- #95
Picked up a Trasharoo and a few other goodies in anticipation of HIH8.
What could possibly be inside the Trasharoo?....


What could possibly be inside the Trasharoo?....
Here's where stuff is with the RTT tent idea, had to fight with the 100 series 3D model a bit, couldn't get the whole thing to scale for some reason. But I got the rack and the rtt sort of in position to get an idea of how it'd look. I was afraid the 3x 80/20 extrusion for the bottom frame would be too tall and look goofy... but I think it looks alright. There are still a lot of things that I need to work out.
View attachment 1687268 View attachment 1687271 View attachment 1687270 View attachment 1687269 View attachment 1687272
The rack is going to be pretty similar to what gamiviti offers, I'm going to use their mounts. I have a bender and I want to have a go at making one myself... and welding is fun
Hi, thanks for sharing the images! Courious, where did you get the j100 model? Is is downloadable?
Thanks!
- Thread starter
- #97
Hi, thanks for sharing the images! Courious, where did you get the j100 model? Is is downloadable?
Thanks!
Yup, there is a thread on here that’s got the link. If you can’t find it, send me a PM with your email and I’ll send you the file
- Thread starter
- #98
New Cabin Air Filters, full size spare, and the gamiviti accessory mount that will be holding the rotopax.

- Thread starter
- #99
Got a few things sorted today while the weather was nice:
Shovel Mounted, Hi Lift Mounted, Rotopax plate mounted.
Used these universal tube clamps, drilled and tapped a hole in the center for some quick fist clamps, mounted the shovel...


Also installed the Rotopax plate onto the Gamiviti accessory plate...

^ This will hold (4) 2 gallon gas cans and then the trasharoo will go over them. Under the cooler mount, on the inside, I will be putting a 1.75gal water pax.
Ignore the ugly rusty looking cooler rack, I am going to be working on the new latch system this weekend and it will get some paint once that is finished up.
Currently debating where I should mount the fire extinguisher... debating between under the cooler mount, where the old, outboard rotopax mount was, or on the cooler mount support, along the bottom.
Shovel Mounted, Hi Lift Mounted, Rotopax plate mounted.
Used these universal tube clamps, drilled and tapped a hole in the center for some quick fist clamps, mounted the shovel...
Also installed the Rotopax plate onto the Gamiviti accessory plate...
^ This will hold (4) 2 gallon gas cans and then the trasharoo will go over them. Under the cooler mount, on the inside, I will be putting a 1.75gal water pax.
Ignore the ugly rusty looking cooler rack, I am going to be working on the new latch system this weekend and it will get some paint once that is finished up.
Currently debating where I should mount the fire extinguisher... debating between under the cooler mount, where the old, outboard rotopax mount was, or on the cooler mount support, along the bottom.
- Thread starter
- #100
Couple more pictures...

