


What did you use for headliner Hat? It doesn't look like your standard replacement.
got a materials from auto upholstery shop.
Follow along with the video below to see how to install our site as a web app on your home screen.
Note: This feature may not be available in some browsers.
This site may earn a commission from merchant affiliate
links, including eBay, Amazon, Skimlinks, and others.
What did you use for headliner Hat? It doesn't look like your standard replacement.


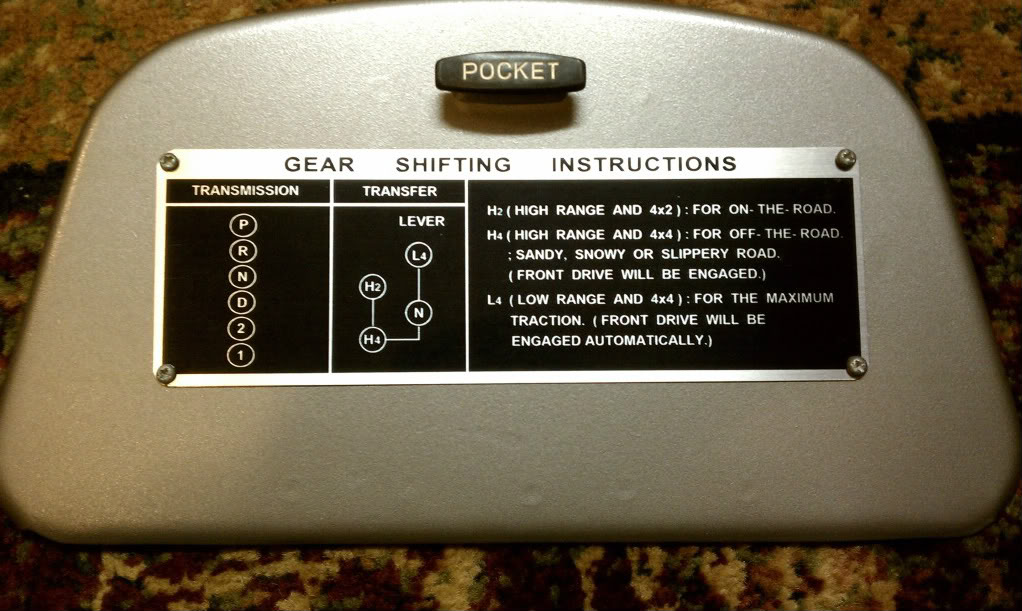


40Habits said:Fixed up my glove box.


40Habits said:Fixed up my glove box.


40Habits said:I made it out of a little thinner gauge but I thought it came out great.
I can make different shift patterns.

I have done just about everything I could imagine to my 79 FJ40 including a 350 vortec, BDS 4" lift, snorkel, roof rack, HID off road lights, 40 inch LED light bar, heated leather seats, ARB bumper, front and rear winches, a stereo that will pound the windows right out if volume is set a bit high. SO what else could I need... a matching trailer of course and if I could figure out how to add additional attachments you would see a photo of my matching trailer.


TriniFJ said:Stretched the legs a bit in the rain forest a couple weeks back.

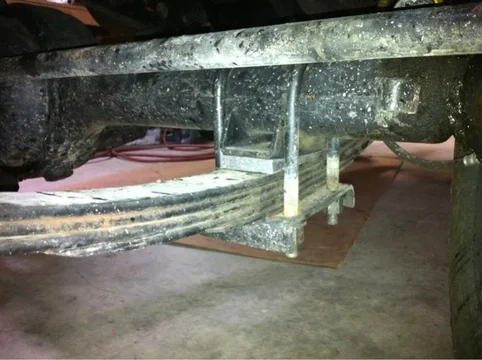
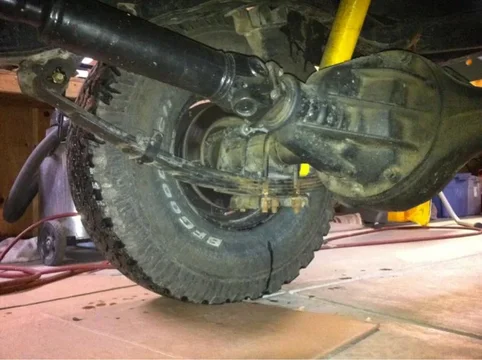
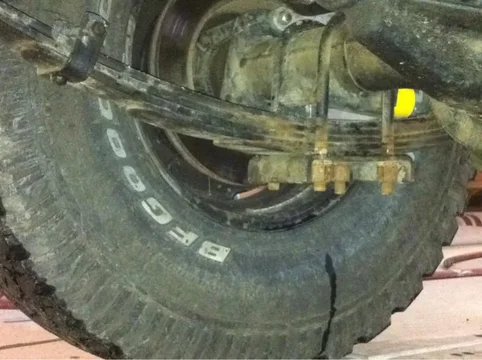
Tonight I installed the front correction shims. I measured about -5* at the third member so I installed 6* shims. The rear shims corrected the driveline angle. Here's a picture of both.
I need to add some shims to my front as well- was it a tought job? any pointers?
What rain forest were you at? Congrats on the bumper find.

Tonight I installed the front correction shims. I measured about -5* at the third member so I installed 6* shims. The rear shims corrected the driveline angle. Here's a picture of both.
I need to add some shims to my front as well- was it a tought job? any pointers?
No it wasn't tough. I supported the frame behind the front leafsprings so the front tires were just off the floor. I did one side at a time and used a 1/2 inch pneumatic impact wrench to loosen the U-blots. I then jacked up the axle with a floor jack so I had enough clearance to remove the centering pin (put a c-clamp on the spring stack so the little ones at the bottom don't fall off, it helps with putting in the new centering pins later).
The shim gets put in flat side forward with the new, longer centering pin. I snugged up the nut on the pin and left about 3/4" thread and cut the rest of the pin off. Lower the axle back onto the pin / shim (it won't sit flat until you loosen the other side) and snug up the U-bolt nuts. Repeat on the other side and then go back and tighten all of the U-bolt nuts. Make sure your axle is sitting correctly on the head of the pin. When you order the shims make sure you replace the pins, the new ones will have taller heads to compensate for the shim height.
I would also soak the U-bolt nuts with WD-40 if they've never been off. I snapped a few U-bolts off when I originally put the lift on.
There is a bunch of info in SEARCH. I used the advanced search function; entered CASTER; search titles only; 40 and 55 series tech (search in forums). You'll find all of the info in the world in measuring caster to determine shim size. I used my I-phone to measure the angle on the 3rd member face. Good luck.


