Build Samurai on Toyota axle build

Member Build Threads

This site may earn a commission from merchant affiliate
links, including eBay, Amazon, Skimlinks, and others.

Joined
Aug 17, 2005
Threads
27
Messages
207
Location
TX / CA
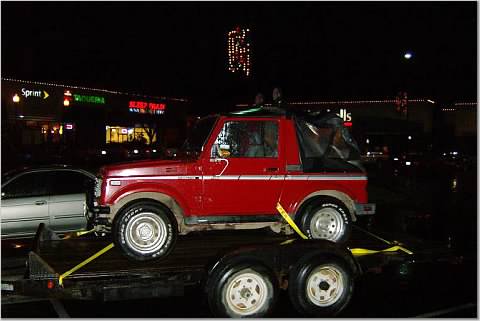
This is what I bought in Sacramento. I'm gona keep this one away from the dang trees!!
47b8df28b3127cceb468eb7bcd6300000026108AYsmLJs1auQ

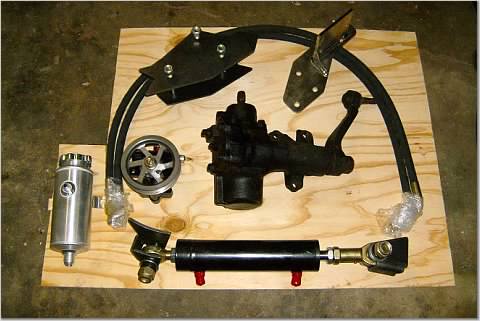
My new steering:
Toyota P/S box
KRC high pressure P/S pump
Trail Gear 2" ram hydro assyst
large alluminum resevor
47b8df31b3127cceb401019738aa00000026108AYsmLJs1auQ

Jan. 14, 2008
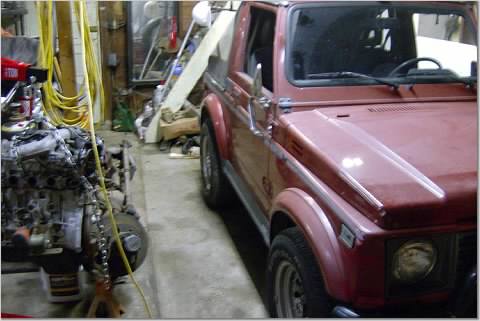
Its on like a chicken bone, and the build begins. In my shop at 11:00 pm
47b8df34b3127cceb4c39ddd026200000026108AYsmLJs1auQ

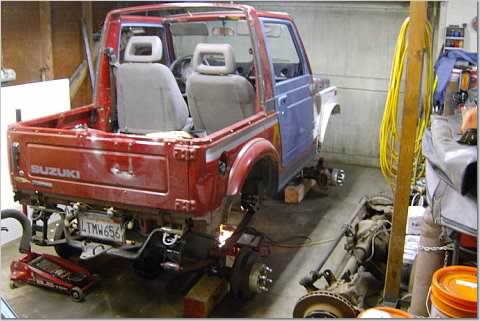
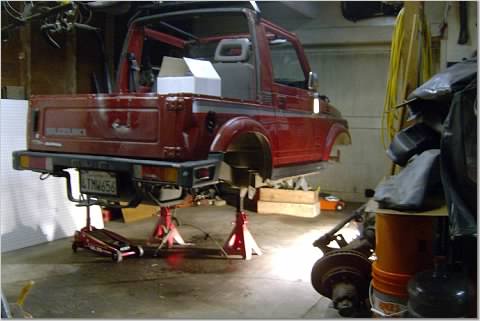
Jan. 15, 08 No more running gear. 3:00 AM
47b8df34b3127cceb4c39ddb026400000026108AYsmLJs1auQ

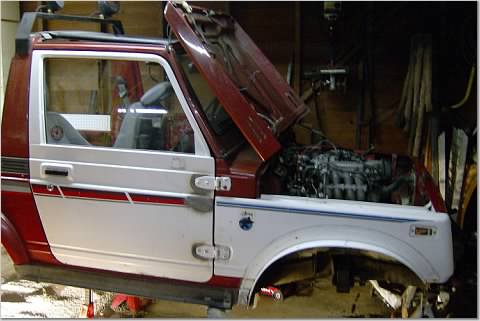
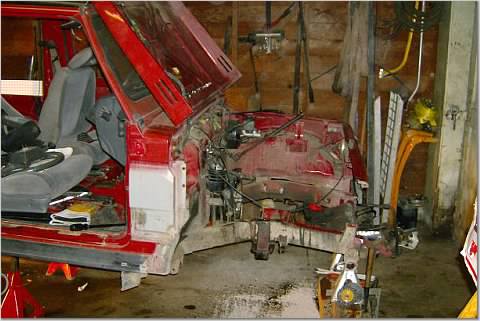
Got the 1.3 out and started replacing some of the not so straight body parts.
47b8df39b3127cceb4e13109fdb500000026108AYsmLJs1auQ

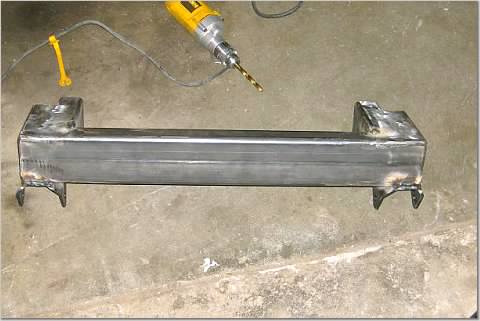
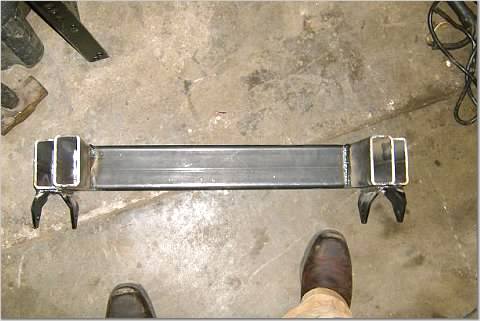
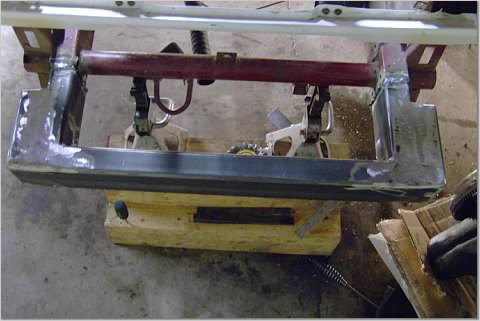
Built my front cross member
47b8df39b3127cceb4e1310dfdb100000026108AYsmLJs1auQ

47b8df39b3127cceb4e1310ffdb300000026108AYsmLJs1auQ

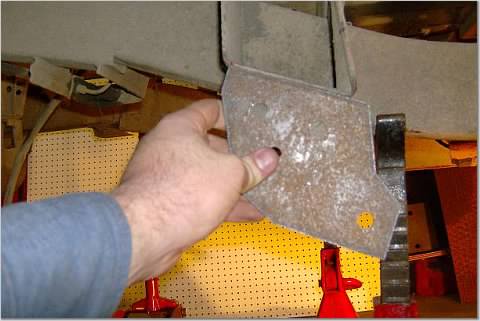
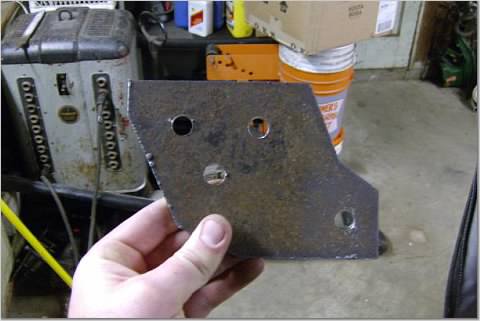
Made my spring hangers for the rear and ready to bolt them on
47b8df39b3127cceb4e1310bfdb700000026108AYsmLJs1auQ

47b8df39b3127cceb4e131087c8400000026108AYsmLJs1auQ

Got most of the body work done.
47b8df04b3127cceb55a34c46ace00000026108AYsmLJs1auQ

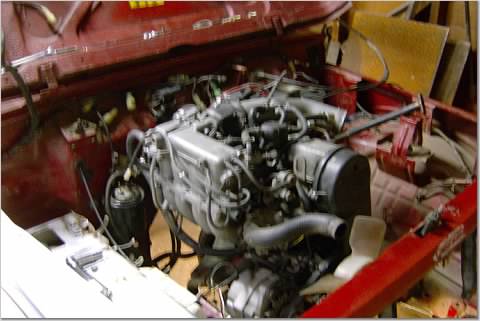
16V installed
47b8df04b3127cceb55a34c5ebff00000026108AYsmLJs1auQ

front hanger welded on
47b8df04b3127cceb55a34c26ac800000026108AYsmLJs1auQ

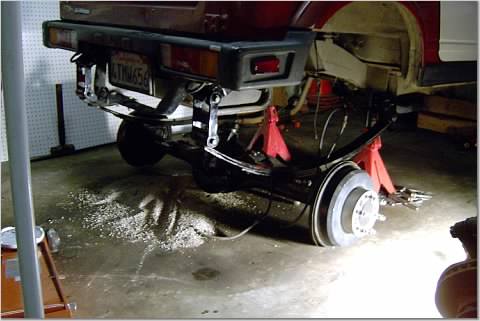
Rear axle going in
47b8df04b3127cceb55a34cc6ac600000026108AYsmLJs1auQ

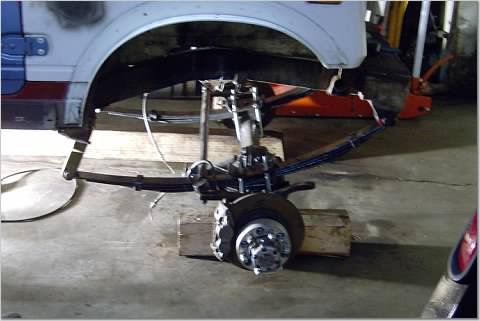
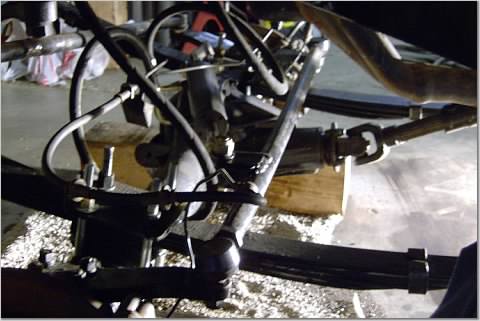
Suspension done
47b8dc35b3127cceb5b00b9fffef00000026108AYsmLJs1auQ

47b8dc35b3127cceb5b00b9a7eda00000026108AYsmLJs1auQ

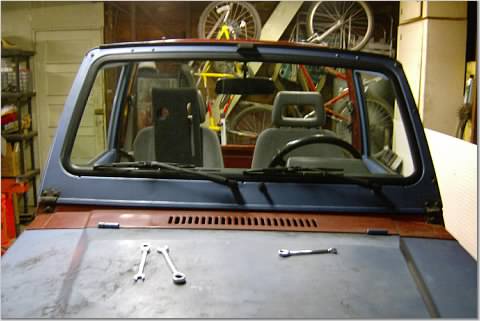
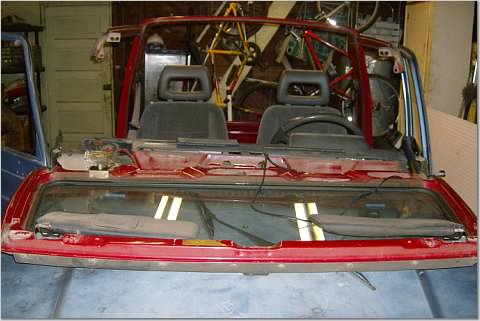
Out w/the old dented and cracked winder frame and in w/the new
47b8dc35b3127cceb5b00b807ec000000026108AYsmLJs1auQ

47b8dc35b3127cceb5b00b8e7ece00000026108AYsmLJs1auQ

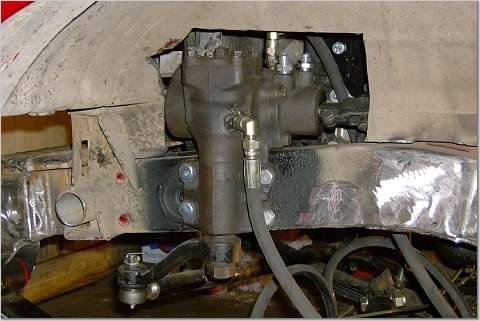
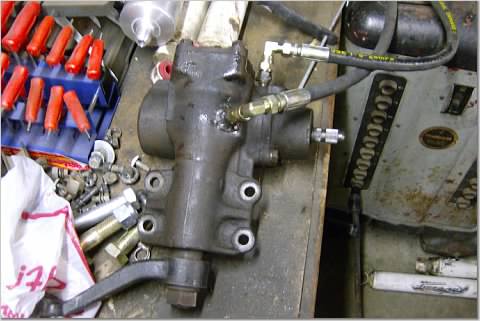
I taped my FJ60 box for Hydro Assist
47b8dc35b3127cceb5b00b867ec600000026108AYsmLJs1auQ

FJ60 P/S box is mounted
47b8dc00b3127cceb6709869edc300000026108AYsmLJs1auQ

Hydro assist is installed
47b8dc00b3127cceb67098566ccc00000026108AYsmLJs1auQ
 
Front and rear 85 Toyota CV D-lines built and installed
47b8dc00b3127cceb6709853edf900000026108AYsmLJs1auQ

47b8dc00b3127cceb67098506cca00000026108AYsmLJs1auQ


Spent Sunday sanding all day
47b8dc07b3127cceb636acbee68b00000026108AYsmLJs1auQ


Primered and welded on beed locks Tuesday
47b8dc07b3127cceb636acbb67be00000026108AYsmLJs1auQ

47b8dd25b3127cceb6f02b40cb1300000026108AYsmLJs1auQ


Smokey
47b8dc07b3127cceb636aca767a200000026108AYsmLJs1auQ


Got it up on rollers. I gave it a paint job. It is my 1st and up close it looks like a seagle took a **** on it. One day when I have more time and money I'll get a good paint job.
47b8dd25b3127cceb6f02b4f4a2c00000026108AYsmLJs1auQ


I got these corner covers from Trail Tough to cover that nasty dent there on the corner
47b8dd25b3127cceb6f02b4b4a2800000026108AYsmLJs1auQ


Out on to the trailor to the car wash and clean the under carrage so I can paint it.
47b8dd25b3127cceb6f02b34cb6700000026108AYsmLJs1auQ

47b8dd25b3127cceb6f02b36cb6500000026108AYsmLJs1auQ


Prerdy much trail ready.:driving: I'm still in a bit of a delima about weather I want to have fender flares or not. What do you think?
47b8dd37b3127cceb759f109433c00000026108AYsmLJs1auQ


Beed locks done and it looks like a beast!
47b8dd37b3127cceb759f1f743c200000026108AYsmLJs1auQ


KRC pump installed
47b8dd37b3127cceb759f1ff43ca00000026108AYsmLJs1auQ


Trail Gear X-large p/s fluid resevor
47b8dd37b3127cceb759f1f8c2fd00000026108AYsmLJs1auQ


I finished up w/the P/S hyro assist and WOW! No steering probs at all.

Installed the CD player
47b8dd30b3127cceb6bd4803d9d100000026108AYsmLJs1auQ


Installed the rock lights
47b8dd30b3127cceb6bd4801d9d300000026108AYsmLJs1auQ


I put my Trail Tough bad boy rock sliders on and a piece of dimond plate on the rocker panel.
47b8dd39b3127cceb7771d4a958300000026108AYsmLJs1auQ


I did not like the chrome dimond plate look so I painted all of the black and it looks alot better.m2c
47b8dd39b3127cceb7771d48958100000026108AYsmLJs1auQ


Installed my KC lights
47b8dd39b3127cceb7771d3695ff00000026108AYsmLJs1auQ


Installed the Trail Tough off set radio antina
47b8dd39b3127cceb7771d3714ce00000025108AYsmLJs1auQ


2 months worth of work on this beast almost ready
 
wow . looooong front shackles..
 
wow . looooong front shackles..

I don't know what your talking about. Those are nomal 2" lifted shackles from 4-wheel parts
 
I don't know what your talking about. Those are nomal 2" lifted shackles from 4-wheel parts

I think Trooper is commenting on your front spring angle, I have read that you may encounter problems with the steering re-centering if your front spring hanger is higher than you the front spring's shackle mount. when folks go SOA I believe they try to keep the front spring as level as possible. if it is a problem you could try using a stock (or shorter) shackle there and bring the spring eyes more in line.

Either way, excellent work!!! Two months and an awesome, capable trail rig, I am jealous, and looking forward to seeing some action shots. :popcorn:
 
Sweet, A Sami Build on Mud! Nice!

on Hydro Assist, as long as you tap into the proper Pressure cavity's it should not matter where you do it..

Lookin good..
 
I don't know what your talking about. Those are nomal 2" lifted shackles from 4-wheel parts

he just had nothing better to say and wanted to pad his post count.


my brother wants to do the same thing to his sami.

just have to find him some axles
 
This is my 3rd suspension like this and have had no issues w/the steering. I'm also running 4x4 Labs steering arms that put the tie rod behind the axle.
The D-lines set me back $300.00
I tap the box into the main vain at the top and took the box apart to do the housing and it works great.
 
Test run to Praire City in Sac. Had a really good day. The onlt thing that broke was a hub sheerd off all the studs but those can be replaced. Need to do a little more trimming on the rear.

47b8dd03b3127cceb7079740792c00000026108AYsmLJs1auQ

47b8dd03b3127cceb707974df81100000026108AYsmLJs1auQ

47b8dd03b3127cceb707974a792600000026108AYsmLJs1auQ

47b8dd03b3127cceb7079748792400000026108AYsmLJs1auQ

47b8dd03b3127cceb7079734795800000026108AYsmLJs1auQ

47b8dd03b3127cceb707973e795200000026108AYsmLJs1auQ
 
that is some great flex,

di you reinforce the frame where you streched it out front, the reason i ask is we just didi this to my brothers and i think we should add some fish plates etc..
 
I plated the frame top and bottom where I lengthend it
 
he just had nothing better to say and wanted to pad his post count.


my brother wants to do the same thing to his sami.

just have to find him some axles
wrong, looks like its gunna kill the pinion angle. but if it work good for him then great. wicked sami btw
 
Pinion angle sits good. You can't realy tell in the pic but it is pointed upward
 
did some clearance on the rear fenders and its perfect now. all I have left to do is my roll cage
 
NCZ ROCK4XFABRICATION CAGE

Lay out
47b8da26b3127ccea84c7db3a76900000025108AYsmLJs1auQ


Working on the back
47b8da26b3127ccea84c7dbfa76500000026108AYsmLJs1auQ


Front hoop fits really good and tight
47b8da26b3127ccea84c7dbda76700000026108AYsmLJs1auQ

47b8da26b3127ccea84c7dbba76100000026108AYsmLJs1auQ

47b8da26b3127ccea84c7dba265000000025108AYsmLJs1auQ
 
Back
Top Bottom