1969 FJ55 Build Thread

This site may earn a commission from merchant affiliate
links, including eBay, Amazon, Skimlinks, and others.

Looks like your moving right along on your project.
Will certainly be watching your thread to see how your work is going.
Oh and frequently, my wife wonders who I am talking too when I'm working on my rig... I just tell her it's only going to get worse. :D

Peter
 
Progress is slow but steady at this point, but I have it on good authority that that's what wins the race

I had my 4bt with p-pump delivered Friday. Found a guy who sells tested and running 4bt's on ebay with or without adapters.

http://i32.photobucket.com/albums/d8/Tenagra/6341FF71-FF1F-4DD0-BA23-CCB452E3D18A.jpg

Slow, nasty job. The ice and water shield is gone as is most of the residue. One more evening of work should get it finished

http://i32.photobucket.com/albums/d8/Tenagra/58C1305C-BC8F-4253-A714-E44394C0F338.jpg

I spent the weekend on the road :steer:
Drove down to Tyler Texas with the Family to meet a fellow mudder.
60 series axles with 4.11's and arb's installed courtesy of FJ62INTX :cheers: 
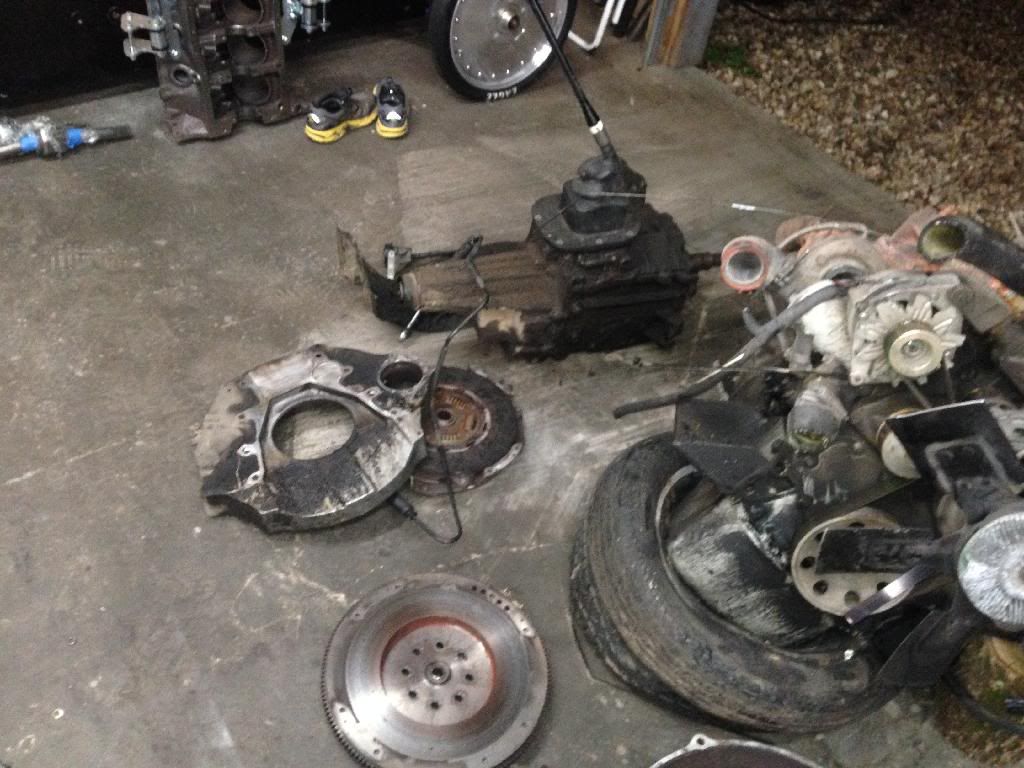
. Ready to go under the Pig

http://i32.photobucket.com/albums/d8/Tenagra/142A8FD3-F6B9-44EF-BBD7-8578A02192EF.jpg

Found nv4500 and from behind a 6bt, so after getting back from Texas Saturday, I got up sunday and drove up to Marshall, AR. I was able to buy adapter back including starter as well as the master and slave cylinders which should ease the conversion quite a bit.


Hoping to finish removing the interior residue this week if the holiday doesn't get in the way and then probably take the tub off and send it to the sandblaster next week if all goes well! btw, the shoes in the top of the last pic are the pair i ruined climbing into the body to get to areas I couldn't reach the shield paper :censor:
 
Last edited:
Has been slow progress removing the ice and water shield from the floor of the tube. I have around 60 man hours in it to date. Here are the pics from yesterday and I hope to get to work on her this afternoon

ImageUploadedByTapatalk1390162136.071280.webpImageUploadedByTapatalk1390162144.837943.webp

I'm not sure if I'm seeing the light at the end of this particular tunnel or if it's just an oncoming train


Sent from my iPhone

ImageUploadedByTapatalk1390162136.071280.webp


ImageUploadedByTapatalk1390162144.837943.webp
 
Well, I just discovered that all of my pic links are broken. Trying to fix them but for some reason I'm having trouble. managed to change my first post with some difficulties and still trying to get edits to save on the others
 
Wow, as I was fixing pics I came across the post with the quote below. Wow was I wrong! From the state shown in that pic I've put in another 40 hours and still have about 4 to go. (as a frame of reference, the driverside wheel well hump in the picture took another 1 1/2 - 2 hours to get clean from the state seen below).

All told, when I finish up this Friday, I will be right at 70 hours to remove the entirety of the product.

Yeah, I know I'm posting way too much about this step... but given how much time I've spent on it and how long it has delayed this project, I've got to post something to make me feeling like I'm progressing!

Slow, nasty job. The ice and water shield is gone as is most of the residue. One more evening of work should get it finished

[URL="http://i32.photobucket.com/albums/d8/Tenagra/FJ55/58C1305C-BC8F-4253-A714-E44394C0F338.jpg"][/URL]
 
Tuffmudder,

I think everything about these wagons, require a lot of intestinal fortitude. It might not look it to you, but it IS getting somewhere.

I like to look at the other builds and envision mine being done someday, too

Keep it going!
 
Thanks. The encouragement helps


Sent from my iPhone
 
So I decided to take a look at the gear on the rear window to see if I was going to get to be one of the cool kids with the shiny brass replacement


Sadly I have the old style gear and will have to make due


So the question now is, do I clean the regulator up with a wire brush and a little elbow grease or do i risk a peak down Scrapdaddy's rabbit hole and have it blasted and electroplated?


Sent from my iPhone
 
Clean it up, grease it up and run it...
Clean off that plastic gear and look closely for cracks...
(it may have already been replaced sometime in it's history, newer plastic gears seem to be made of a tougher plastic than the older gears)
 
It's a deep hole! Pighead is right, unless it's rusted up. Your's looks good compared to what I started with. Clean and lube. The grease in mine was dried out bad, it's no wonder that gear breaks.
 
Yeah, the guy who does my welding nearly burst an aneurysm when I described what you were doing Ron. He said if i wanted to get this project done in 2014 that we, we needed to hire 2 more guys, so i'm going to have to the less meticulous route.

Would you guys just do a wire brush and something along the lines of braclean to clean her up before regreasing?

Pighead, I'll get a close look at that gear. I'm still actually hoping for a run of old style gears in brass, but it doesn't look likely.
 
I like to use commercial grade Simple Green, when cleaning grease and dirt. Anything will work, just flush all the moving parts real good.


I repacked the gears with Super Lube and sprayed a dry silicone on the other pivot points.
 
How are the rocker guards mounted on that rig? They look pretty cool. Something I need to add to mine. How is the brake booster mounted too?
 
Last edited:
The rocker guards are welded in, unfortunately a little too welded in as it's welded to the bottom of the front lower fender as well. The brake booster was bolted to the firewall.

How are the rocker guards mounted on that rig? They look pretty cool. Something I need to add to mine. How is the brake booster mounted too?
 
Yes you can convert to the new gear by replacing the steel gear that the plastic gear fits on. I called toyota and the part is no longer available and i didn't find it on SOR, so I'll keep looking.

I do also have the option of buying a medal gear from sor in the old style for $102

I thought you could convert the old-style gear to the new gear?
 
The rocker guards are welded in, unfortunately a little too welded in as it's welded to the bottom of the front lower fender as well. The brake booster was bolted to the firewall.

Oh bummer. I guess I should have asked if the firewall was modified for the booster or is it mounted via adapter?
 
Back
Top Bottom