What have you done to your Land Cruiser this week? (72 Viewers)

This site may earn a commission from merchant affiliate
links, including eBay, Amazon, Skimlinks, and others.

Took it to go feed the goats :steer:

image.jpeg
 
Touched up the bezel. Painted the free Toyota 6 spokes off of Craigslist. (Krylon Dover White rattle can). Waiting on the 33x10.5x15 Dick Cepek Extreme Country from 4wheelparts. Great deal on the tires. $155.00 each and $100 dollar mail in rebate. With tax and road hazard, no mount and balance, after rebate $645.00

View attachment 1649526

View attachment 1649527
Got the new tires on. Going to be a little tight until I upgrade the suspension.

0323181638.jpg
 
A pet peeve on my rig is my hood latches. I don't like how they look when they are latched as you see a rusty or off color on the little bar. This is because when they are painted off the rig, they are not stretched completely. Spread them apart and there you see the bare metal again.

So I made a thing. I needed a way to paint the bar when it is completely stretched like it is on the hood. I am quite proud of my jerry-rigged paint stand. I am going to bring my latches down to bare metal and then paint them the same white as the rest of the vehicle.

IMG_1869.JPG

IMG_1870.JPG

IMG_1871.JPG
 
Last edited:
A pet peeve on my rig is my hood latches. I don't like how they look when they are latched as you see a rusty or off color on the little bar. This is because when they are painted off the rig, they are not stretched completely. Spread them apart and there you see the bare metal again.

So I made a thing. I needed a way to paint the bar when it is completely stretched like it is on the hood. I am quite proud of my jerry-rigged paint stand. I am going to bring my latches down to bare metal and then paint them the same white as the rest of the vehicle.

View attachment 1661306
View attachment 1661307
View attachment 1661308

:grinpimp:... Necessity: “Mother of Invention”!
 
A pet peeve on my rig is my hood latches. I don't like how they look when they are latched as you see a rusty or off color on the little bar. This is because when they are painted off the rig, they are not stretched completely. Spread them apart and there you see the bare metal again.

So I made a thing. I needed a way to paint the bar when it is completely stretched like it is on the hood. I am quite proud of my jerry-rigged paint stand. I am going to bring my latches down to bare metal and then paint them the same white as the rest of the vehicle.

View attachment 1661306
View attachment 1661307
View attachment 1661308

Jerry-rig FTW!!
 
IMG_6963.JPG

Magic... no rod needed. :D
IMG_6959.JPG

Open all the Way.
IMG_6960.JPG
1/2 way. (Or any where in between)
IMG_6952.JPG
 
Last edited:
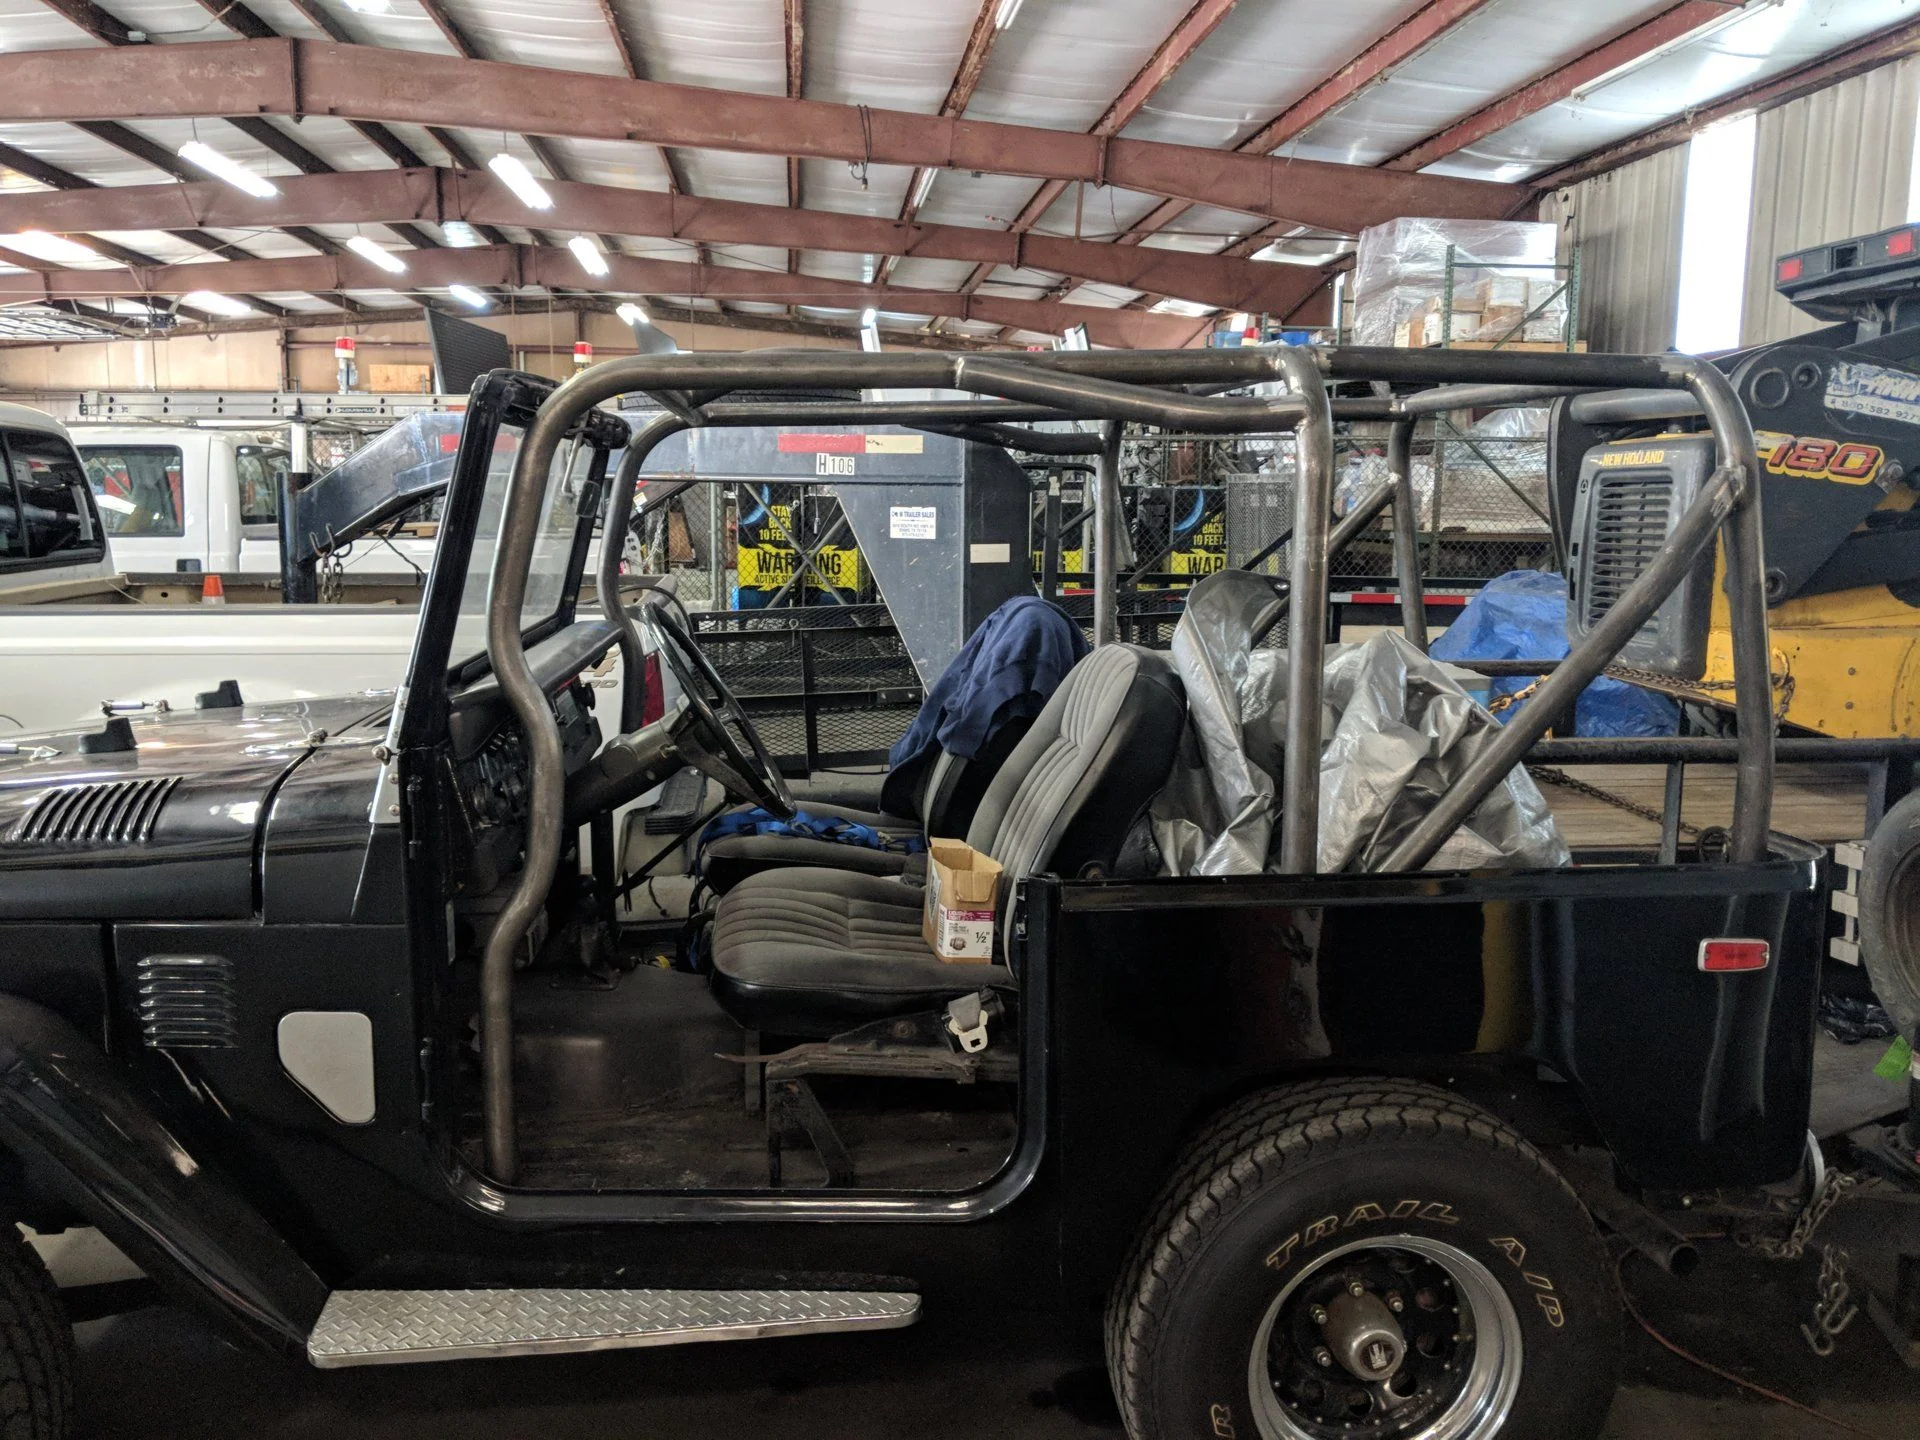
Finished off the interior.
Seat belts and center console is a major upgrade!

B07154DC-50B1-4D5E-AA8E-D4366A9C5D84.jpeg
 
What seats are those? Im looking for options for intergrated 3 point belts for the rear of my 42.

They are from a Chrysler Sebring. $50 from a junk yard. Made a new base that utilizes the factory seat brackets so it’s all fully removable if I want to switch it back
 
Drivetrain done, now focusing on body.
Scored a sweet top with clean drip rail from @Indygbd and did a trial fit today. Can’t wait for paint!
Serious points for crate-ing too!
14291035-FCDF-49FA-AED0-70B7CD7AA672.jpeg

66D137B1-56A0-41B4-A7DA-0667E3ACA752.jpeg
 
Last edited:
Got my two together for a photo op. The '78 on the left just passed CA smog and is licensed and insured for the first time in four years. :) Looking to trade it for a wagon (62/80/100) if anyone has any ideas.

IMG_4939_edit_1920x1200.JPG
 
IMG_6969.JPG
Hows about a pic of your rubber snubber hood hold down.

Many years back... before Internet, my hood catches would pop if I hit a pothole wrong. My quick and dirty solution was a pair of these:
IMG_6966.JPG

I have found the cheap ones from Princess Auto (similar to Harbor Freight) don't last so buy the slightly more expensive ones from Western Star (or Rig shop of choice).

I found they fit better with the bit sticking out as pictured. The receiver bracket fit the existing holes in the hood, and I drilled a single hole through the other bracket to mount it to the fender skirt. With shortened skirts they fit better facing upwards. I also found minimal tension ensures their longevity. When I stretched them to have the hood tighter the 24/7 tension killed them in a few years.

Now with them snug (not stretched) they've lasted for many years... and never come undone. When I finish the body, I may replace these with Stock looking ones from the RV shop going upwards rather than the stock downwards.
 
Last edited:
In the last week end removed the radiator and installed a new aluminum rad.
This required a little work on the old rusted bolts but she released the rad.
Great fit on the new radiator, just a few holes had to be drilled that didn't align.
Then on Tuesday evening the starter went dead at my jobsite.
A tow by flat bed truck and by Thursday a new Toyota starter was in her again.
Thanks for the quick turnaround on the starter Steve .
 
Last edited:
I have been chasing a Hard-Start issue or should I say I was........:idea:


822B06FC-FBB4-44FE-8F43-4BA618FADA53.jpeg
 
Some update pics, worked on Metaltech Full cage, test fit before sending for powdter coat, also pulled out jump seats, they are in bad shape so we are ripping out the sheet metal and will cut off some bad steel and rebuild before upholstery just cant bring myself to spend so much on new seats, rather try and save these.....
 

Users who are viewing this thread

  • Back
    Top Bottom