Good point about the air chuck location.My only hesitation is that I rarely need air inside the vehicle. And I don't like the idea of having to open the passenger's door every time I need to air up or use compressed air. And I don't see an elegant way to plumb a line under the truck.
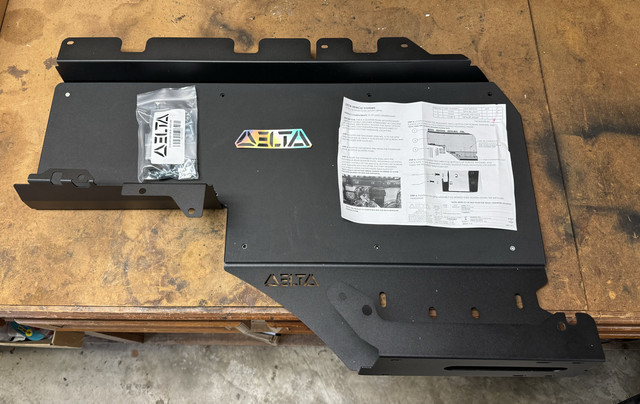
Is @Delta VS making Quarter Panel Mounts yet? I can't put my fingers on it, but I seem to recall a build thread where the OBA install was on a Wits' End QPM and the supply line plumbed through a pre-existing hole in the QPM location. Then you can have a tank and port on the exterior of the vehicle but still keep the compressor clean inside the vehicle.

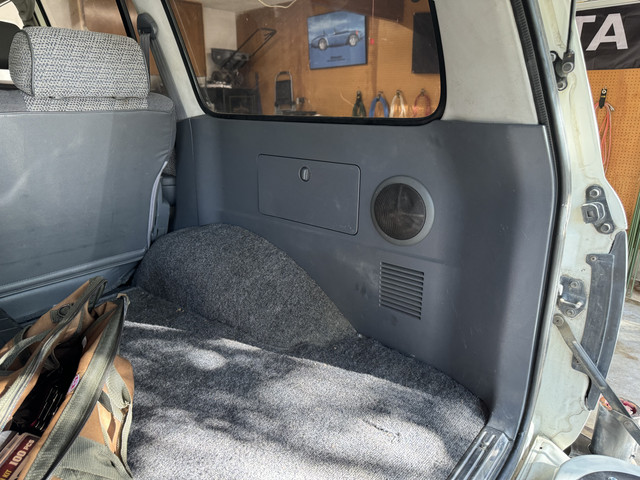
I like this idea a lot. Or some sort of lockable storage bin (but not for First Aid).
I saw this for the Grenadier and thought this concept would work well: