Cruiser Rescue Project

This site may earn a commission from merchant affiliate
links, including eBay, Amazon, Skimlinks, and others.

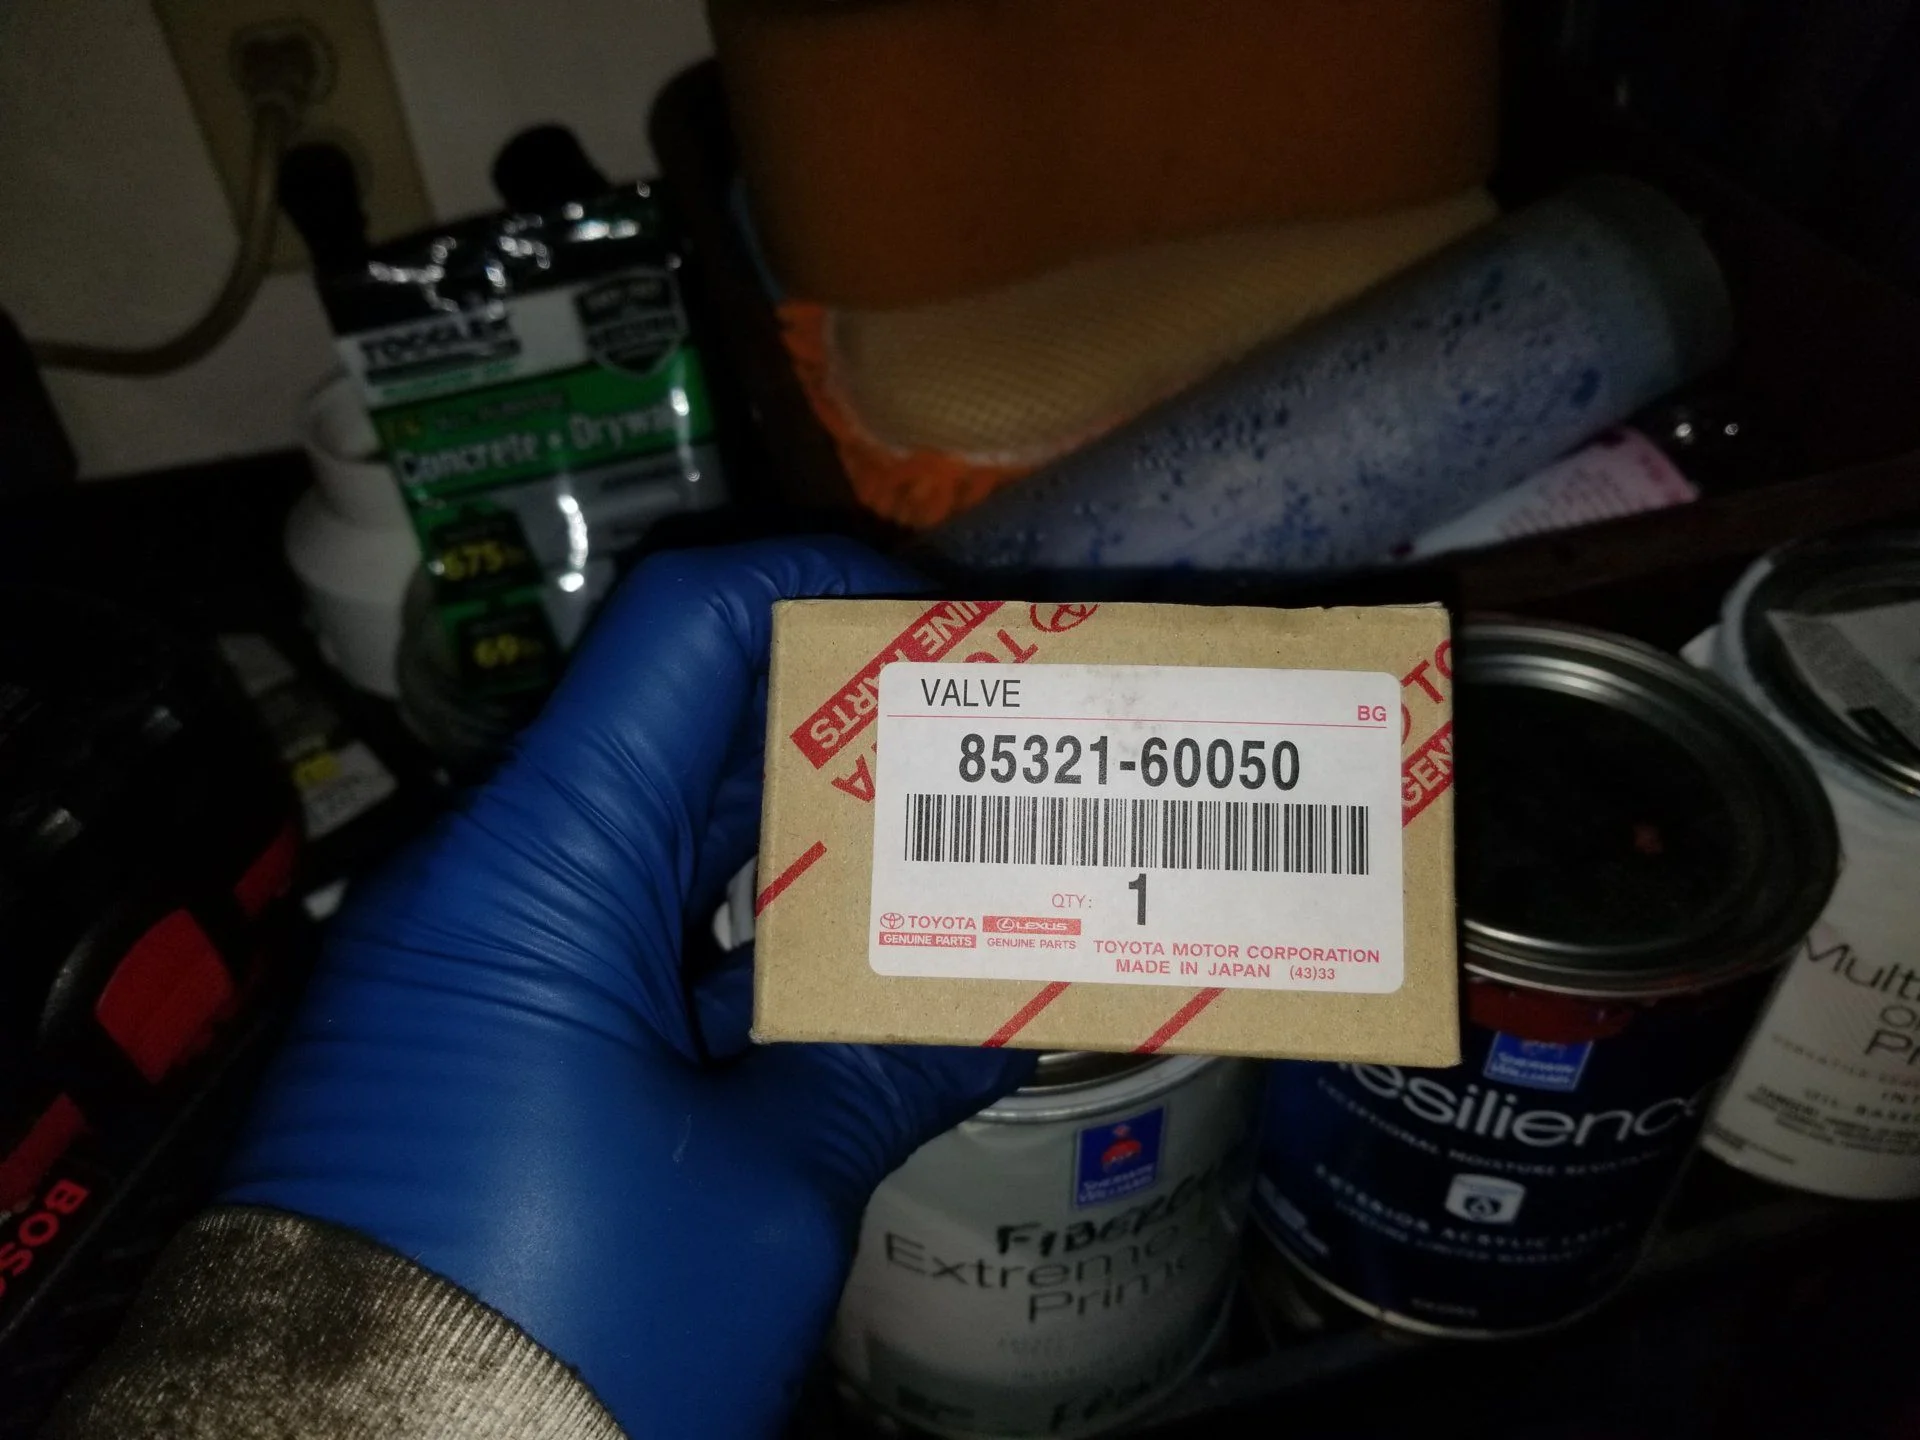
It catches oil that is recycled into the throttle body and intake to be burned off. The filter catches the oil and keeps it from mucking things up. It seems especially helpful with older engines IMO and should help stave off the PO401 code.
 
Lookin good. Like the gym floor idea. Will have to steal that for my fj40.

Does you kid still think it’s ugly?!

He is coming around slowly. Had to take one of his friends home the other day and his friend asked if it was gonna fall apart on the drive over. Kids, they are such little trolls. Just for that, I will wait till we get a foot of snow and then baja over to his neighborhood and ask him how he likes it now.

Finishing up mirrors this week with wrap and may or may not have just dropped $5k on some vendor goodness.
 
Added HP ... who needs a SC :meh:

2nd break in cycle complete as well

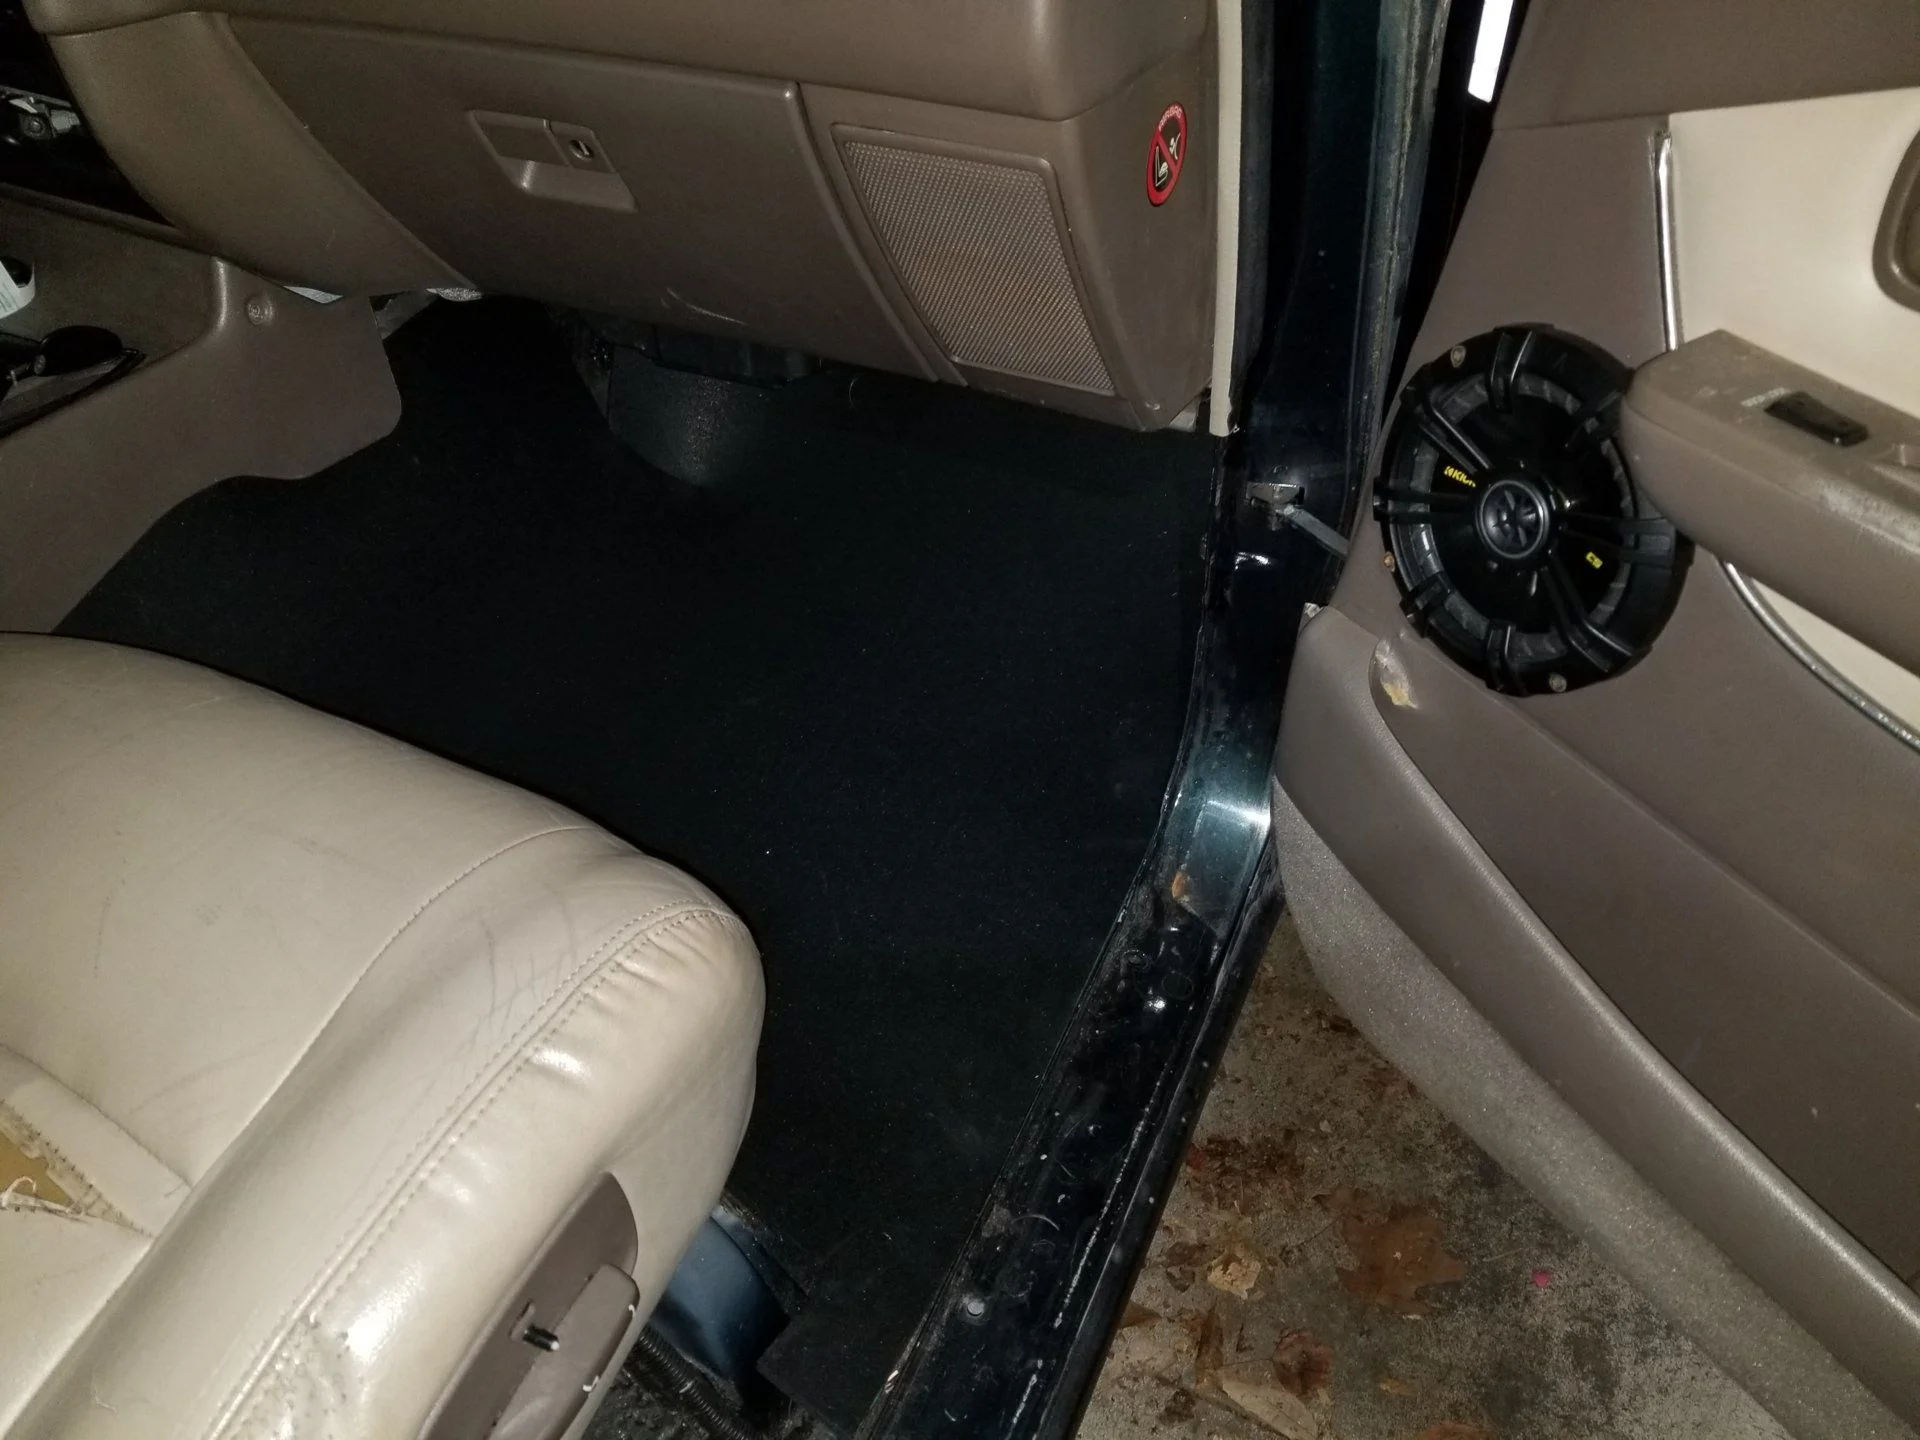
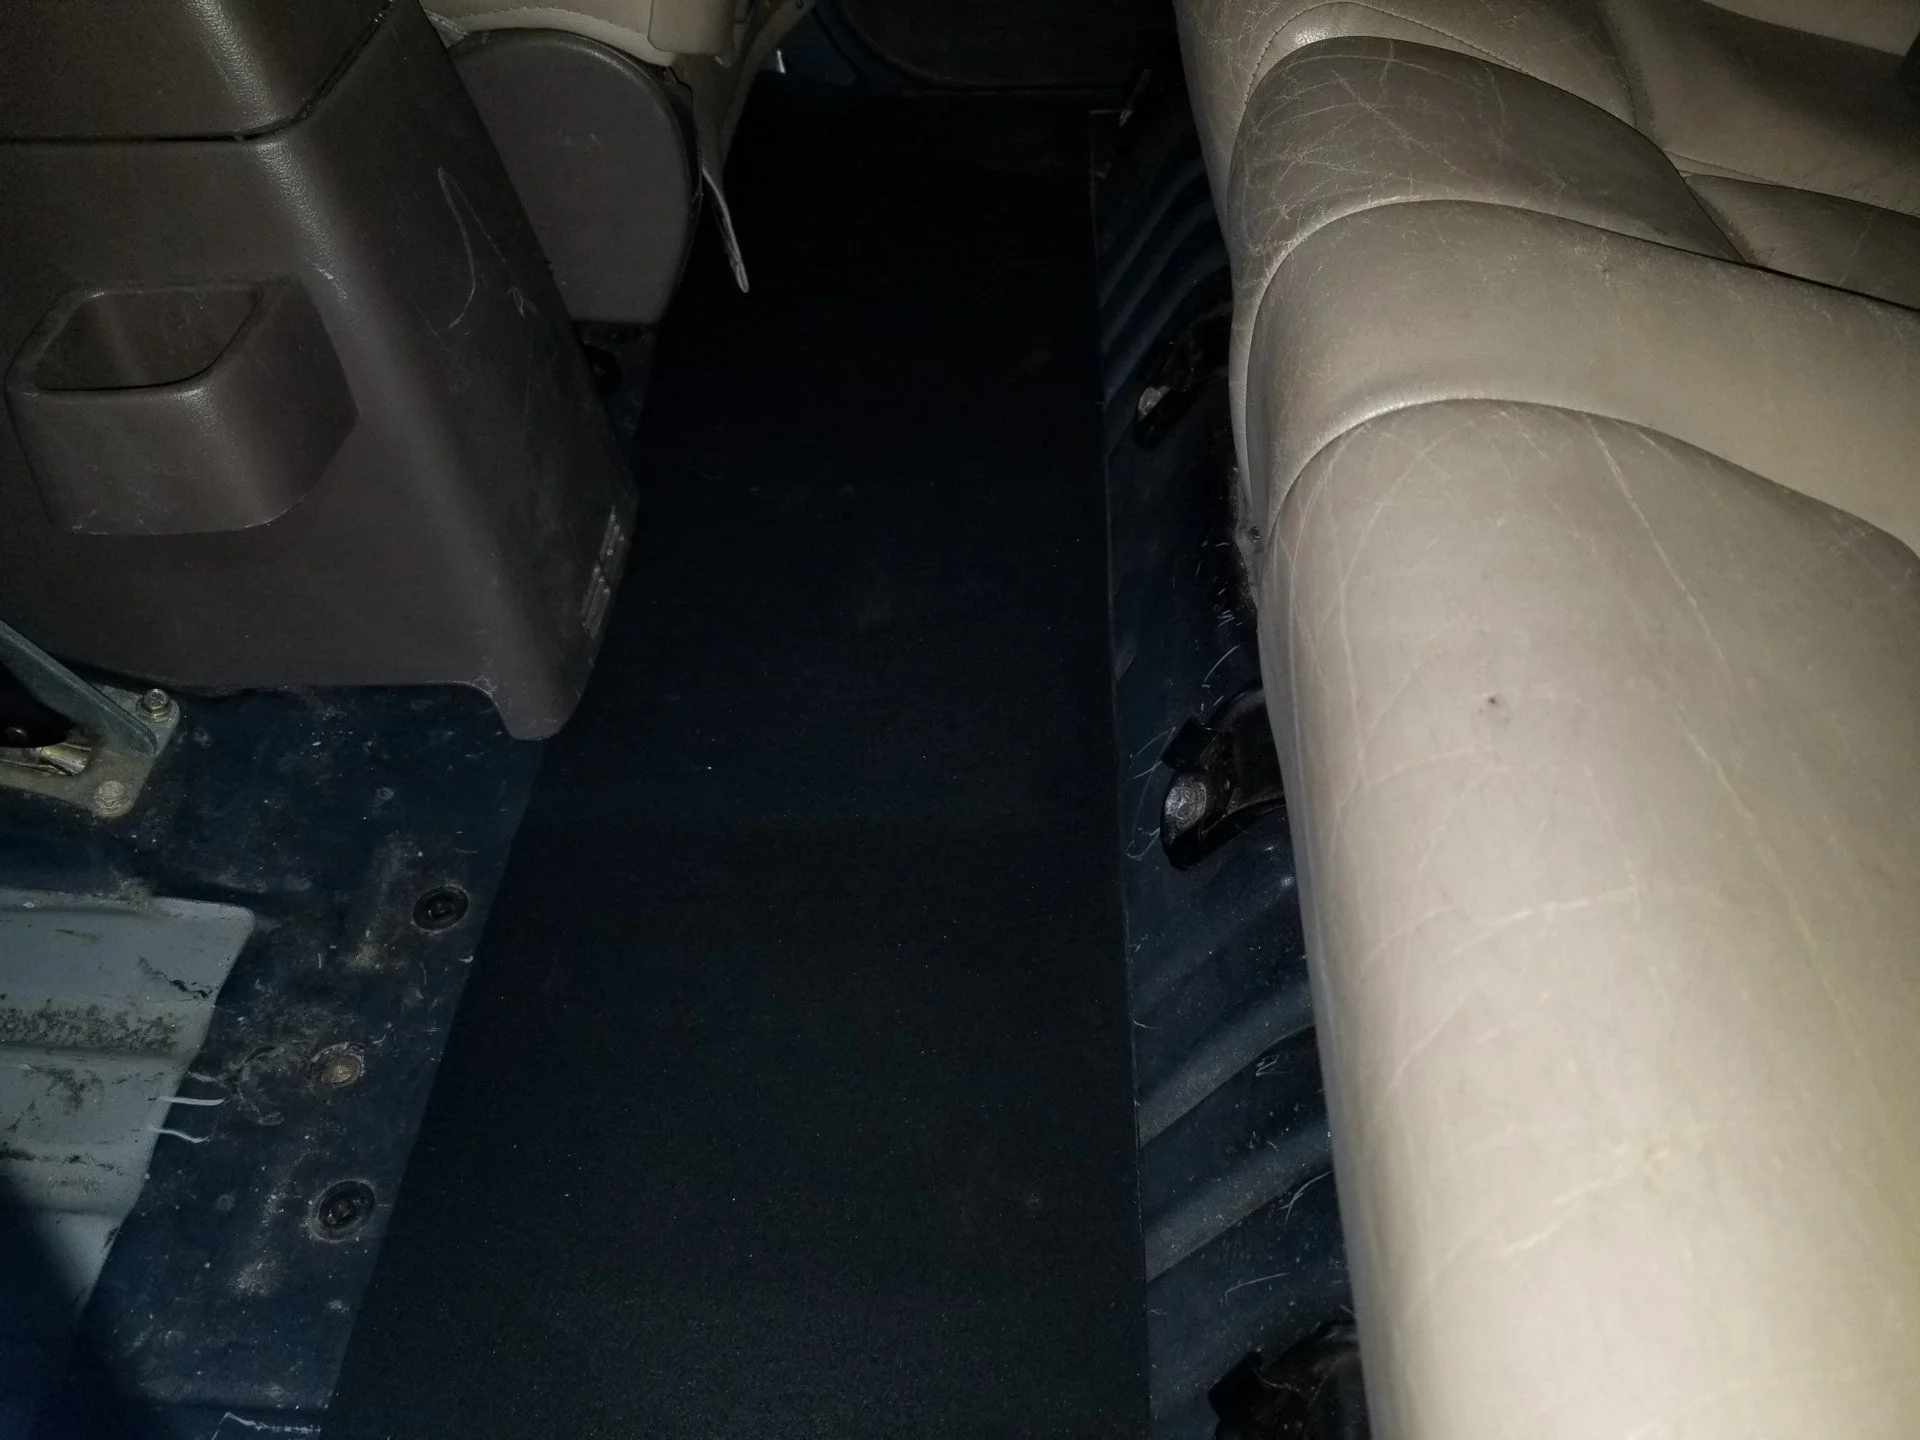
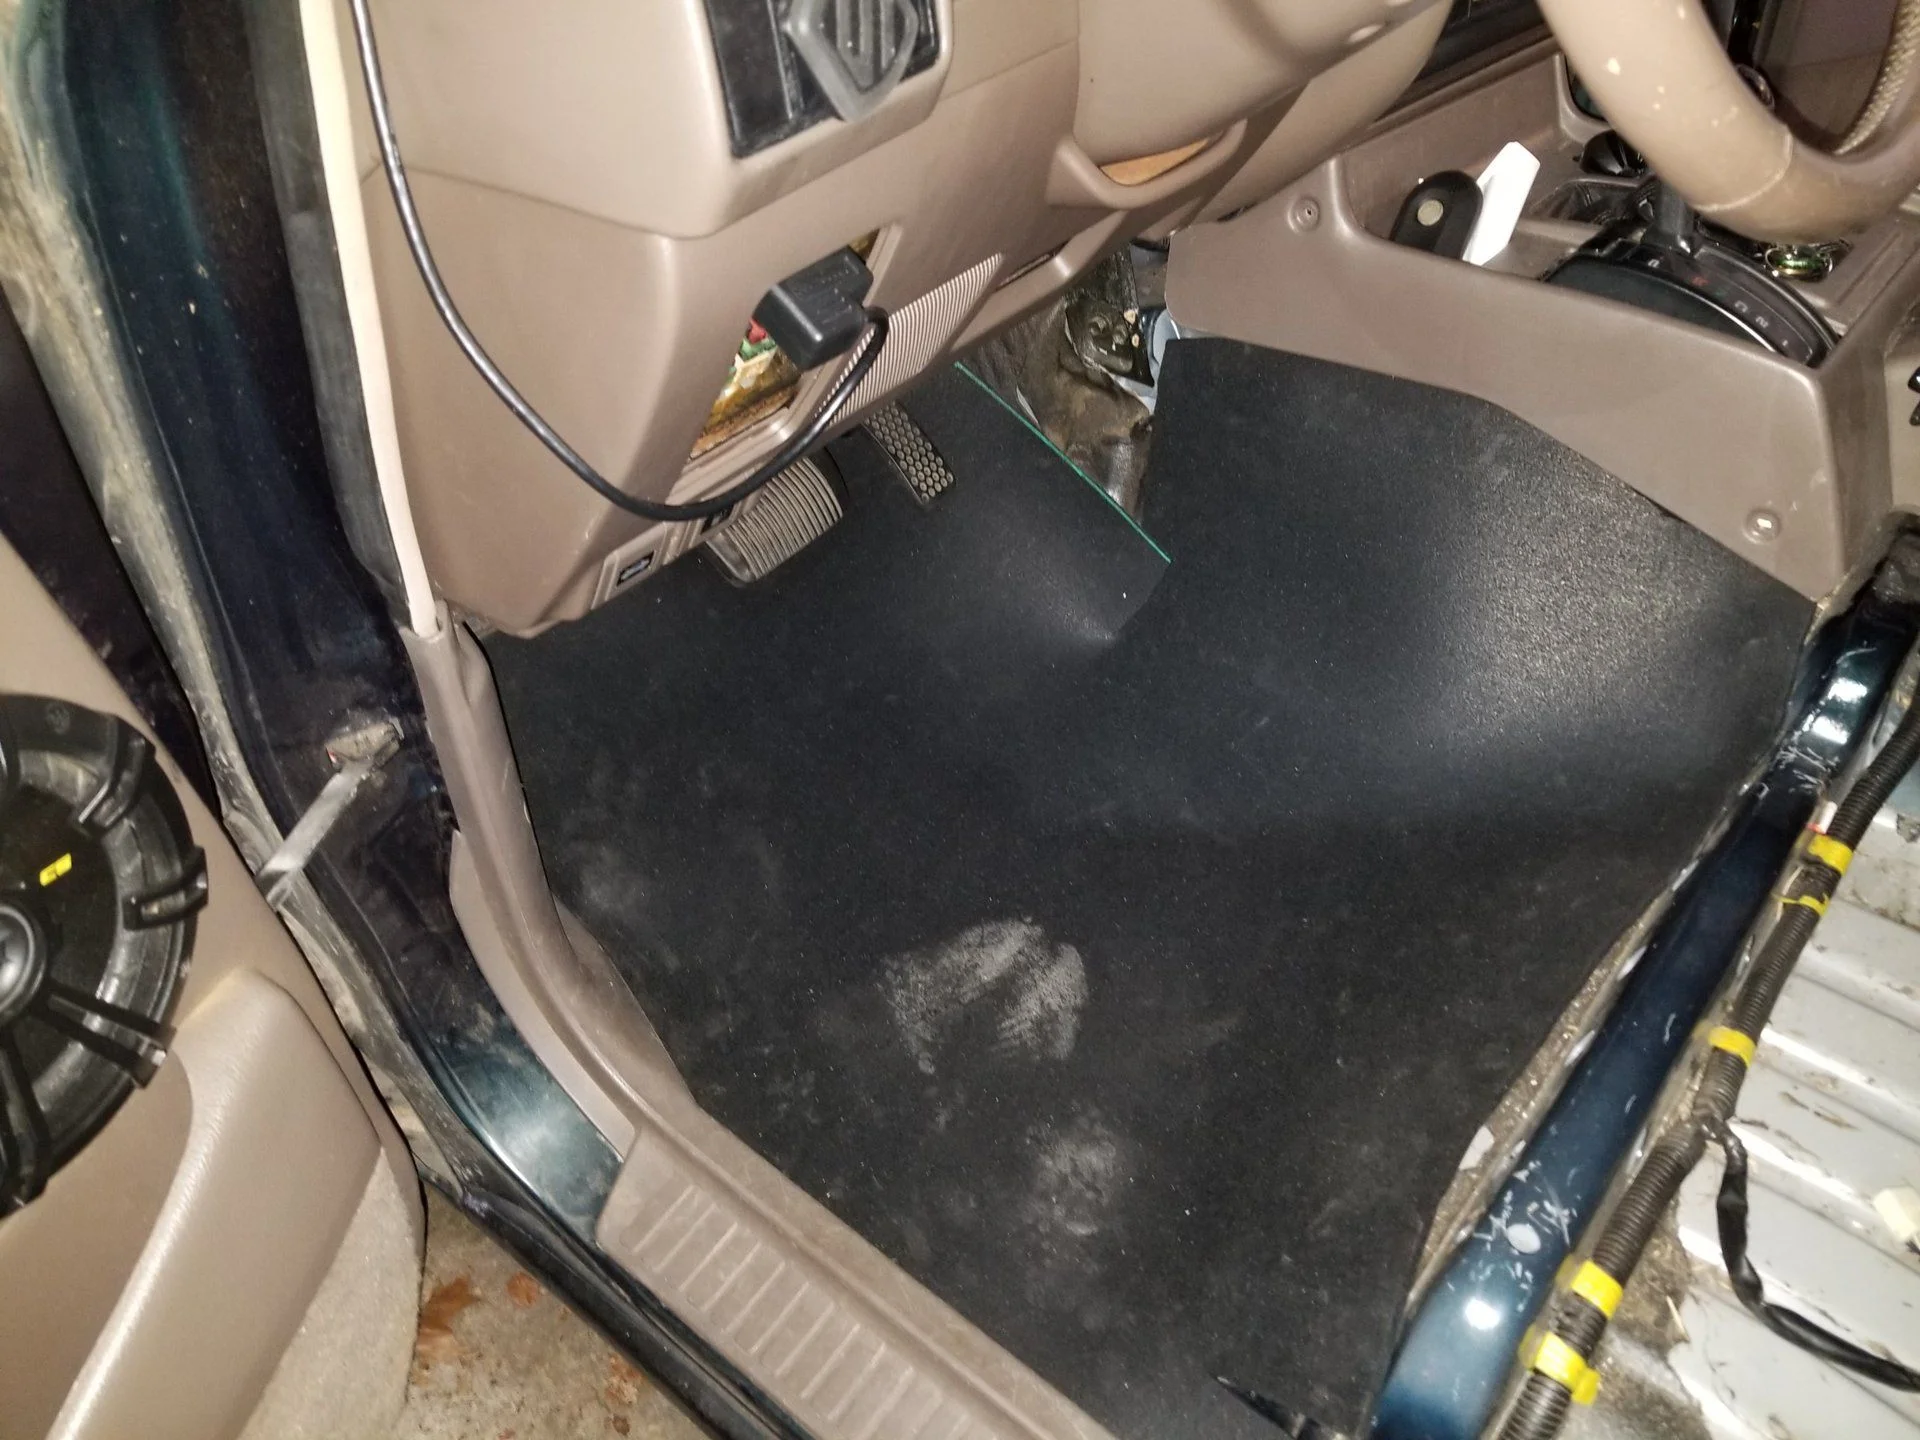
Gym mat floor finished. Could be a lot nicer, but cutting with a scissor was super tedious.

Rear wiper diverter installed

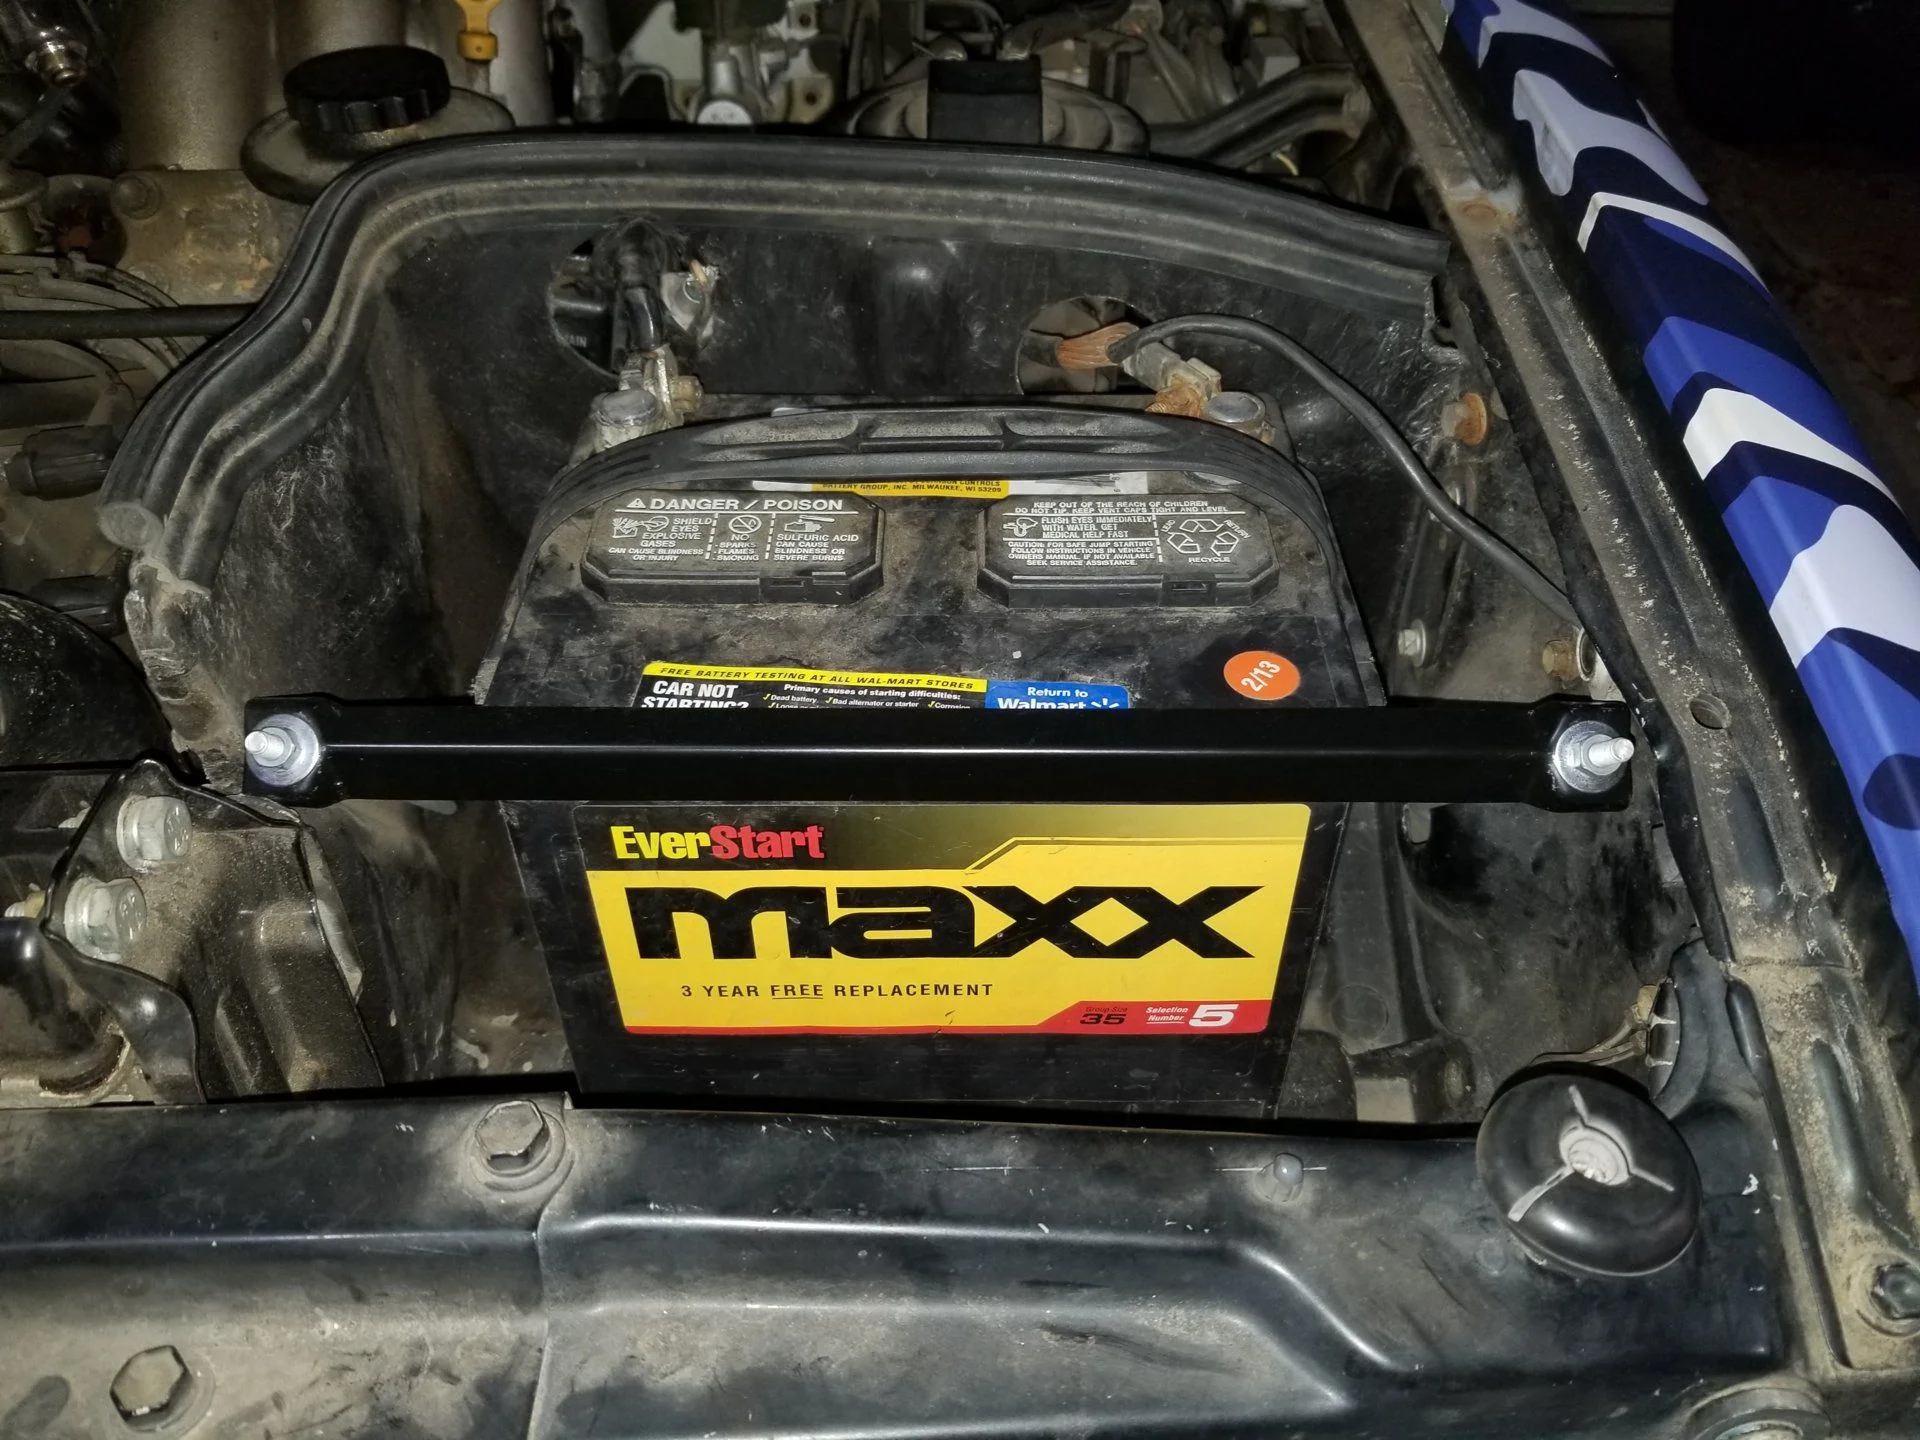
Battery tie down installed ... no more tie downs from Lowes. Thanks Onur

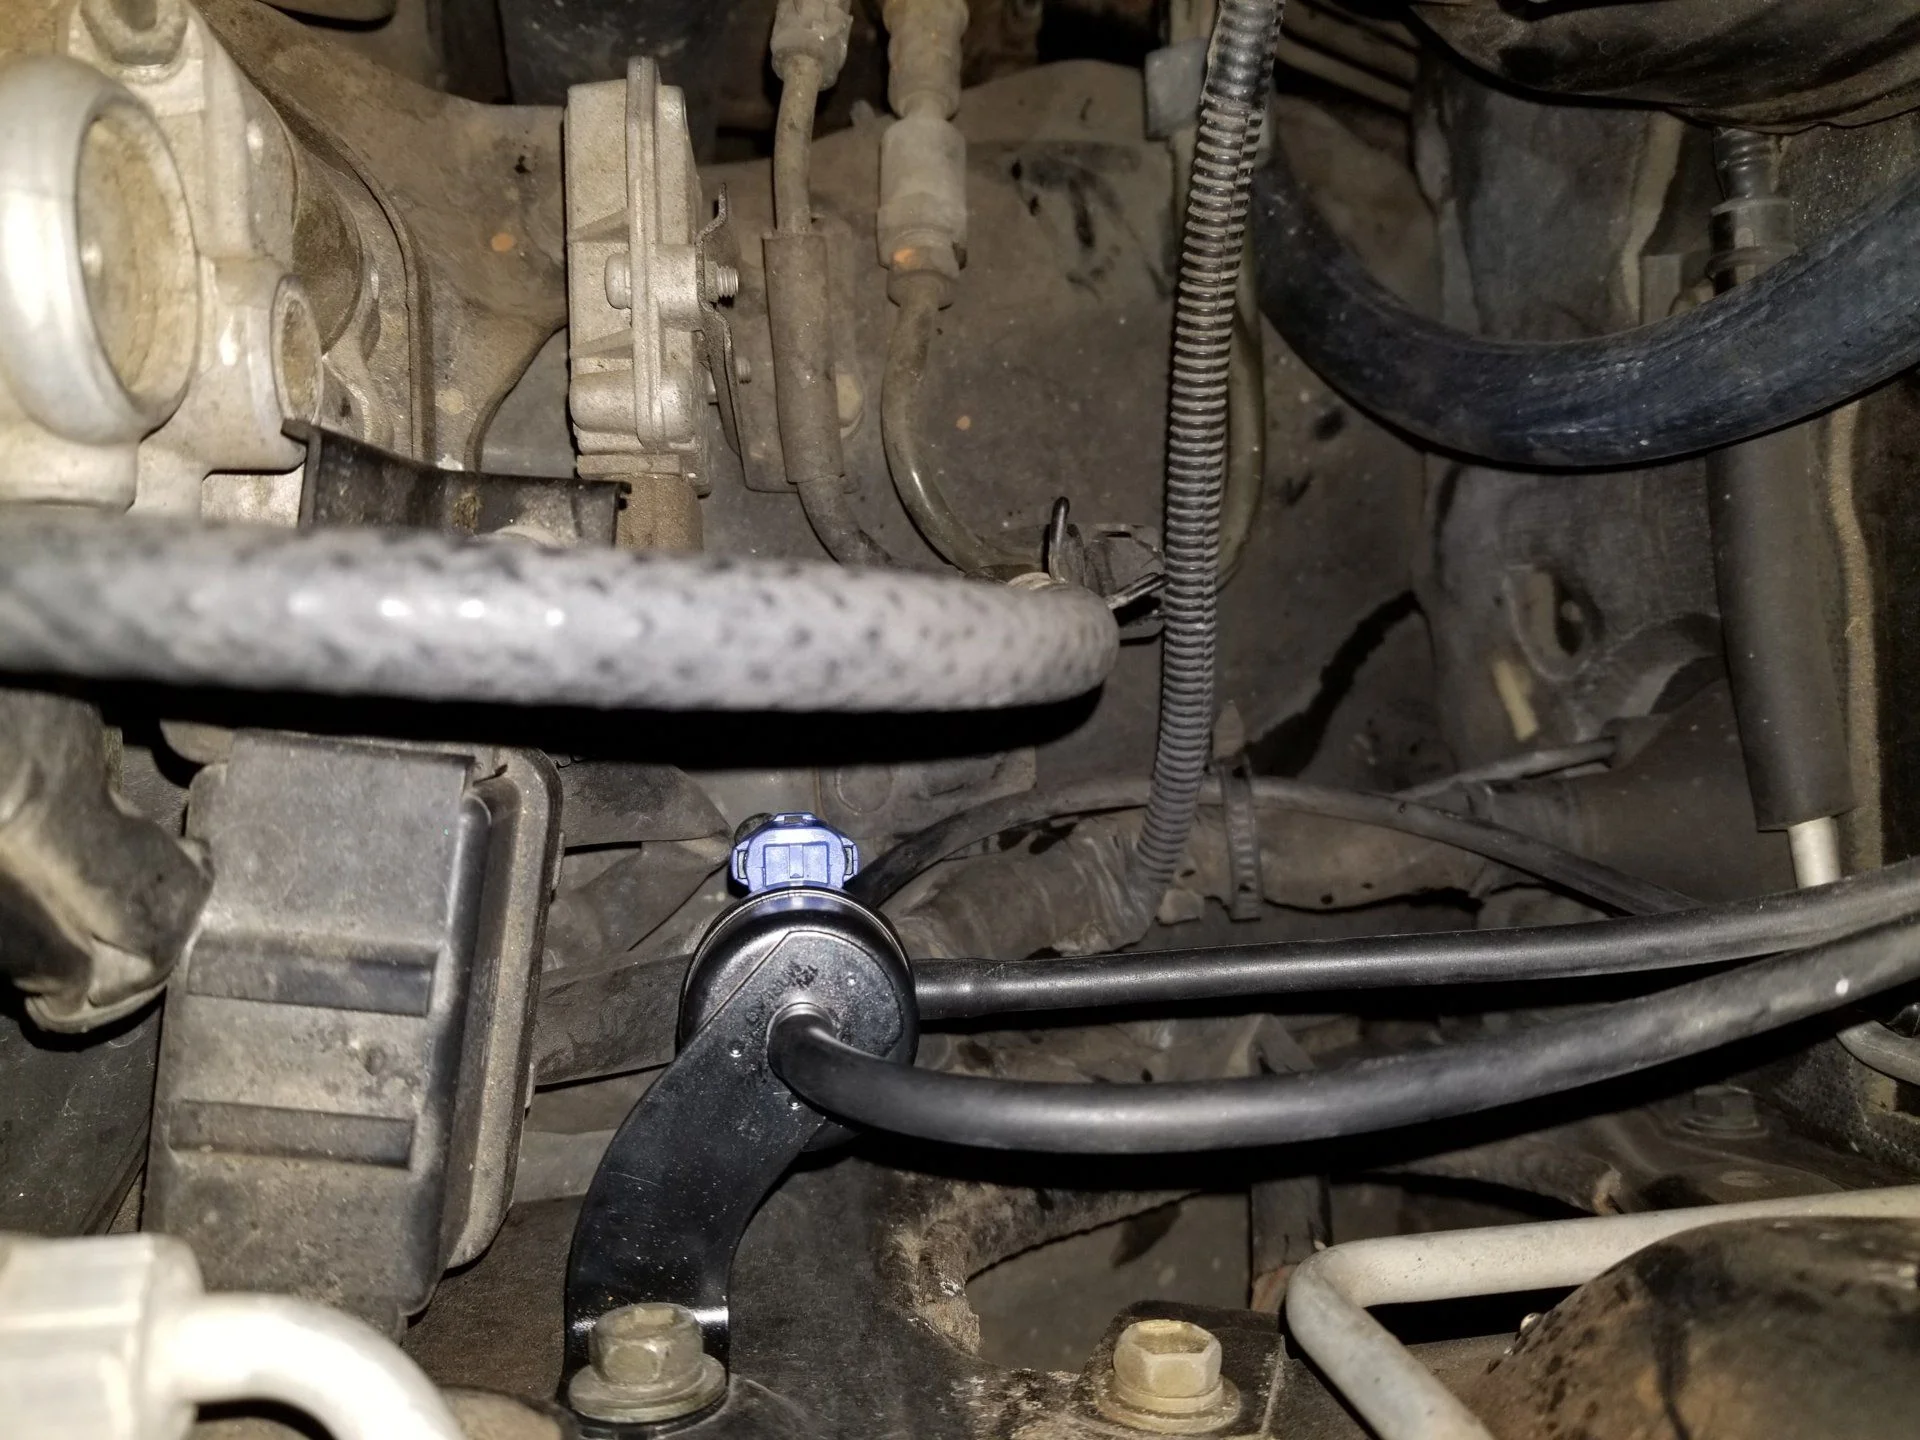
Lowes catch can mod installed. Will need to get a better hose setup to clean this up, but it's functional for now.

Off-road Jeep in it's natural habitat :flipoff2:

I also did the zip tie mod for the floppy drivers side mirror. Worked like a champ ... highly recommend.
 
New window belt runs installed. The rear doors and sliding windows just pry off. You will likely break the clips when you take them off, so make sure you have the new ones to go on. If your pieces are trash, like mine were, then they will likely just fall off. You a small flathead screwdriver to pry the bottom of the old clips up at an angle and they will release and come off.

For the front window runs, there is a screw towards the rear to remove:

Then remove the door panel. I tried to do it without this, but it was necessary, at least it was for me. Once you have the door panel off, find the wiring for the mirror and trace it up to where it attaches to an anchor point near the upper door hinge. Then find the anchor on the outside and pinch it with a pair of pliers so you can release the anchor and pull it into the door. The anchor is right near the head of the screwdriver

Remove the inner plastic piece in the corner of the window by prying the ball out near the top and then there are 2 small clips at the bottom that will pop out. Remove the three 10mm bolts holding the mirror in place and then gently begin to work the mirror free from the outside. There is another small clip on the front of the mirror that needs to release to get the mirror to pull out.

Once mirror is free, let it hang and remove the old run and clips in same manor as the other windows. Install the new run and screw and then reinstall the mirror, clip and door panel.

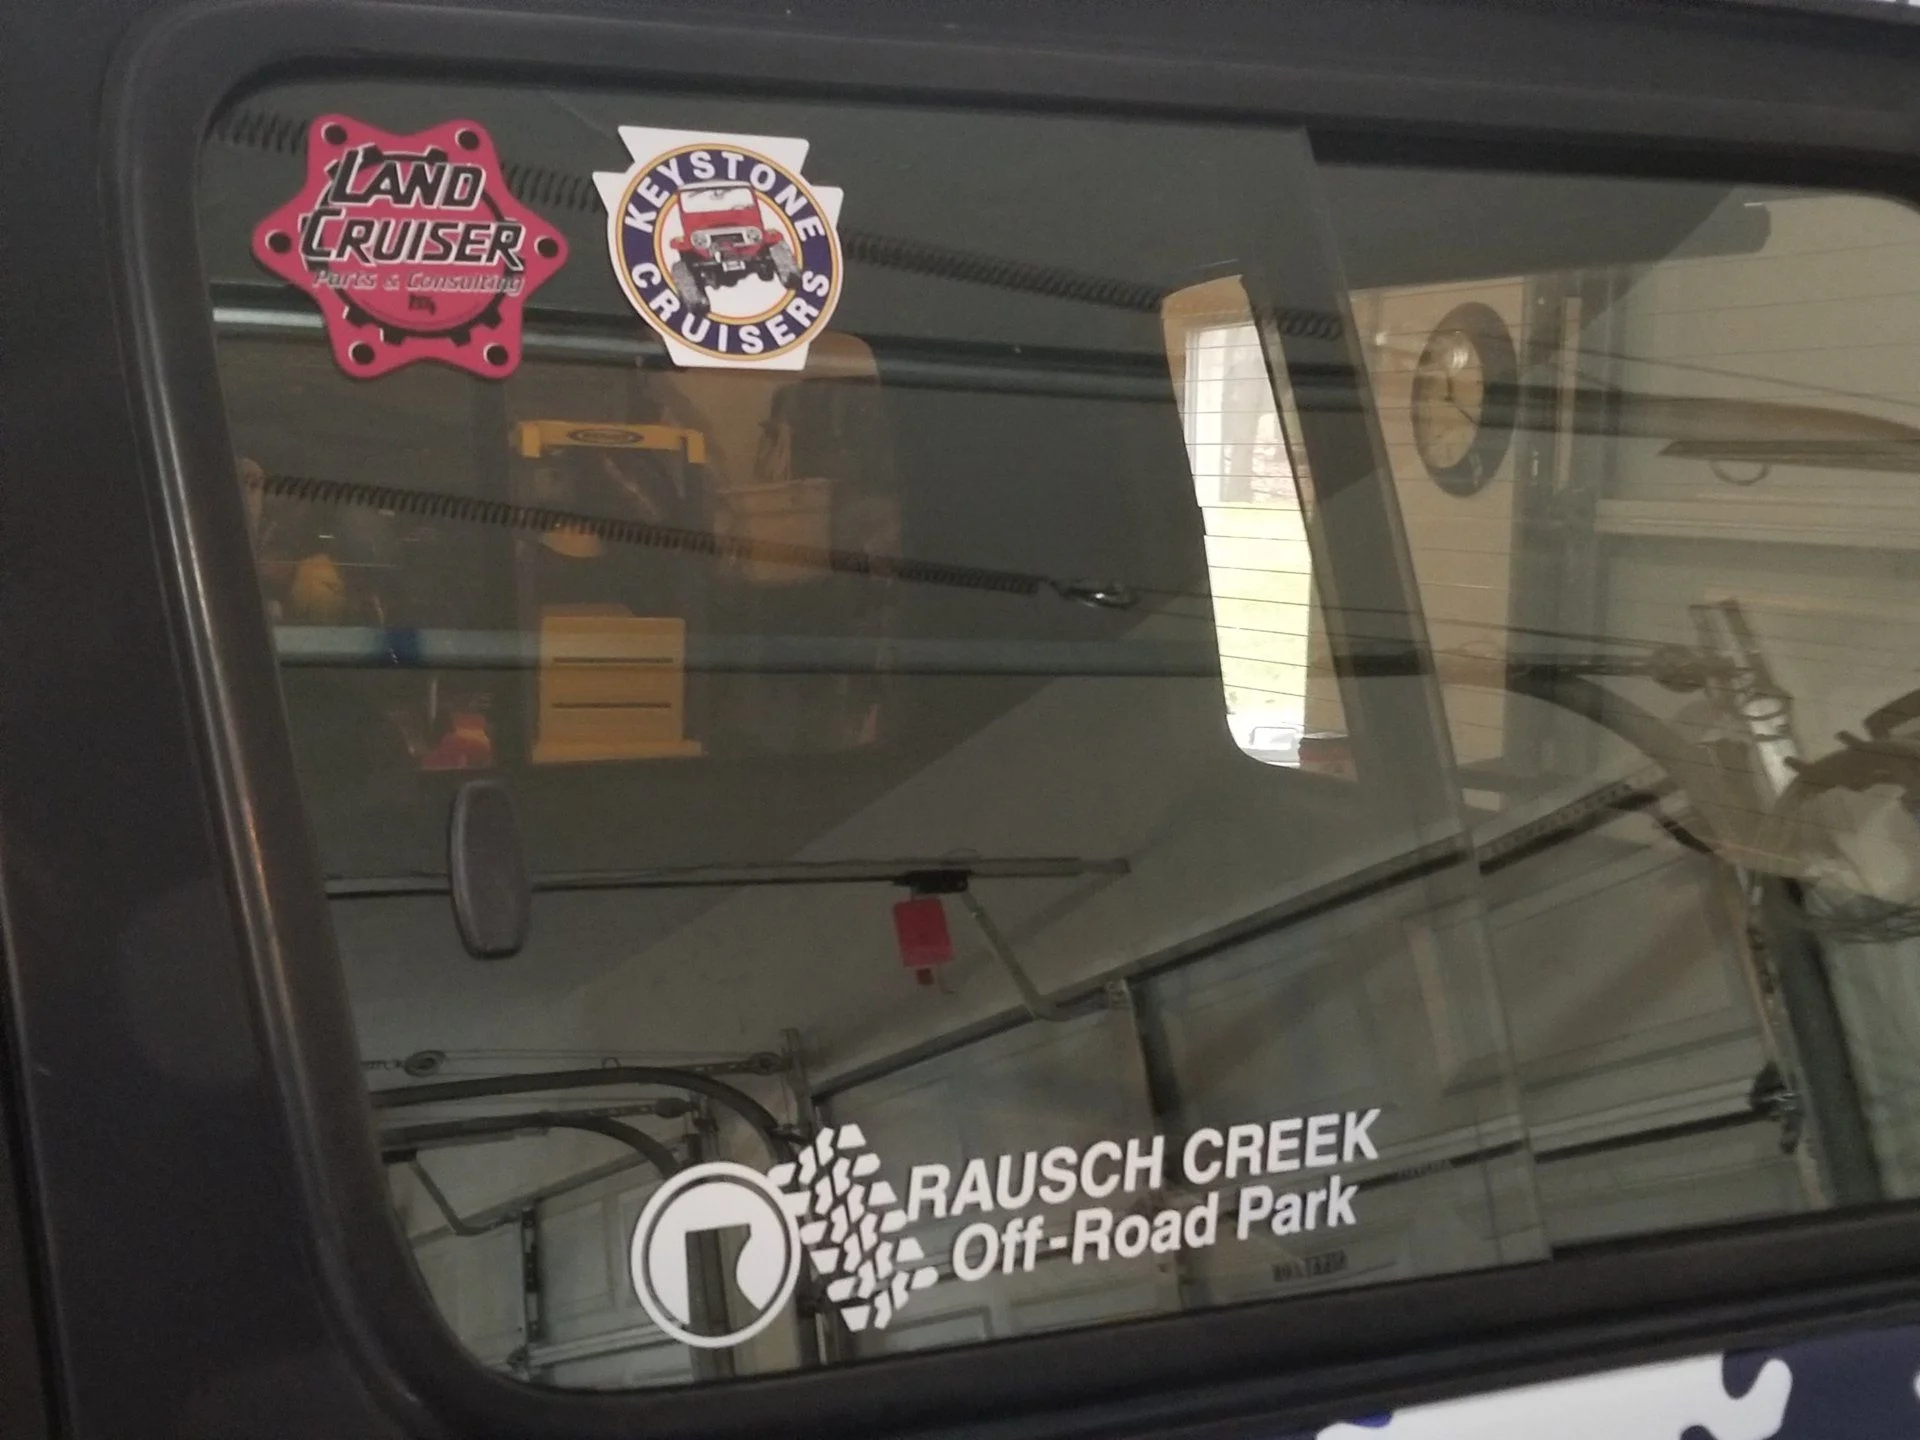
Put on some cool new stickers to feel good about yourself.
 
Seeing if I can get an answer here so I don't have to start another thread.


If the rear heater is deleted (mine is) should this lower hose still be attached? I thought I saw in another thread that lower pipe is deleted with the rear heater removed? Getting ready to do maint on the AC and cooling system in the coming weeks.
 
Yes, the lower hose on both sides of the heater valve is eliminated with the rear heater delete. Gates has a hose with a 90 degree bend and the correct diameter for this project. I will see if I can get the info or direct you to it.
 
I just did my bypass the other day and here's what I ended up with. 90* hose was a Dayco 80400, the rest was just bulk 5/8 hose. Here's some pics:

20180118_162211.webp
20180118_162235.webp
 
Had a few setbacks lately and then it has been way too cold for many weeks to accomplish anything. I guess I will start where the fail started. I rounded off the nut that tightens the AC compressor adjustment screw. I mean I really rounded it like a champion.

Finally got it removed with these. IRWIN is the brand. It came right off with a breaker bar even as jacked up as it was.

Truck is now back in it's natural state of being ... hood up and most of the front end off :censor:

The truck has been cooling just fine, but the coolant is still hella brown after several flushes and some Prestone cleaner. The inside of all the hoses are coated with what looks to be some sort of stop leak. It's brown and looks like mud. So much had built up in the radiator that when I pulled the plug, nothing came out until I stuck a small screwdriver in the hole.

I have developed a fairly beefy leak up front as well. I don't think its oil or coolant. Seems more like transmission or power steering fluid. Hard to track it down as it seems to be everywhere ... up top as high as the underside of the hood and dripping down the block as well. Def a driver's side issue. I think it may be the transmission hoses. Here is a look at the area ... open to suggestions.

Seems like its hitting the belts and/or fan and being sent everywhere on that side of the truck. These are the suspect lines ... much cleaned up.

I can see where the PO made a hella shady repair effort and one of the clamps is cutting into the hose a bit.

Final tally for today was 3 hornets nests (must be a thing in North Carolina where the truck sat for almost 2 years) and what looks like a grasshopper.

A bit of win ... Trail Tailor Recovery Points arrived. These will go on the rear.

 
Can anyone that has experienced a power steering pump failure let me know if they saw a similar mess pattern on their truck when the pump seal went bad? I'm getting a slight whine when I turn right and what feels like greater than normal resistance in the steering wheel, but it's not screaming when I turn. I don't want to replace the pump, but if I had to, now would be the time while everything else is out.

Oil spray pattern looks like this:

It went all the way up the side of the battery box as well.
 
Looking for a little real time help if possible. Finally got the valve cover off ... 4.5 hours later.

Getting ready to put on the new spark plug seals and not sure if I glaze with a little oil before install or not? The FSM has staggeringly little info about the whole process, basically just ... remove the valve cover, put valve cover back on.
 
Doing some housekeeping to use the thread as a reference for mileages when things got done.

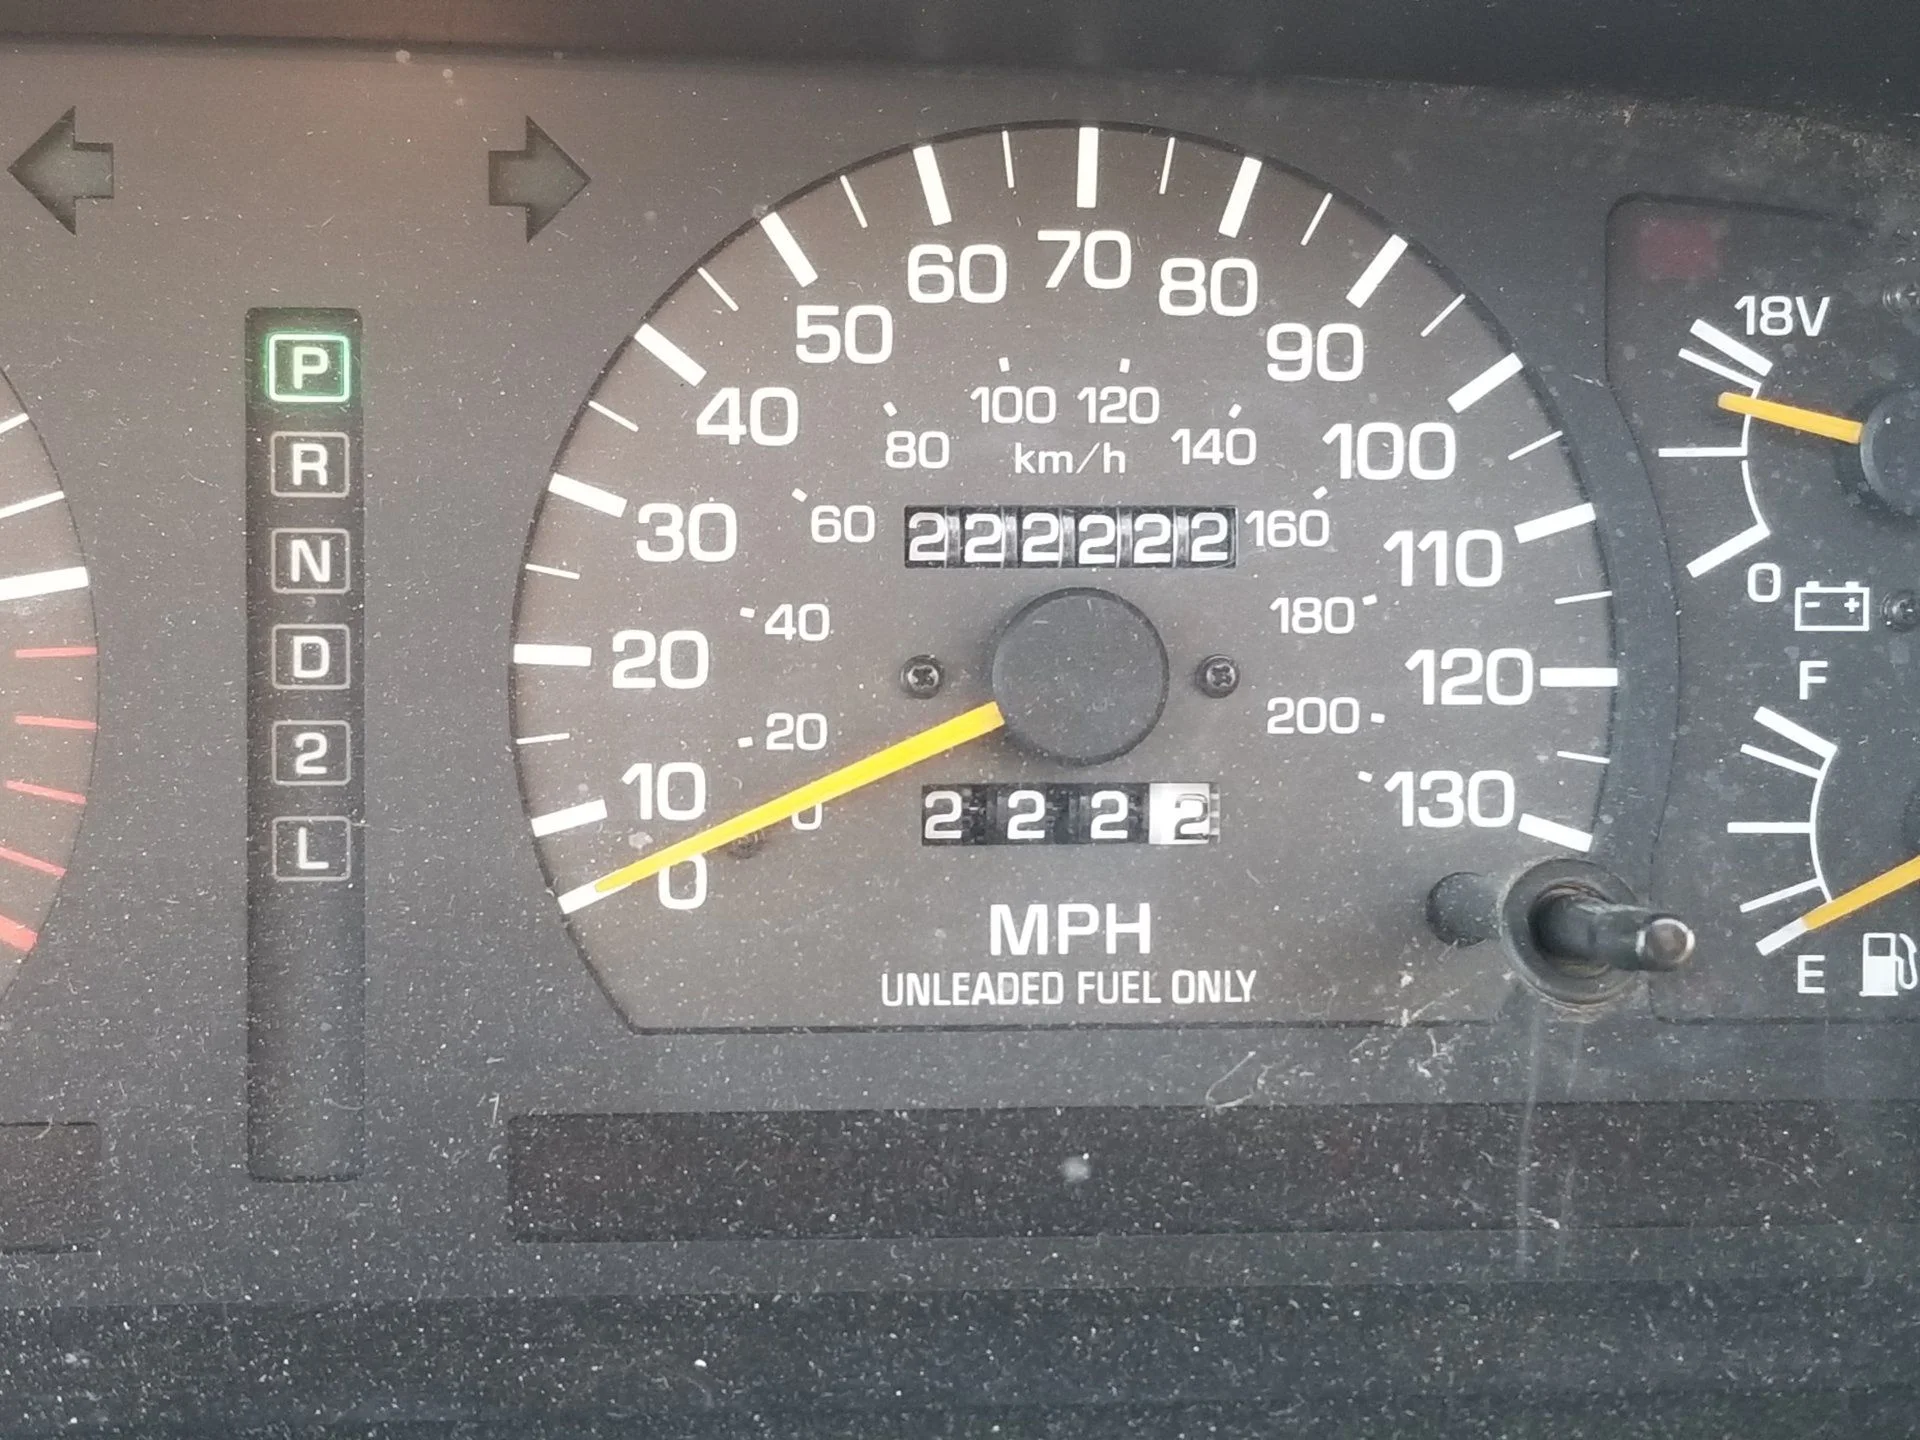
232K - Oil & Filer, new radiator, hoses, tx cooler hoses, valve cover gasket, spark plug gaskets, oil pump seal, front main seal, new AC compressor, belts, tensioners, trans speed sensor rewired.

20180315_114718.webp

20180331_130917.webp
20180331_112205.webp
20180315_114846.webp
20180224_155142.webp
 
233K - knuckle rebuild, wheel bearings, trunion bearings, front diff oil. New brake pads and rotors up front.

Pass side - dry as a bone
20180627_160646.webp


Drivers side - soup
20180630_154550.webp


Rebuilt and packed with grease
20180704_104118.webp


EBC green pads and new Napa rotors installed
20180704_135525.webp

20180704_135519.webp
 
233K - rear brake calipers, new EBC green pads and NAPA rotors, adjusted the LSPV up by maxing out the stock adjustment for better rear braking.

Threw a PO306 code - replaced plugs, wires, cap and rotor.

20180728_135422[1].webp


6 - 5 - 4
20180728_135432[1].webp


3 - 2 - 1
20180728_135443[1].webp
 
4x4 Labs front bumper and Warn VR10S winch w/wireless remote. Factor55 link, shackles, powertank air with 10lb bottles. Had the hose next to the PHH replaced at Toyota. I did the PHH, proved I could do it, no need to further hurt my feelings.

20180402_101932.webp
20180402_191644.webp
20180402_191329.webp

20180526_112606[1].webp
20180331_140657.webp
 
White knuckle sliders and 1" body lift, cruisin' offroad skid plates for trans and tx case installed.
20180227_175537.webp
20180305_162846.webp
20180215_100254.webp
20180305_162857.webp


Truck is sitting empty with no gear and front springs are less than 2" off the bump stops. Can't wheel this way - lift and suspension ordered.
20180704_104132[1].webp
 
Back
Top Bottom