
Cruiser Rescue Project

This site may earn a commission from merchant affiliate
links, including eBay, Amazon, Skimlinks, and others.

That's from a possible mixing of red and green coolant. That's EXACTLY what mine looked like when I got it.

It was a brown sludge inside everything.

Unfortunately, my radiator exploded (due to sudden stoppage of a water pump due to bad belts) and the radiator cap was gunked up like yours and could NOT relieve. Split the entire top lengthwise.

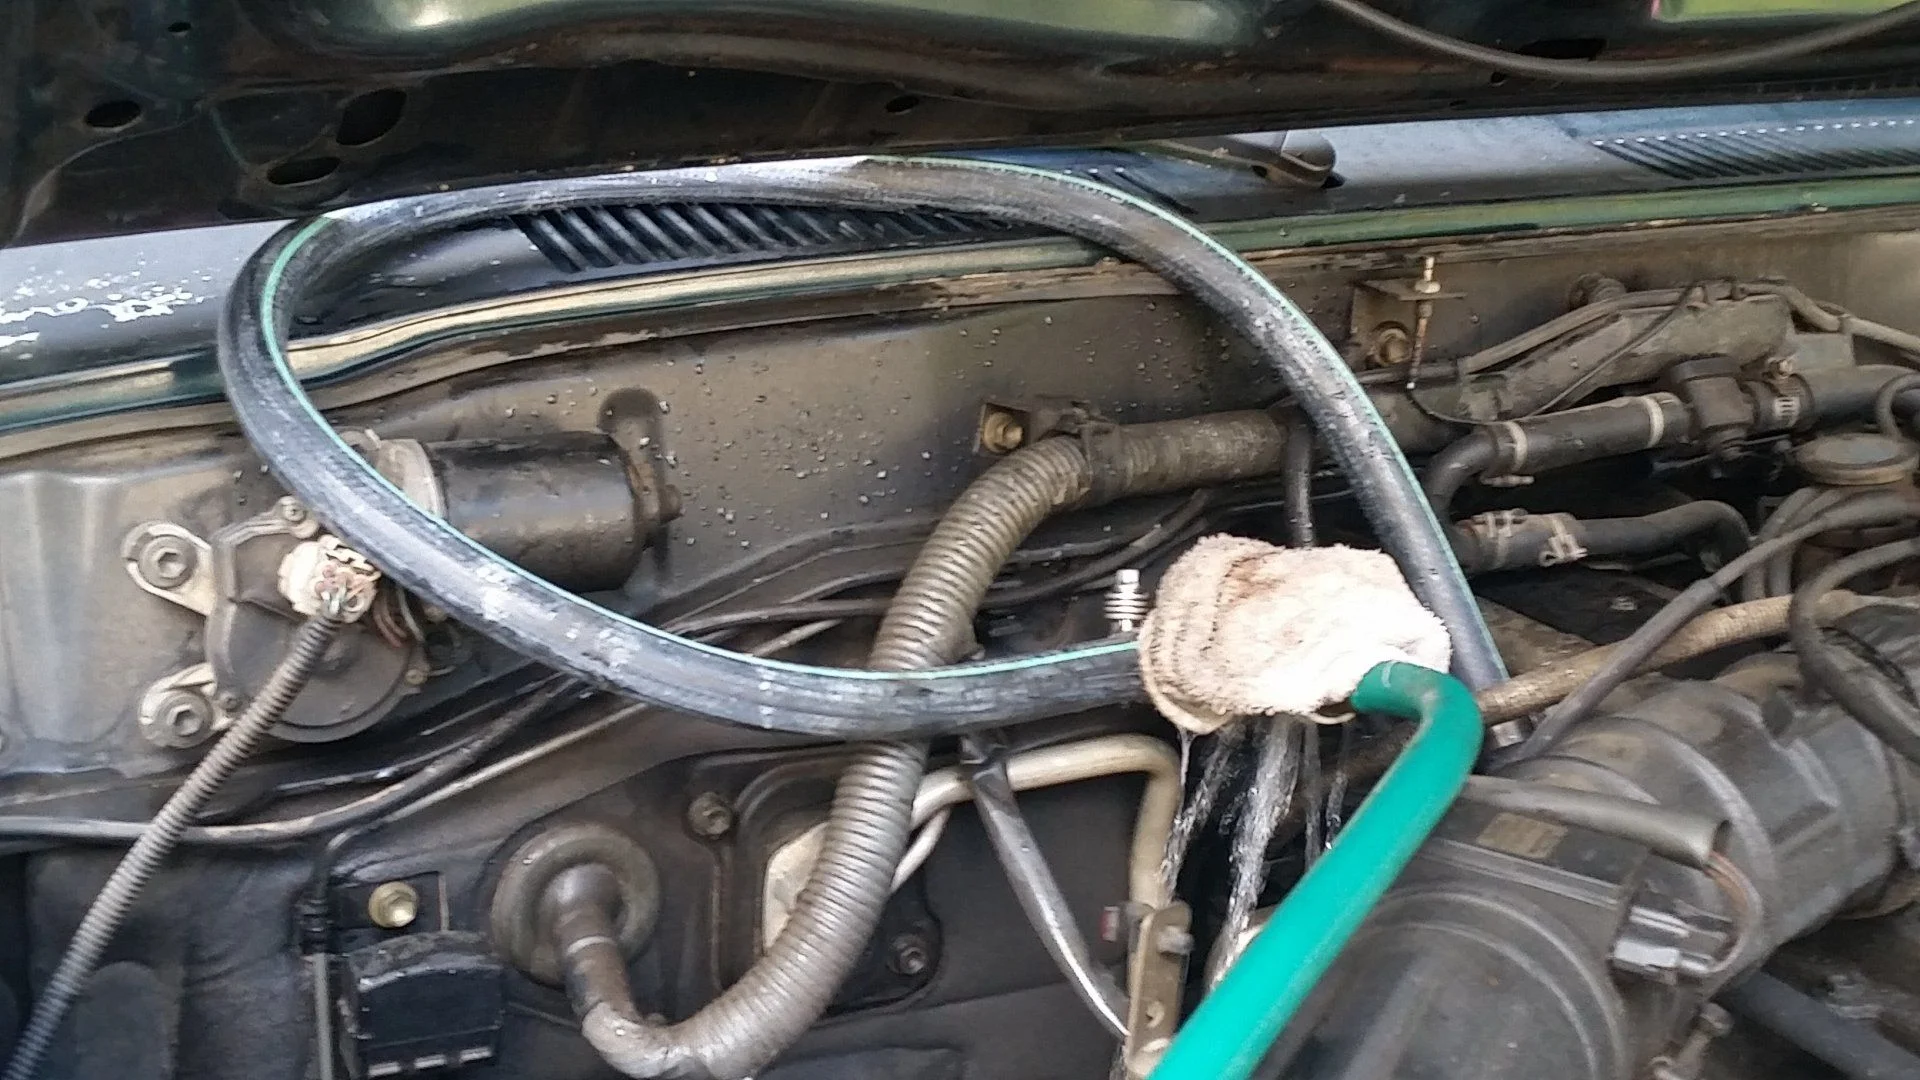
I flushed with a garden hose for 20-30 minutes in and out of every hose and orifice that water was supposed to be. I forward flushed, backward flushed, then just let it run until it was clear.

I installed a new OEM radiator (because I had to), and since I was there, I did ALL new hoses (Don't forget the rear heater lines and the PHH) so you don;t have to do a full drain again later.

Make sure you drain the block plug also (accessible from the LF fender with (4) 6" extensions and a deep well hex socket I used 3/8" drive)

After you get it all open and parts changed, fill it with DISTILLED water and drive it for a day, then drain and do it again. I did this part 6 times and it still had a FAINT tinge of brown to it. So, I used about 24 gallons of distilled water total.

When that was enough, I drained it all down, including the block plug, then poured in one gallon of unmixed coolant (I used red because that was all the rage.) Use green now because it is CDan approved and it is a WHOLE lot more available and less expensive.
Then pour in one gallon of distilled water.
Then mix the remaining gallons in your empty container to 50/50 mix and start pouring in until full. Make sure the front end is pointed uphill (like on ramps or higher).

Don't forget to rinse out (wash) the coolant overflow bottle. Fill it to the correct full-cold line.

Start the truck and let it idle with the cap off and continue to fill it until is starts to warm up and overflow the radiator. Install the cap and drive it.

Park it back on the ramps to let it sit overnight and cool.

Check the coolant level in the morning for both the radiator AND the overflow bottle, topping off both with 50/50 mix. It may take 3-4 day (times) of doing this to get all the air out of the system. This is called "burping" the system.

You'll need about 4 gallons of unmixed coolant and the distilled water was in the amount listed in the middle (24 gal)
 
Feel your pain. Bought same year n color as donor. I paid 2600$cdn couldn't be reregistered as it was a write off. Axles worth a grand each to me so was easy decision. Pulled harness and there are several plugs with no mate. I'll check my truck about fuse location etc
 
Slow progress made ... after much frustration, took it to Toyota Dealer and had them repair the OBD port. It's was a short in the harness. Asked to see the tech so he could show me where he found it ... no dice, just the service manager regurgitating what I was already told. It works now, so I'm good with that.

Began step 2 of the radiator flush after running distilled water for a week. Pulled the bottom main hose and drained the radiator, then pulled the top hose and stuck the garden hose in that opening ... looked like a morning dump after a night of hard drinking and Taco Bell. Ran that for maybe 20 mins moving between the cap and top openings.

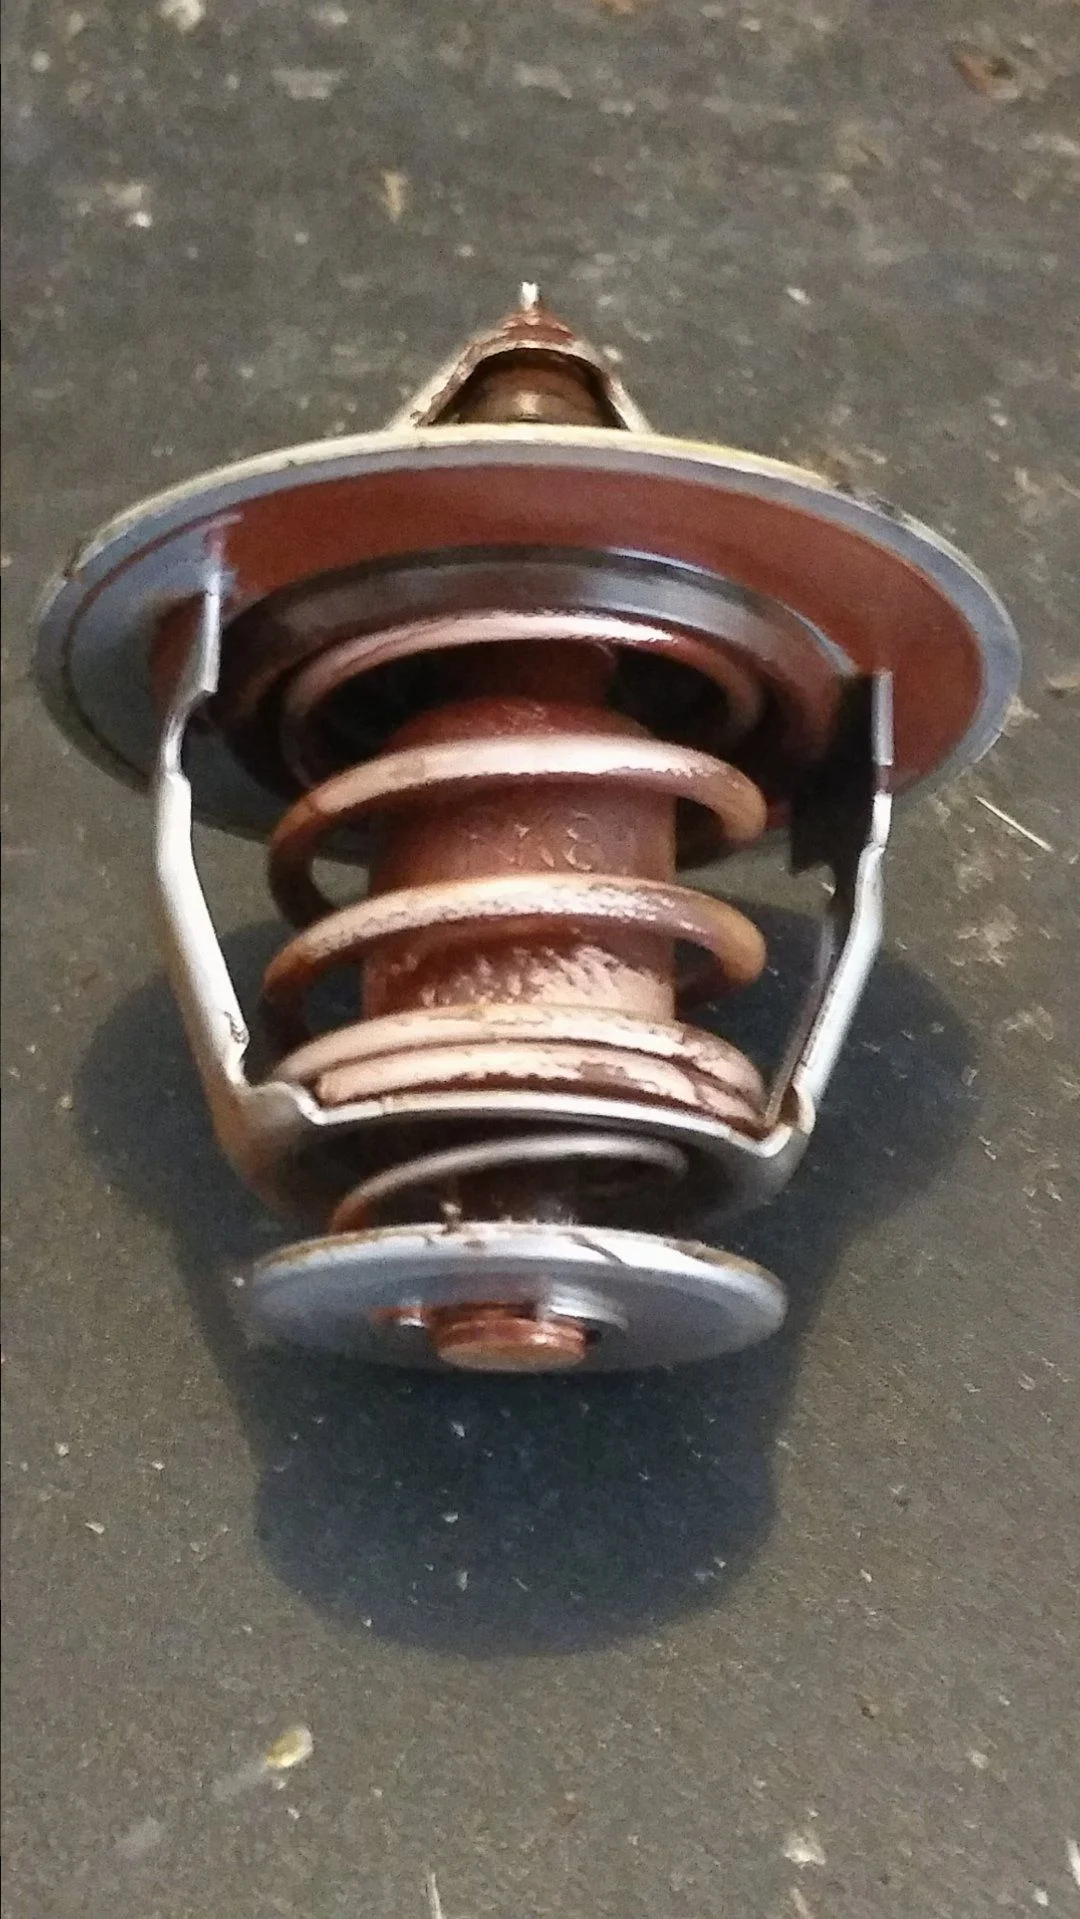
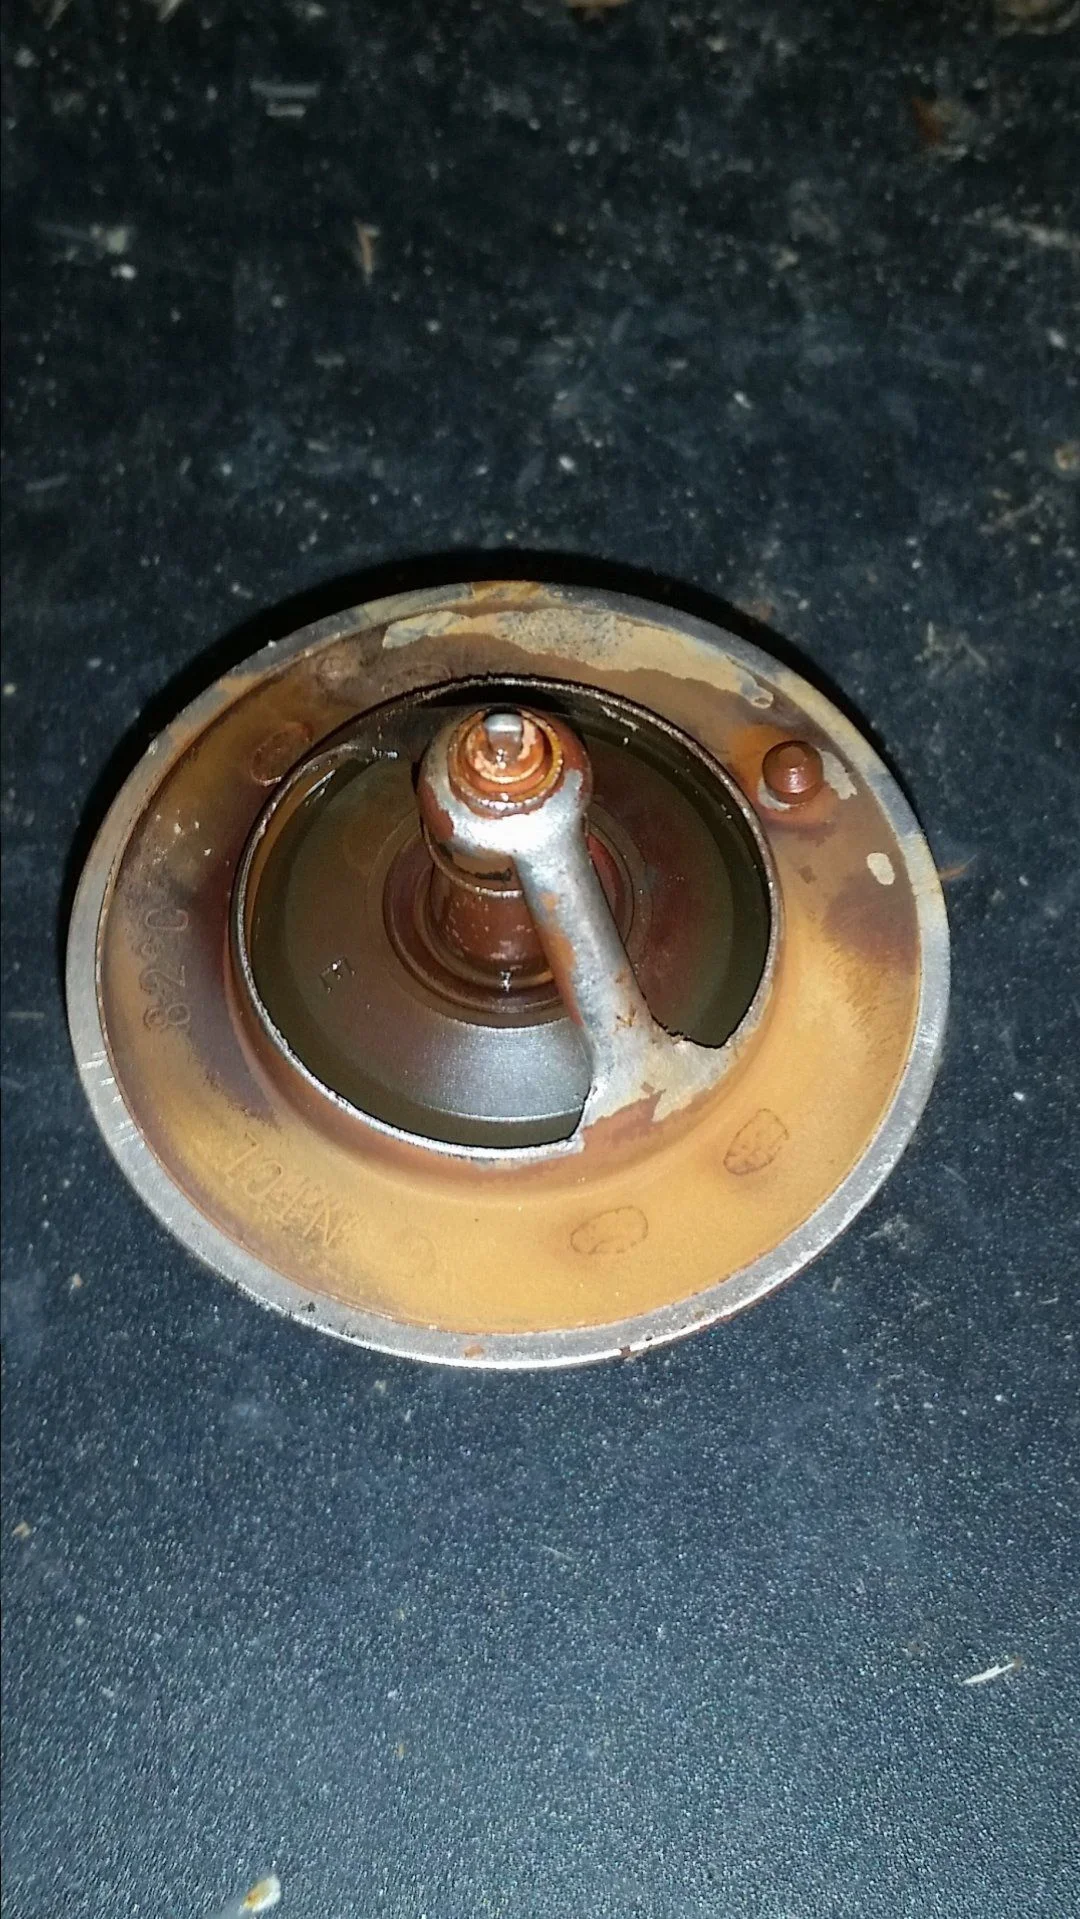
Step 3 ... pull the thermostat, button things up, fill system with tap water and hook up flush kit. Non approved use of the new hose and clamps purchased from Wit's End for the PHH Mod :doh:

Thermo :poop:

Step 4 ... Remove the radiator plug, have a moment of wonder when you have the plug out and nothing comes out of the radiator. Get a small screwdriver to poke in the hole, then begin swearing when you are under the truck covered in muck.
Turn on the truck and set heat to high. Turn on hose enough to keep the radiator filled. I left the cap off for this. Drink a :beer: as you marvel at how s***ty the coolant looks. Take your time and drink slow. It took maybe 30 mins to get the water to clear.
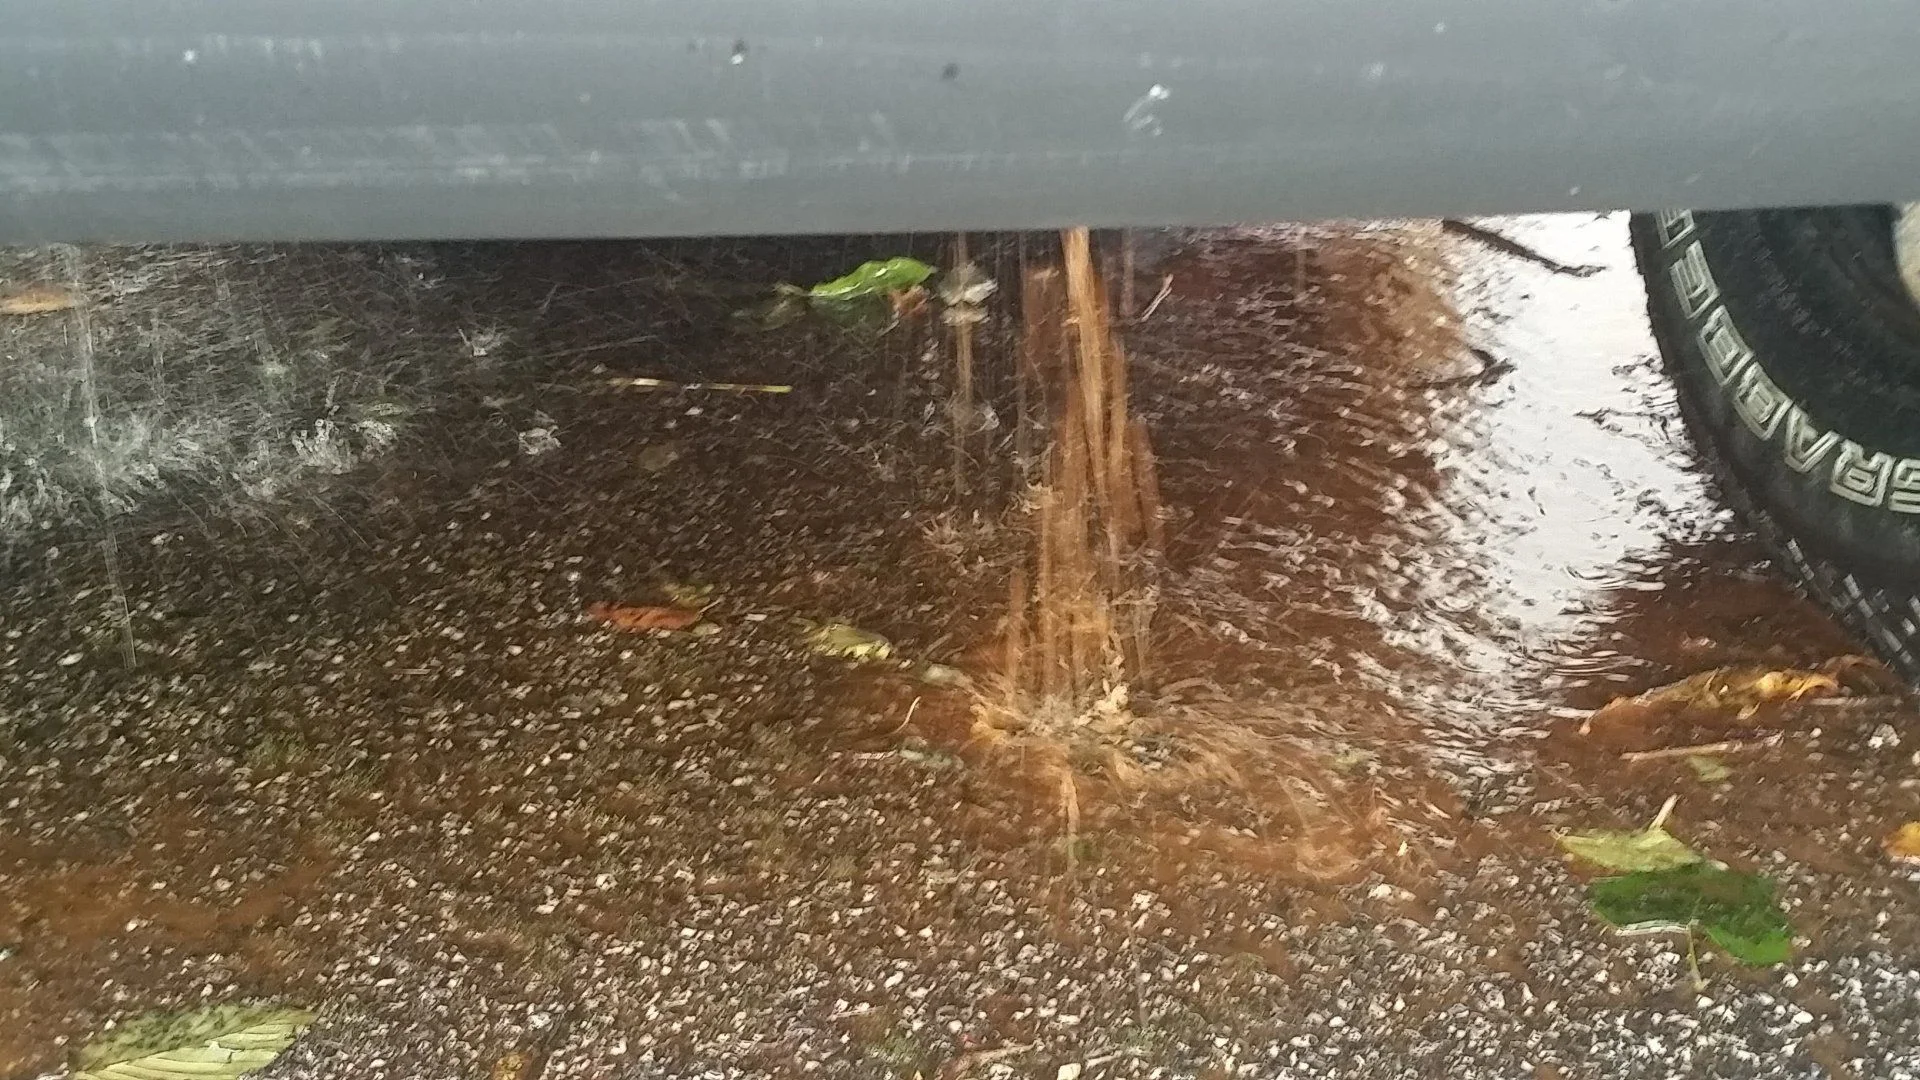
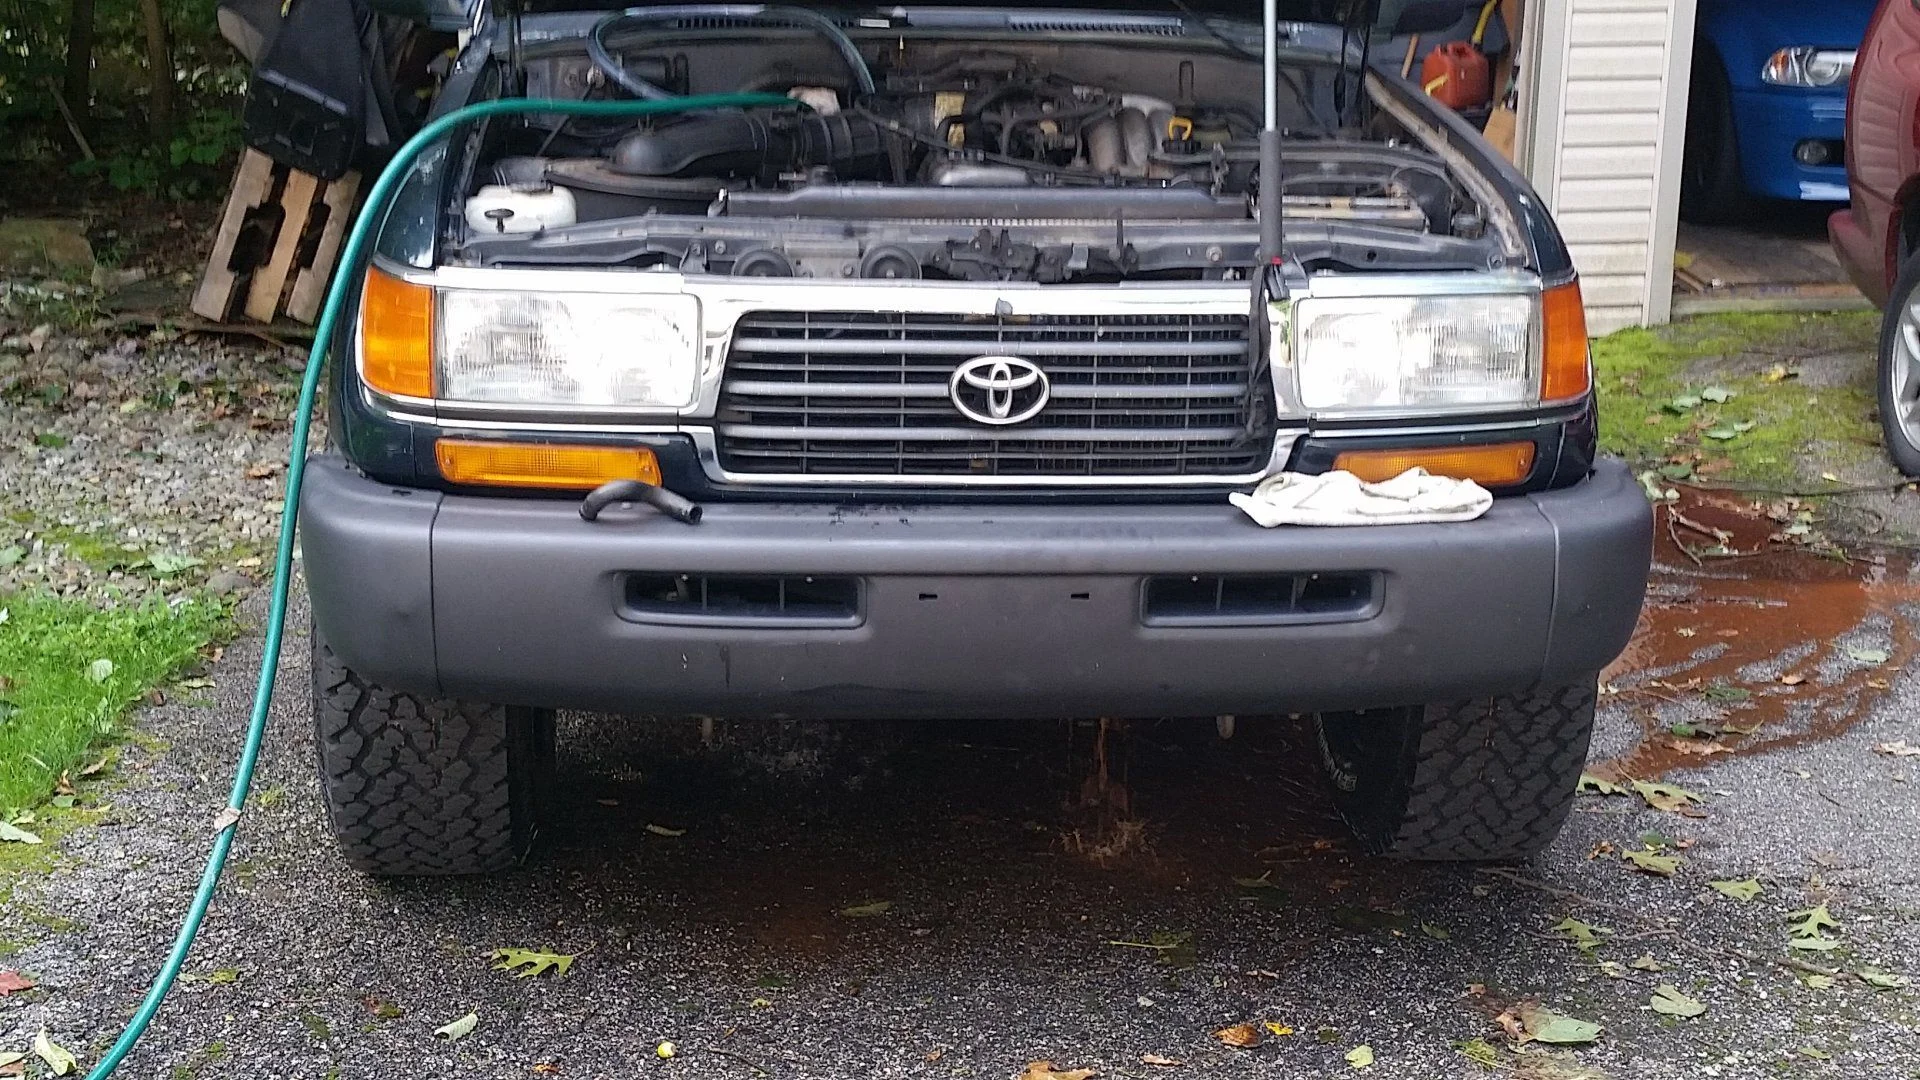
Step 5 ... put everything back where it belongs. Swear a bit trying to seat the new thermo in the housing with the new gasket. It might work better bolting things up with just the gasket first, then putting the thermo in :meh: Do NOT break off one of the bolts holding the heat shield on over the exhaust manifold ... this may or may not have happened. Having the shield off helped a lot with seating the thermo. Put in fresh green 50/50 mix.
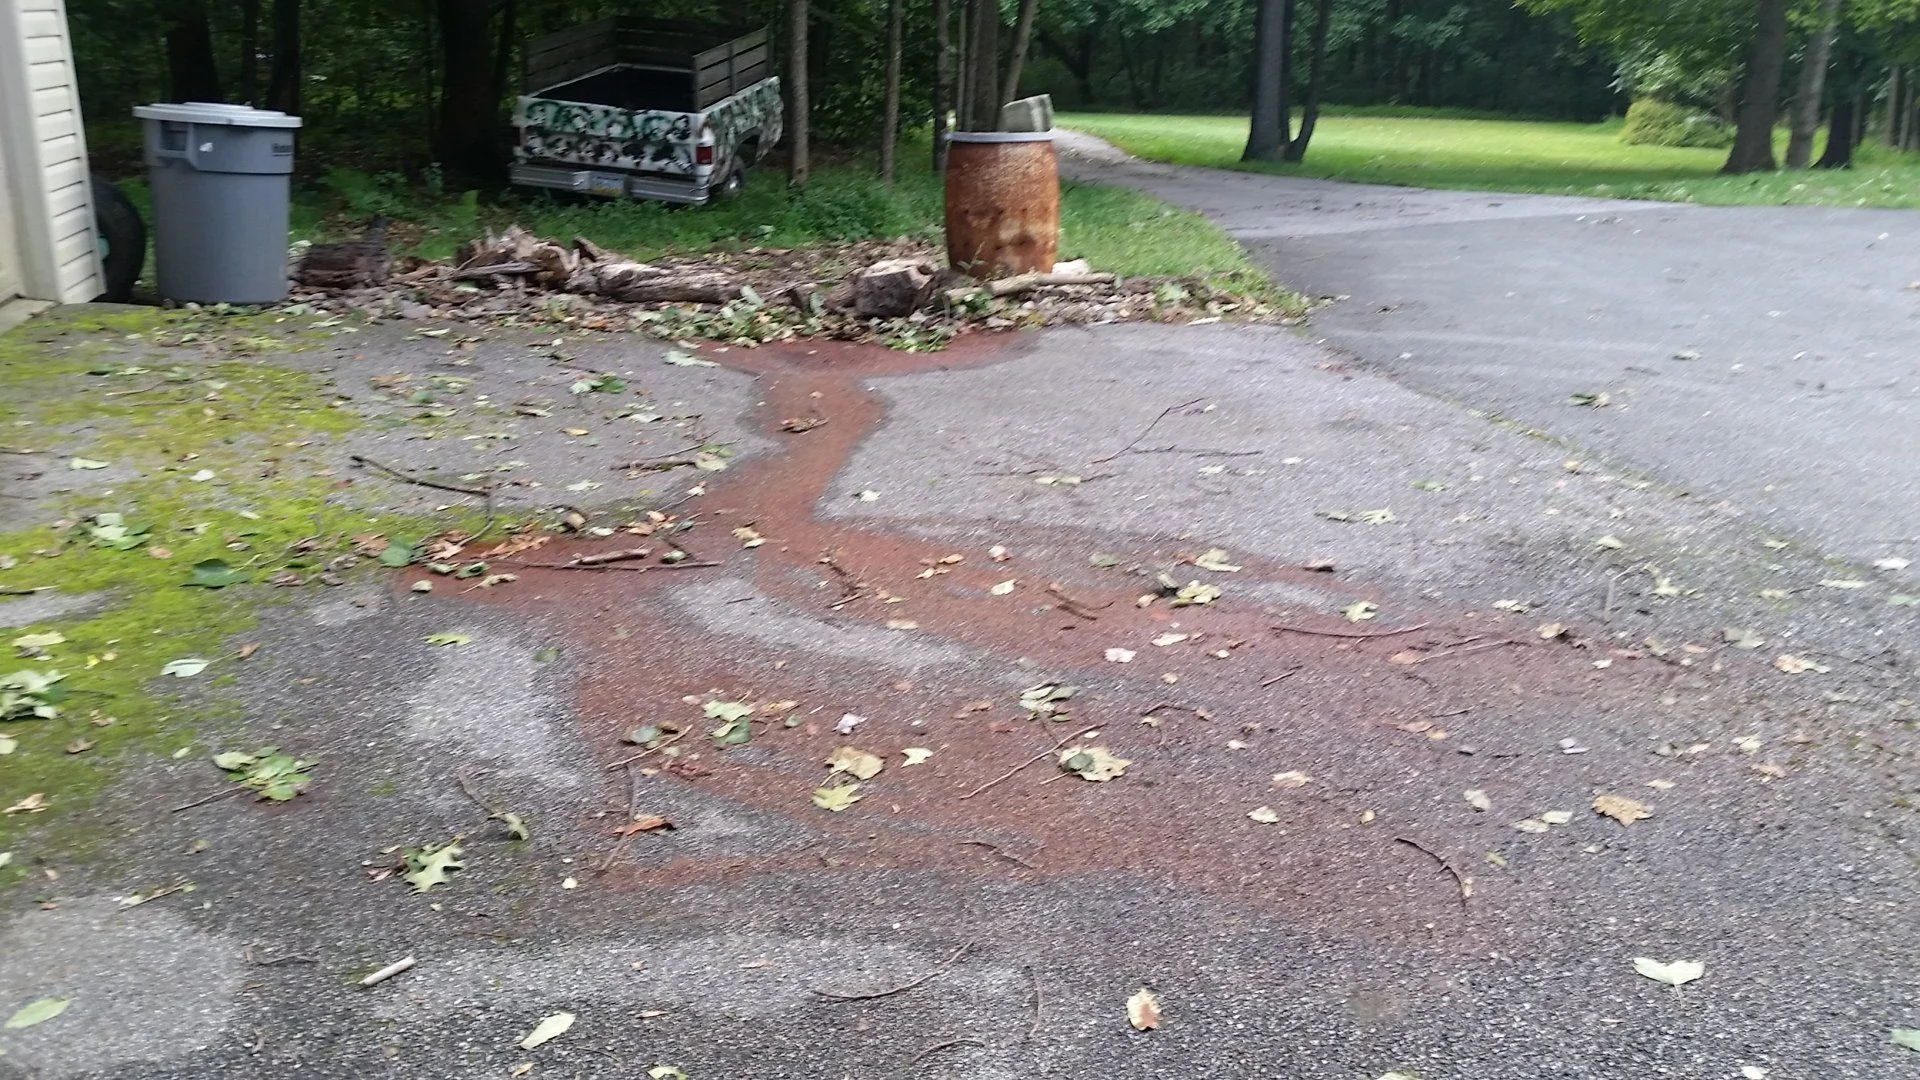
Step 6 ... (Optional - May noy be required) Drink 2 more beers, then explain to wife why the driveway is all jacked up.

Going to run this for a week or two while checking the color in the overflow. If it stays green I will likely leave it alone. If it gets brown again I will swap out the radiator, hoses and thermo again as well as all the coolant of course. The hoses still had the rust color grit in them, the metal pipes much less so.

I let the truck idle for a while after buttoning things up and saw 122*F vent temp with the heat on. Is this in the ballpark for normal? Ran the truck in 65*F ambient temps today for an hour, some bumper to bumper stop and go traffic, and saw coolant temps max at 182*F. Pretty happy with that.
 
The only thing I would have done different is to use only distilled water for the final fill with the coolant, not tap water. I would have flushed and drove with distilled between the tap water rinse and the final fill.

I did (6) distilled water drive/flushes with mine.
 
The only thing I would have done different is to use only distilled water for the final fill with the coolant, not tap water. I would have flushed and drove with distilled between the tap water rinse and the final fill.

I did (6) distilled water drive/flushes with mine.

The final fill was 50/50 pre-mix (cause I'm lazy like that) and the final gallon of the distilled I had on hand. Checked the overflow today and it's already a bit murky. Not sure it's worth spending all the money to change to all new componenets if it's cooling fine? I will eventually be using this truck offroad, so not sure on the best course of action. Thoughts?
 
Last edited:
Looked through many of the fenser flare threads and see that many used metal HVAC tape over the holes and then did liner over that. My truck is already gutted, so I went ahead and removed the rear door panels for access to the flare holes there too, no problem.

My issue is with the fenders. Can the inner metal liners be removed (with or without taking the wheel off) or does the whole fender have to come off to reach the holes from the backside to apply tape? My goal was to tape the backsides, then bondo the holes, sand down and have liner applied.

While on the liner subject. I have a quote for Rhino lining:

1. Mid Door & down $1250
2. Entire Exterior $2500
3. Entire Interior & Exterior (Incl R&I of Interior) $ 3500

Seem reasonable or possibly better to buy a kit and do it myself?
 
To make your hood fit right, you have the two corner pads up front right? Raise those up quite a bit till its right between the hood and pads and still closes , that should fix the hood then line up all the lines meaning the front of the hood to the front of fenders then side to side make the gap even, let me know if you don't understand I'll take some pics
 
Last edited:
Just go buy some monster liner or Als or whatever do it yourself save couple grand , make sure you put thermostat back in with the flopper at 12 clock, if it were me and being a truck that's going to out from civilization I'd replace the radatior and hoses so you know it's good, flush the engine few more times and drive for bit then replace
 
The final fill was 50/50 pre-mix (cause I'm lazy like that) and the final gallon of the distilled I had on hand. Checked the overflow today and it's already a bit murky. Not sure it's worth spending all the money to change to all new componenets if it's cooling fine? I will eventually be using this truck offroad, so not sure on the best course of action. Thoughts?


Change your coolant again in two years but use distilled next time.

Go with a Monstaliner kit for inside and out. A number of folks here have done this. Do a Search for it. IIRC the Monstaliner kit is about $500 and a weekend of your time.

It takes a while for the interior smell to dissipate. That's why some do Dynamat then some epoxy coating that's really thick. Search lining the interior for ideas.
 
To make your hood fit right, you have the two corner pads up front right? Raise those up quite a bit till its right between the hood and pads and still closes , that should fix the hood then line up all the lines meaning the front of the hood to the front of fenders then side to side make the gap even, let me know if you don't understand I'll take some pics

I have the two corner pads and they make contact with the hood when closed. The issue I was having was the center rear of the hood was catching on the cowl when I opened it. I put washers between the hinges and hood in the rear and solved that issue (used 2 washers and can likely pull to a single). That allows the hood to clear the cowl and the hood now opens when I pull the release in the cabin. It's just a bit raised in the rear now, but better than it was and now lines up in the front with the fenders.

Overall, I think the hood is a cheap aftermerket knockoff. It doesn't even have holes for the wiper nozzles. I will have more on that tonight with some pics. Meanwhile I will do some Monstaliner research. I have to keep reminding myself that this is supposed to be a budget build and things don't need to look perfect.

Found a youtube vid late last night about reaching the flare holes in the fender through the corner light hole and an access panel under the antenna area. Will check on that tonight as well if time permits, but pass side fender might have to come off anyway to do a mod for the antenna and to realign the pass side door as soon as the hinges show up from FloridaFJ80 (he's not in Florida, so no storm danger).
 
Question of the day ...

Can I use the stock radio from my 97 LX450 in my 97 Land Cruiser? Will it just plug right into the harness or no? Did a quick search but no result found.

NVM ... just found my answer: Lexus radio swap, easy or not?

Best Buy or Crutchfeild here I come
 
Small slow progress, trying not to get overwhelmed by the ever growing list of things and money needed to feel like things are moving forward. Stole the aftermarket front speakers out of the LX450 last night, got tired of listing to the radio out of what sounded like a tin can. For added fun, the plastic (teflon?) coating on the pass side front door wore off and stuck the lock mechanism in the shut position so the door wouldn't latch. That door will need to come off and new hinges put on to get the door back where it belongs and not pinching the fender and causing it to dent. Waiting for parts from FloridaFJ80 for 10 days now ... c'mon man, put it in the mail or send my money back :mad:

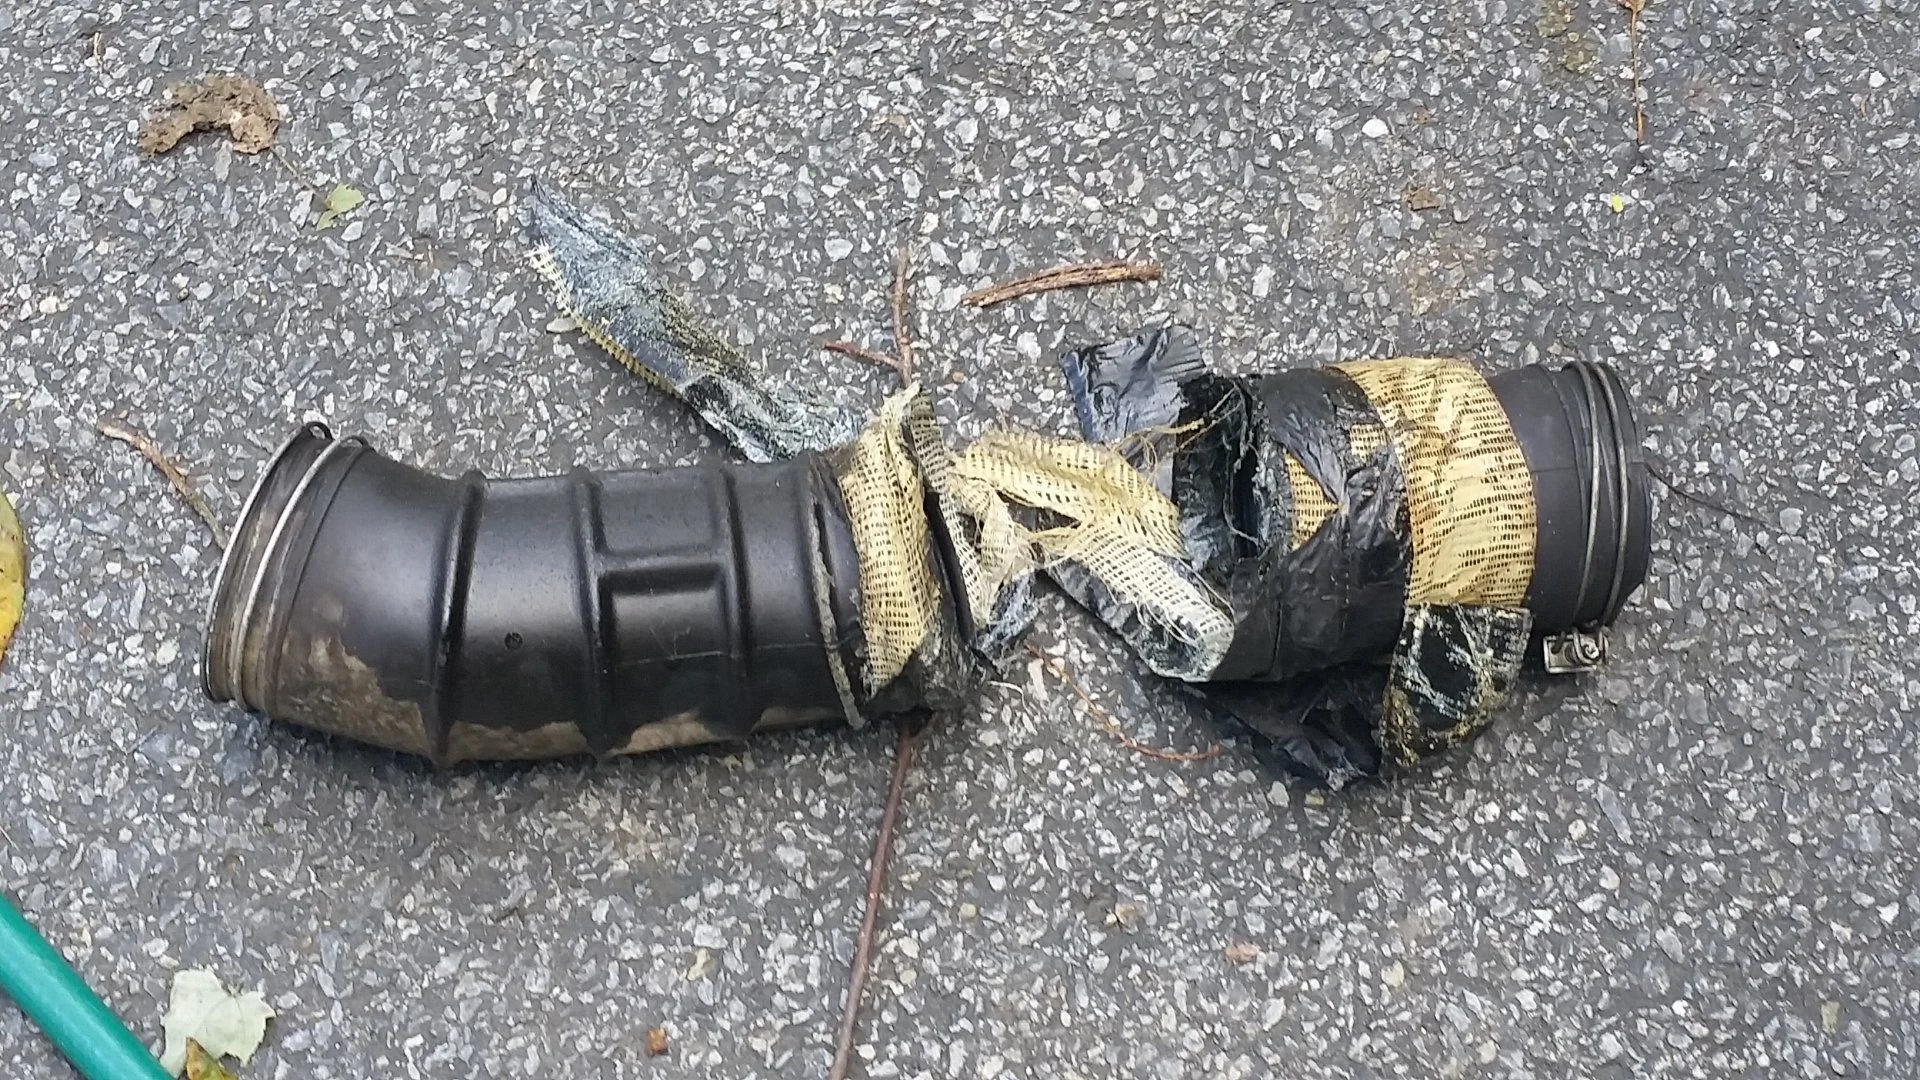
Stole the intake off the Lex as well as the one the PO had on this truck looks like it was taped together with duct tape.

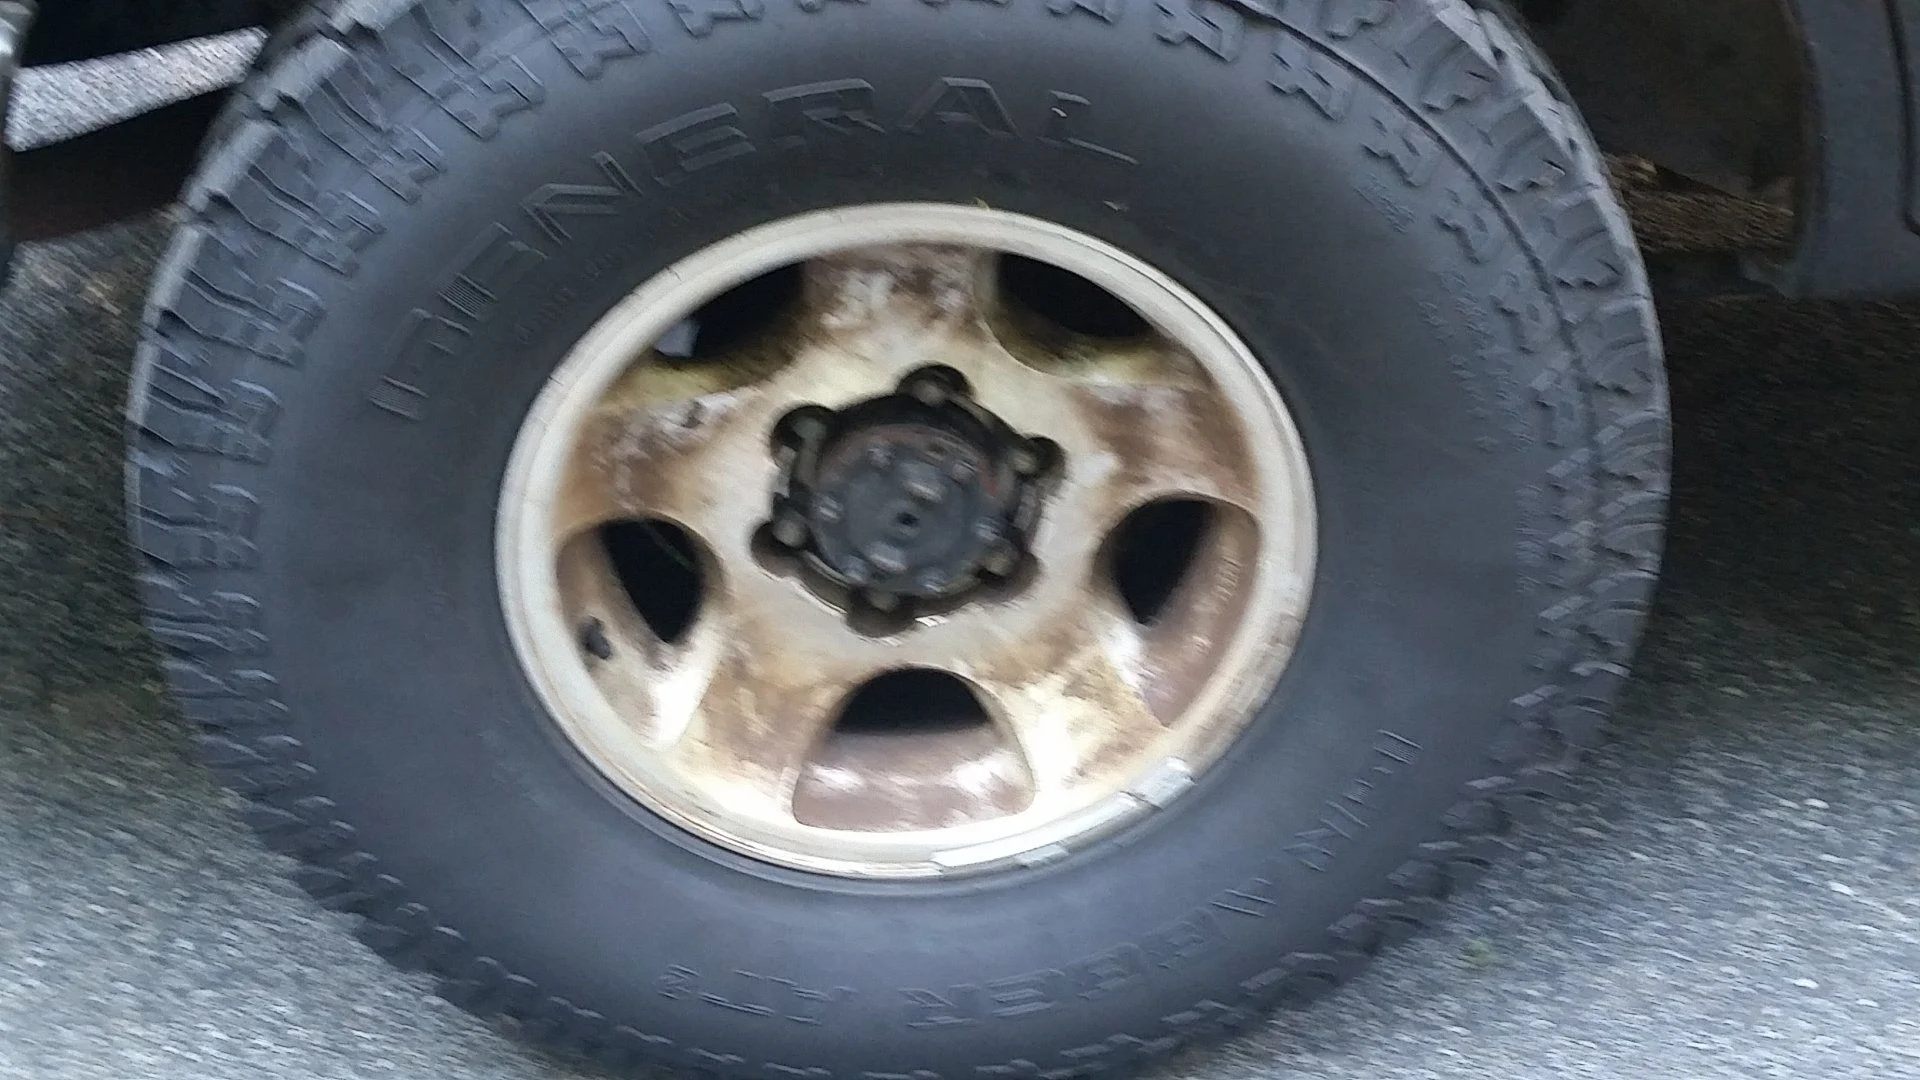
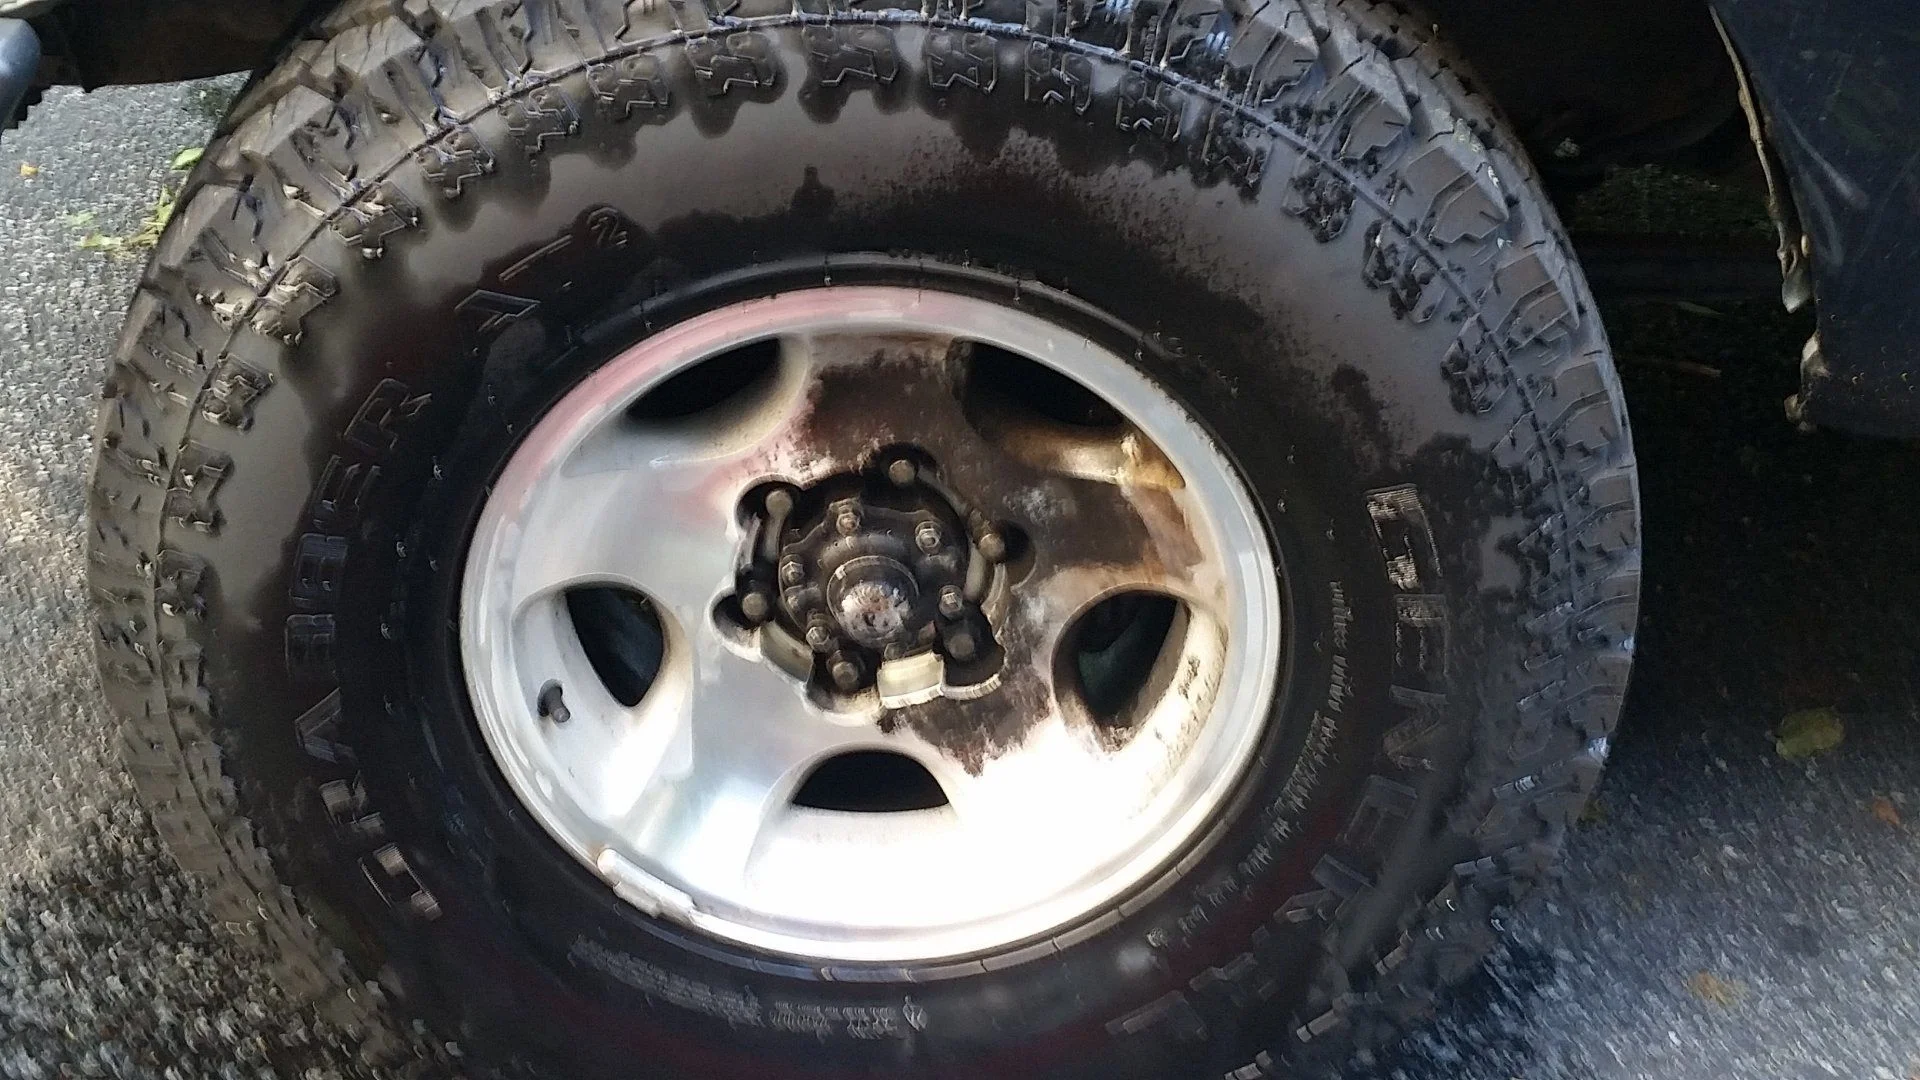
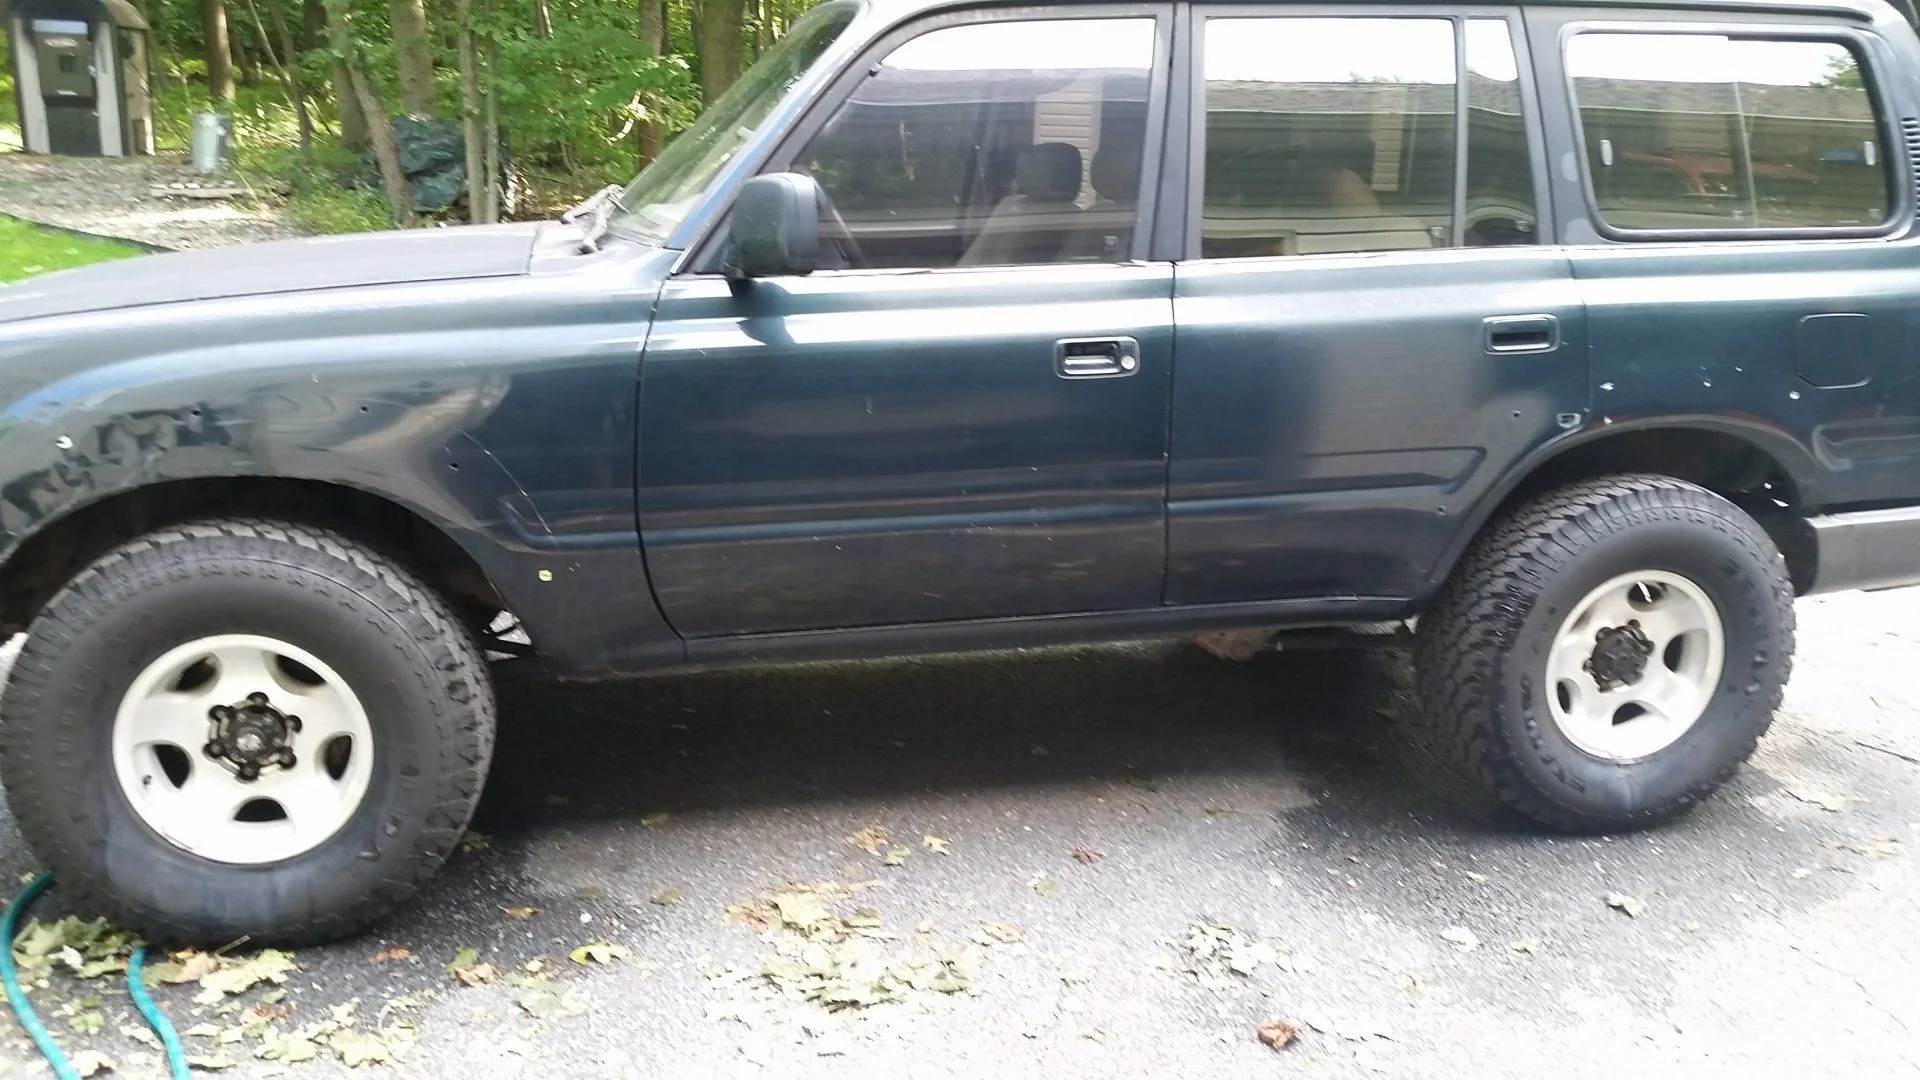
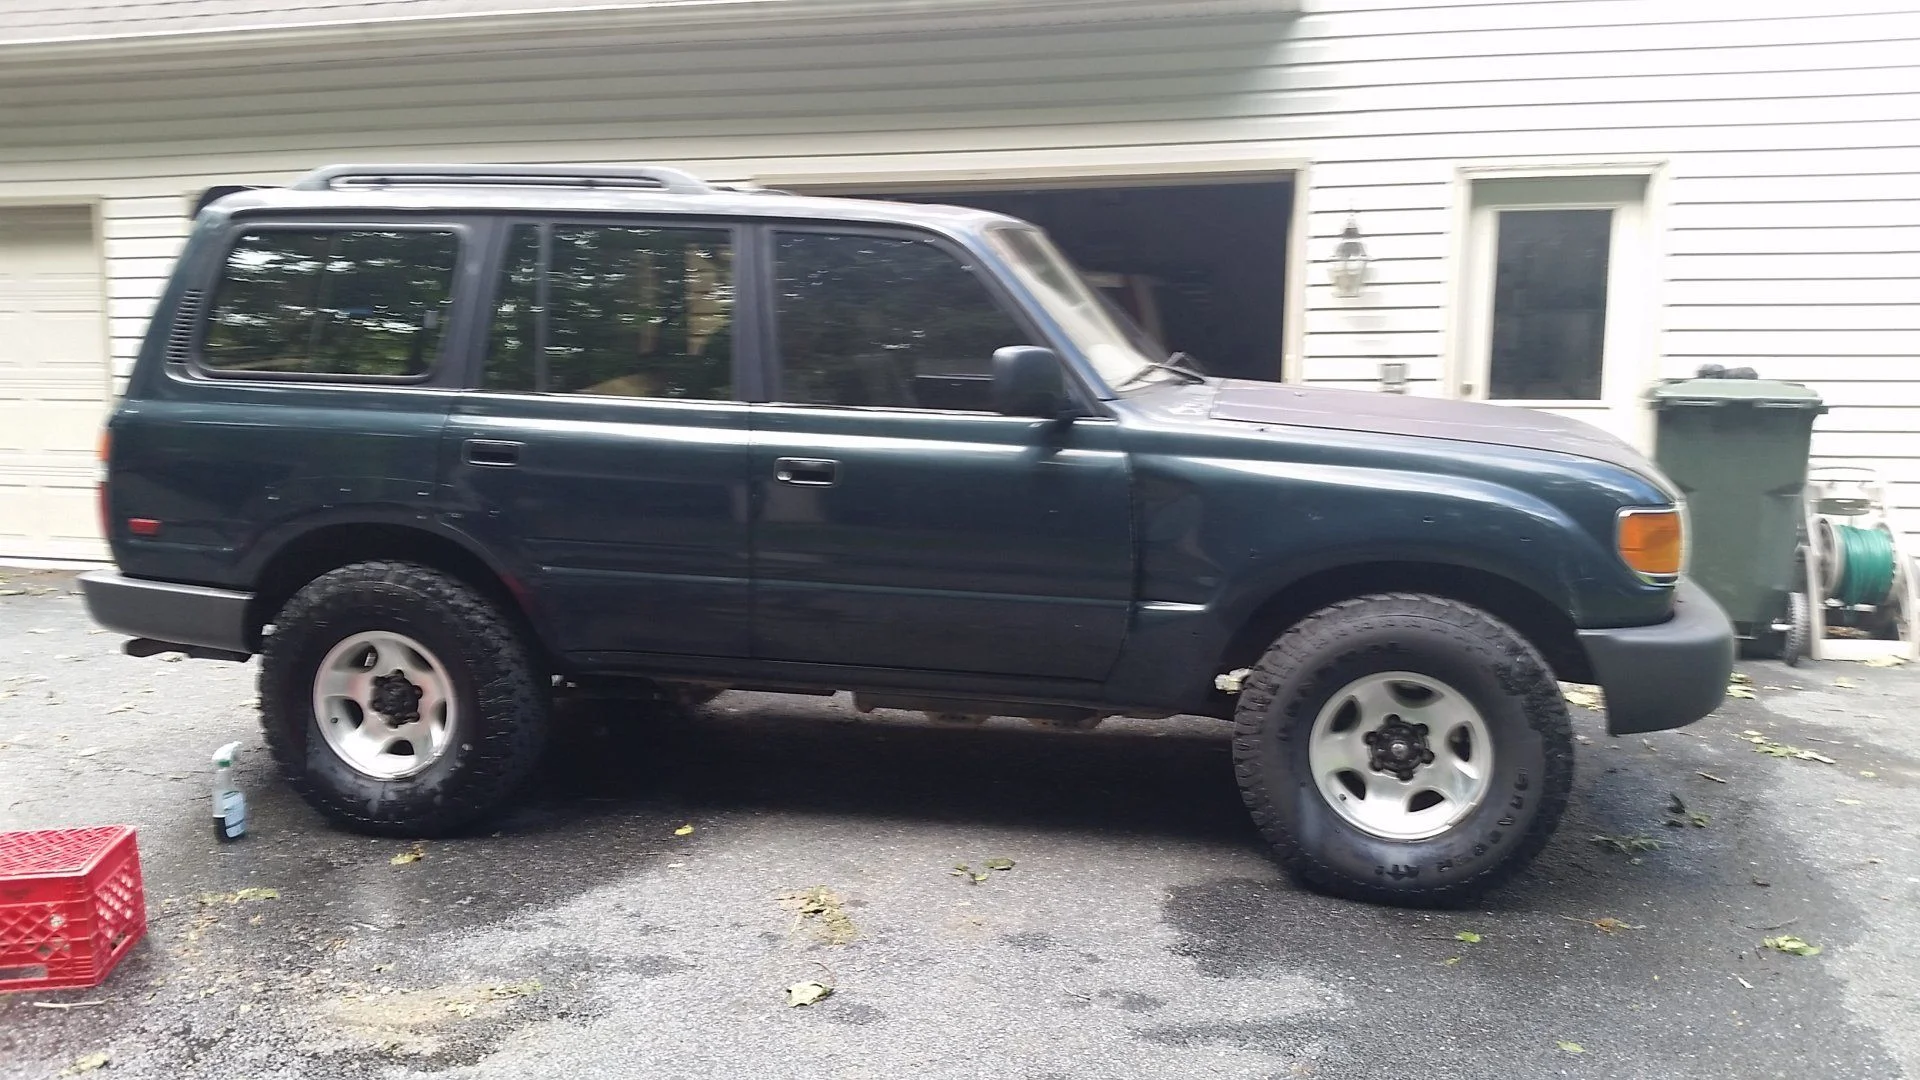
Cleaned the wheels really well with Simple Green to prep for paint, but they cleaned up so well I may just leave them in the stock satin finish.

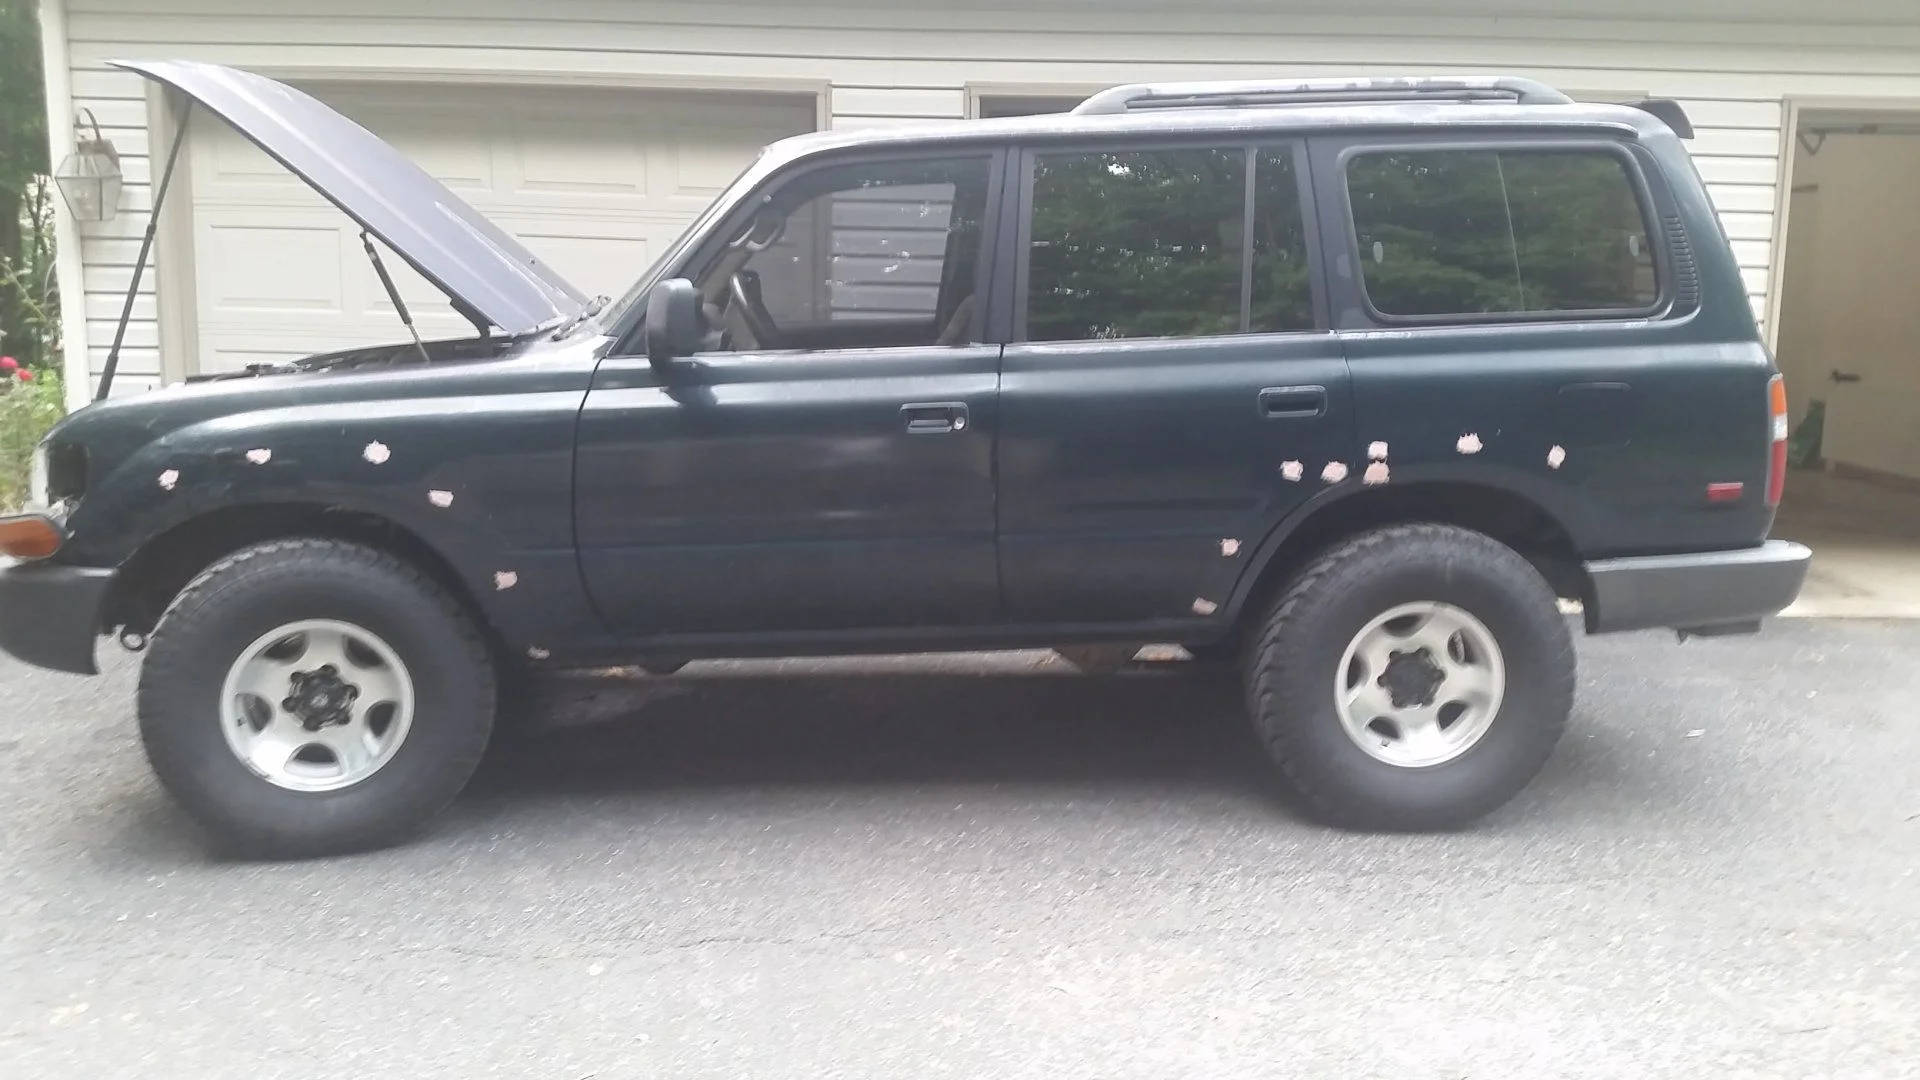
Before:

During:

After:

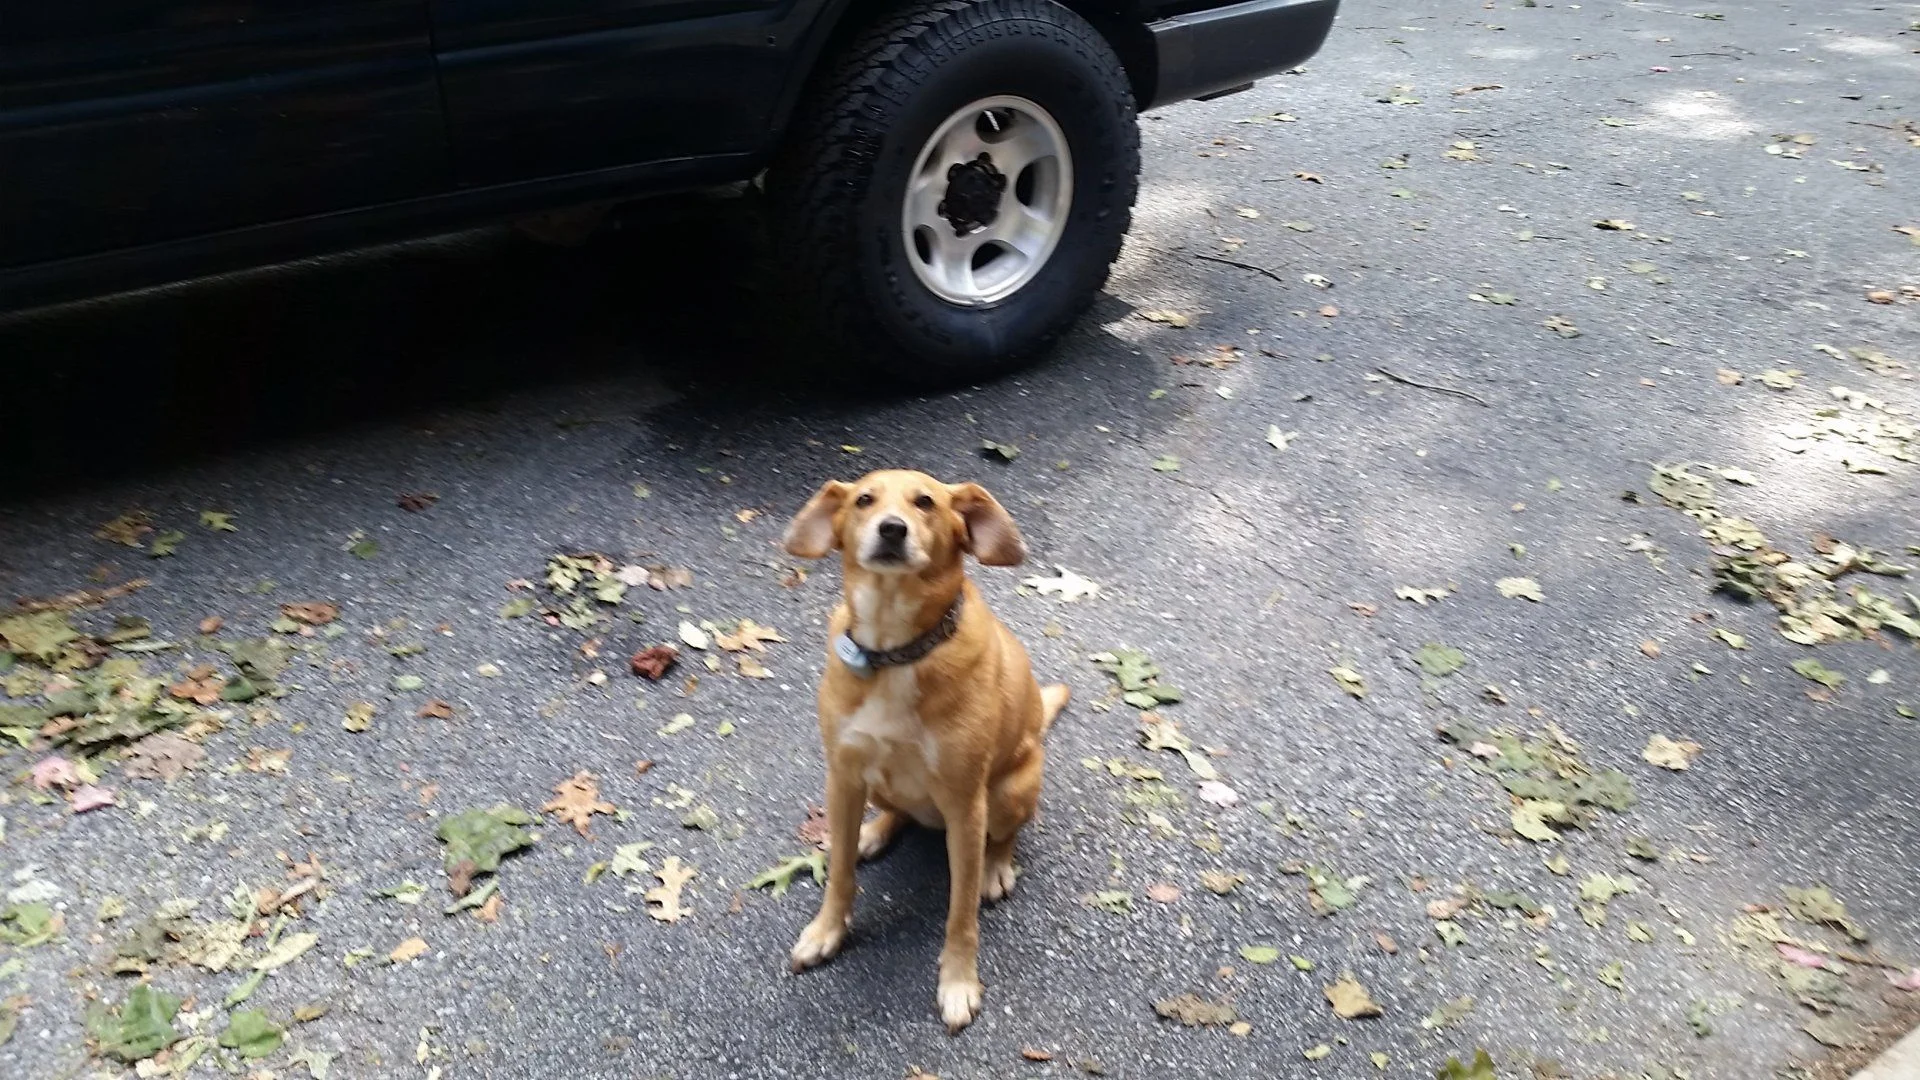
Helper:

Pics are slightly blurry because I didn't have my glasses on. Whats looks focued is actually not smh. Getting old sucks.
 
I noticed I need new belts while doing the radiator. One of the drive belts shredded and the other looks brittle as hell. Question is this ... what is this idler and is it needed?


It turns by hand with some effort, but currently is not spinning with the belts. My LX450 (same year) doesn't have this idler at all, so is it even needed?

What are people doing for belts? OEM, Napa, random auto parts store? I recall seeing a post somewhere with someoen saying their aftermarket belts were a little loose.

Same question on the intake. Does OEM matter or is any knockoff going to be just fine?


Get belts from Toyota. They are quite cheap compared to aftermarket. They also do not have the lugs on the back that cause a lot of noise on these trucks.

Do you HAVE to HAVE the idler pulley? No. My PO had removed it and I ran 20K without it after I got it.

However, I believe NOT having it contributed to a catastrophic belt failure that caused the water pump to stop, spiked the operating temps, and exploded my radiator.

I bought one and installed it. It reduces the belt slap that occurs during WOT conditions with the A/C on. (The AC shuts off at WOT, but comes back on the moment you back off the throttle a little bit)

Go to either of these for parts if you don't have easy local access.
Toyota Parts | Toyota Online Parts | Genuine Toyota parts | Toyota Parts Online
Toyota Parts Online | Olathe Toyota Parts Center
 
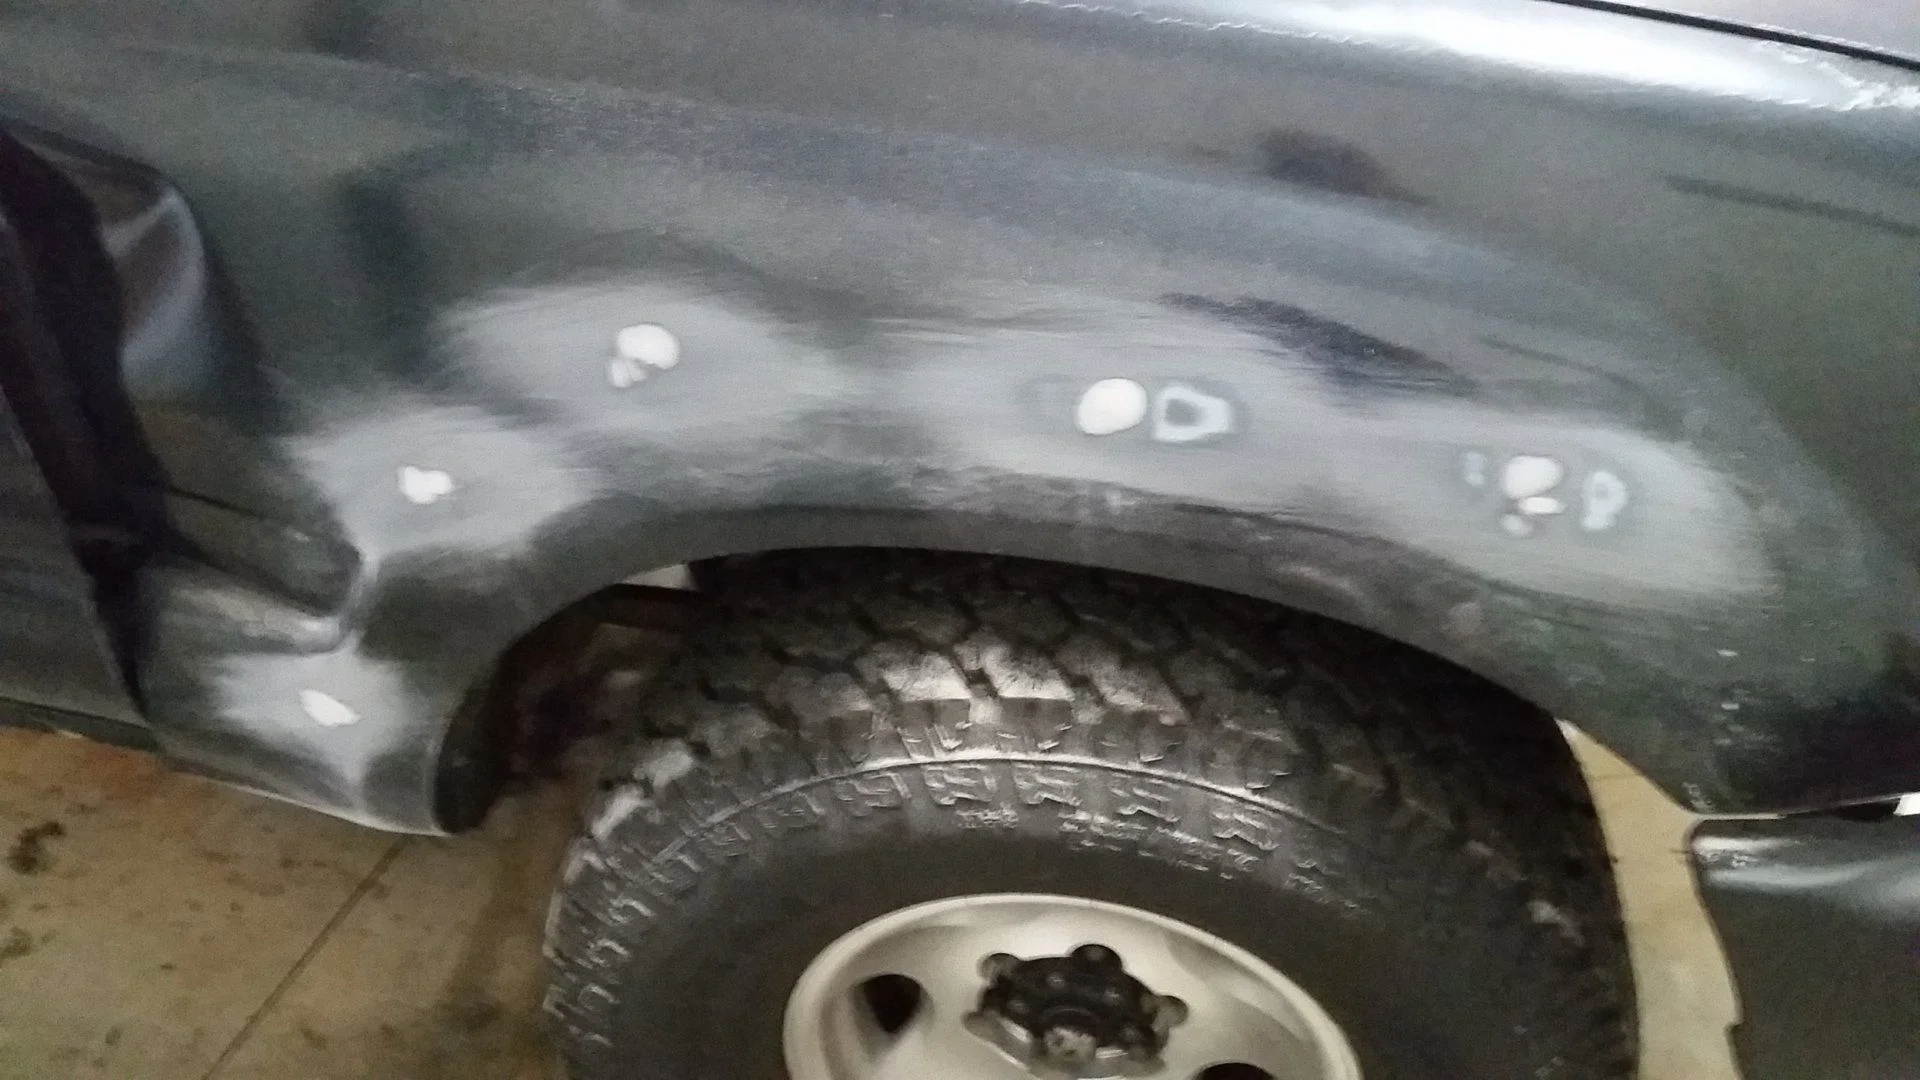
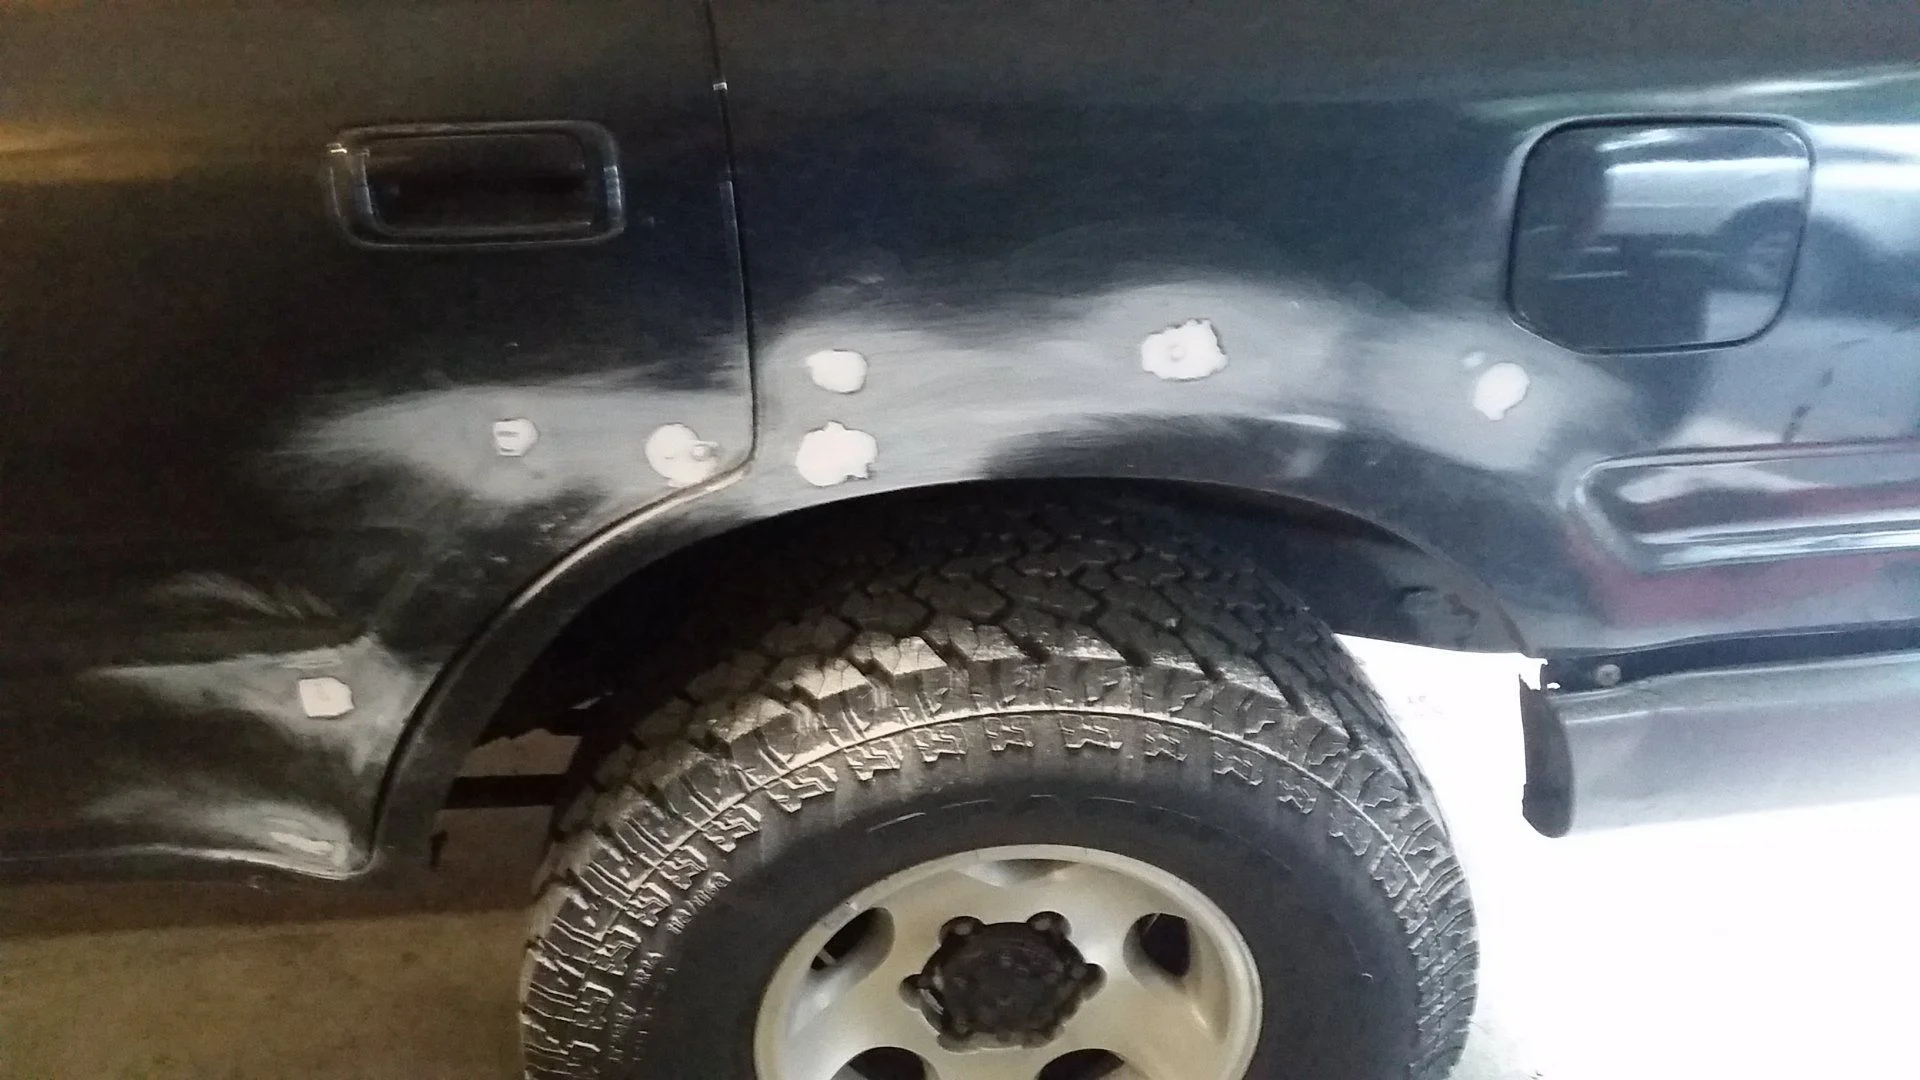
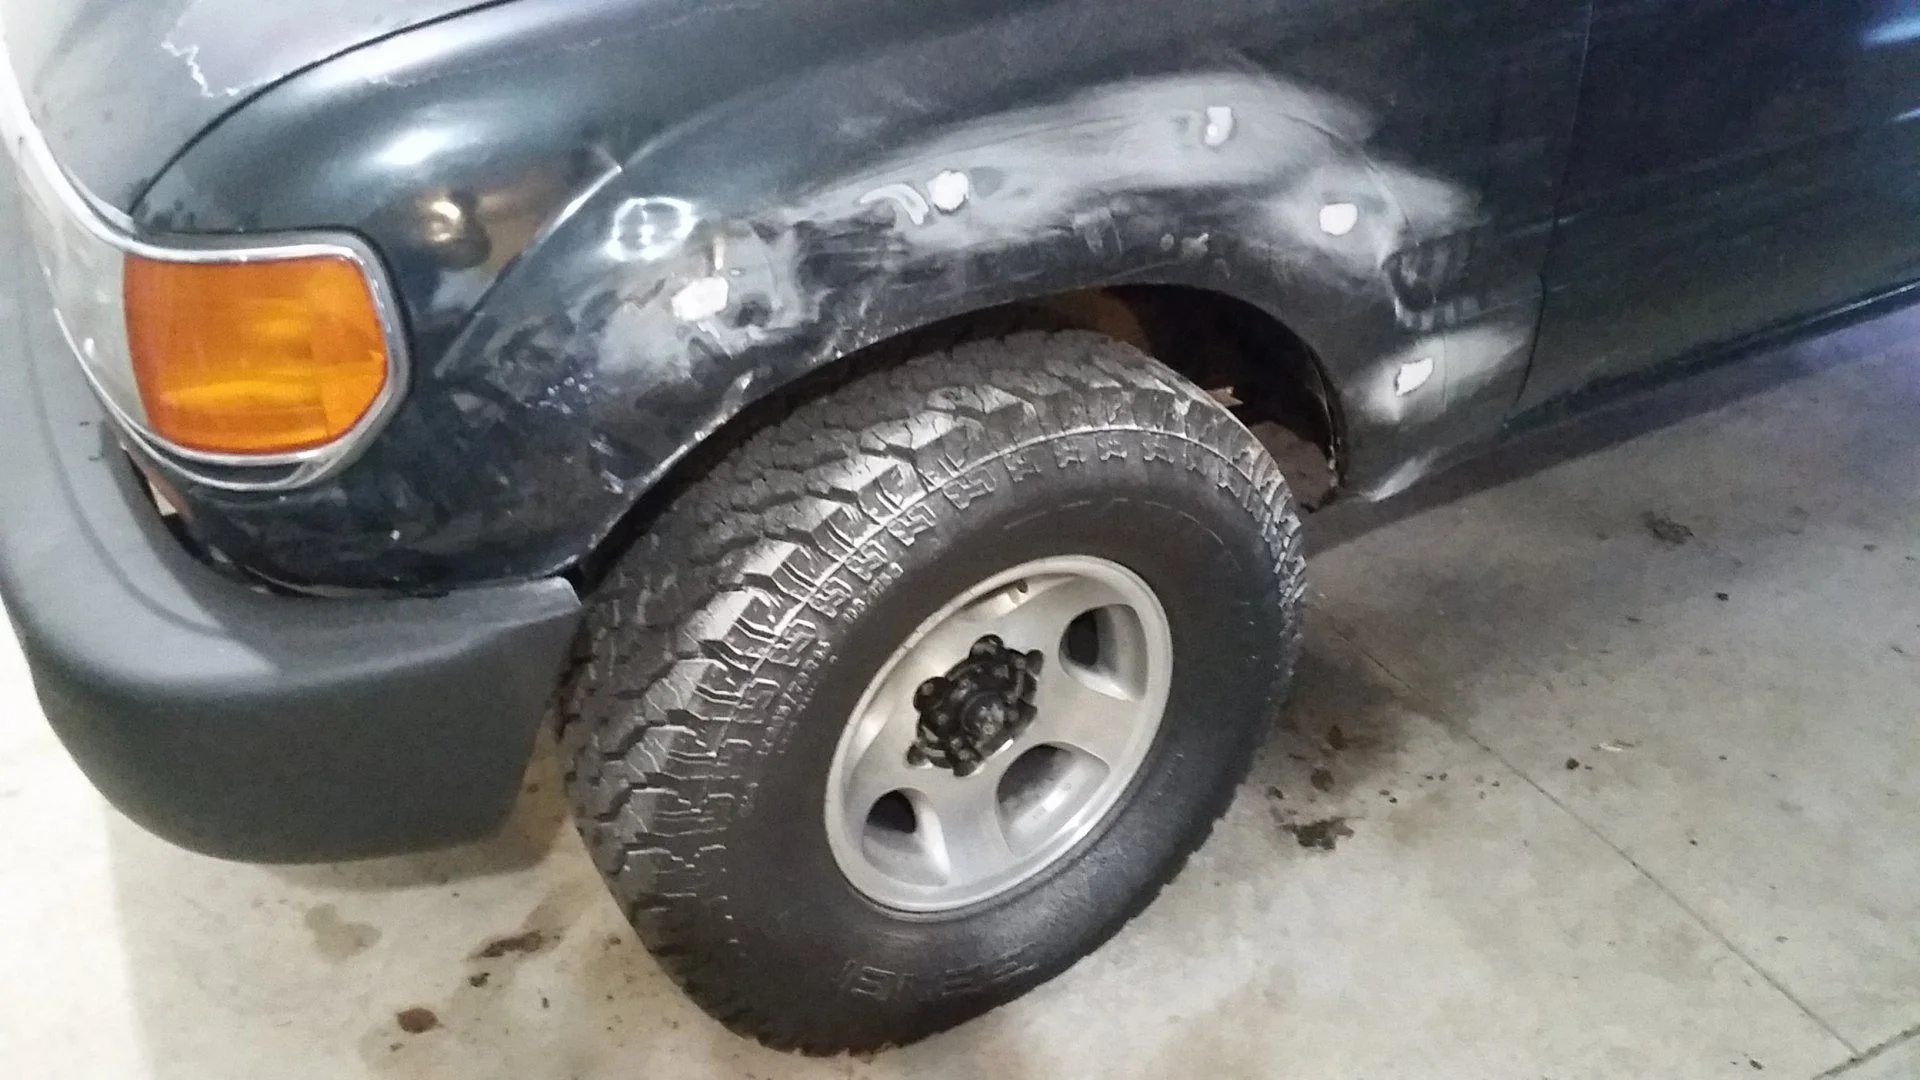
The interior is gutted other than the seats. Had to keep the 2nd row atm because the pass front door is jacked ... NEED THE HINGES!!! Anyway, it made patching the flare holes easier. Rears were super easy and the few on the rear doors can be reached by removing the inner door panels. I found a youtube vids that showed me to reach the fronts through the side marker lights and small access holes just large enough to fit your hand in on the inside of the engine compartment.


I backed the holes with duct tape on the inside surface and then mixed up some bondo and made a mess. It was my first time using filler and seems to be a skill that will require practice, at least for me. The plan is to get it sanded down and then apply Monstaliner to everything from the waist line down. I have samples of 4 colors being sent so I can make some decisions.

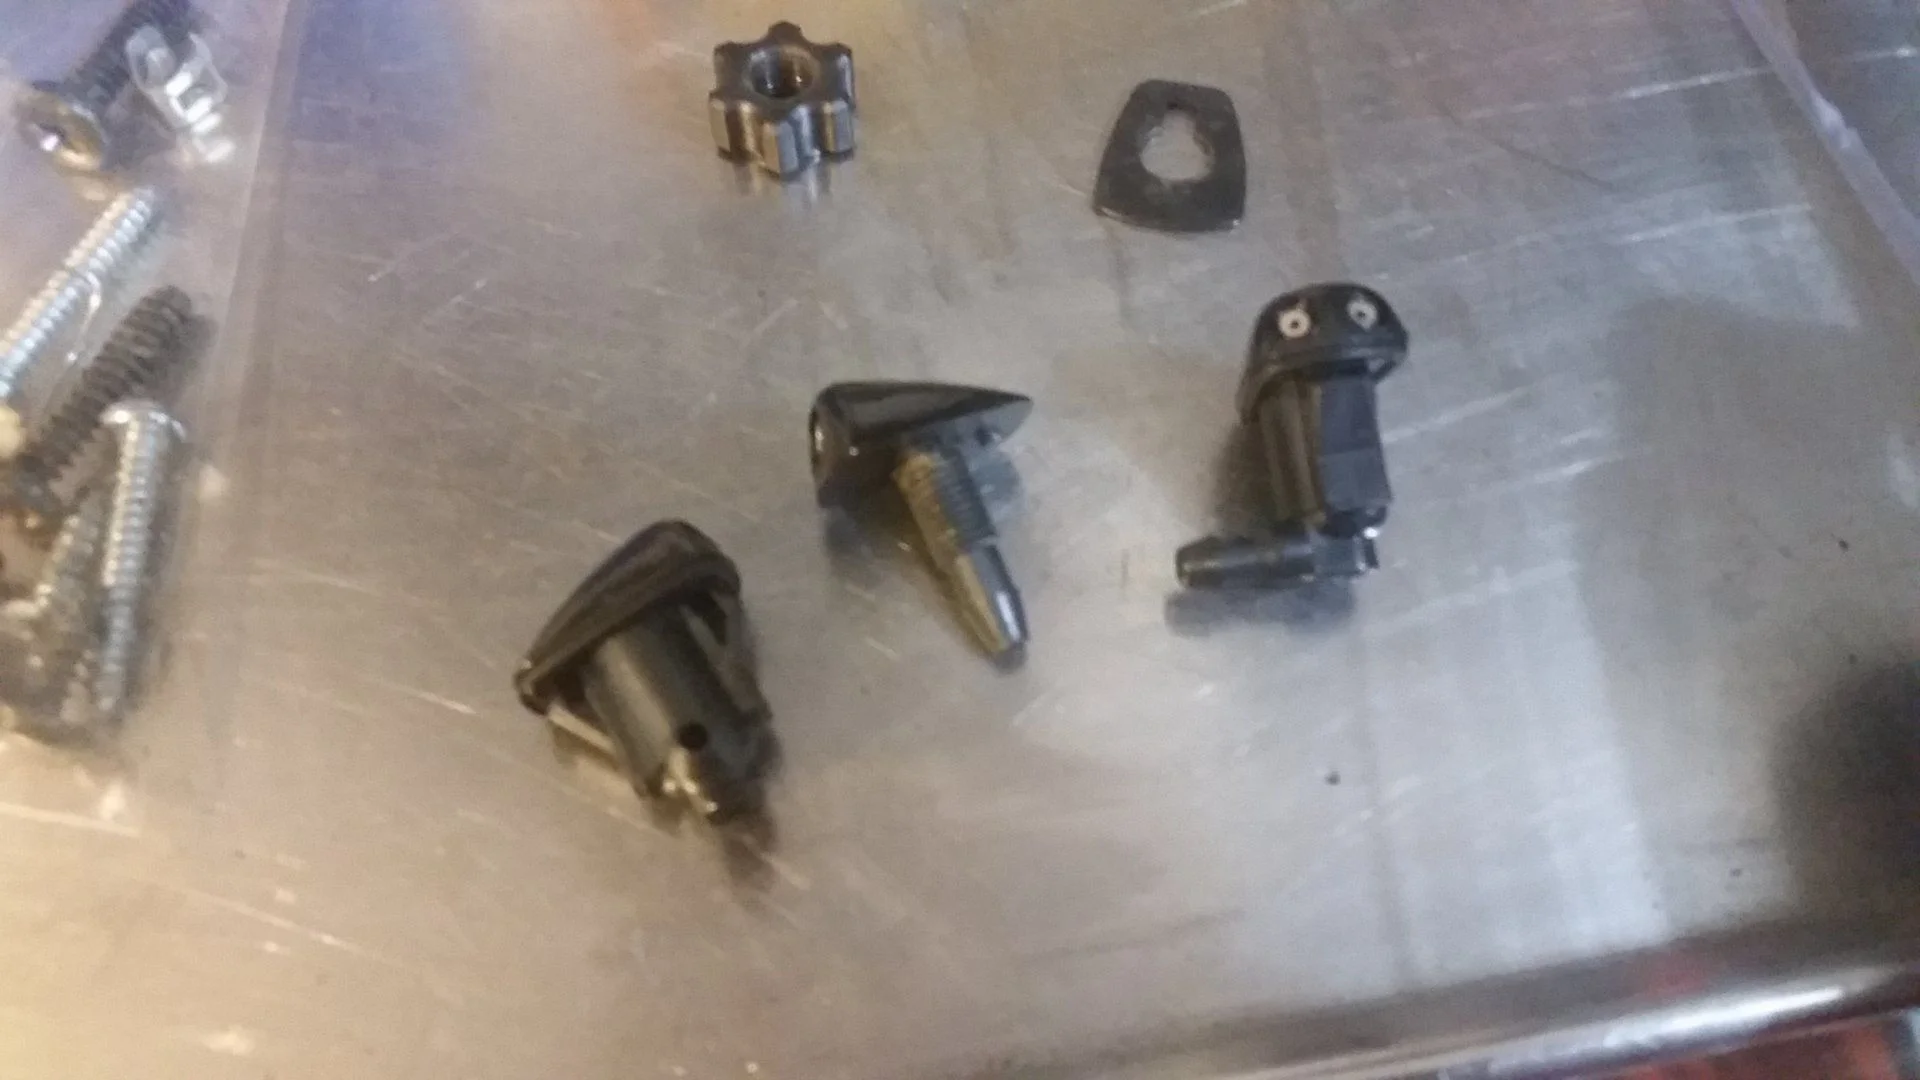
Next on the "can't anything be easy" parade is the stupid washer spray nozzles. I ordered a set from Amazon, hooked them up and they sprayed appx 3-4". It looked like a weak ass water fountain and didn't even hit the window, just the cowl. Ordered a set of OEM nozzles for $35 and now have this issue:


The OEM nozzles don't screw on, they press in with clips in the front and rear. I will have to drill a larger center hol and then use a dremmel I suppose to notch spaces for the clips to slide into. If I do it wrong the hood will be trash, but I need this for inspection on Monday, so the plan is to try and get it done Saturday.
 
Super cool bondo look ... just because it wasn't ugly enough. I wonder when the wife will ask why I'm doing all these repairs to the truck I bought for parts :cautious:

 
Ordered 2 sets of belts from McGeorge ... $49 with shipping. Called the local Toyo dealer ... $38 for just the one set of drive belts :confused:

Thanks for the links!!! :cheers:
 
It feels like Christmas today ... belts came in today as did a box of goodies from Crutchfeild. A thank you to FloridaFJ80 as well since the hinges and drivers door handle showed up on Friday night. No time yet to mess with that. Almost forgot, my Gamviti gears showed up today as well, so seat repair is on the horizon.

Saturday I had success tracking down and solving the wiper nozzle issue. It turned out that the secondary pump (the one for the rear?) was leaking massively and causing a drop in pressure before the sprayer nozzles. Unfortunately I didn't figure that out until I hooked up the new $40 OEM nozzles I bought and saw the same pressure issue as the ones I got from Amazon. Luckily, I did figure it out before drilling bigger holes in the hood and after bypassing the rear line completely they work just fine. I will get the new pump OEM part and then do the mod that keeps the rear from spraying when you press the button for the fronts.

Spent some time after the nozzle fix sanding down bondo to prep for Monstaliner. Next time I will use less bondo for sure. Waiting on the samples I ordered to decide on colors.

Had a huge sigh of relief today as the Cruiser passed PA inspection and emissions. I'm now road legal for at least a year.

Next up is to get the pass side front door back in place. It needs to slide back maybe 1/4" or so to seat properly and get out of the fender when it opens. Hoping the hinges do the trick or its more wasted money, but such is the price of learning. So many things to get done, just trying to do things in the most logical order so I only need to do them once.

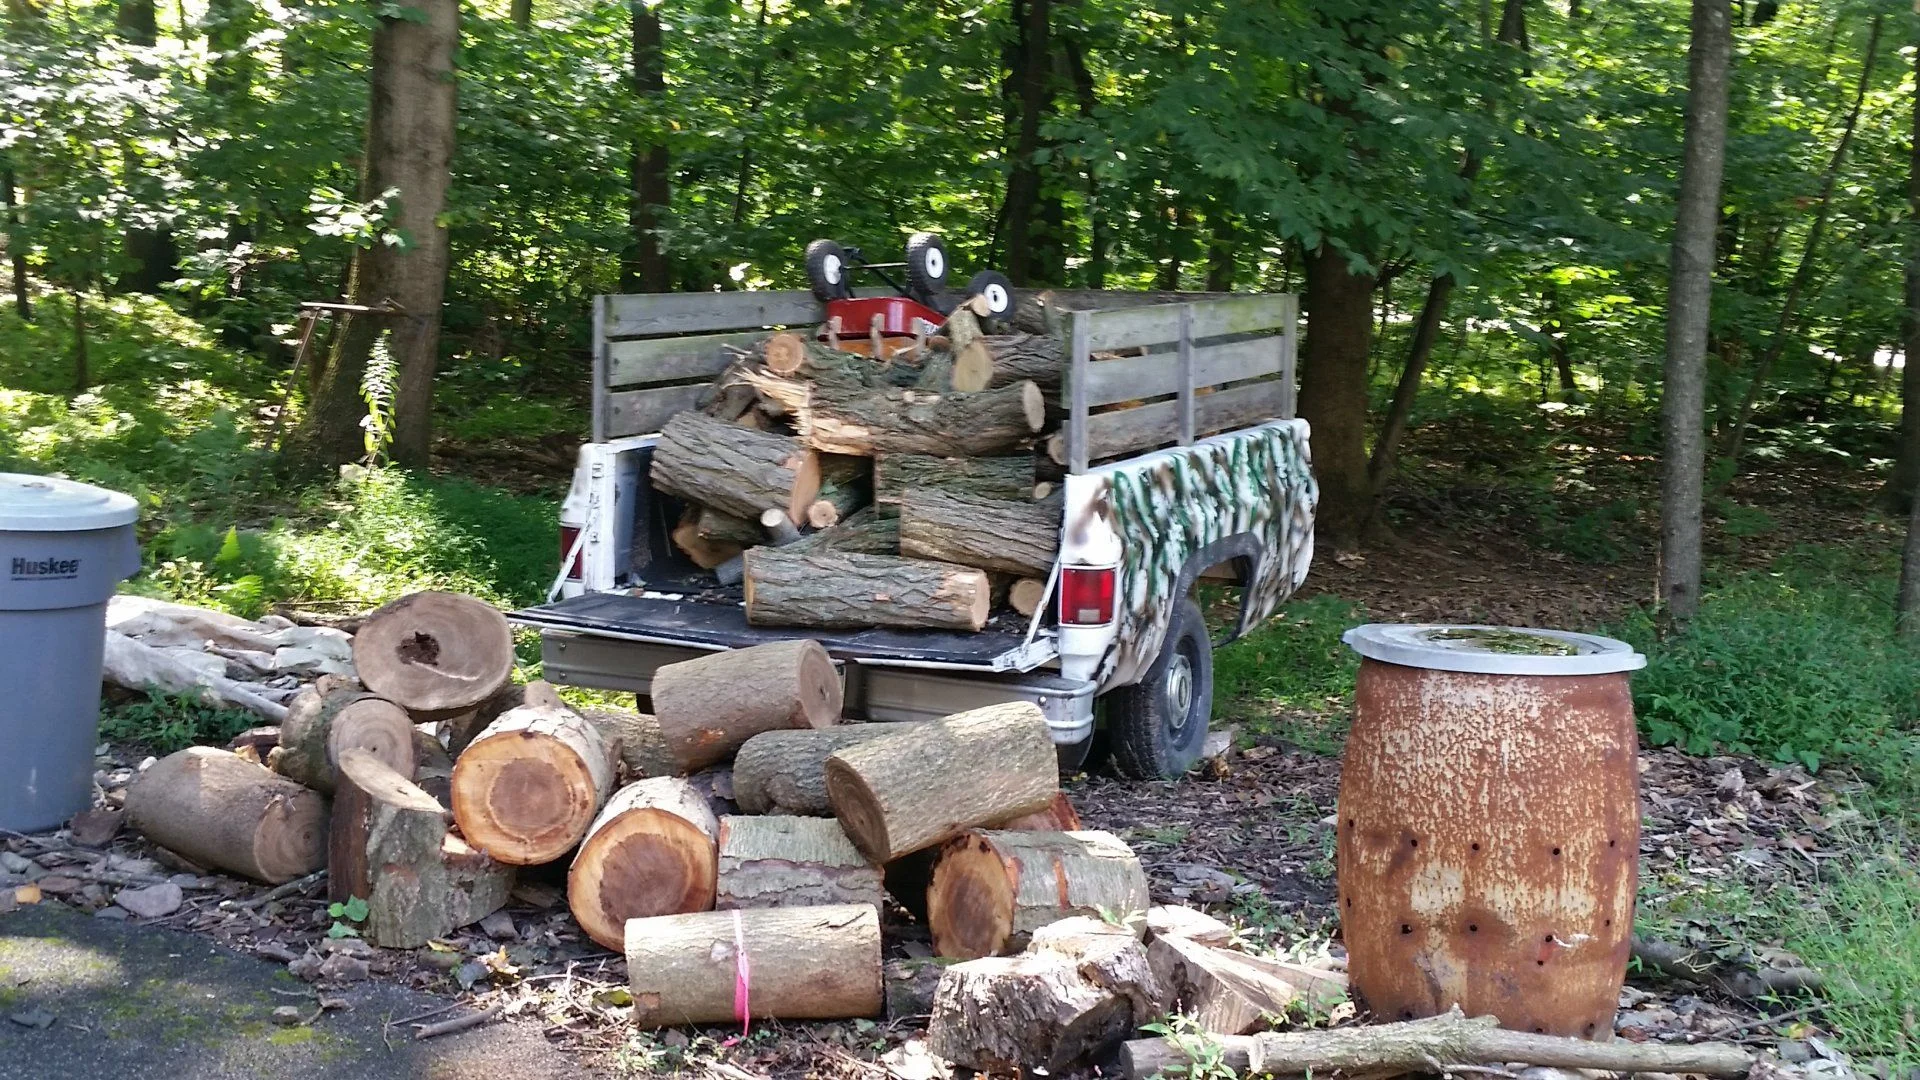
Lastly, as I posted in the "What did you do with your 80 this weekend?" thread. I got to put the Cruiser to work picking up some wood from a neighbor. Pulled the full size pickup trailer fully loaded with no problems. Saw a max temp of 207* pulling in 2nd up a long hill with the AC on full blast, then back to 190-195* the rest of the 15 min ride home.
 
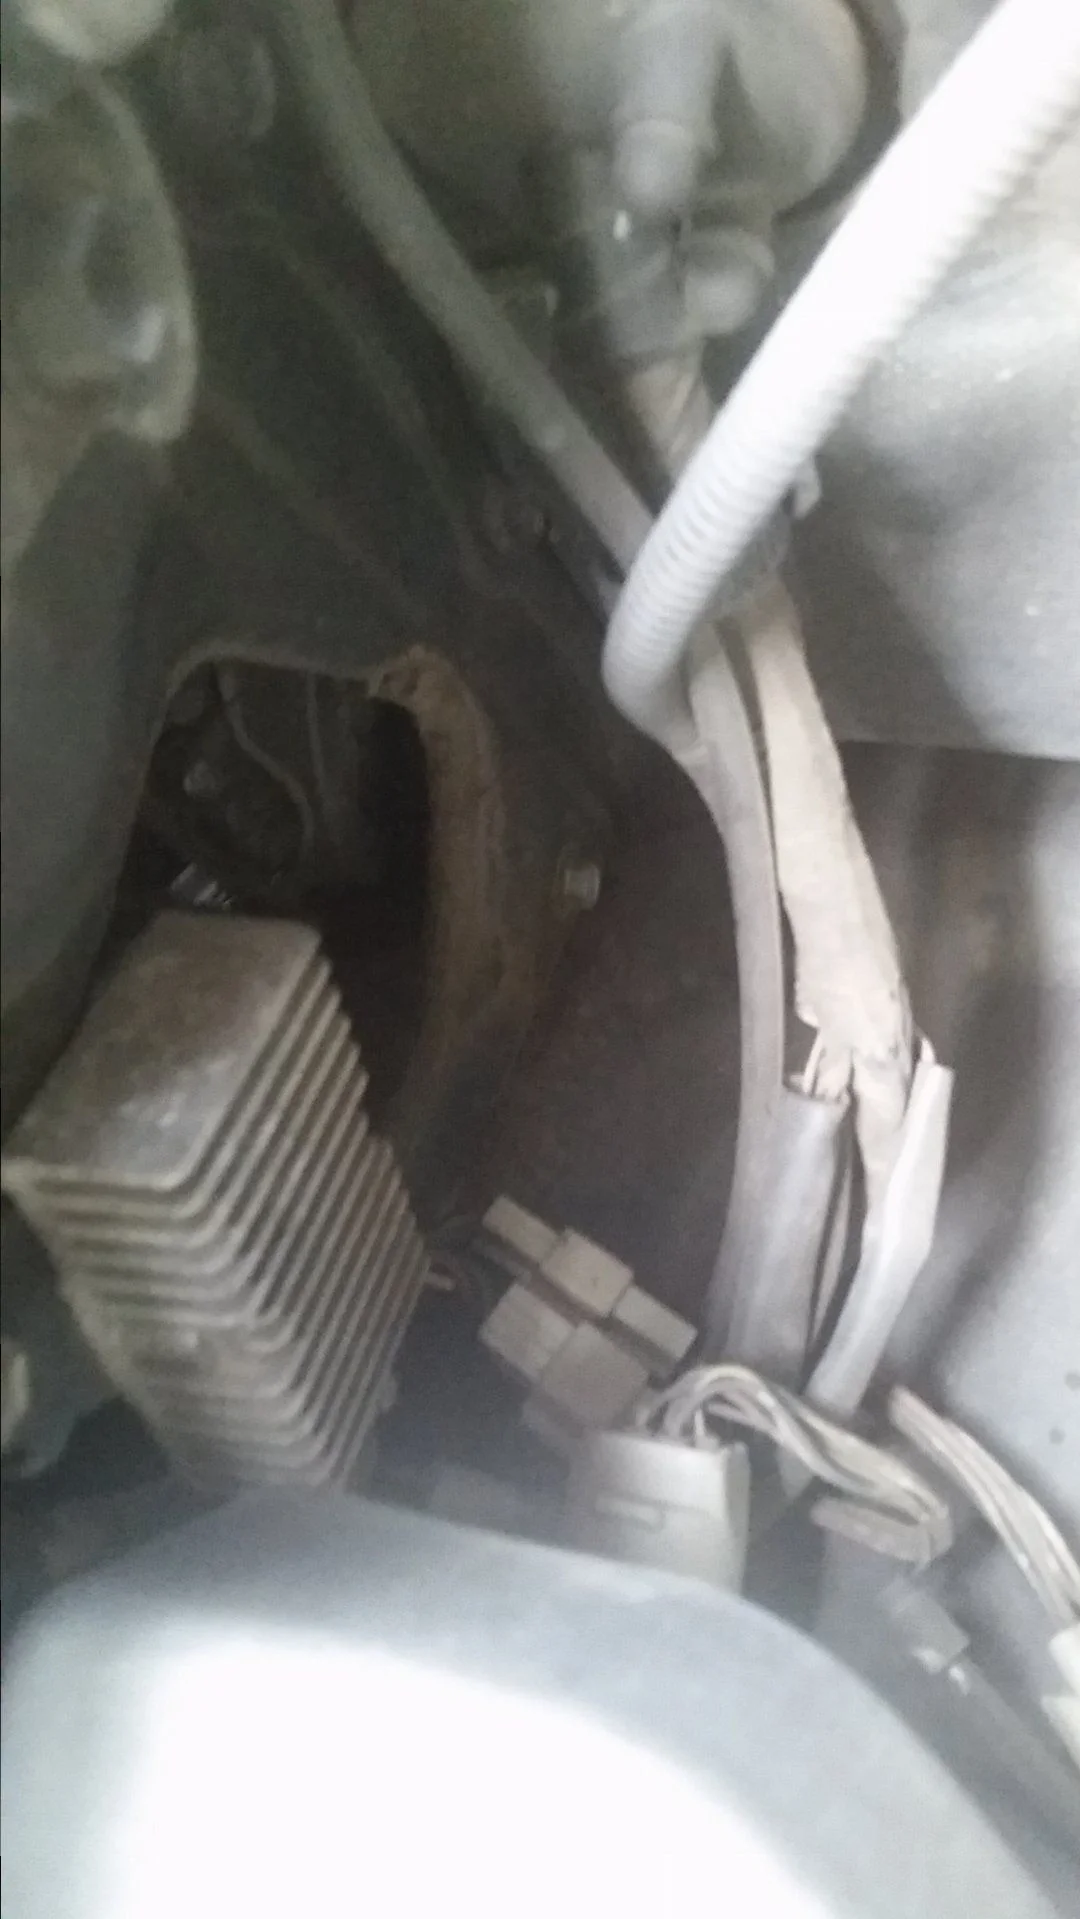
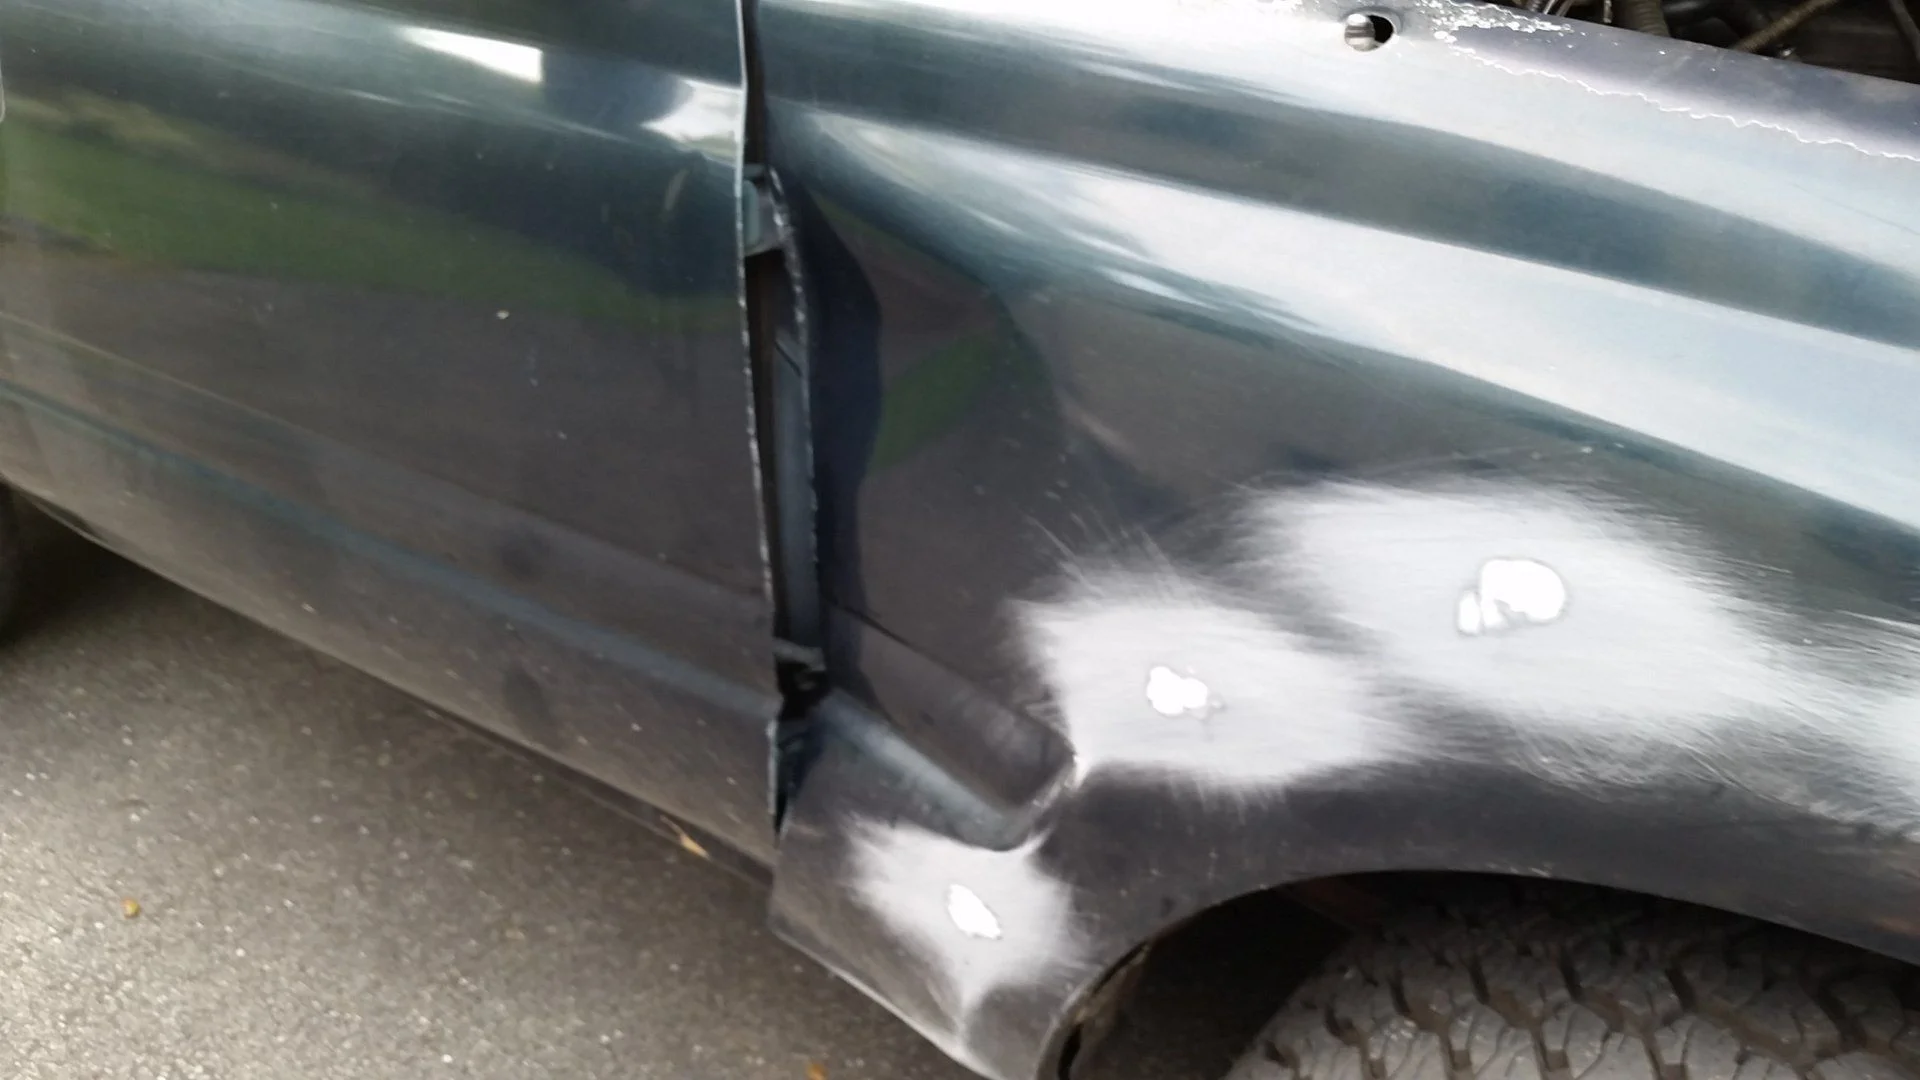
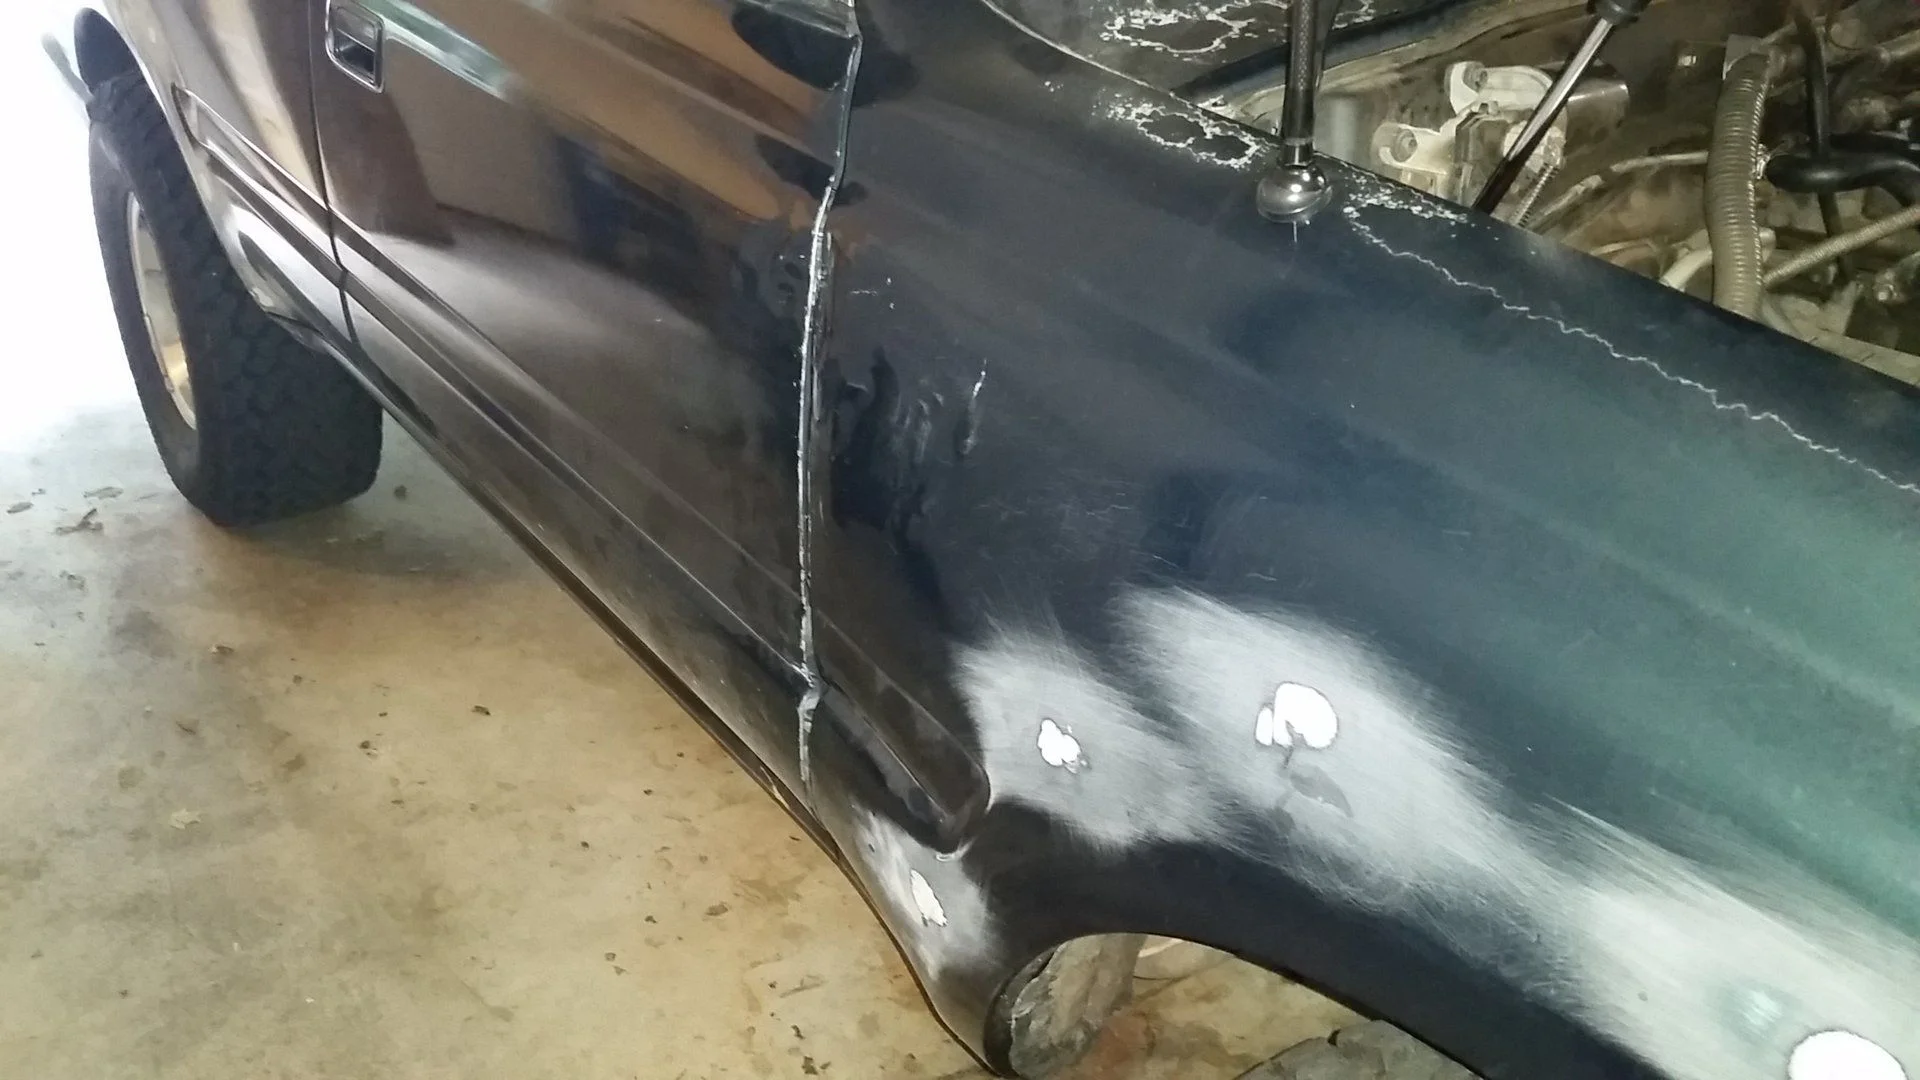
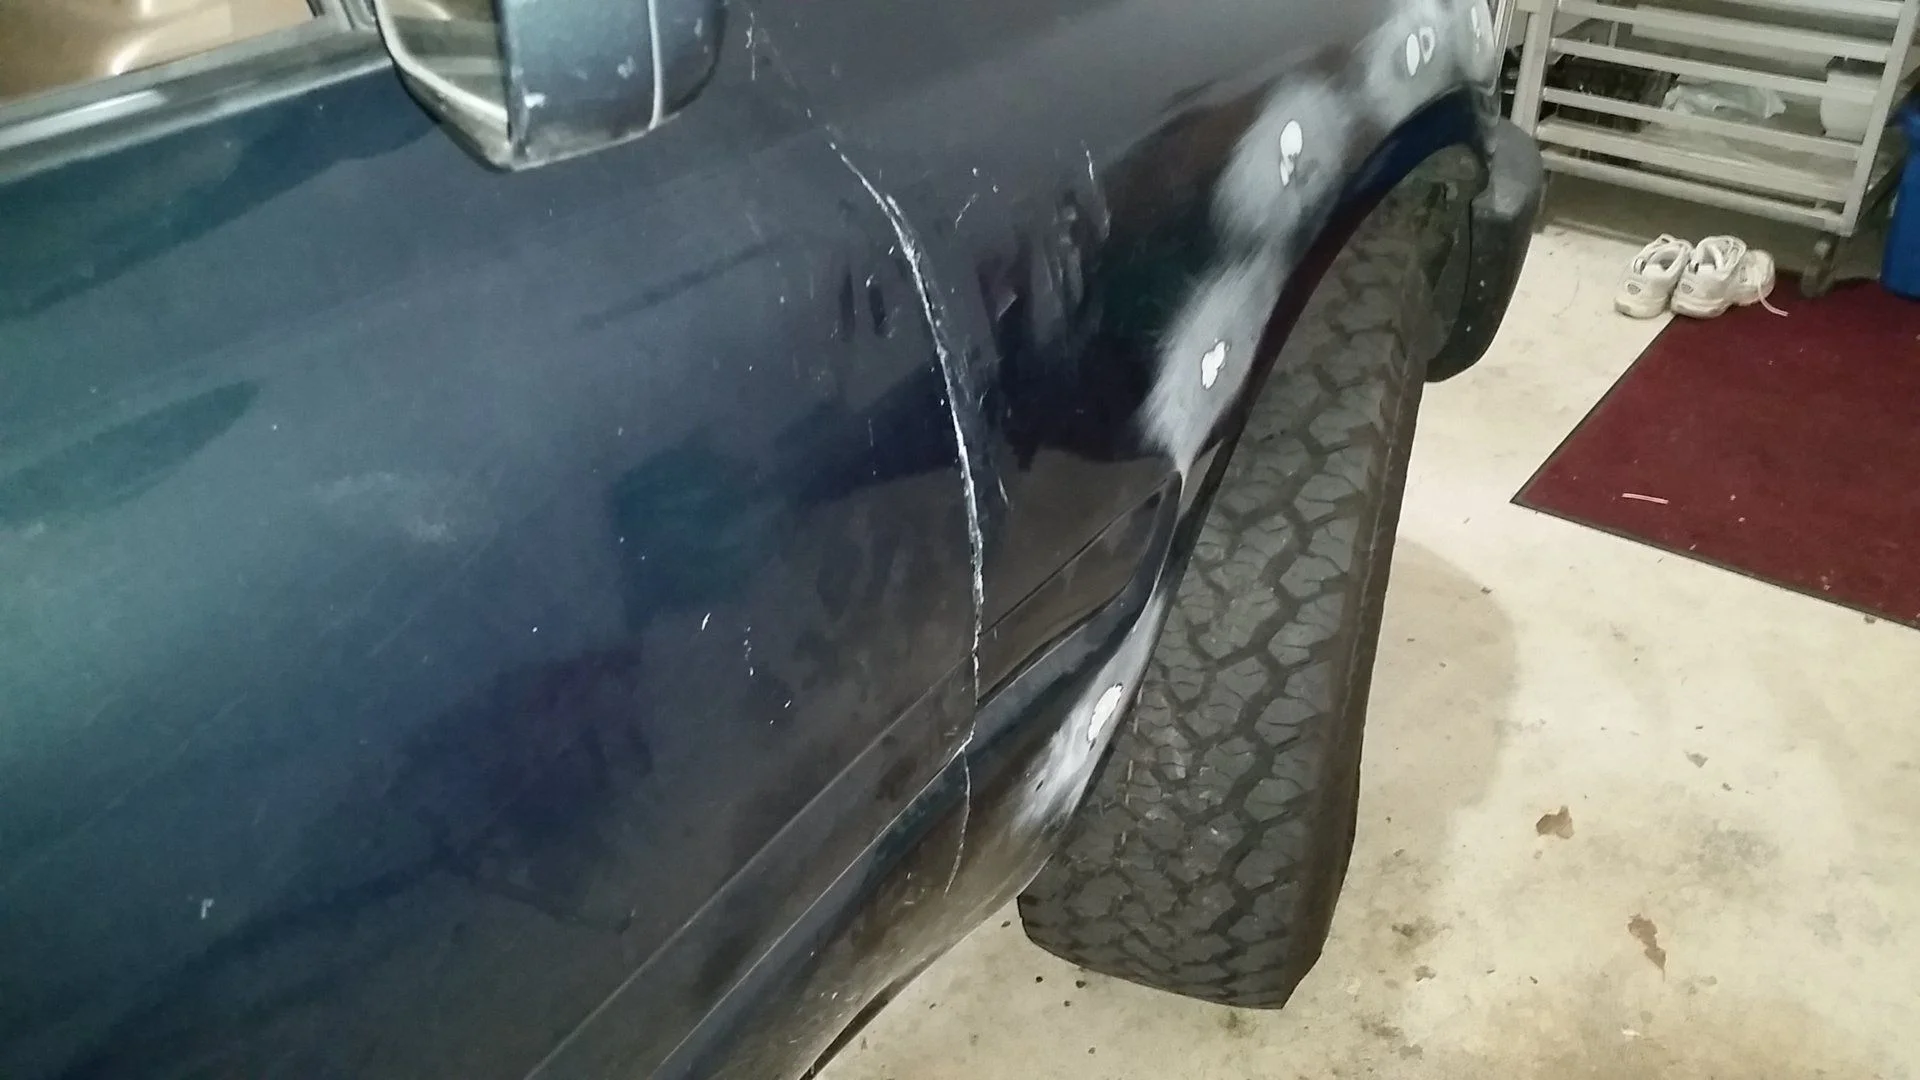
Since I picked up this heap, the pass side door did not operate. I was catching on the fender and creased the door and basicall crushed the fender. The PO neglected to mention that over the several emails we exchanged. Some people just suck at life and karma will pay him a visit someday. This was the gap:


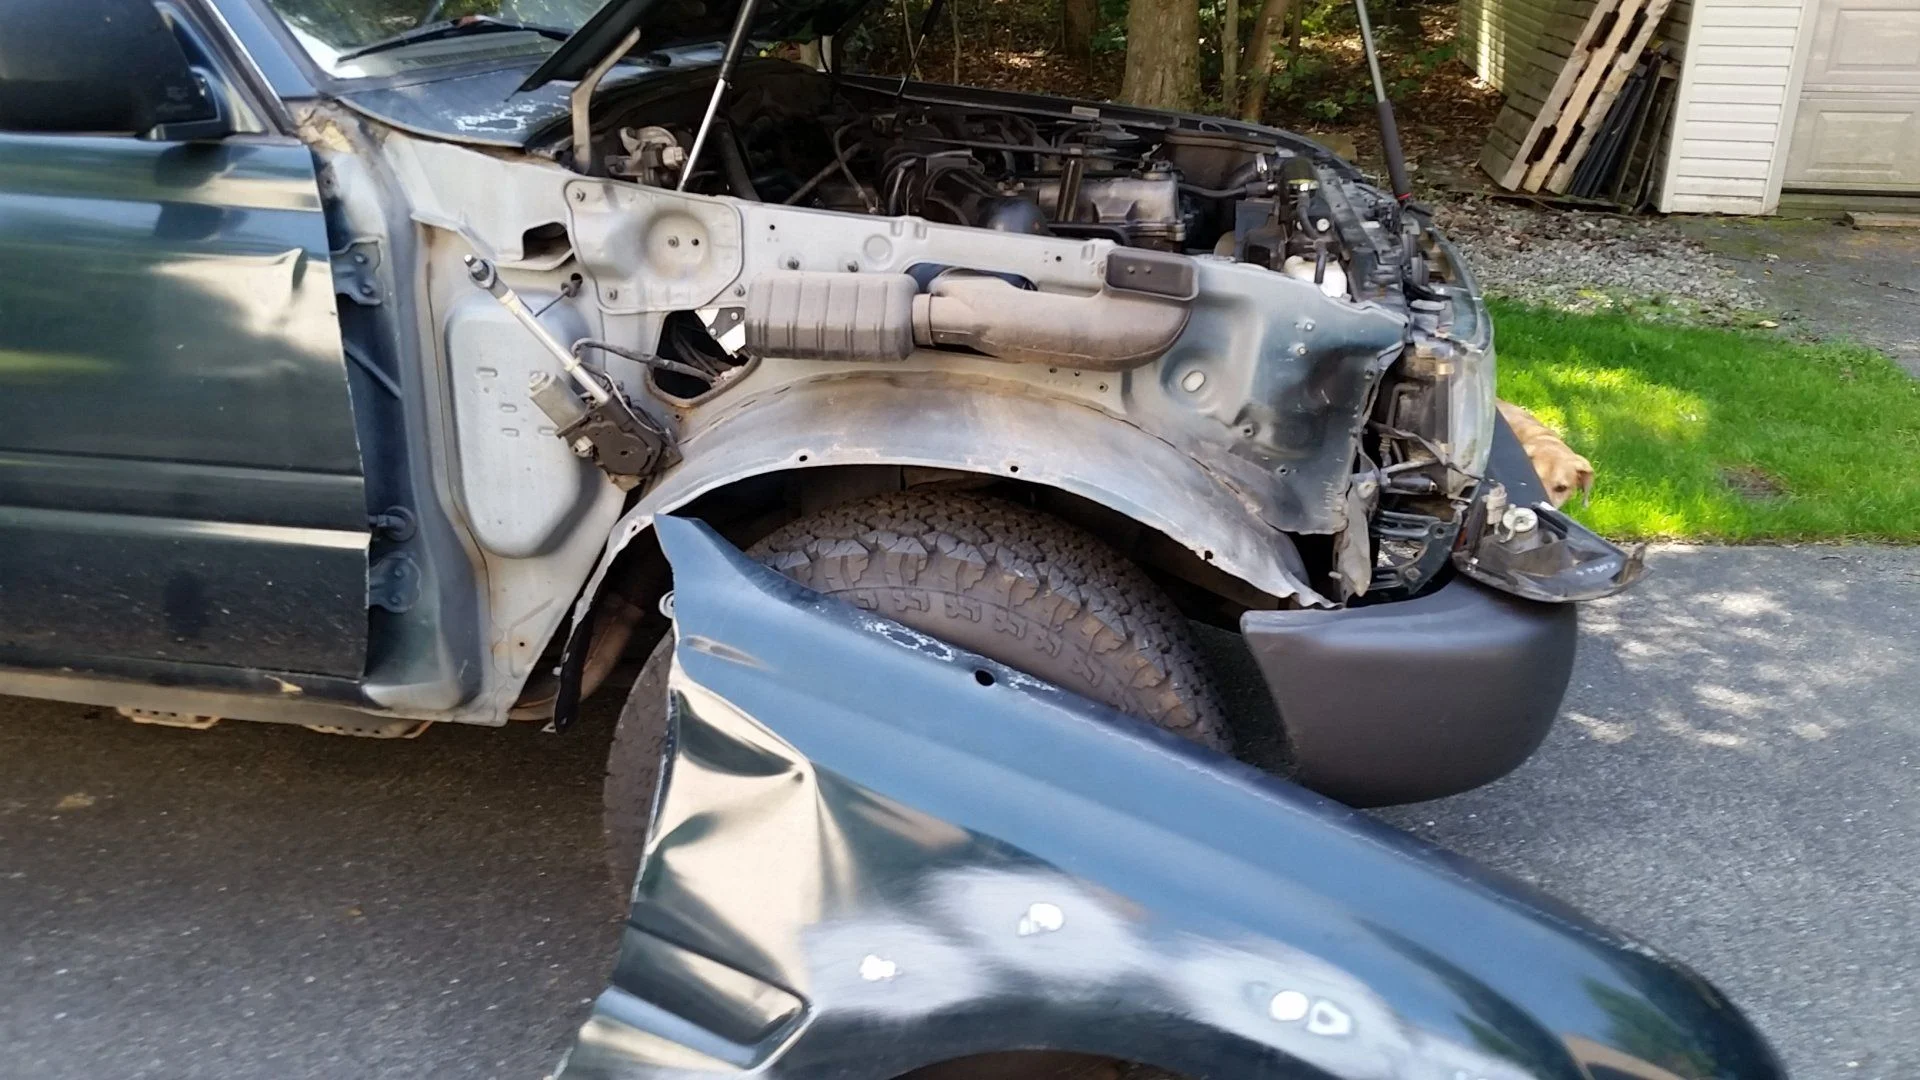
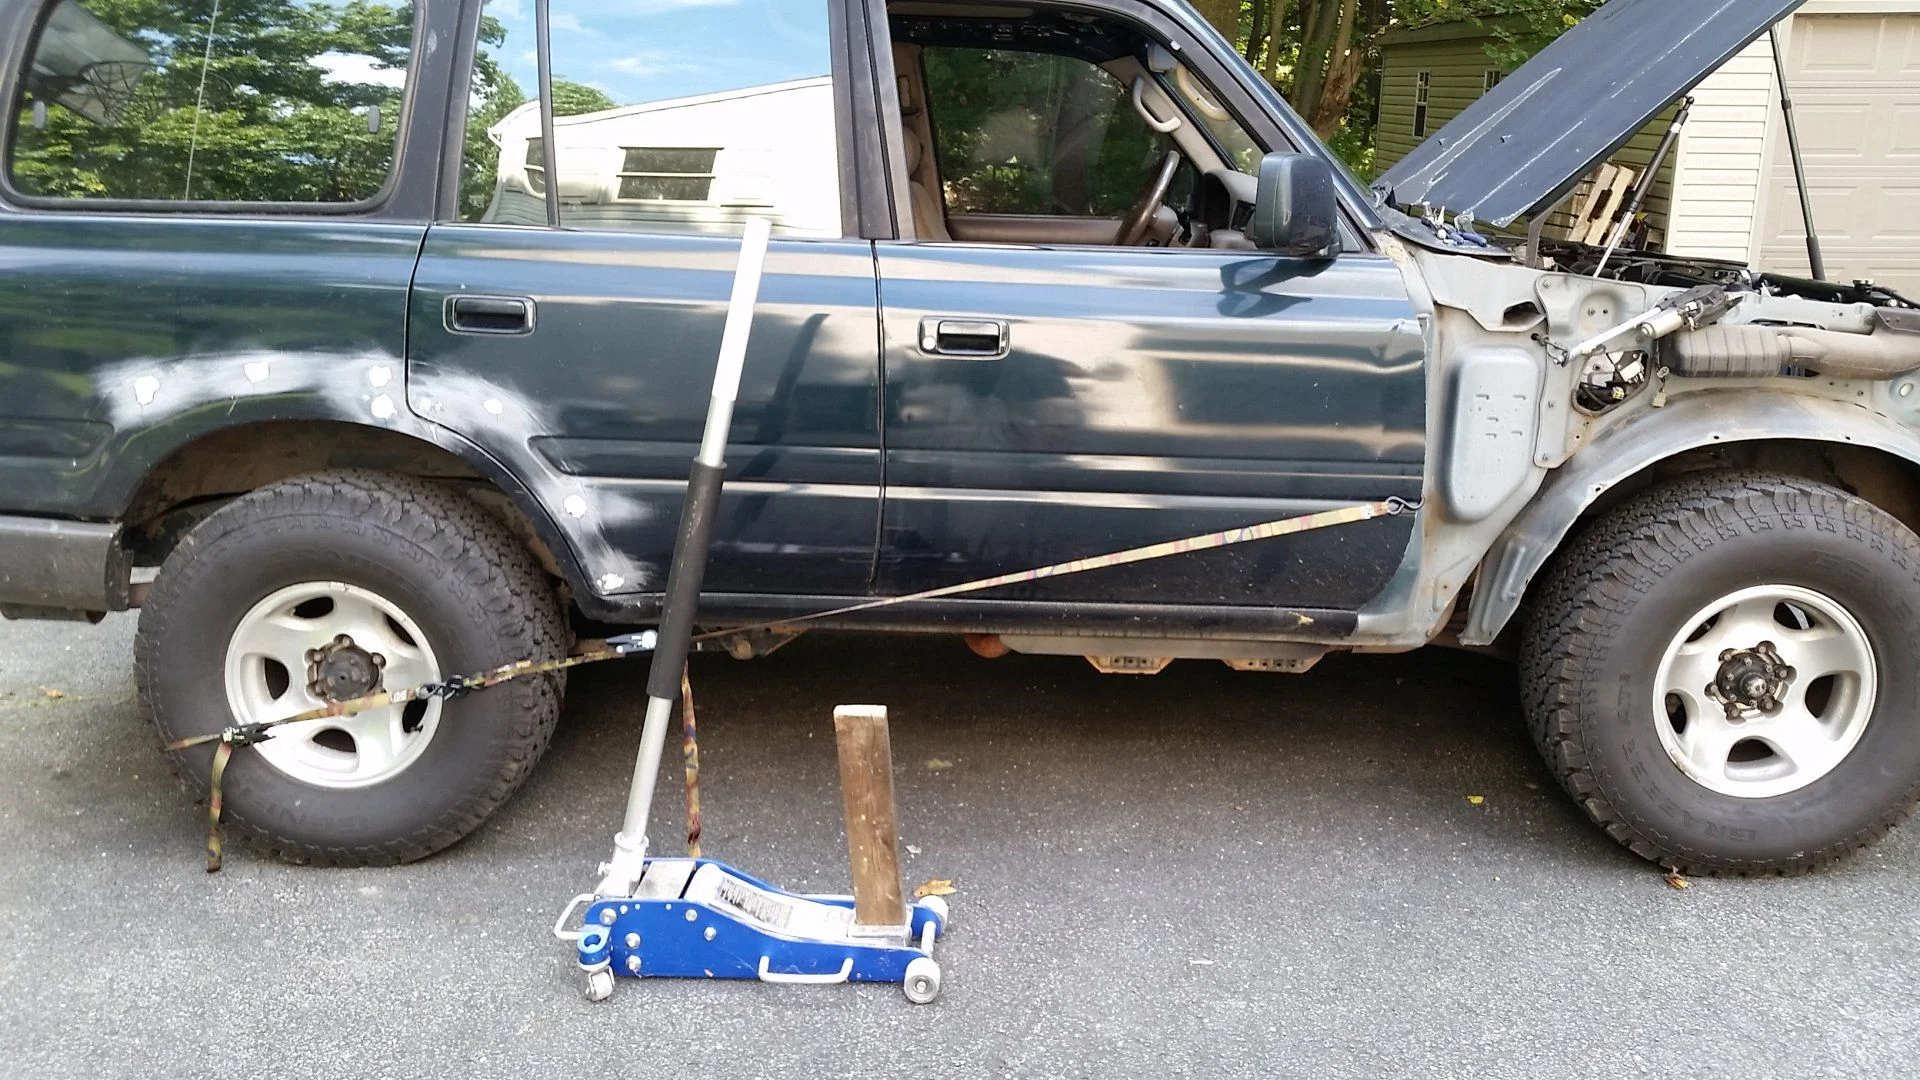
Plus the door sagged maybe 1/2" lower than the latch catch, so I closed it and locked it while trying to never use it. How can I get the wife on board with this project if she can't ride shotgun?!?!? Got some new hinges, not sure they did squat and door was still not lining up worth a crap. Pulled the fender and beat the snot out of it, then used a jack, 2"x4" and tie down straps to "massage" things closer to lining up. Some gentle persuasion on the hinges was needed as well, so a 2lb sledge hammer was the tool.


End result is that the door works, but still have to close it hard-ish, but no more sag. s***ty part is that the fender has to come back off this weekend to pull the antenna and install the new awesomeness. Regardless ... fender removal ... check. Pass front door ... check. I just keep reminding myself that this truck is being build to get beat on, so being pretty means nothing. Harder than it sounds.
 
Found time today to hopefully remove the fender again and swap out the broken power antenna unit with something more durable. I went with this universal mount from NAPA

Antenna - Radio Universal Mast ... Cheap enough at $10.99 and only 14" tall. The swivel base allows it to sit flush on the fender.

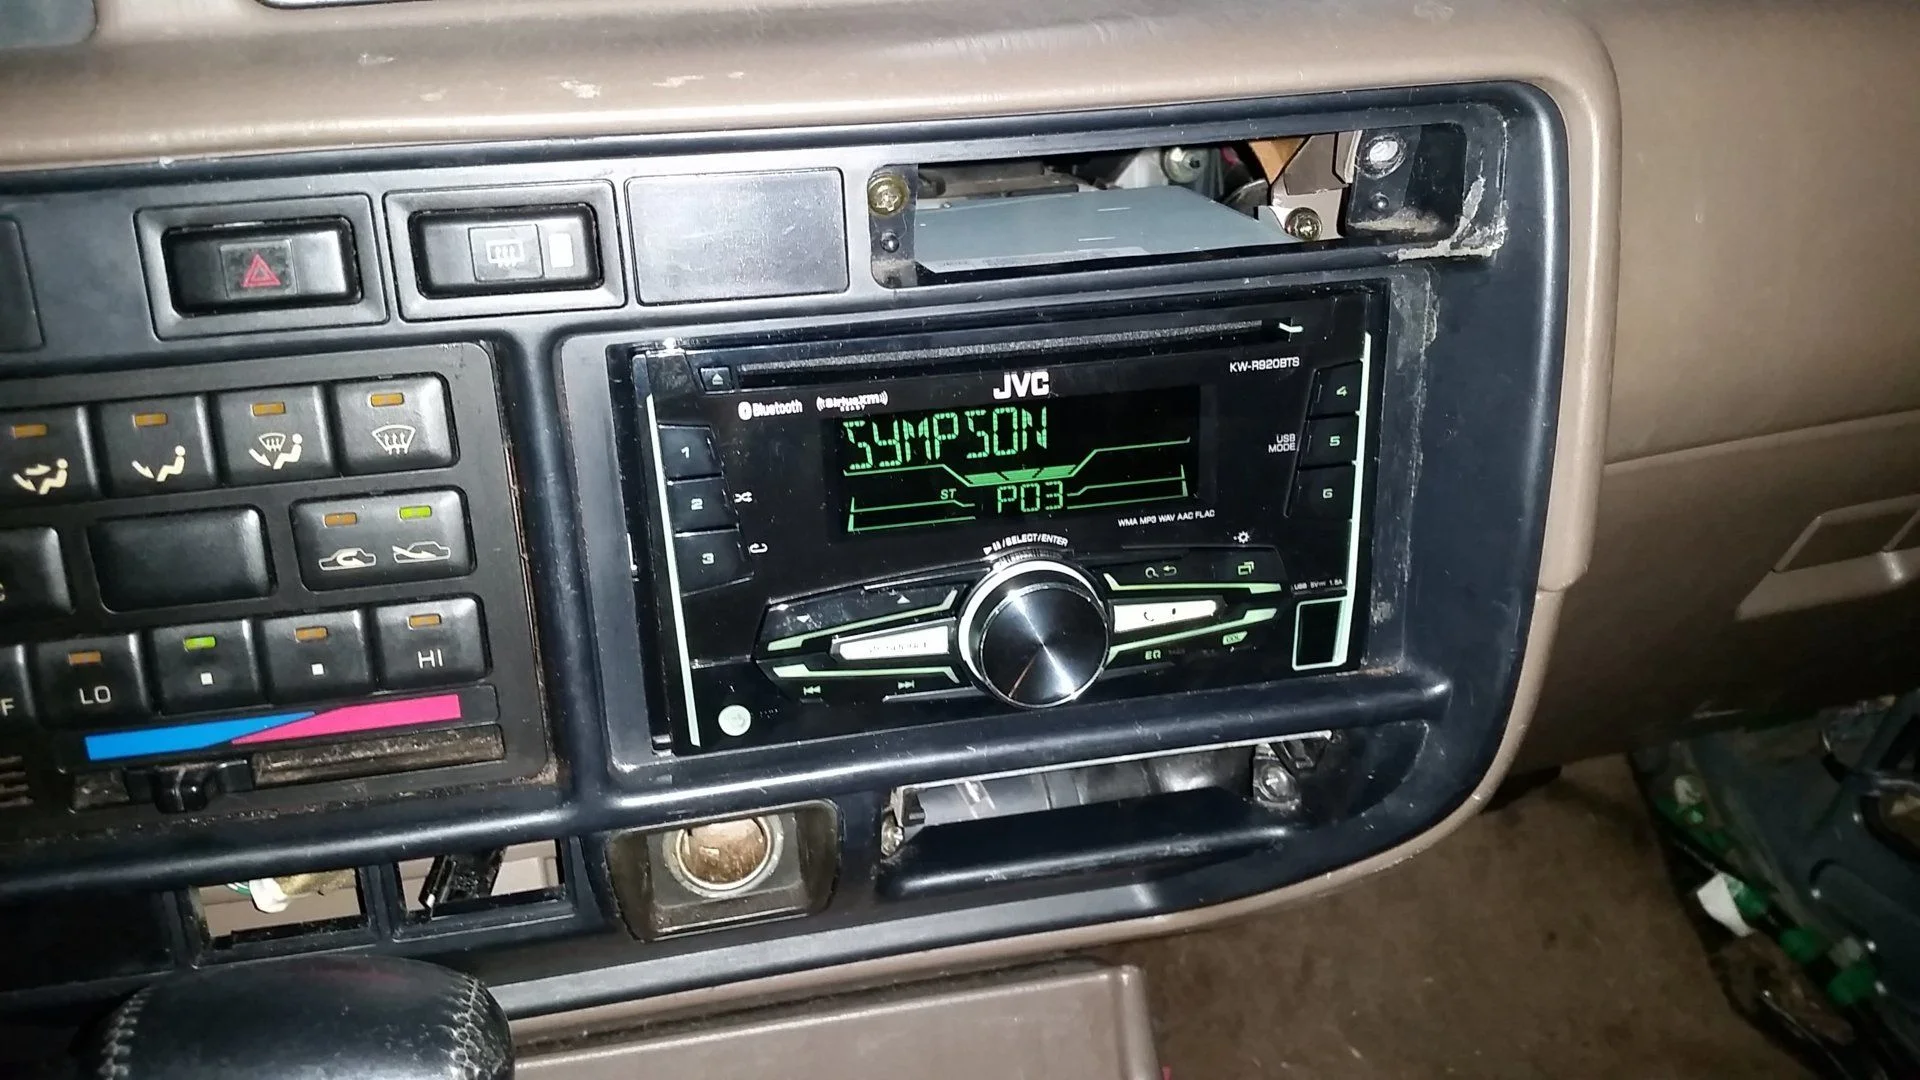
After reviewing several threads, I removed the radio I just installed to get the plug out, then the glove box and then attempted the air box as well, but no luck with that. I fished out the old cable from the radio and untangled it from several harness wires. I don't think you could get the cable to pull out the way it was routed.

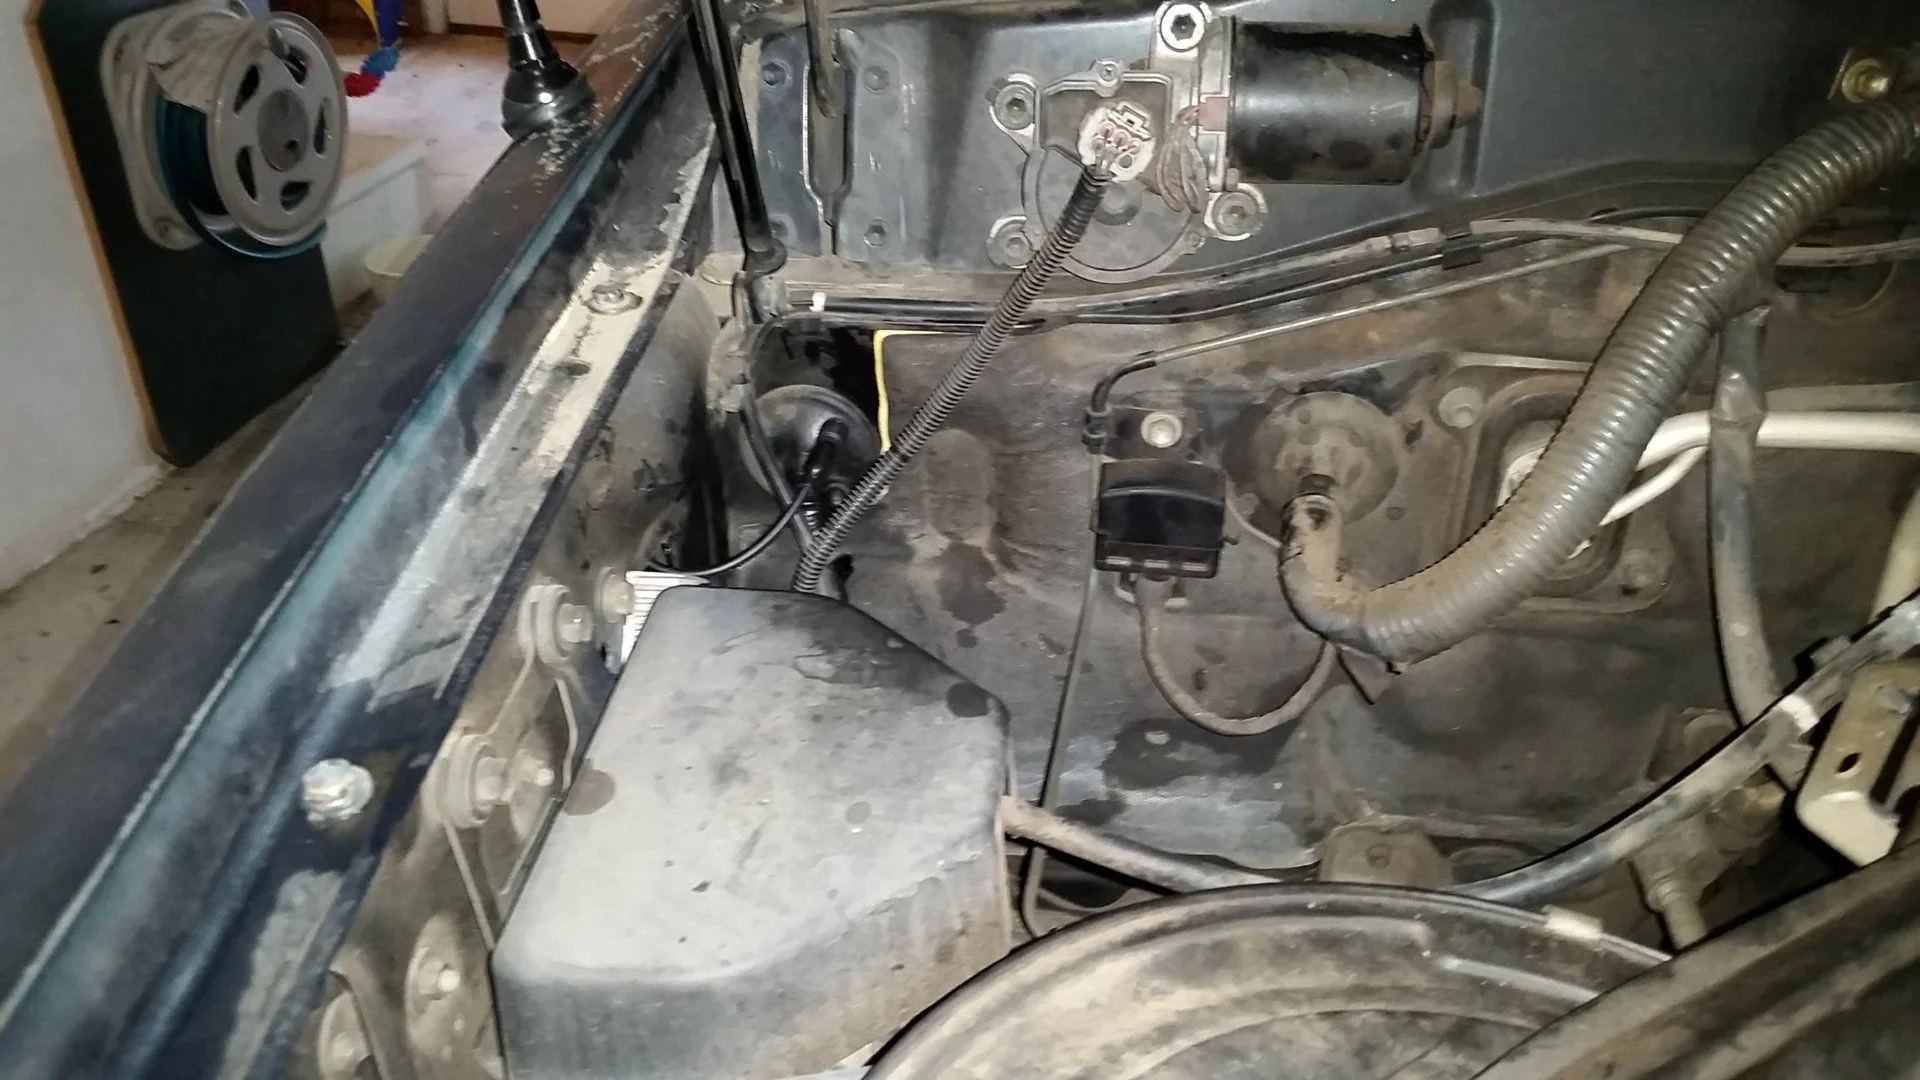
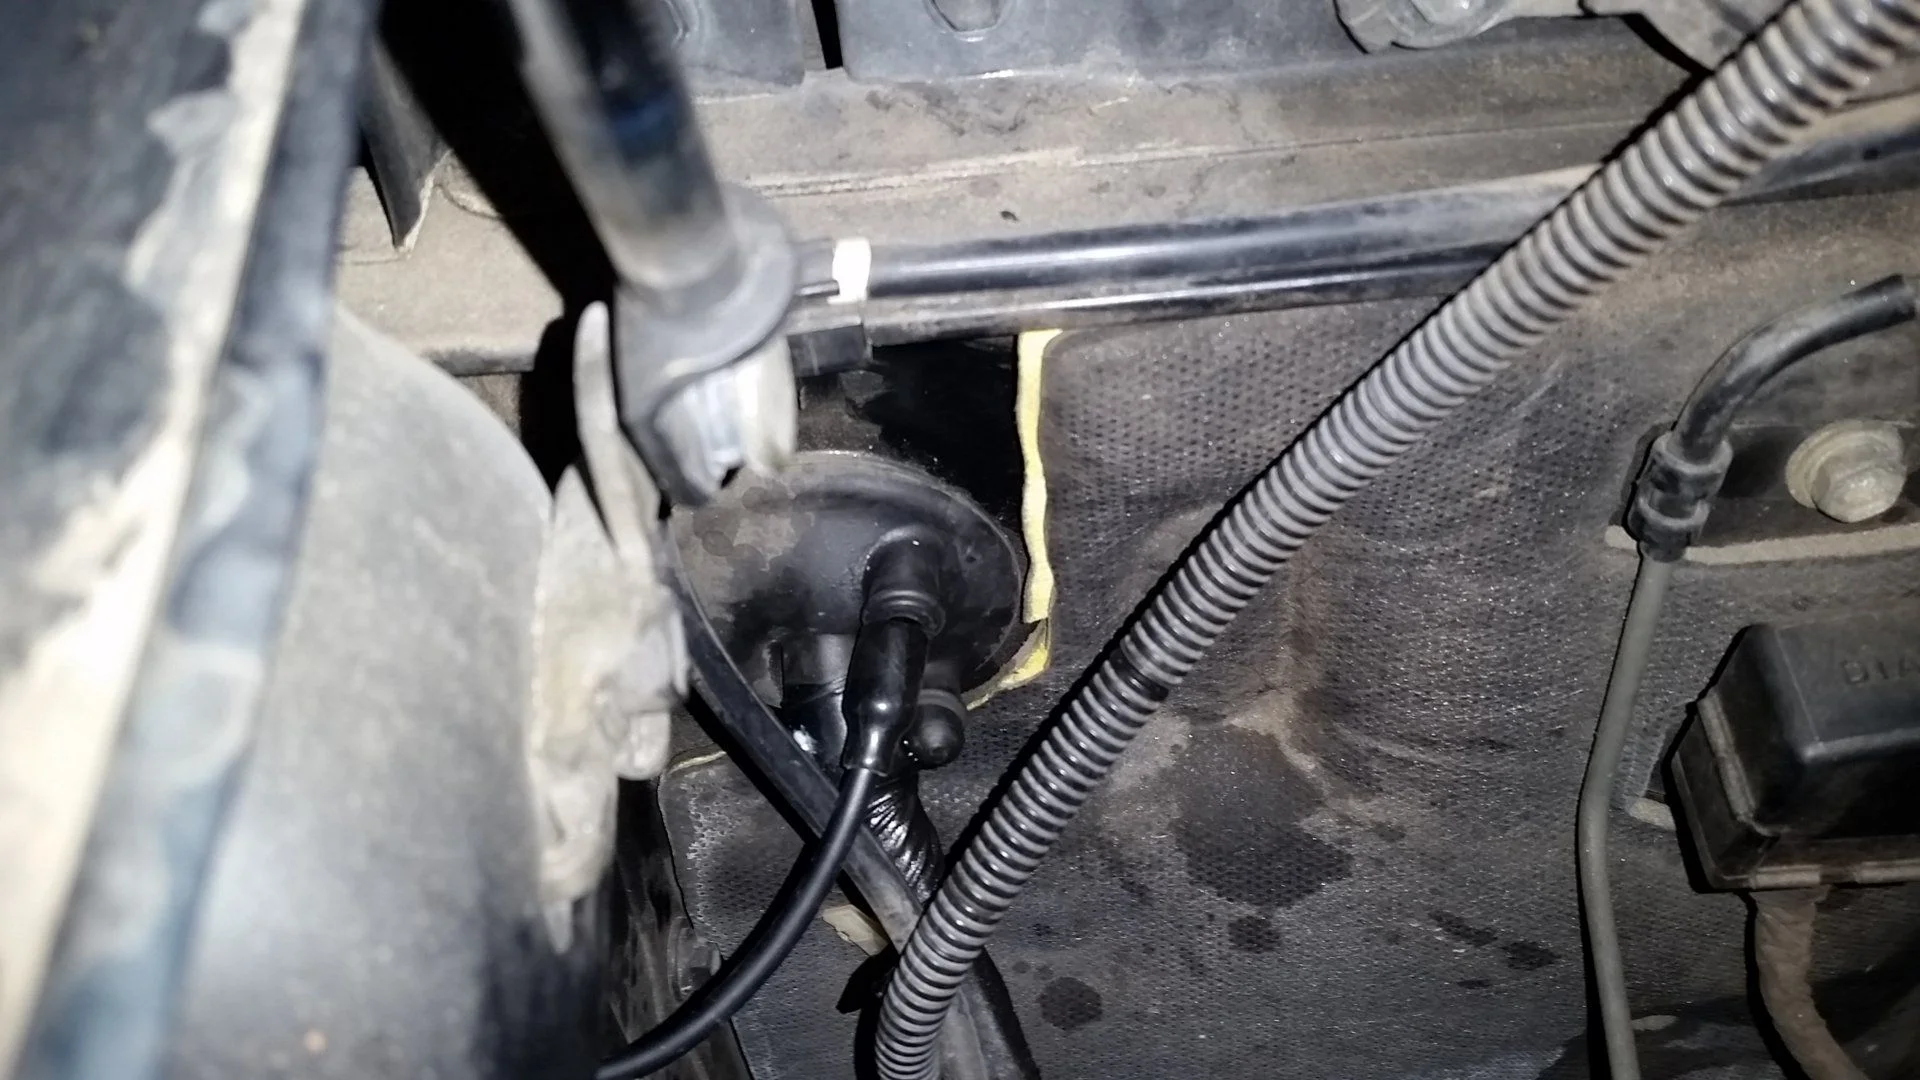
On the antenna side, the cable disappears into the body below the cowl through a quarter sized hole. You can see the hole in the pic in the post above. I sprayed some silicone in the hole, but the cable still seemed tight and I never could see or trace with my hand where the cable went through the firewall on the inside either.

I considered using a cable extension to pull the old out and new in, but that would mean a trip to the store and I was already dirty and sweaty. Was thinking of drilling a hole and found a simple work around instead. In the same harness grommet where the wires for the power antenna go through the firewall (just left of the ABS diagnostic plug) there are 2 nipples. I was assuming they were caps covering bolts, but after some poking around a could see they were just doing nothing. I cut the tip off the top one and just pushed the new antenna cable through the end maybe 2 feet, then reached up and found it on the inside. It will pop out in the pass side footwell near the top, but you can get a hand all the way up to where it enters. I kept the dust cover for the plug outside in the engine bay and it slides over the nipple and holds the cable tight as well.


Snake the cable and mount through the access hole in the body and attach to the fender loosely. Re-install the fender and then go back and orient the antenna where you want and snug it down. I found a shorty mast in the glovebox, screwed it in and the reception was crap. The 14" mast that came with the kit works well and is flexible too, so should be okay around trees. I would say reception is almost as good as the stock unit.

Reinstalled the JVC head unit and all is good. The JVC KW-R920BTS was cheap ($120) and it does Pandora, USB charging, Bluetooth, Phone and changes colors to match the dash, but can do many other colors if I ever change the bulbs like in the Lexus.


Found out while doing this that the PO broke the small cubby over the radio because he apparently didn't know about the tabs on the top and he stripped the screw mount on the right side on the cubby as well. Went through all my stuff from the truck .. no ashtray.

Used the opportunity of having the fender off to beat on it a bit more to get the dents out. It's better, but not great and the door still doesn't seem to sit back far enough and rubs a tiny bit. Just going to drive it for a while now though. Tired of taking the stupid fender off.


Picked up my 14 year old after his school activity today:

Me: How do you like the radio? (turns up music)
Kid: It's fine (turns music down), but the truck is still ugly.

I'm pretty sure he's adopted or switched at birth by the hospital.

Tomorrow is fun with speakers day and then likely a break for a week for the opening of deer archery season. Waiting on the Monstaliner samples and still have the Gamviti gears to install as well as other mechanical PM stuff.
 
Back
Top Bottom