- Thread starter
- #21
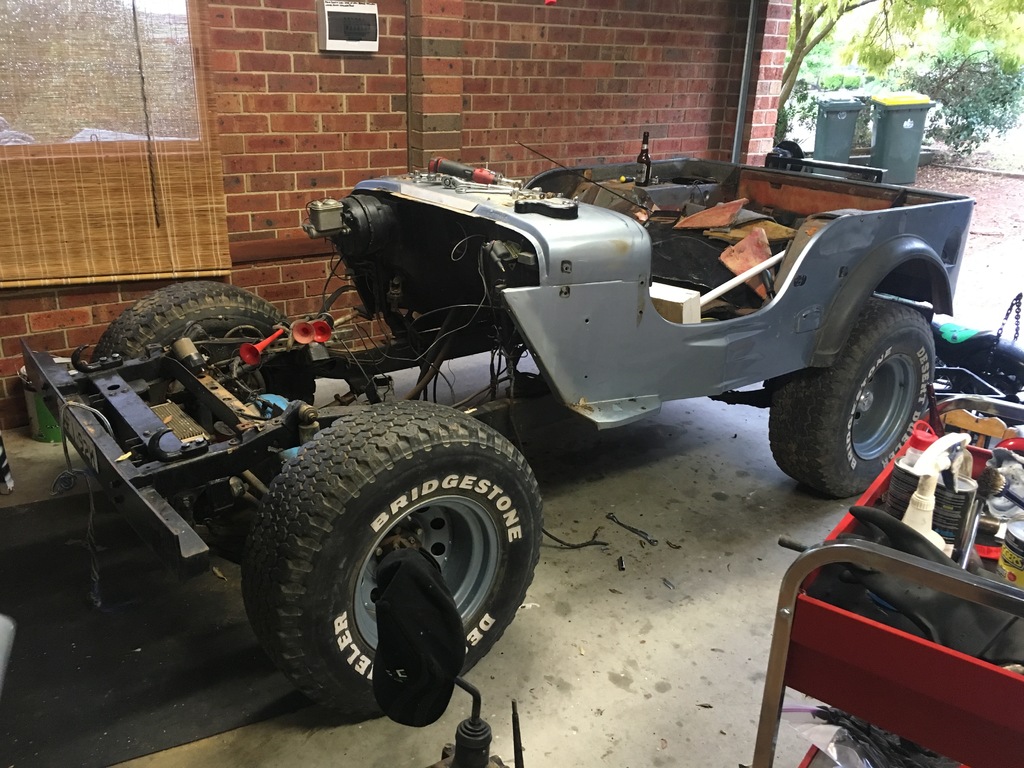
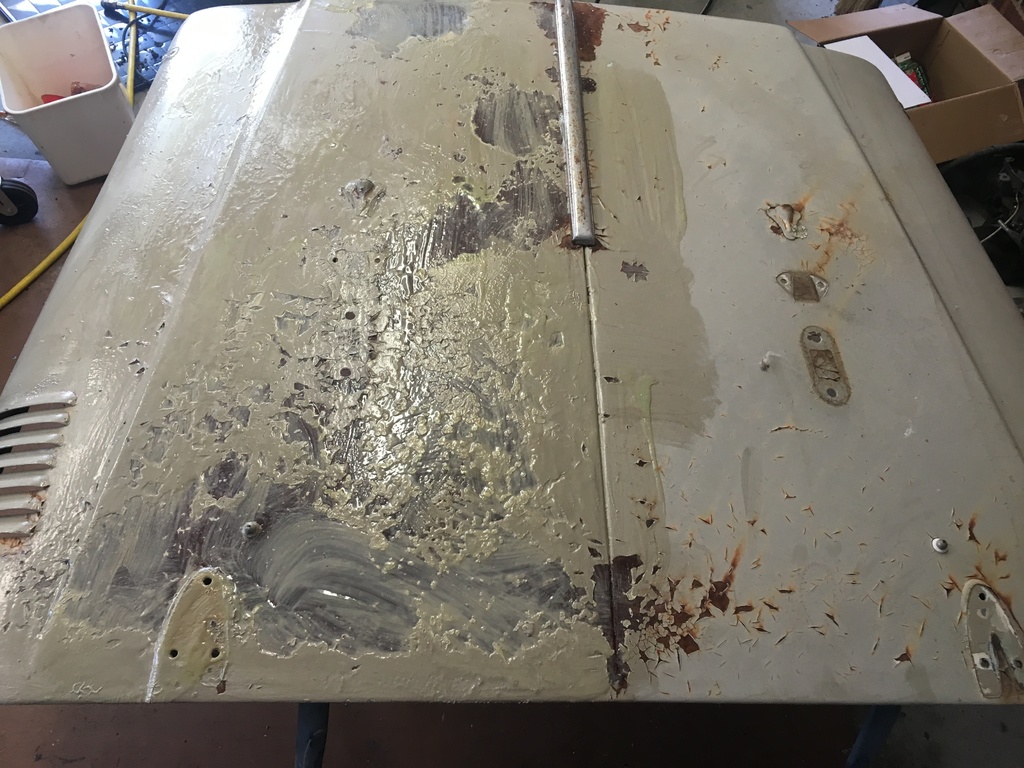
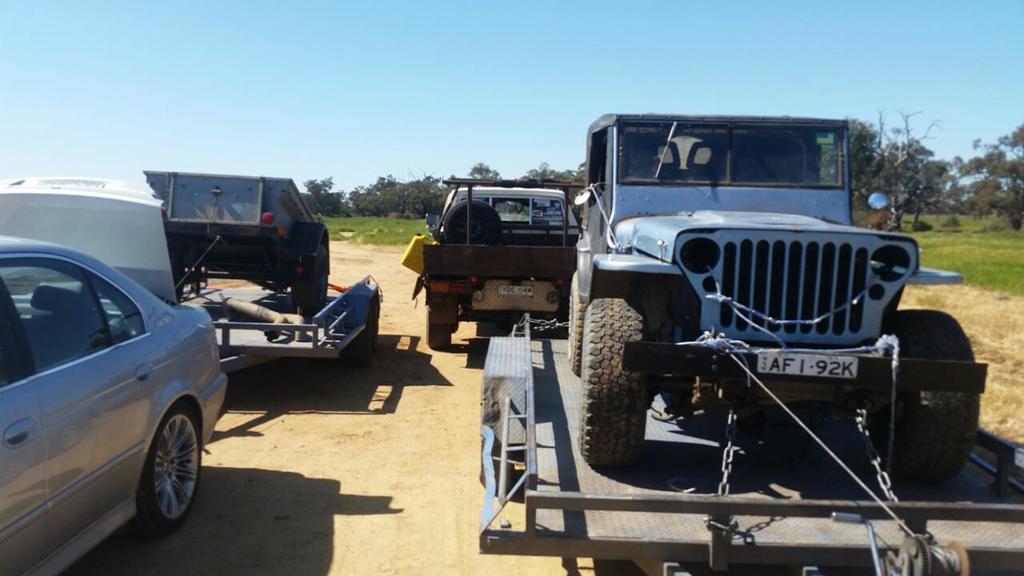
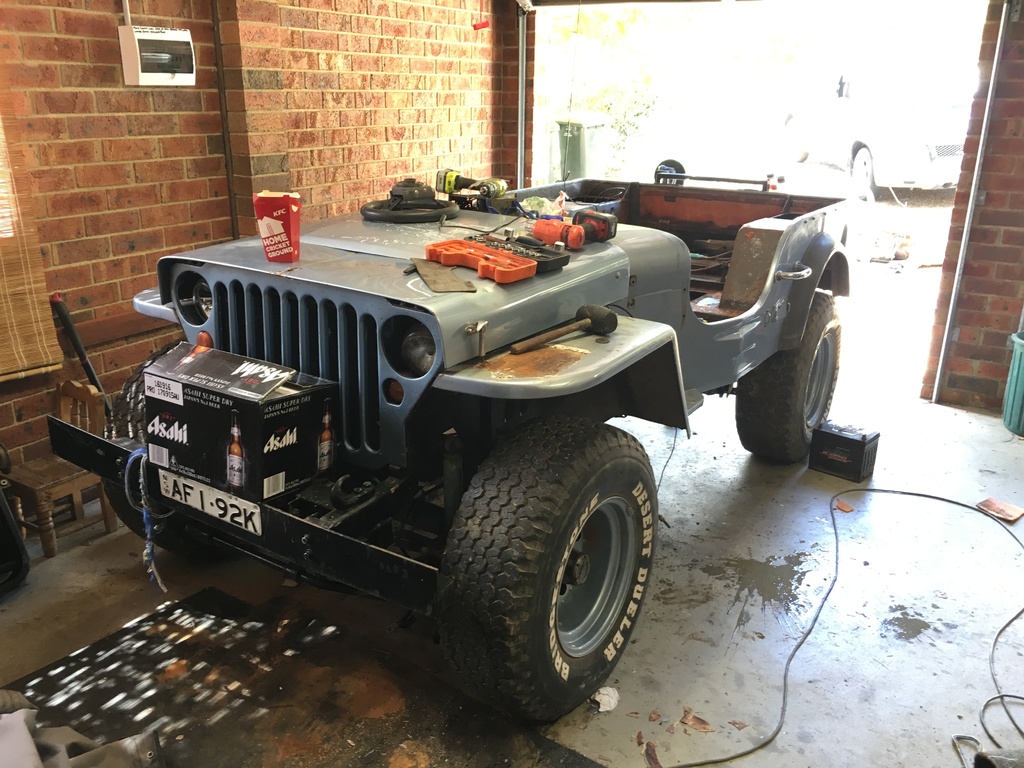
We start this next update on a bit of a tangent. A few months ago, Heath and I drove well over 1000km’s in a single day to pick up a project for him, a 1942 Ford GP ‘Jeep’ that previously belonged to the US Ordnance Division during the Vietnam war and somehow ended up on a little property in the middle of nowhere. The colour is bloody horrible (for a war jeep) and decided we would do this project alongside the FJ40.
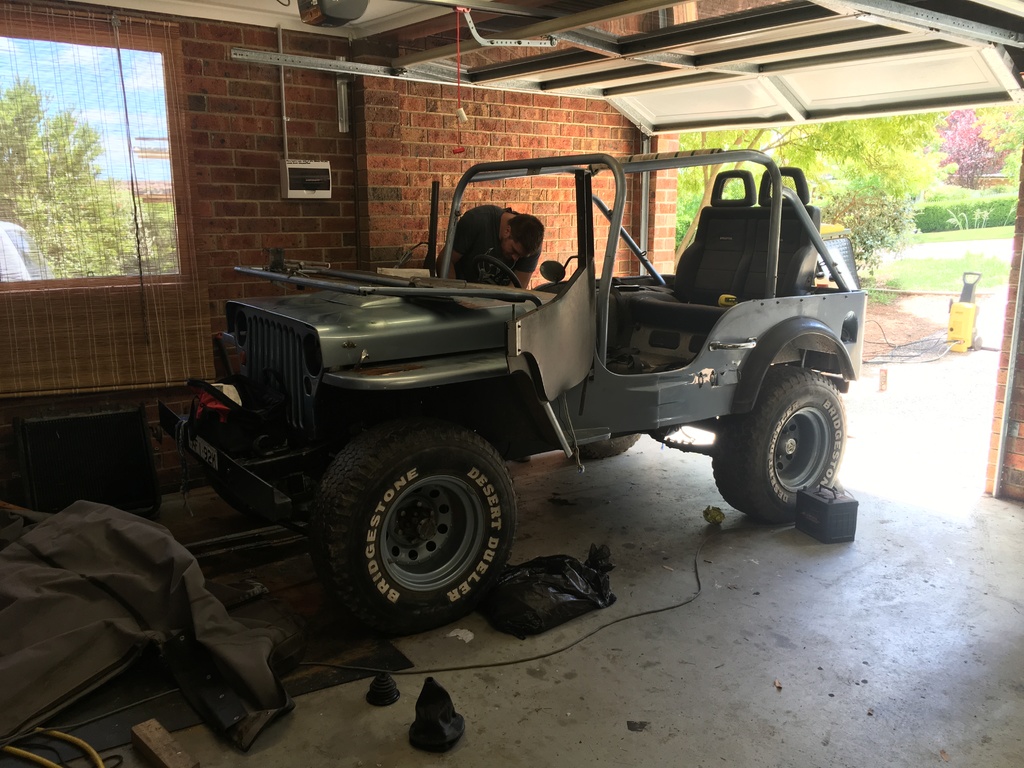
After being on separate properties, the GP and FJ were finally ready to meet for the first time. With the Australian weather turn up full heat, it was time for another day on working in the garage.
We got a car trailer hooked up first thing in the morning and moved the GP over to my place. My Trans Am had been sitting at Heaths place too, so I took the opportunity to move it over to my place too.
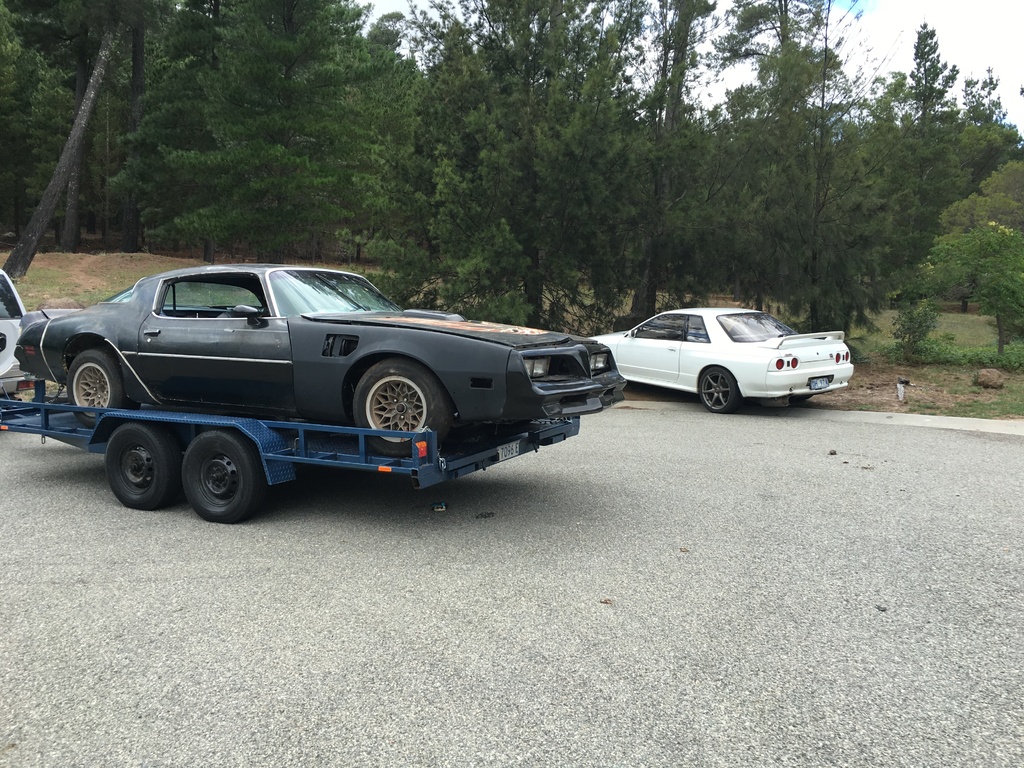
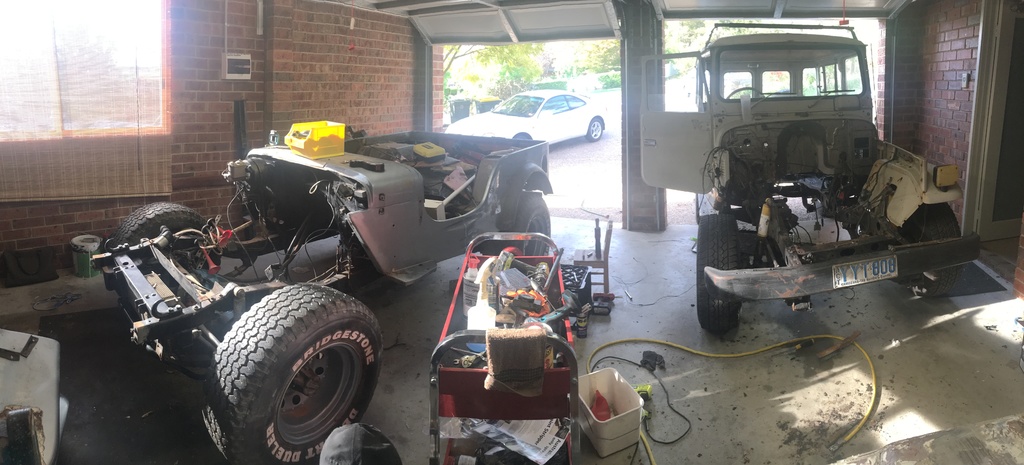
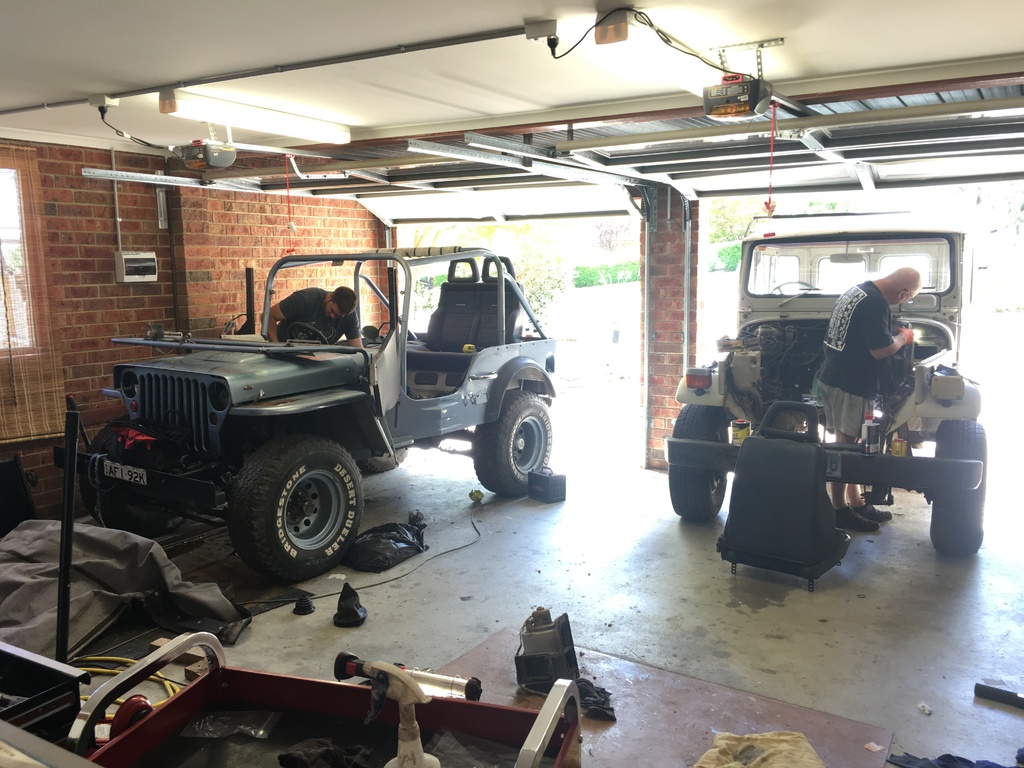
We pushed the Trans Am around the side of the house and forgot about it, as I am not going to even think about working on it until the FJ40 is completed. We then positioned the FJ and GP in the garage for the first time (they look great together)
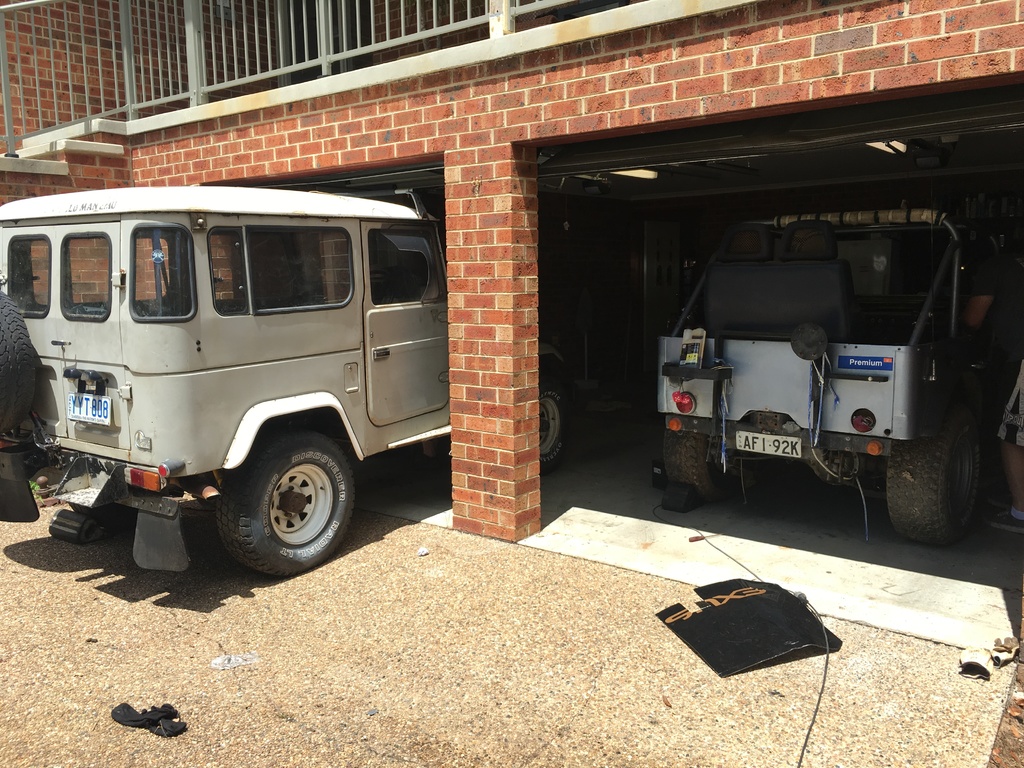
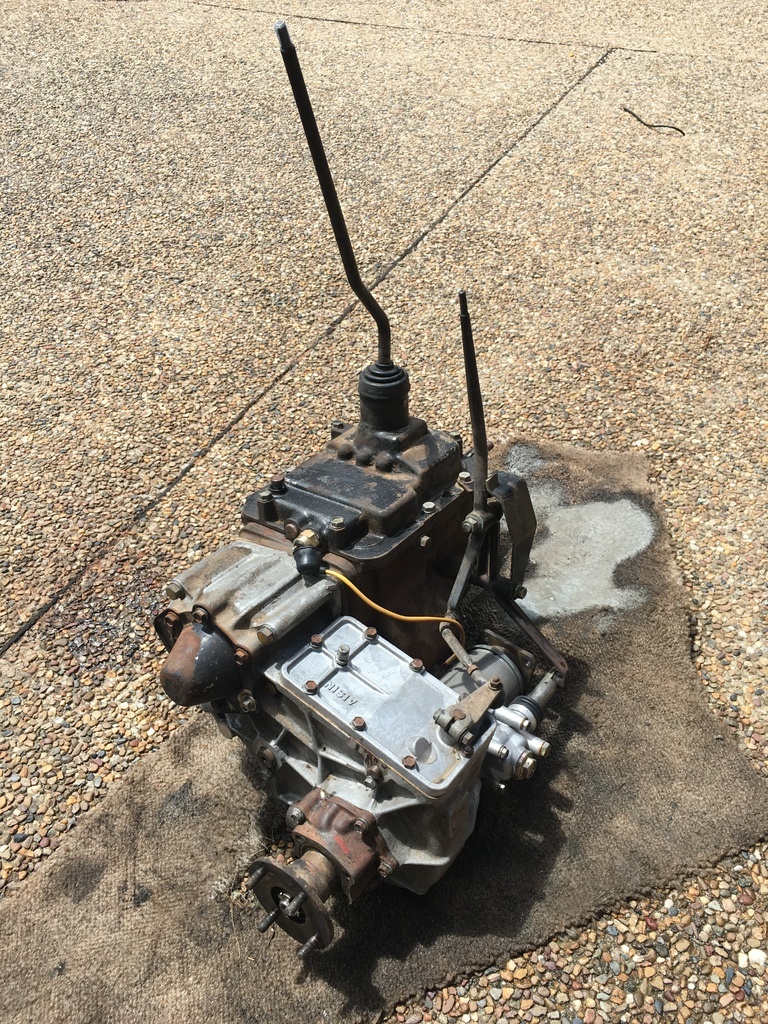
I started work on giving the FJ40’s gearbox a clean. I’m certain it had not been cleaned since it rolled out of the factory, and didn’t even know what colour it was under all that filth. Armed with a kerosene and a wire brush in one hand, and a beer in the other… I went to work scrubbing until my arms went numb. The results however speak for themselves:
BEFORE:
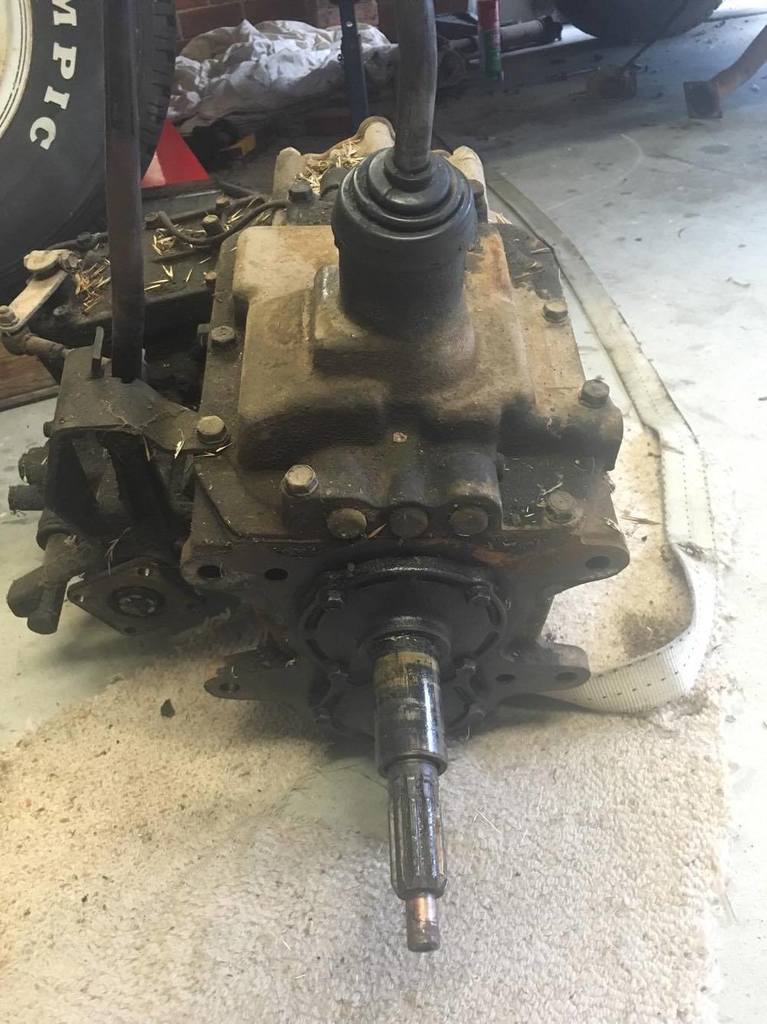
AFTER:
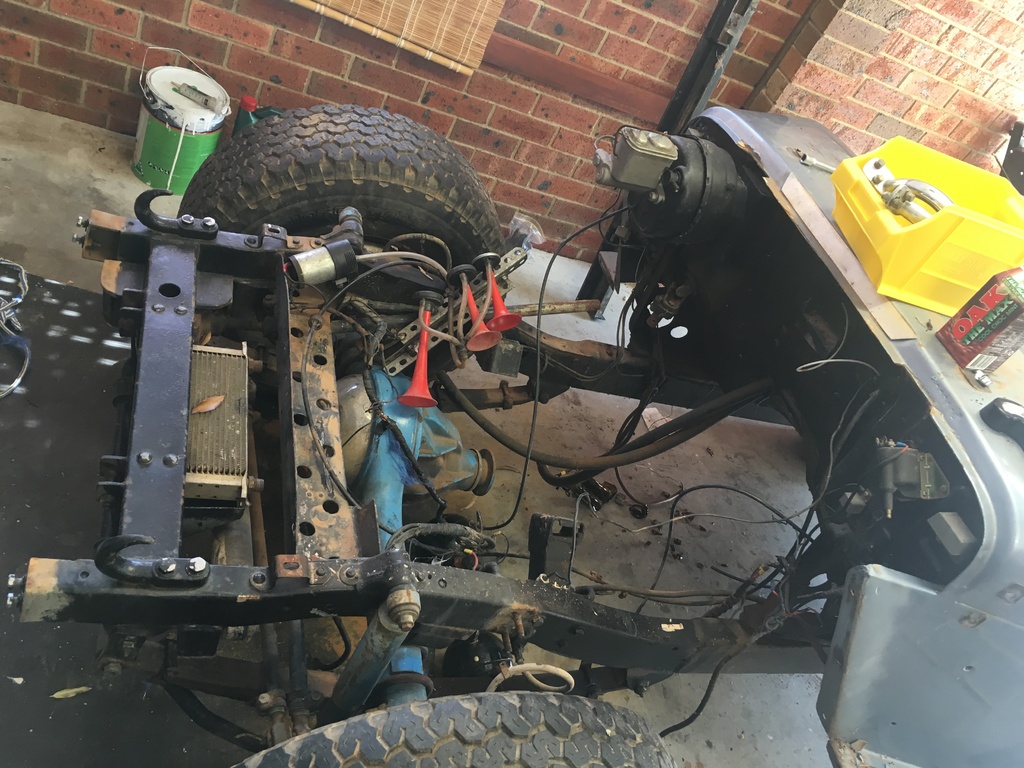
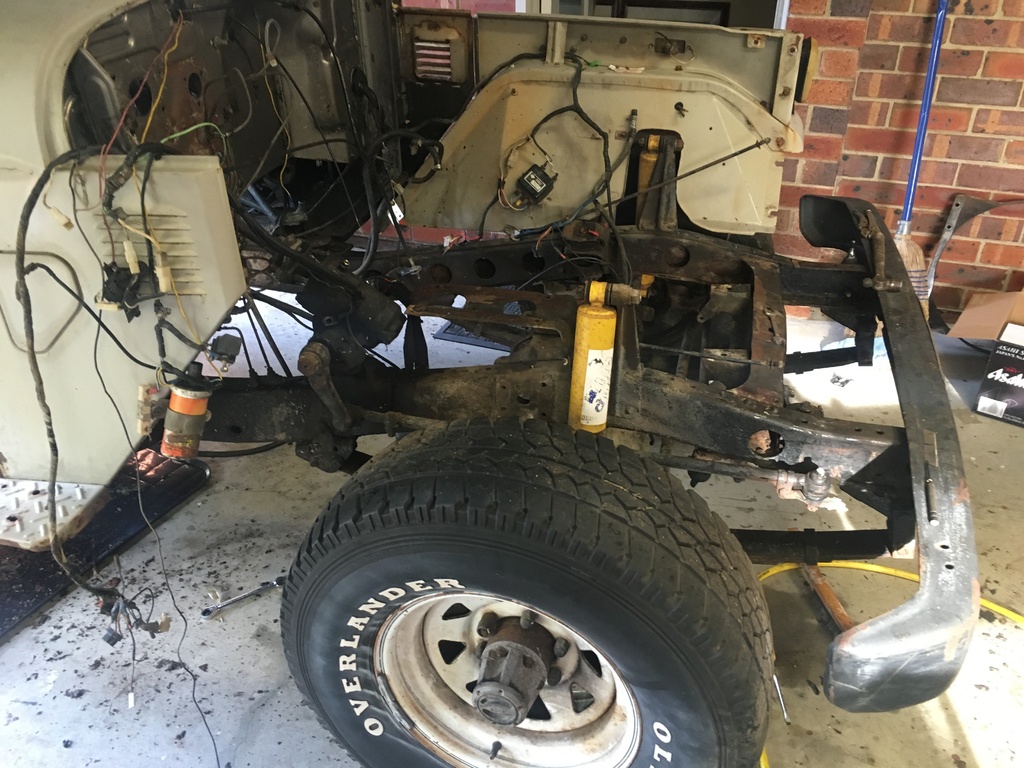
While I was busy scrubbing, Heath got started on stripping the GP down in order to get both cars ready for sanding, priming and eventually painting.
AFTER:
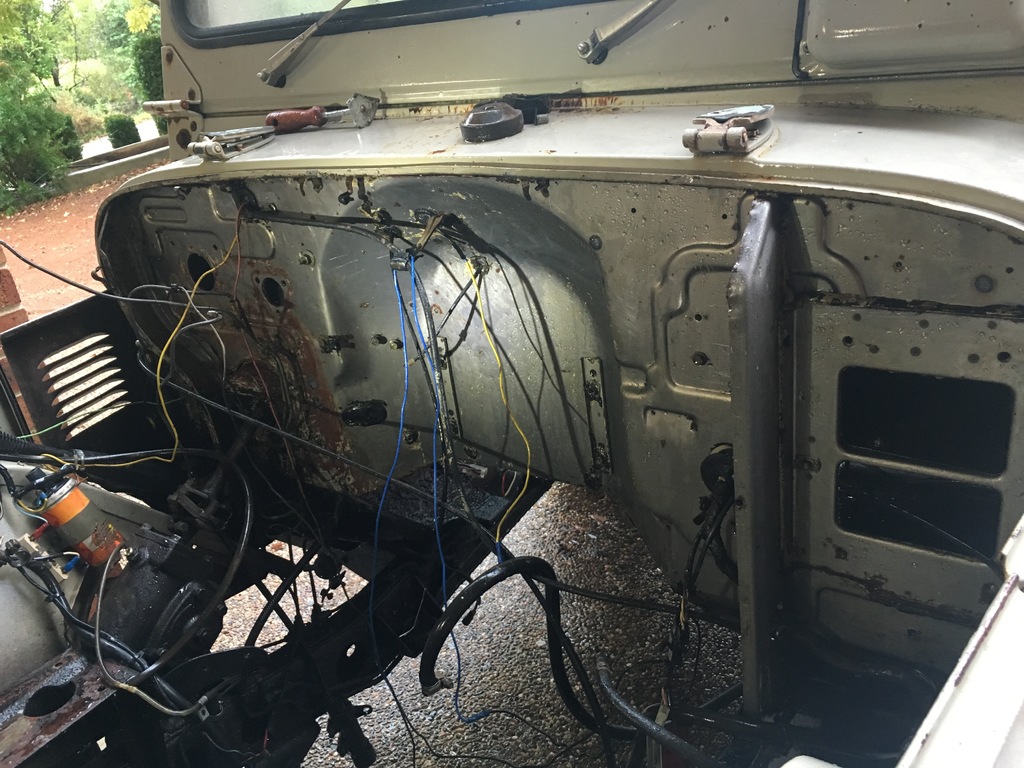
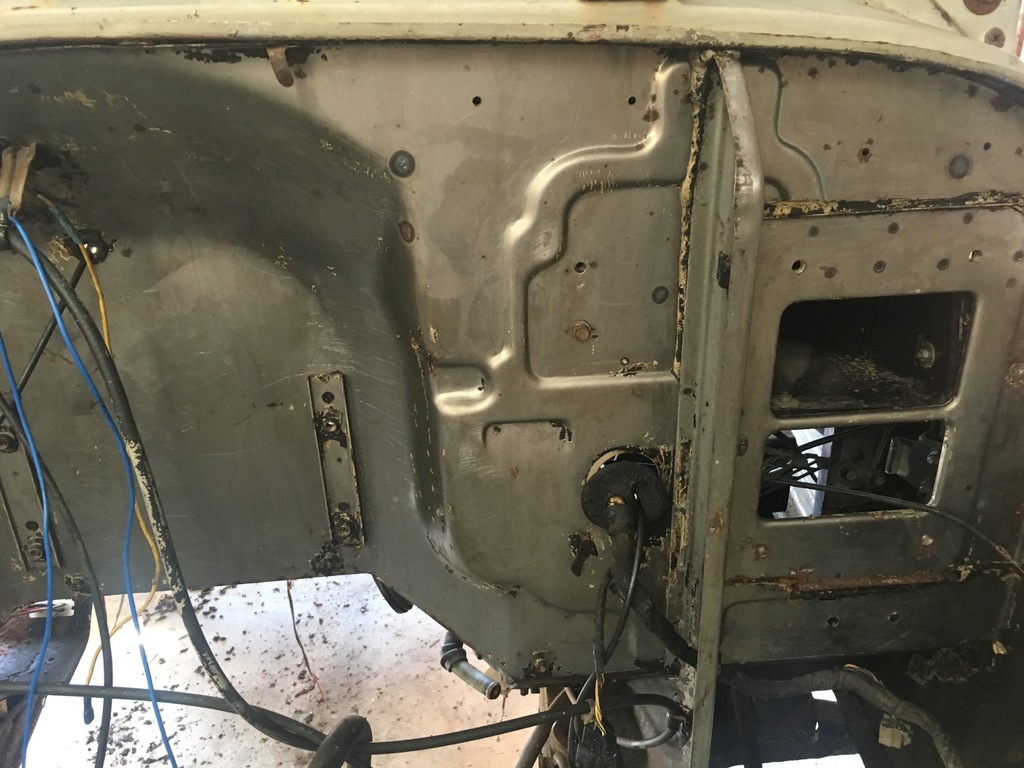
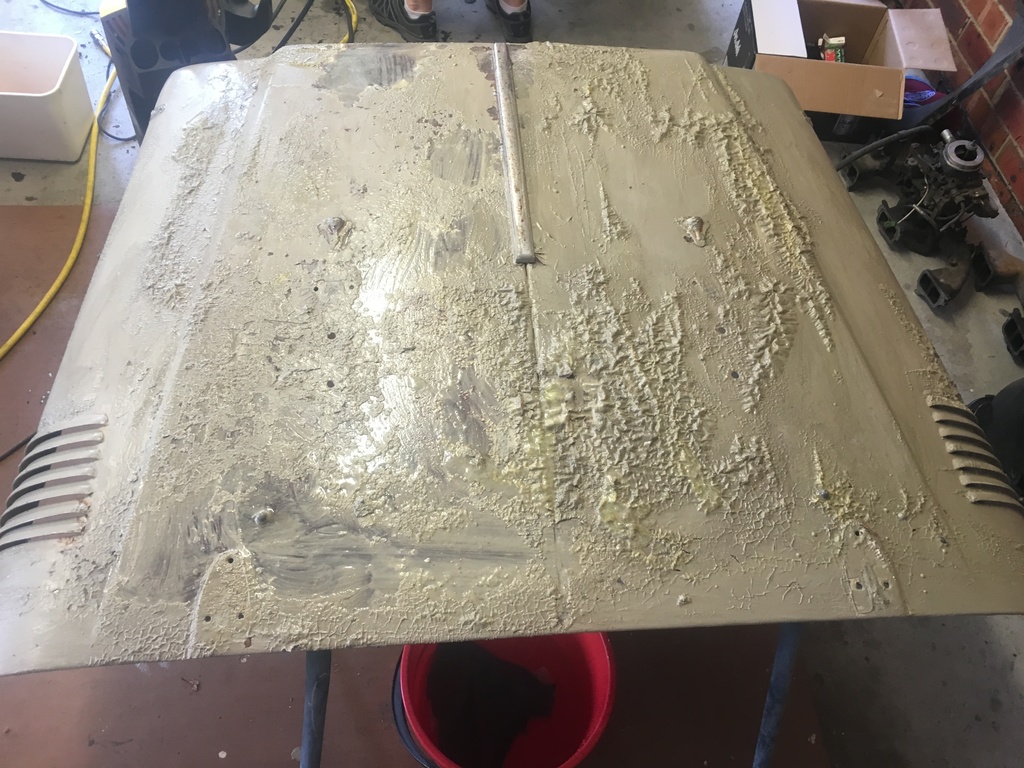
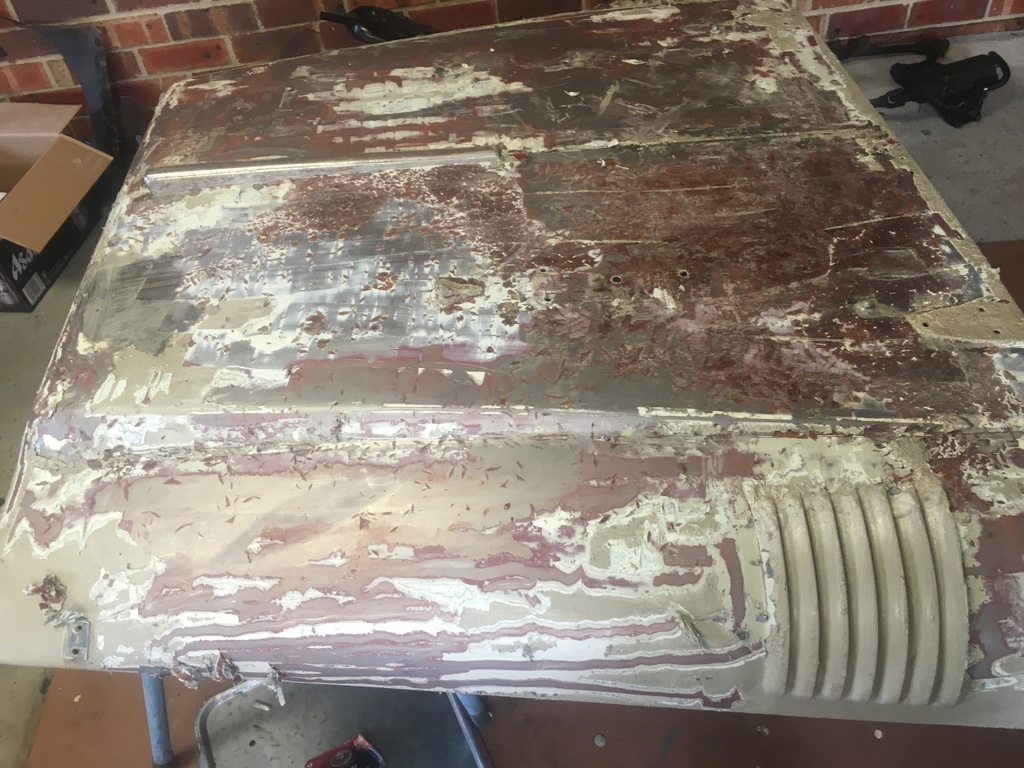
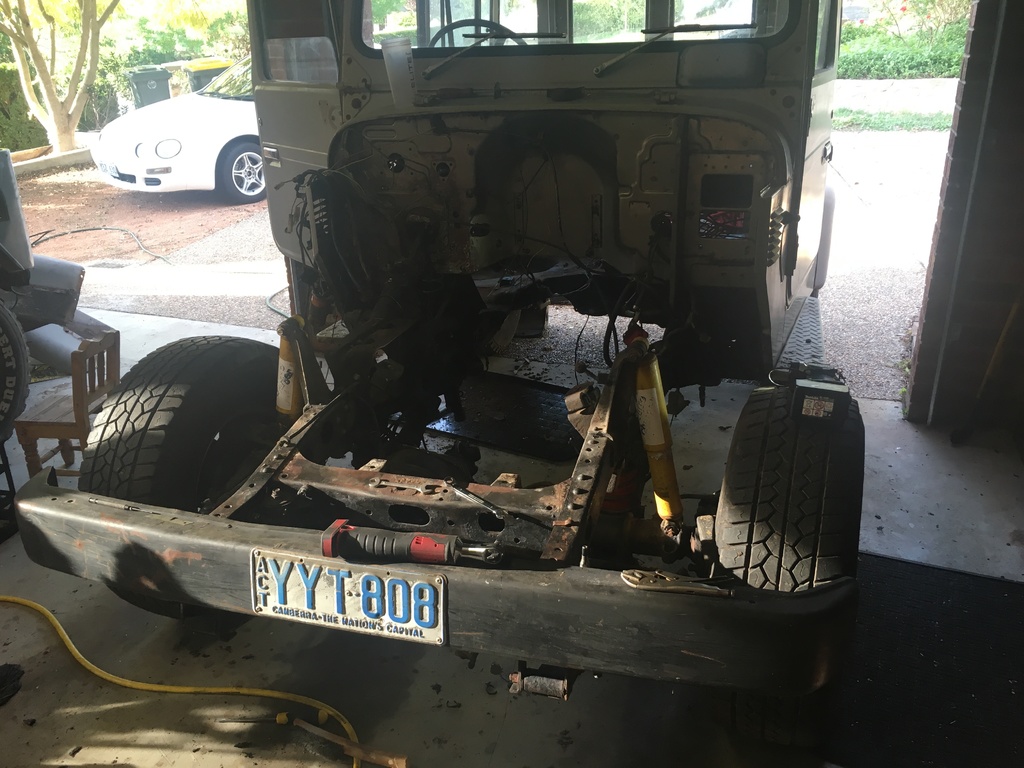
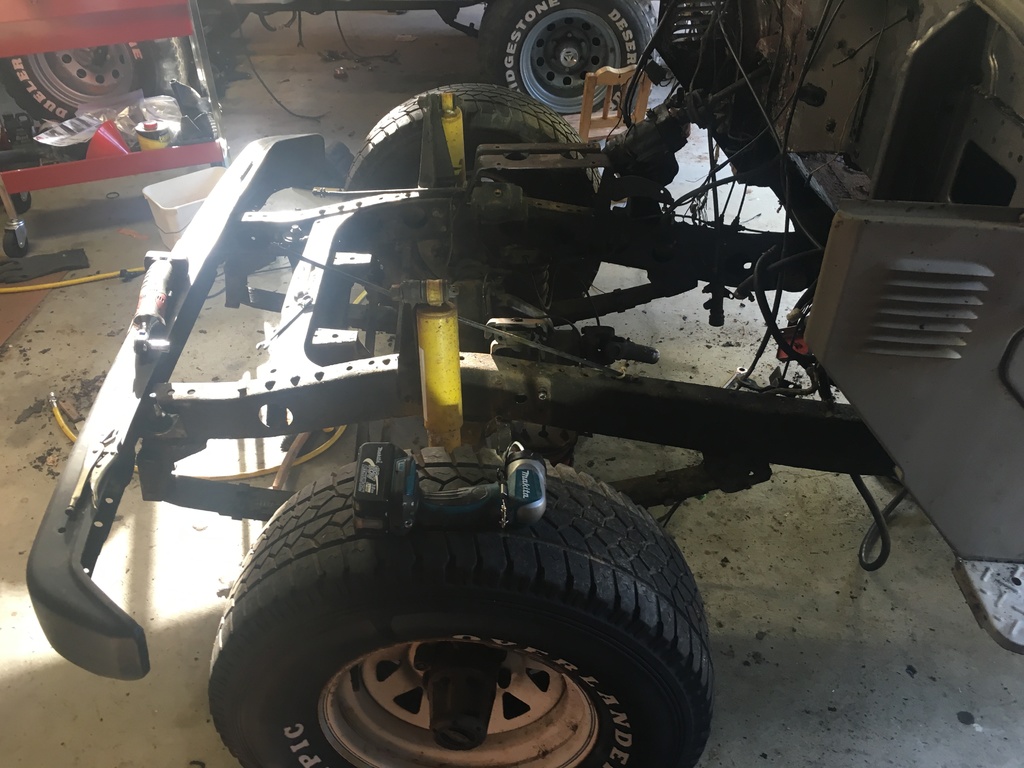
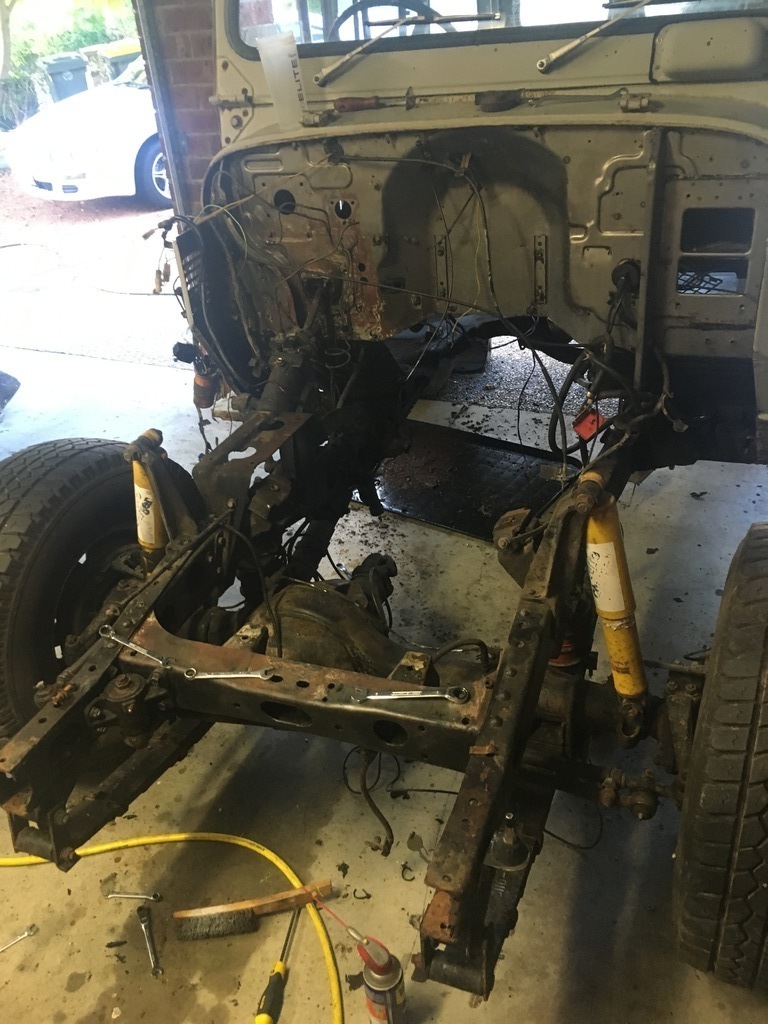
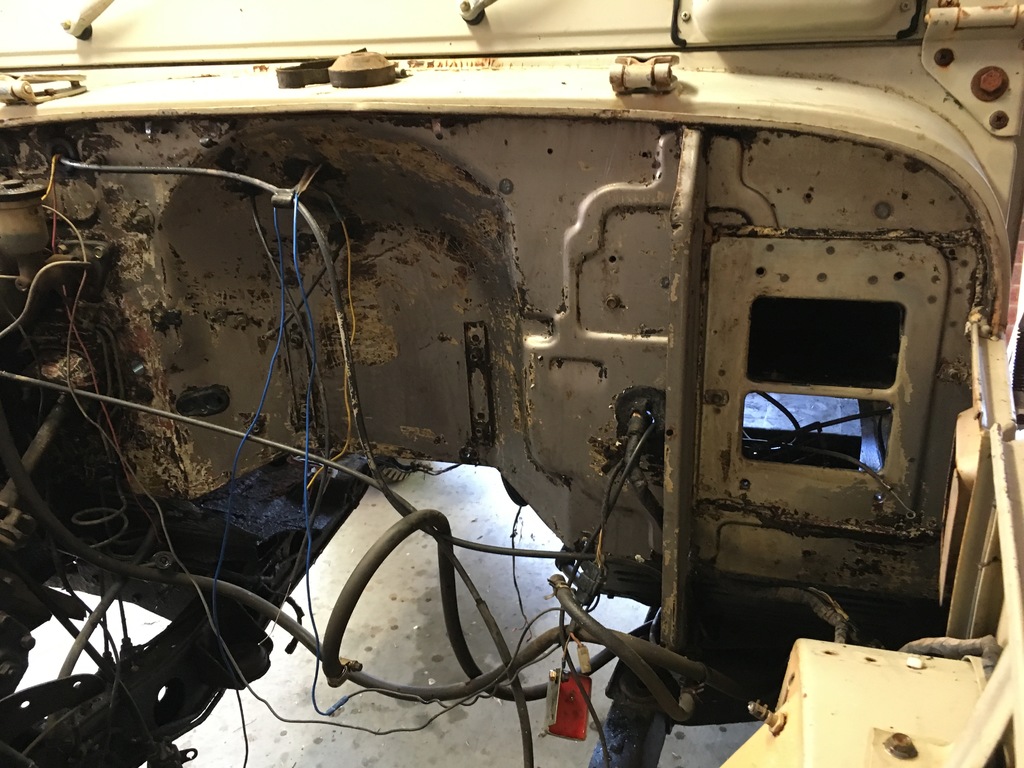
It hadn’t seemed like long, but afternoon had already arrived and it was time to get started on the firewall. The firewall had been subject to countless layers of primer, paint and a rubber/tar like adhesive.
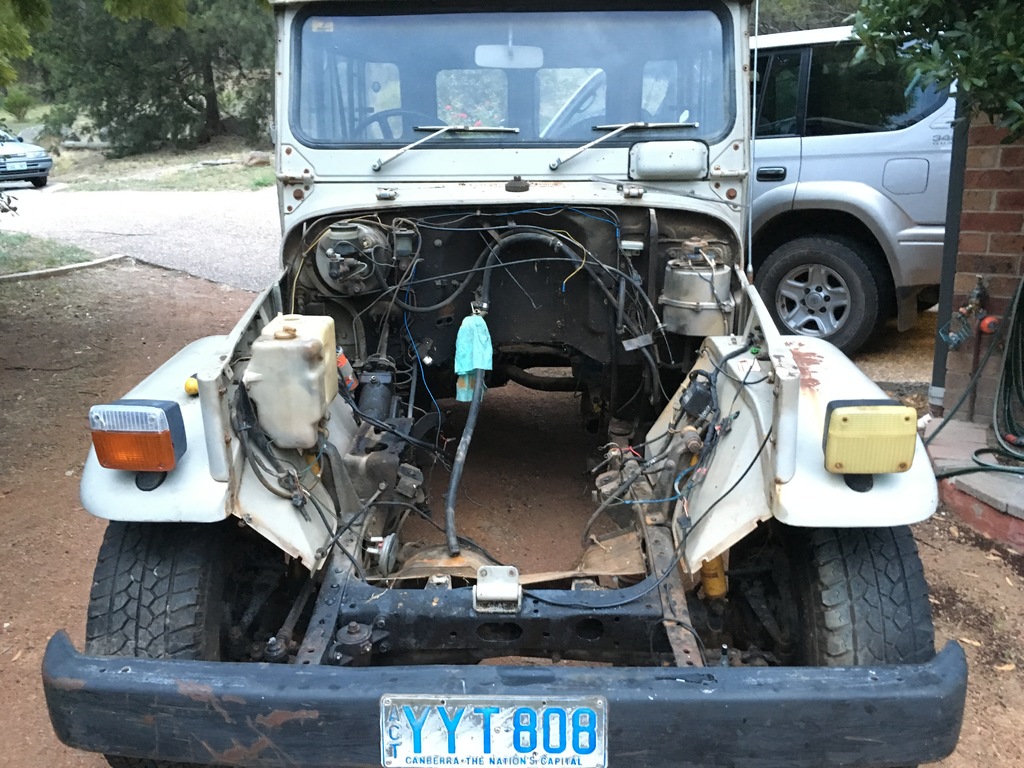
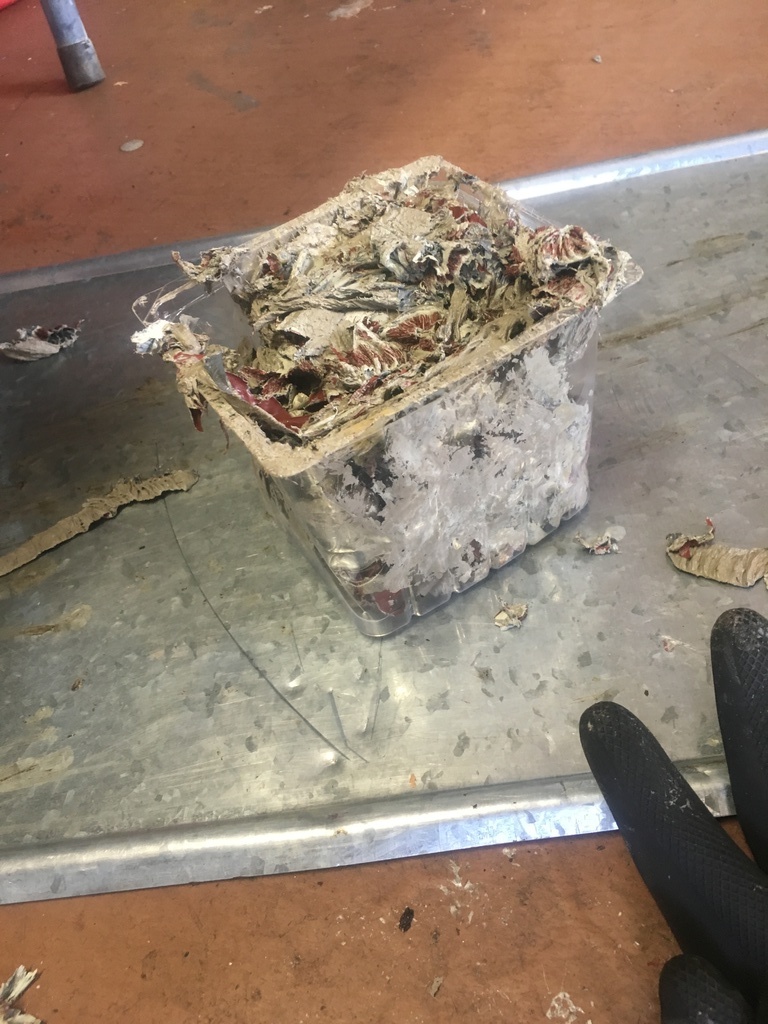
We applied an initial layer of paint stripper on the firewall and scrapped it off. We then repeated this process again which took off the vast majority paint, leaving a (fairly) nice bare metal firewall. We will revisit this a final time before primer.
By this stage, it was time to pack up and head our separate ways. I am heading off to New Zealand on a week long road trip next week, so it might take me a fortnight for the next post. We still have a long way to go, but any progress is good progress.
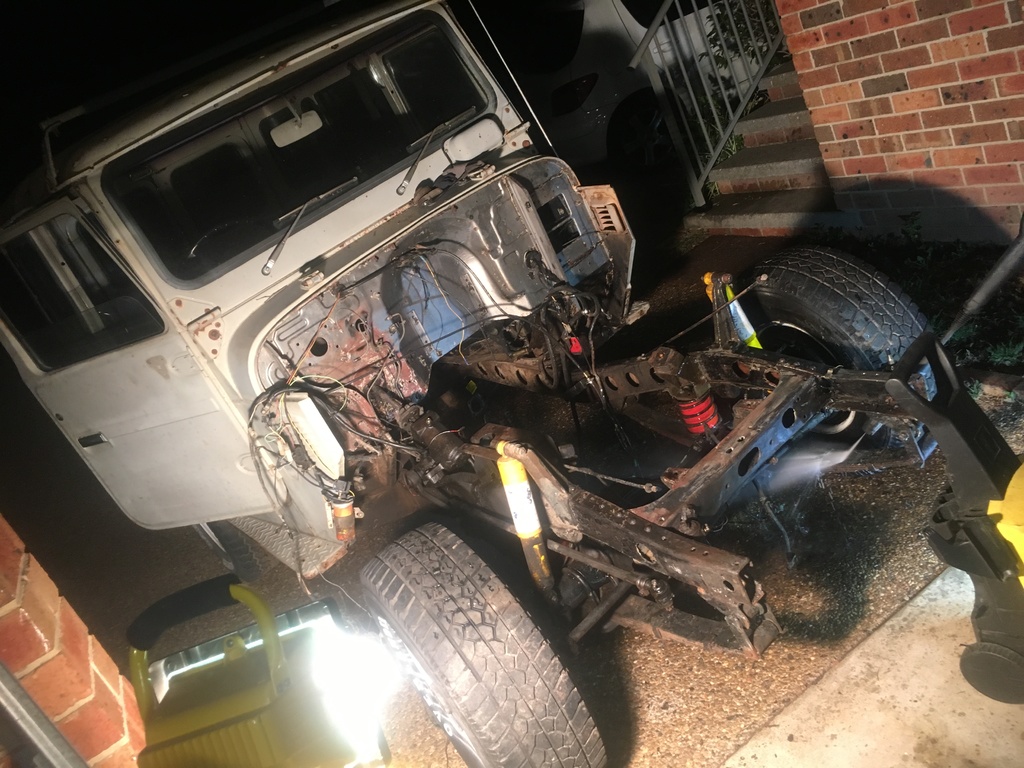
My plans for next time will be to strip and paint the chassis (with the tub still on) and whatever catches my attention. With so much work and so many things needing attention, there is always lots to choose from when it comes to working on the FJ40!
Hope you are all doing well and see you next time!
After being on separate properties, the GP and FJ were finally ready to meet for the first time. With the Australian weather turn up full heat, it was time for another day on working in the garage.
We got a car trailer hooked up first thing in the morning and moved the GP over to my place. My Trans Am had been sitting at Heaths place too, so I took the opportunity to move it over to my place too.
We pushed the Trans Am around the side of the house and forgot about it, as I am not going to even think about working on it until the FJ40 is completed. We then positioned the FJ and GP in the garage for the first time (they look great together)
I started work on giving the FJ40’s gearbox a clean. I’m certain it had not been cleaned since it rolled out of the factory, and didn’t even know what colour it was under all that filth. Armed with a kerosene and a wire brush in one hand, and a beer in the other… I went to work scrubbing until my arms went numb. The results however speak for themselves:
BEFORE:
AFTER:
While I was busy scrubbing, Heath got started on stripping the GP down in order to get both cars ready for sanding, priming and eventually painting.
AFTER:
It hadn’t seemed like long, but afternoon had already arrived and it was time to get started on the firewall. The firewall had been subject to countless layers of primer, paint and a rubber/tar like adhesive.
We applied an initial layer of paint stripper on the firewall and scrapped it off. We then repeated this process again which took off the vast majority paint, leaving a (fairly) nice bare metal firewall. We will revisit this a final time before primer.
By this stage, it was time to pack up and head our separate ways. I am heading off to New Zealand on a week long road trip next week, so it might take me a fortnight for the next post. We still have a long way to go, but any progress is good progress.
My plans for next time will be to strip and paint the chassis (with the tub still on) and whatever catches my attention. With so much work and so many things needing attention, there is always lots to choose from when it comes to working on the FJ40!
Hope you are all doing well and see you next time!