This site may earn a commission from merchant affiliate
links, including eBay, Amazon, Skimlinks, and others.
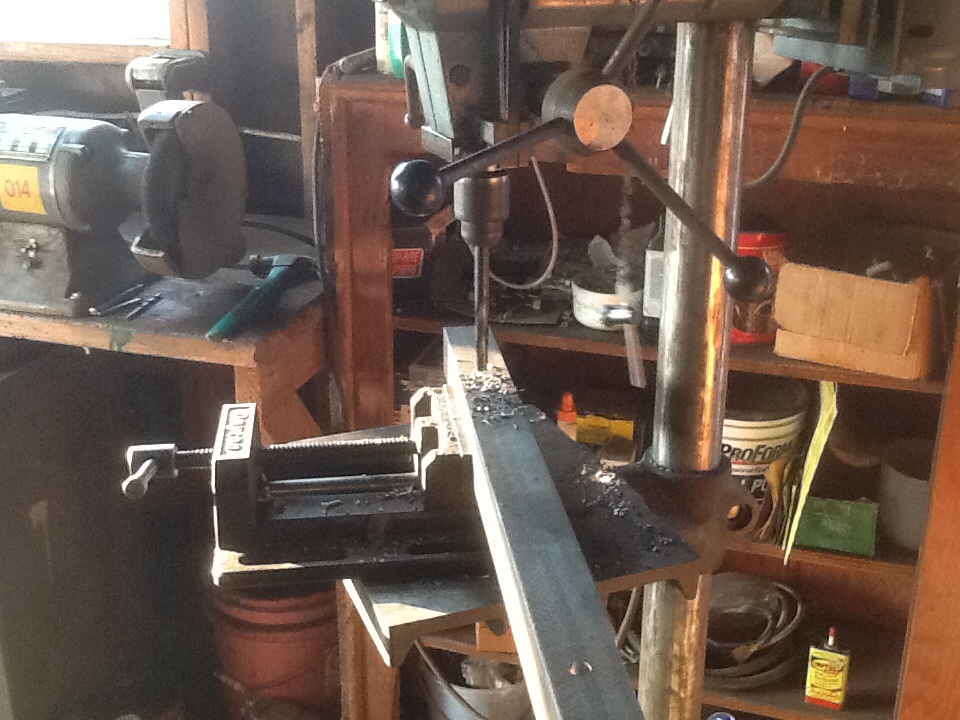
Transfer punched and drilled the mounting angles.
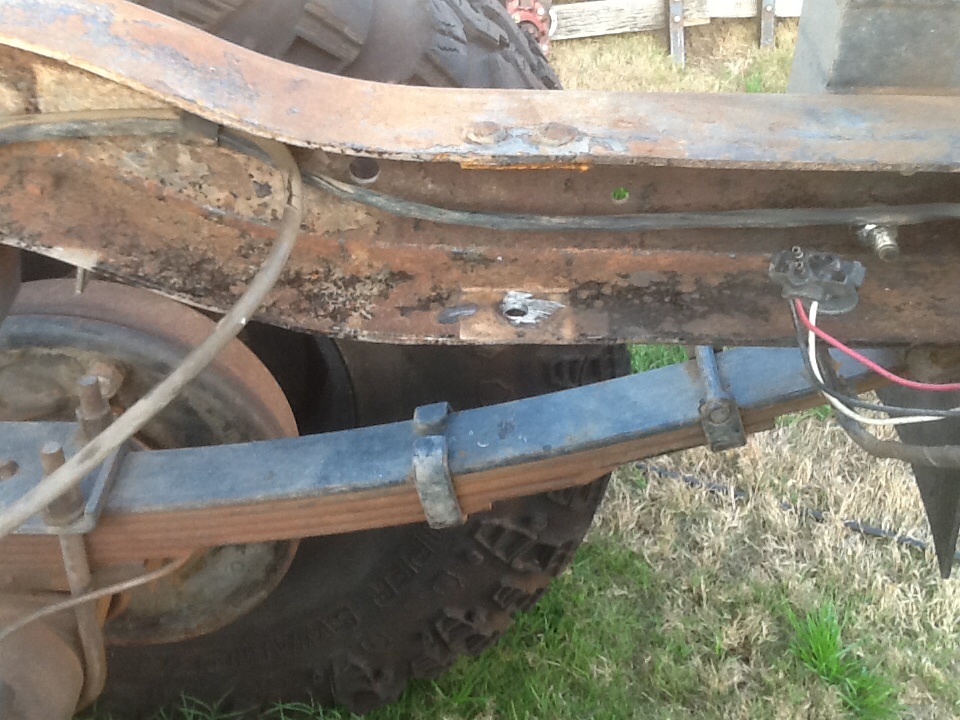
Removed the remnants of the lower part of the shock mount. I plan on using the holes, drilled them out to 1/2", were 7/16".
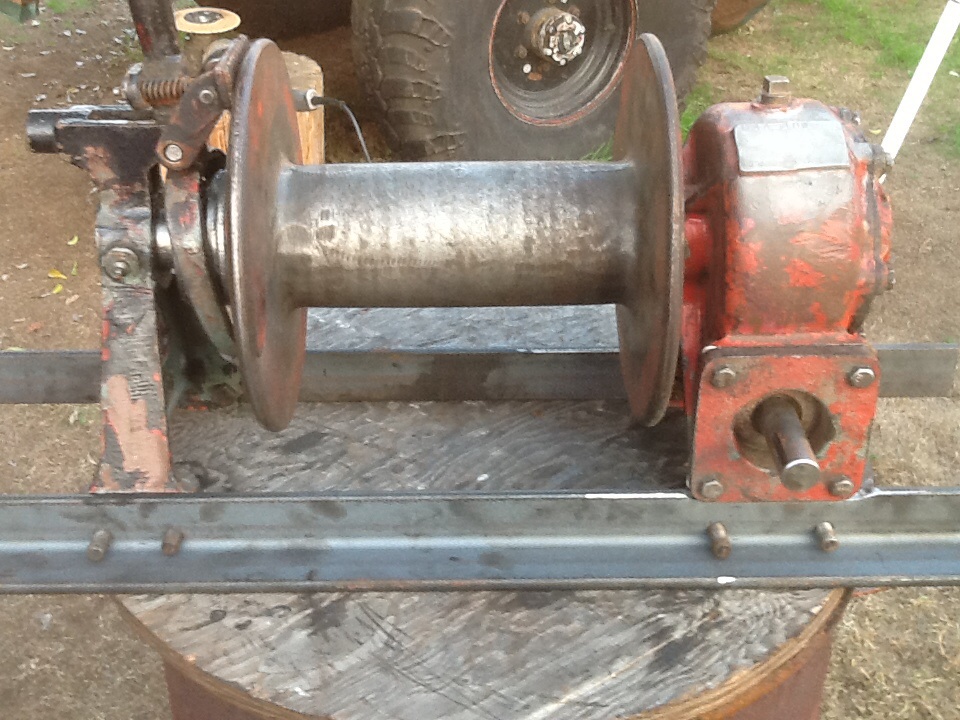
It was getting dark by the time I took this picture. Wanted to bolt the winch to the angles "inside" the frame to see where everything landed, took out one bolt on each side that holds the bumper on. It might be in the right spot for the rear angle, not enough light to tell. Will look at it again tomorrow.
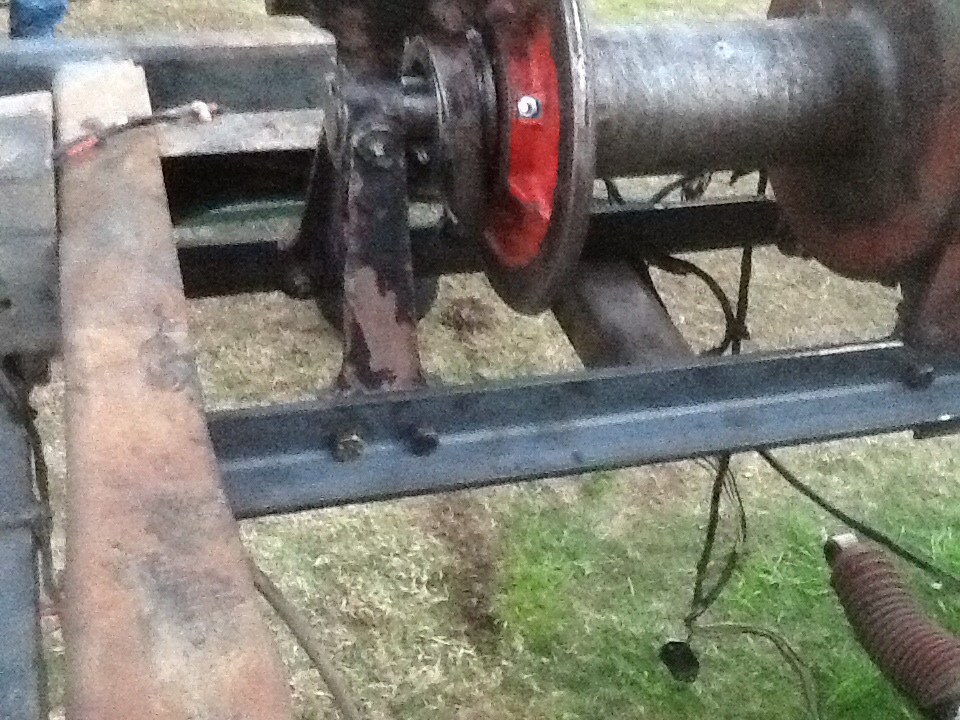
Since there were already holes in the frame in the area the angles landed at I couldn't position them ideally, then I drilled a second one.
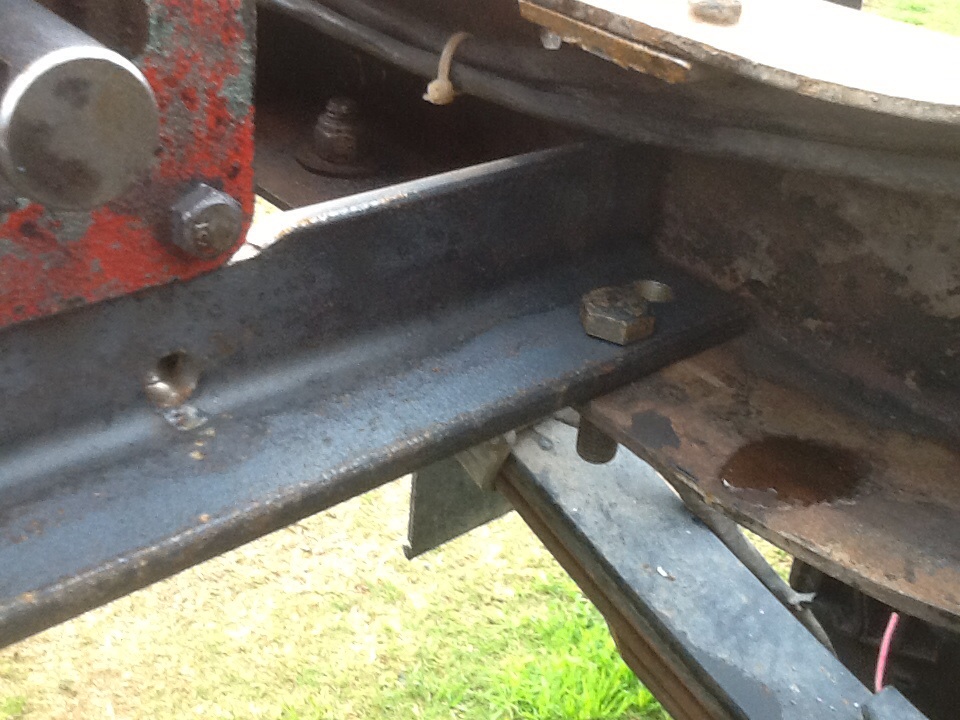
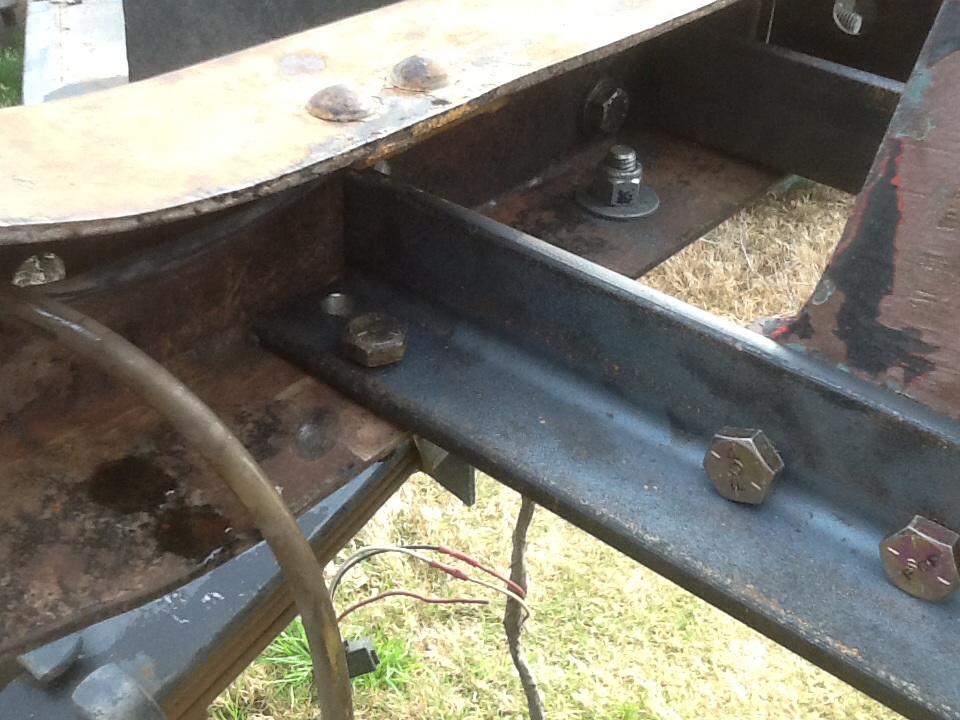
When I made the bumper a long time ago, I made the receiver tube long so I could tie it into the fame, but never did. So now's the chance. Not only will this strengthen the bumper, but also the winch. The small angle bracket will be welded to the longer angle mount.
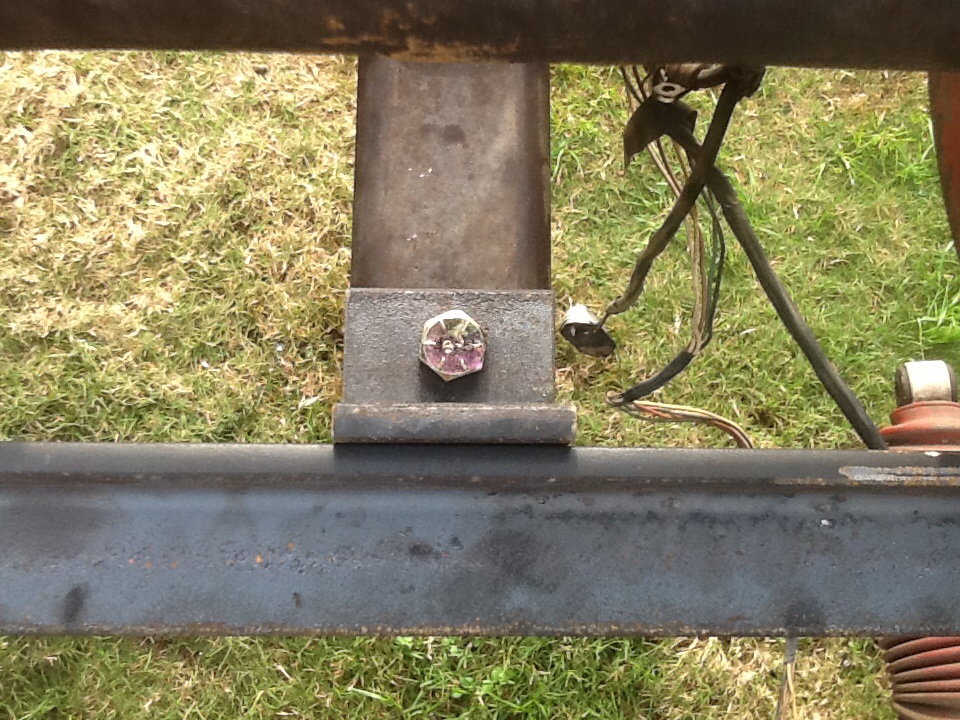
Had to cut a little clearance in the cross member to get the angles to the existing holes in the frame.
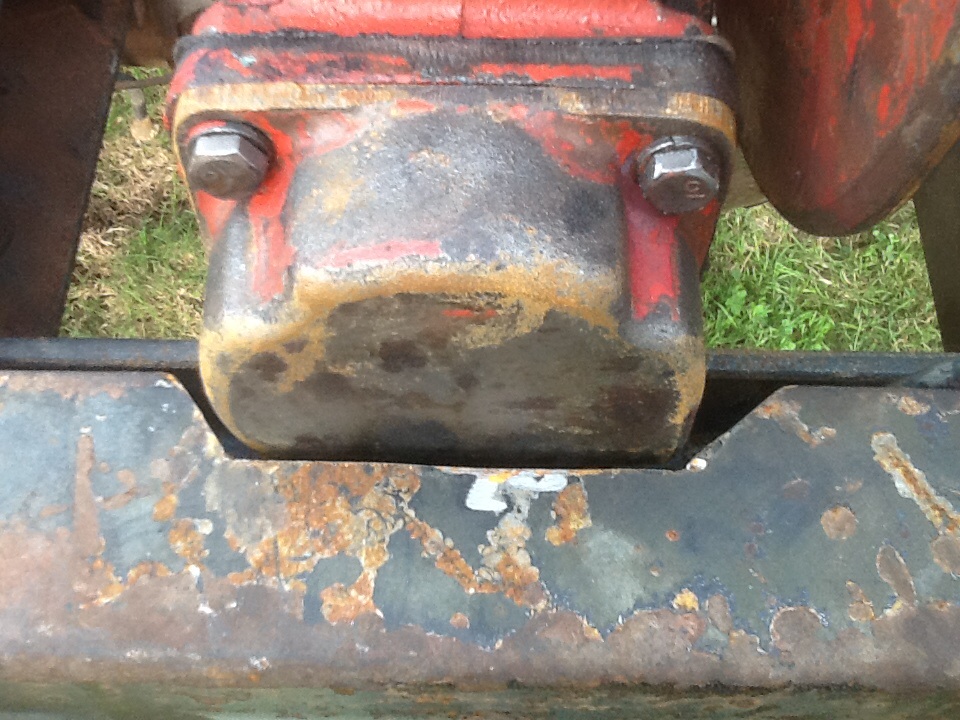
Washed off the oil, let it sit in the sun, then painted it.
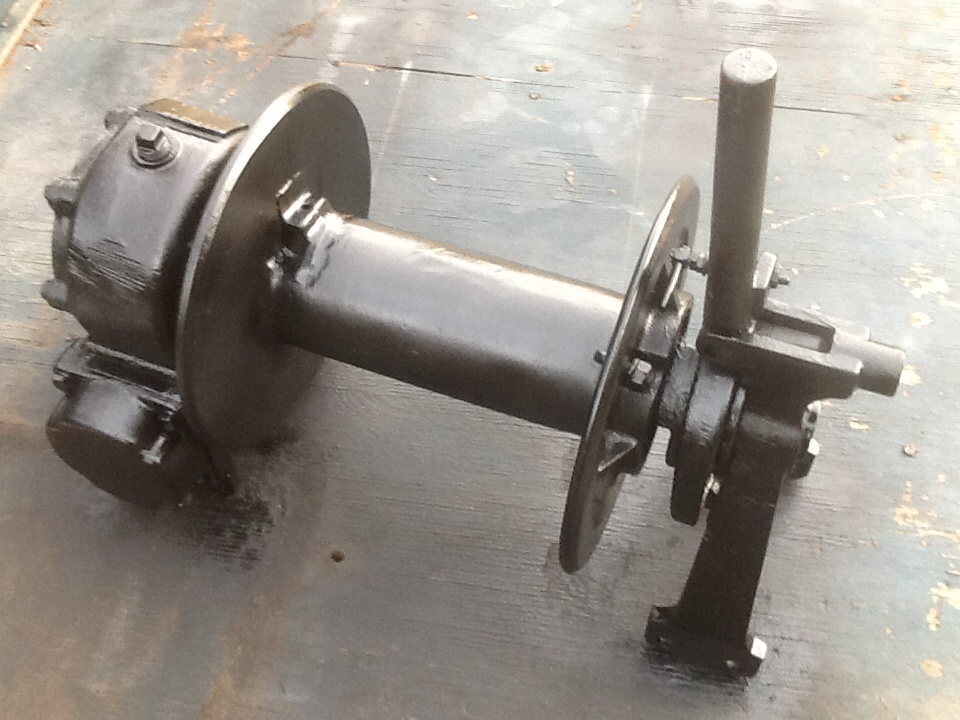
Painted the mounting angles, I don't care if the trailer gets some over spray.
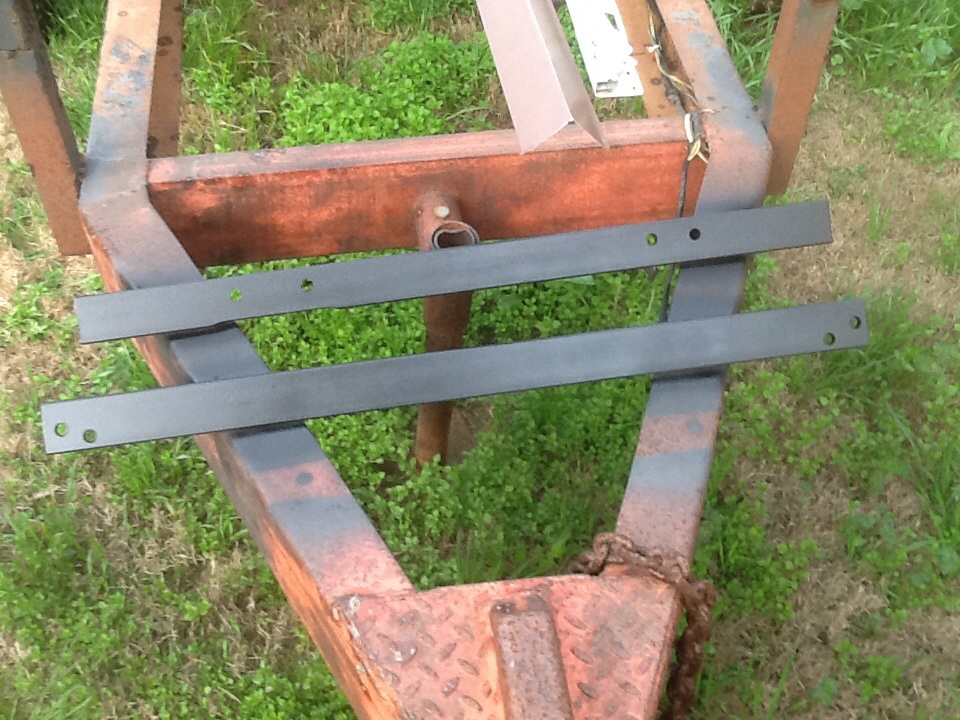
Took out the crossmember, you can see the brackets still bolted to the frame.
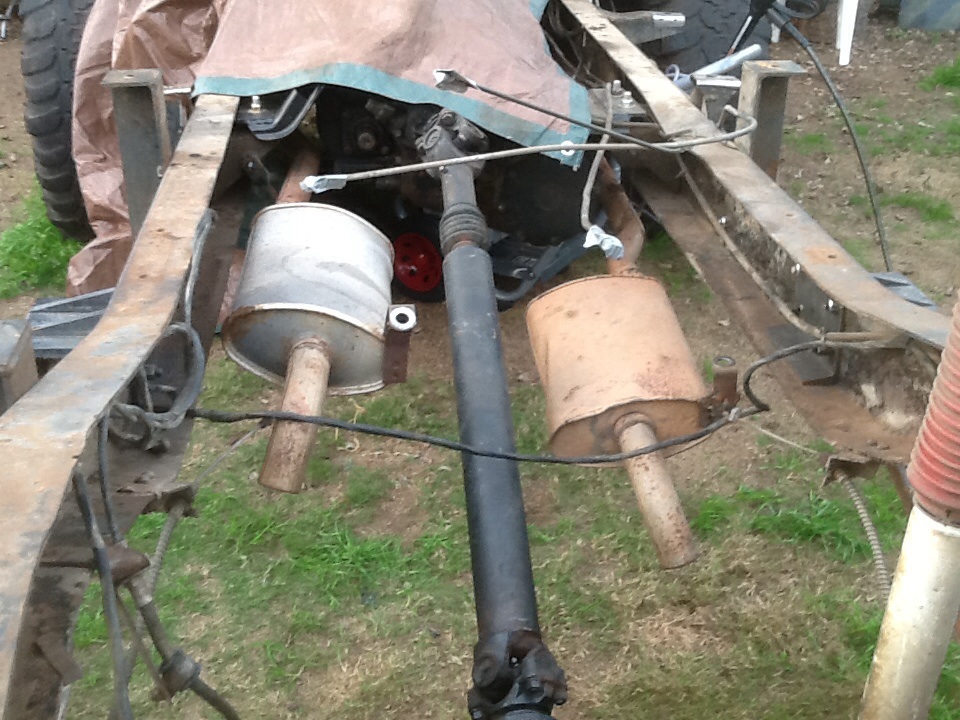
The piece of Chanel bolted to the frame on one side, broke off. Here im grinding it off of the crossmember.
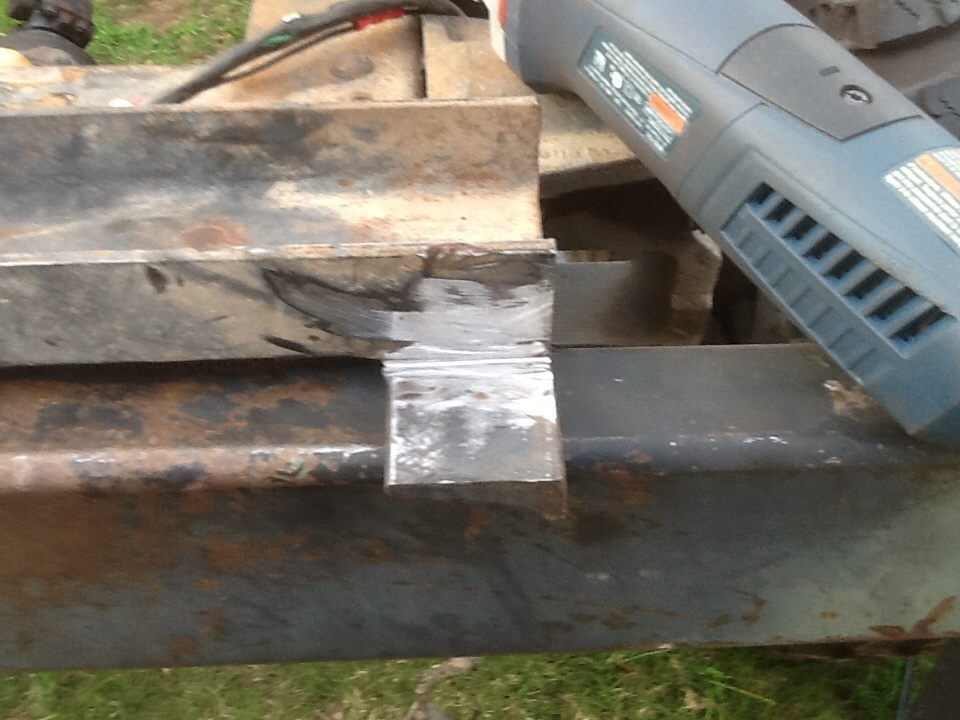
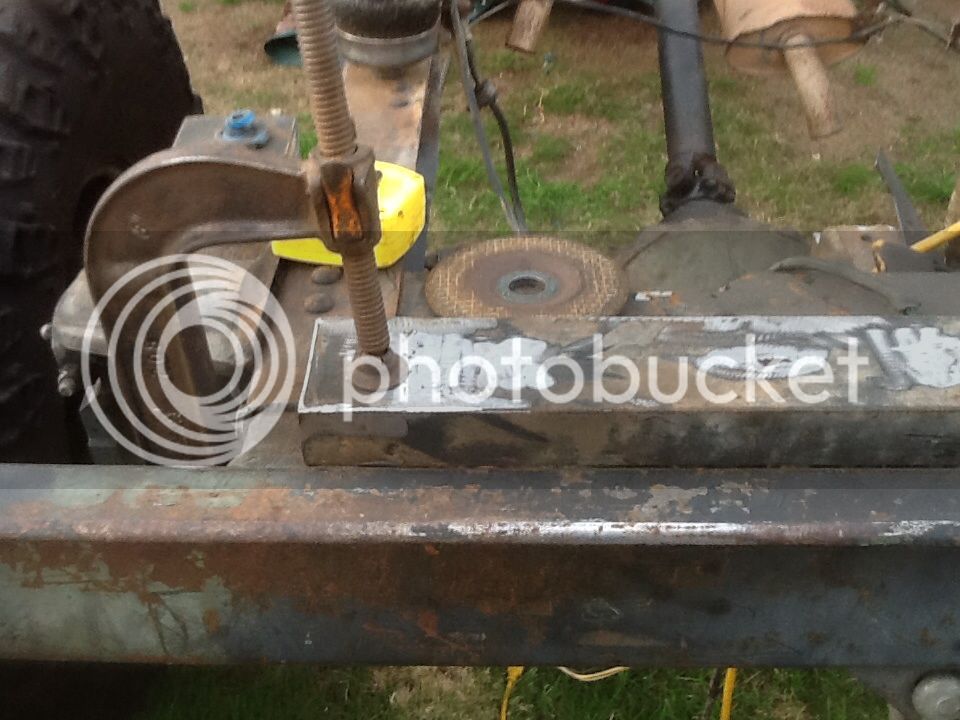
Broken piece, I'm gonna go see if I can find something thicker at the scrap yard. Will probably gusset the new one too.
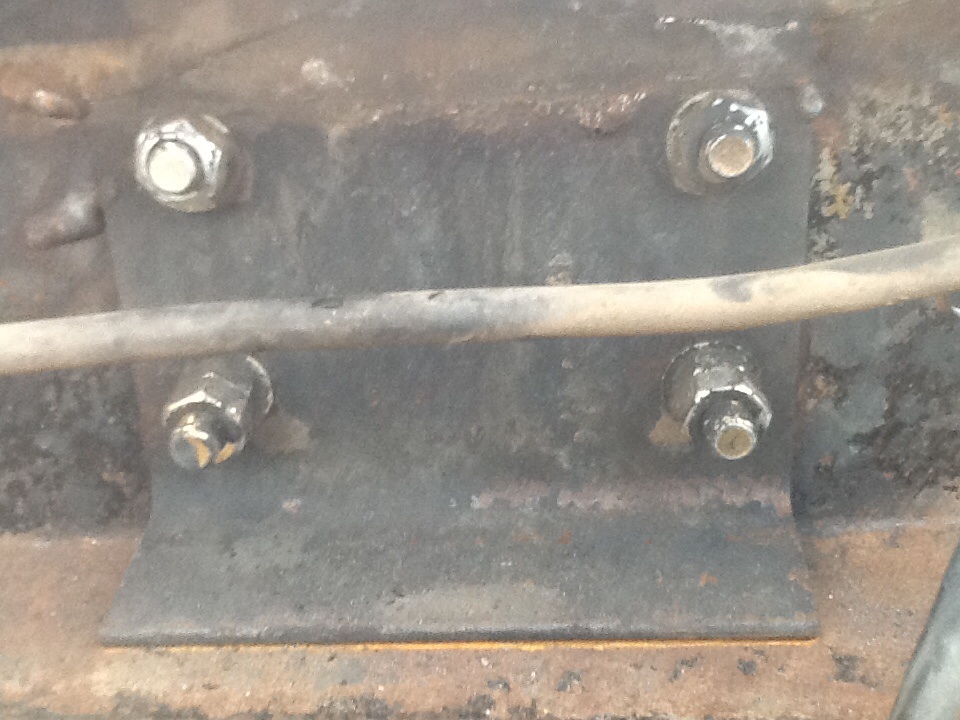
Where I drilled the receiver tube.
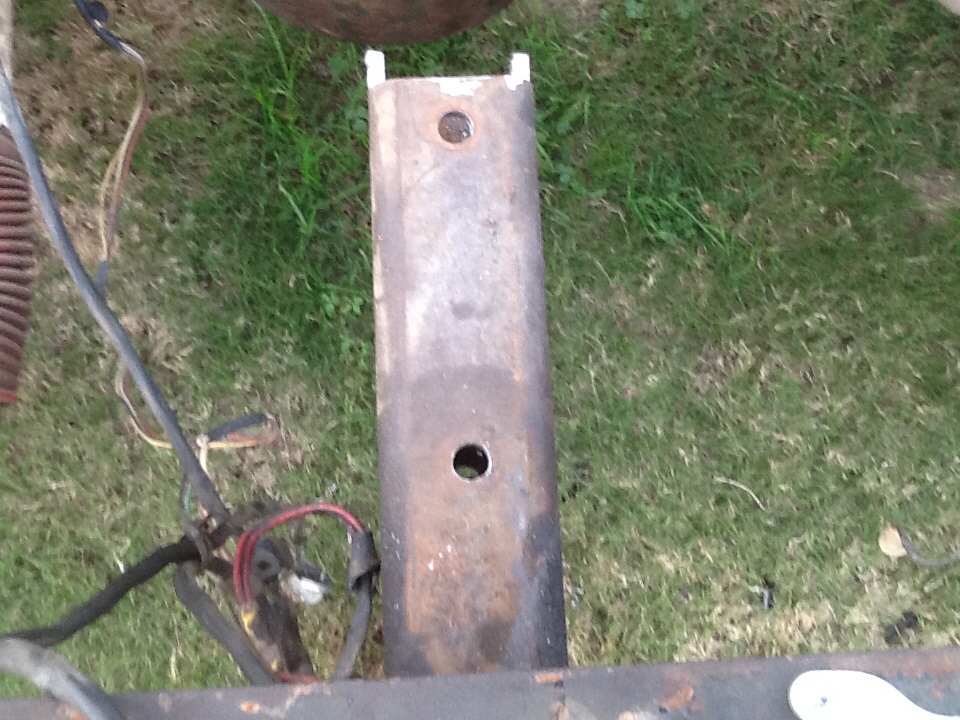
Making new end pieces for the crossmember, the old ones were 6" long and there are cracks in the frame extending forward and back from them (both sides of the frame). I could only go back another inch because the frame rises right there for rear axle clearance, but I could go forward a lot. I decided to go just enough to tie into the holes for the front bed mount bracket, that way I don't have to drill holes and create more potential for cracks.
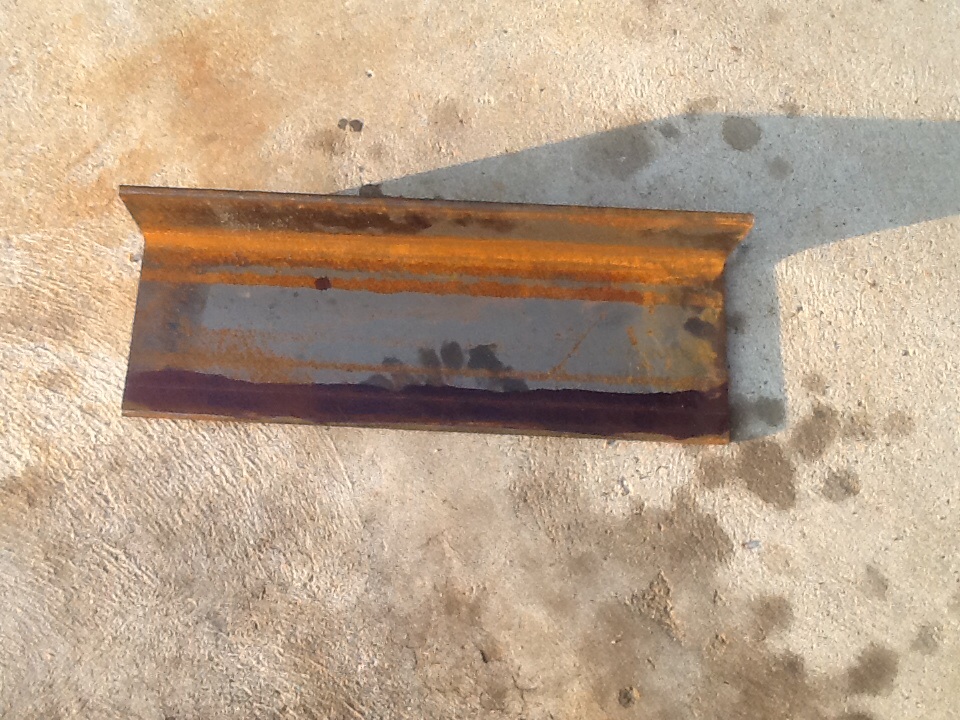
These will be gussets for each end of the angle iron.
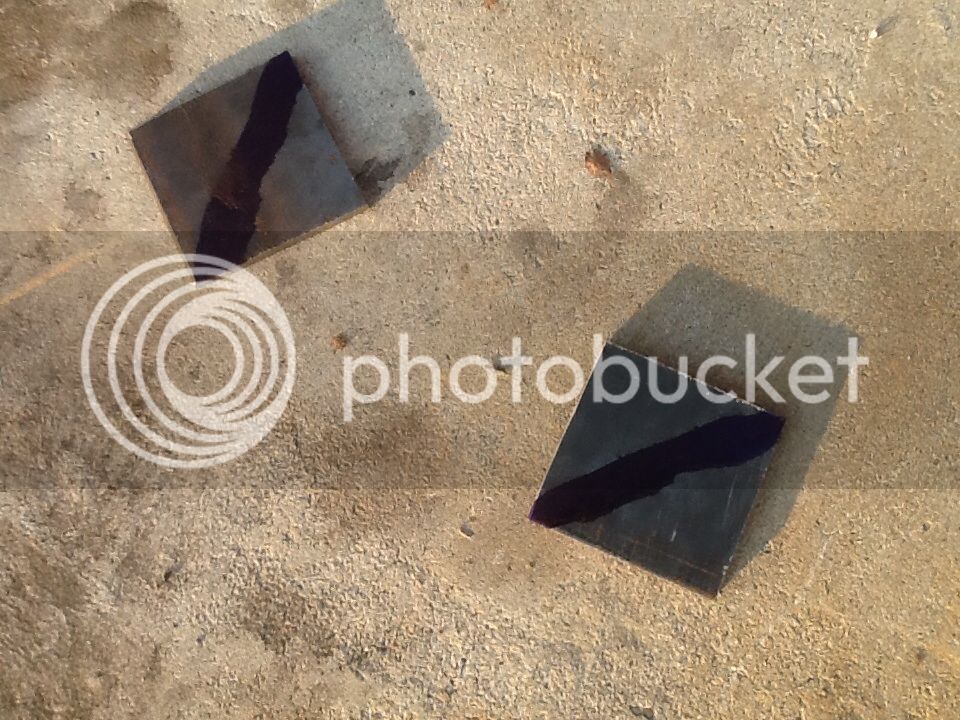
It's an inch too tall, so I need to rip an inch off. Time for a new blade though.
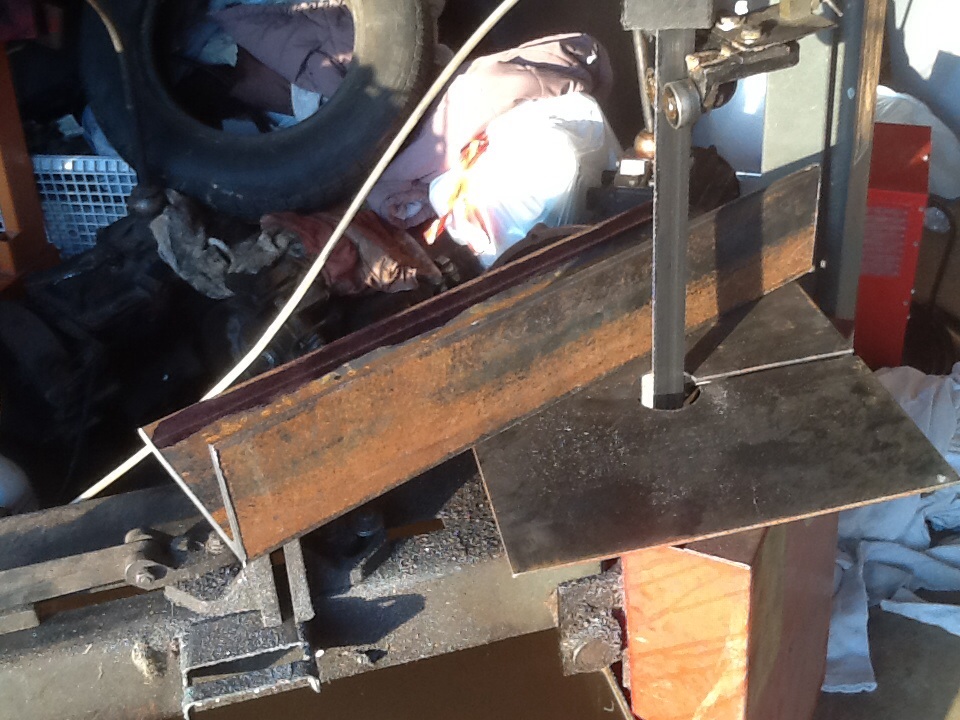
Got one of the crossmember mounts done, put it in to make sure everything lines up.
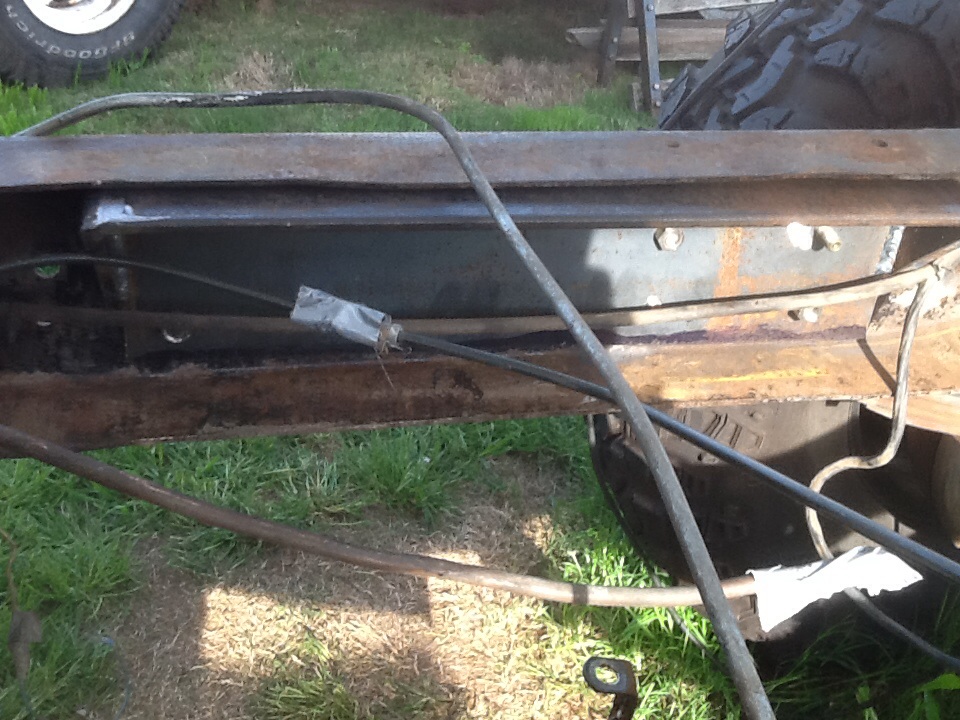
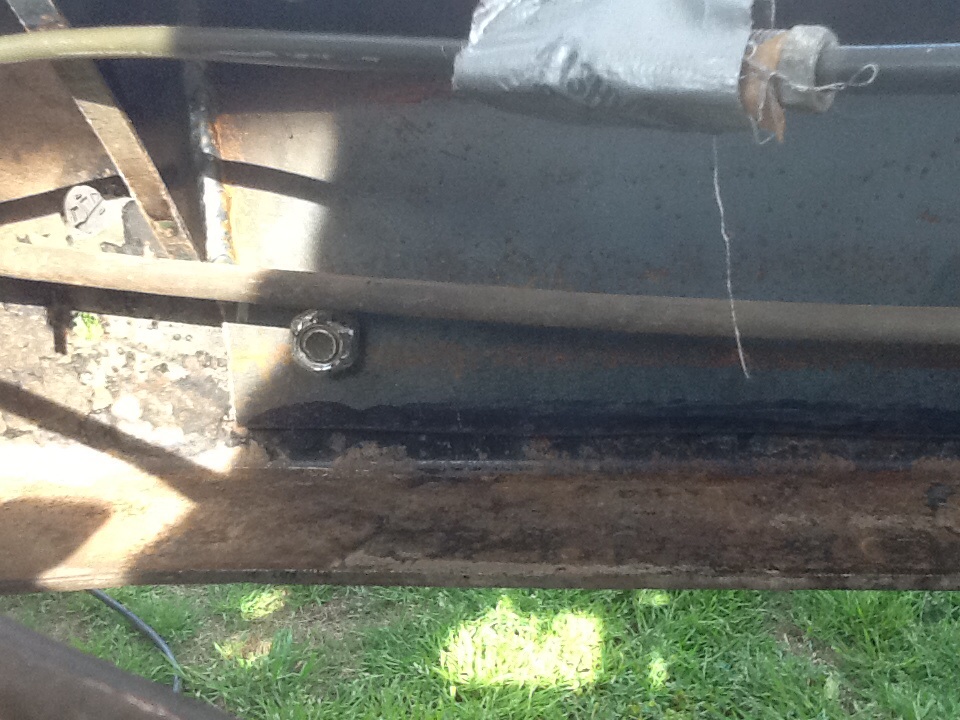
My cut is pretty squirrelly across the bottom, not that it matters.
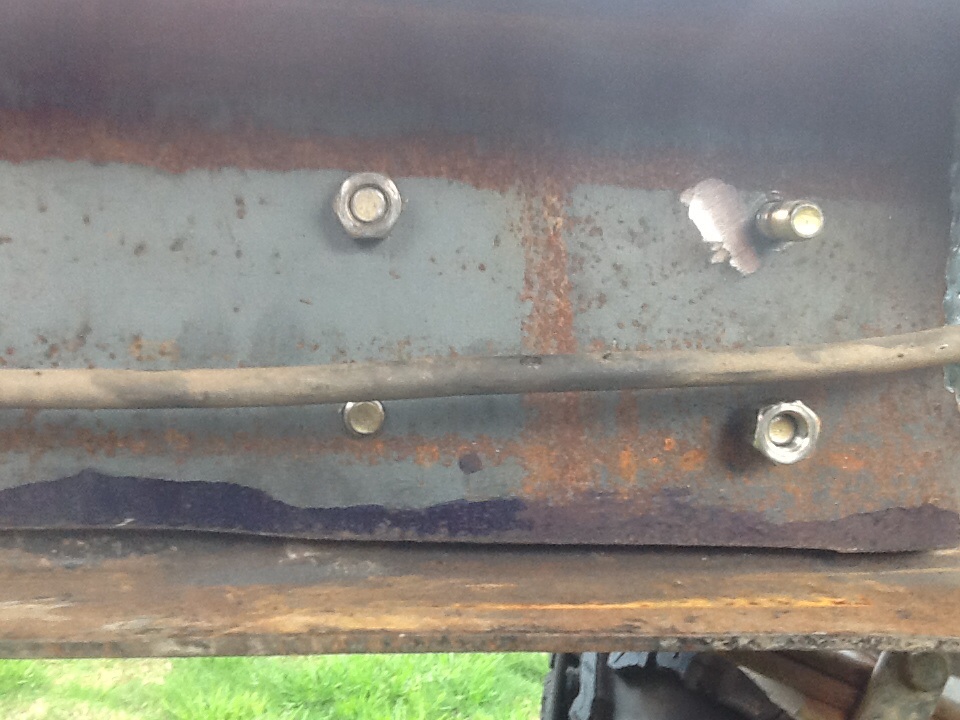
Back to doing some more work on the winch, the brake for the worm screw shaft showed up. I had to pull the winch back up to access it, rotated the housing at the same time so it would be easier to get to the brake adjuster nuts. Then torqued all the mounting bolts.
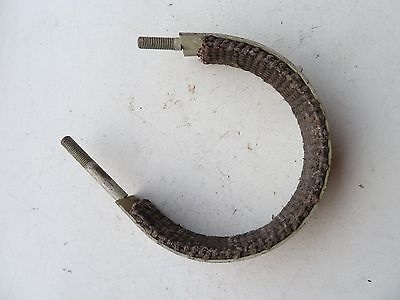
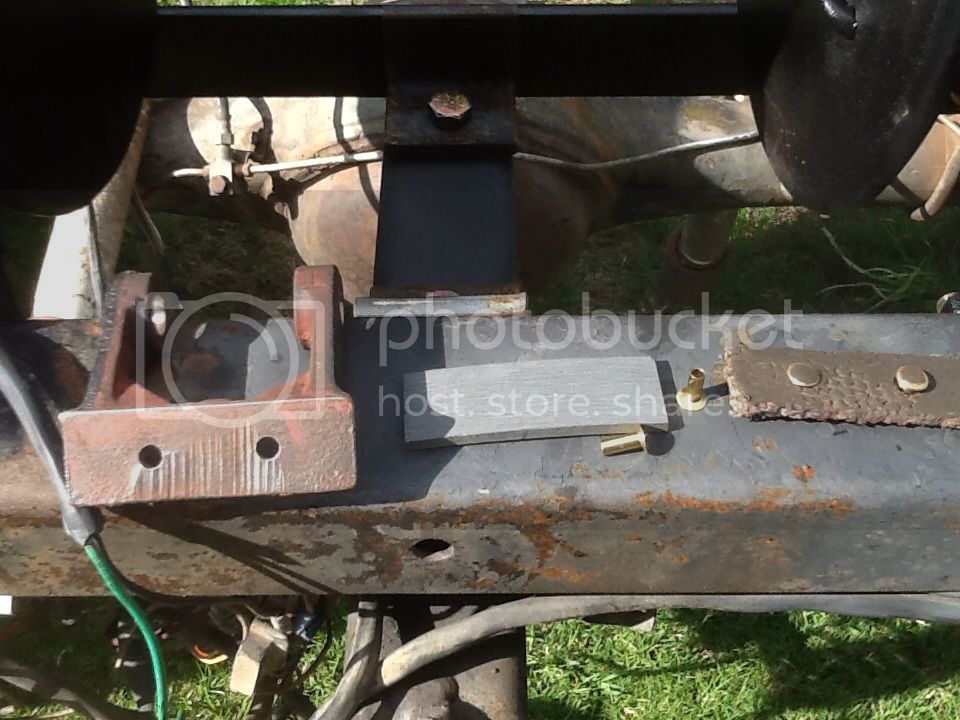
Then started working on the other brake, the one that pushes on the side of the drum. Got a new lining for it, but no holes for the rivets. Don't know if they went to glueing them, or what. I've been looking online for a counterbore.
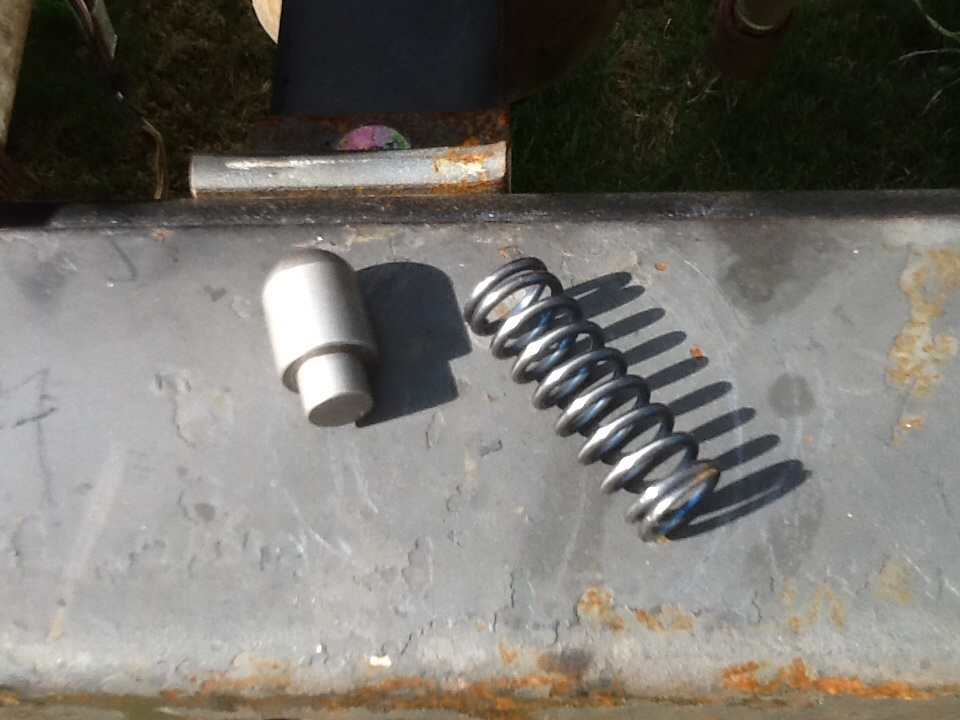
This is what keeps the lever in one of two positions, engage or disengage. These two pieces weren't with the winch when I got it, had to order them from Braden.
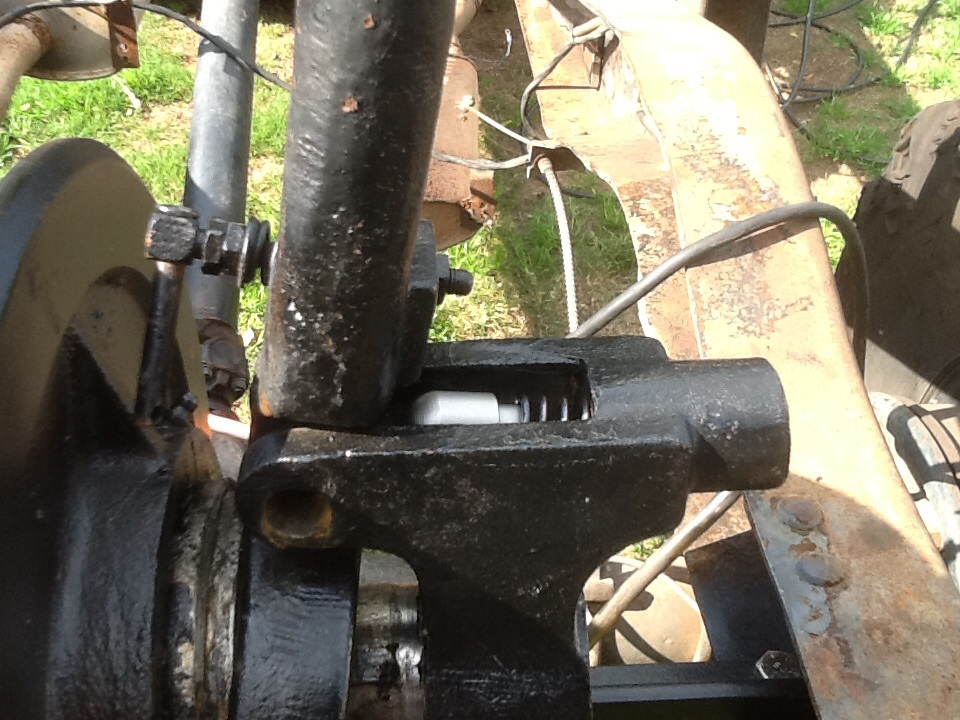
You can't see it in one position.
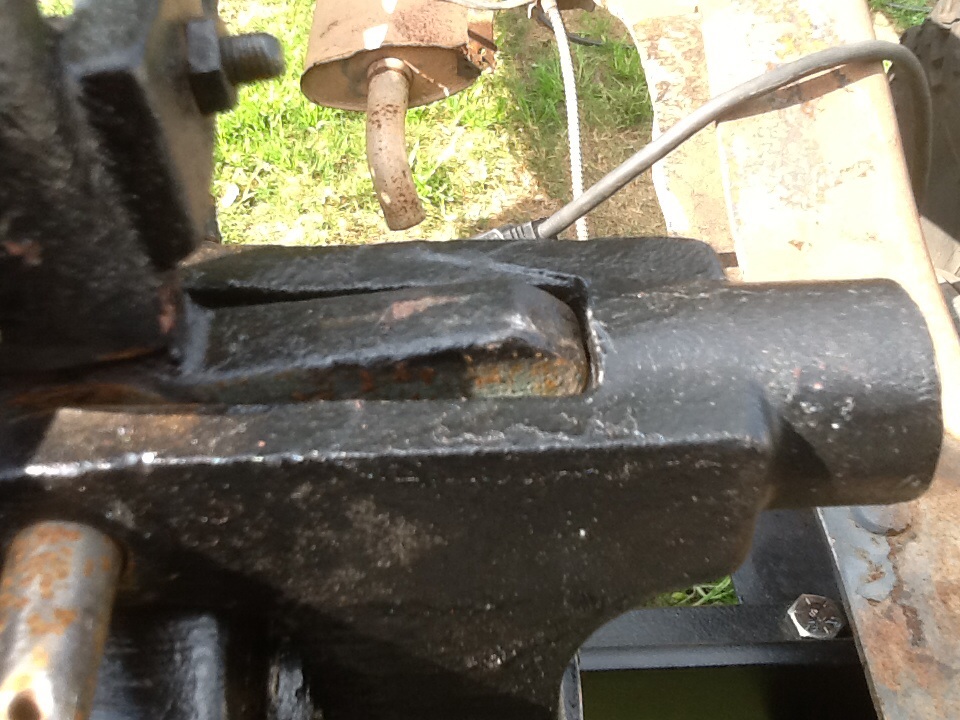
You can in the other position.
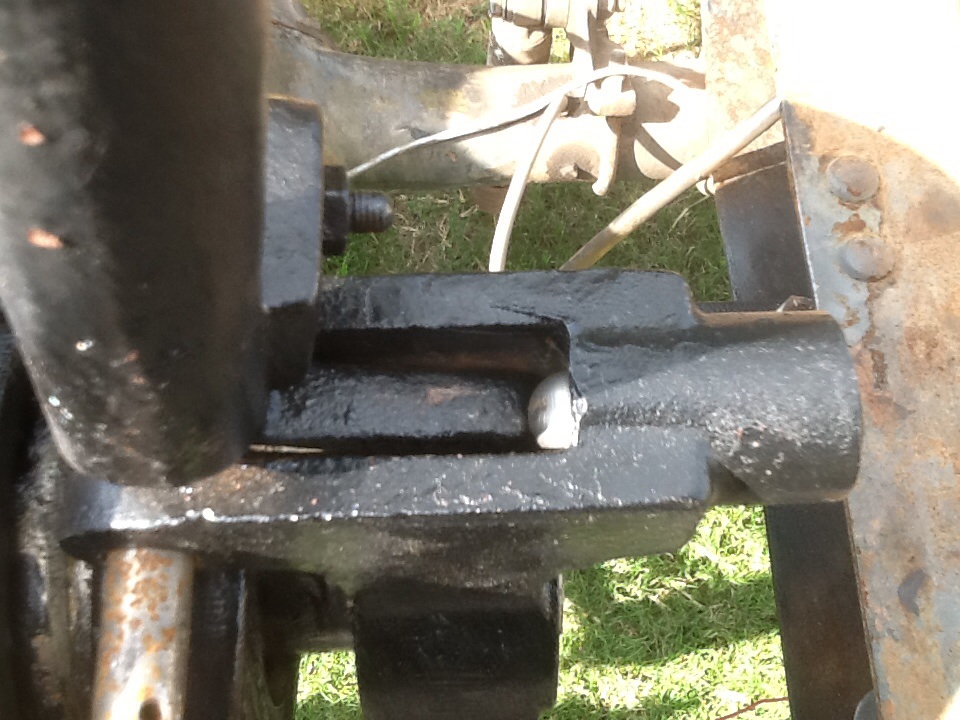
Cut off the lever sticking up, and modified it. This is in the engage position.
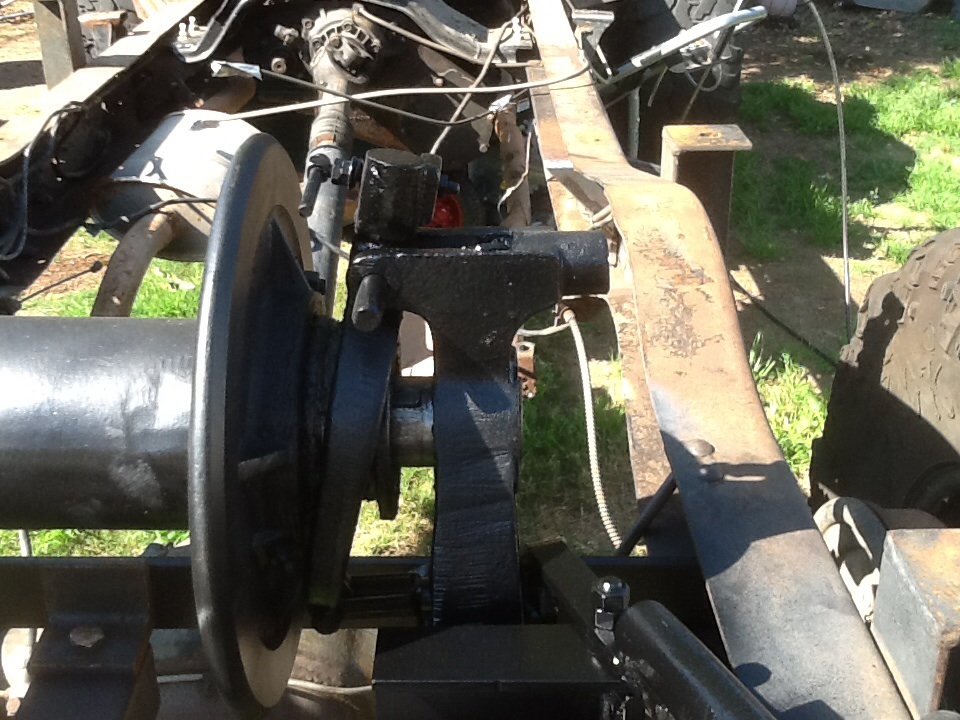
Disengaged.
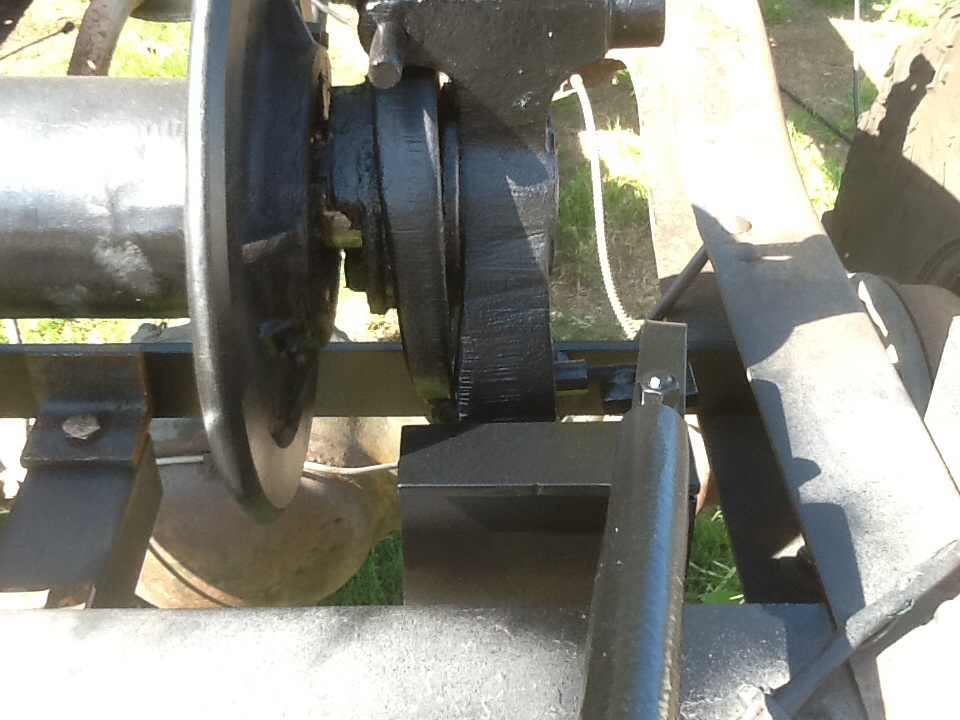
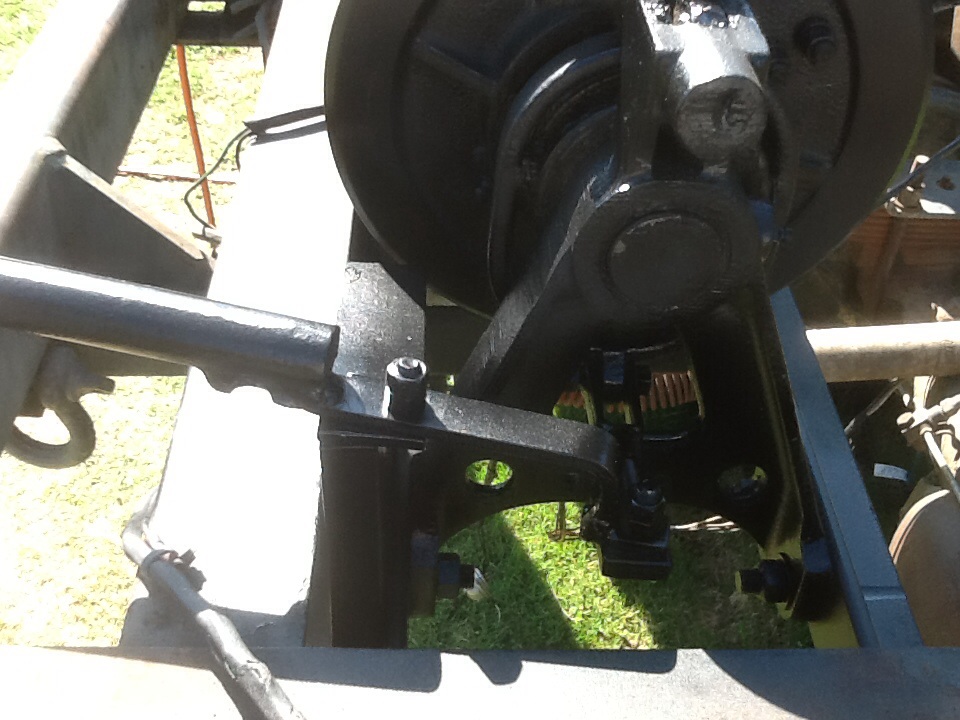
From underneath.
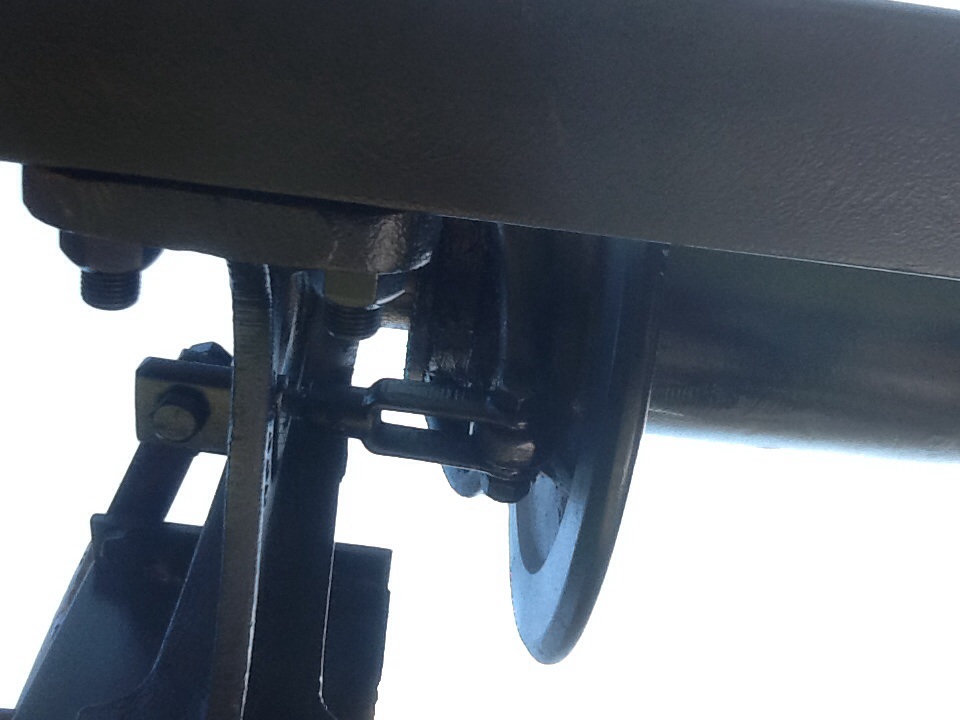
I plan on cutting a hole in the back of the bed to get to this lever.
Got the rivet holes made in the new lining, but I don't have the tools or the know how to go any further. I have a friend that will help when he can, no hurry until the rest of the truck is done.
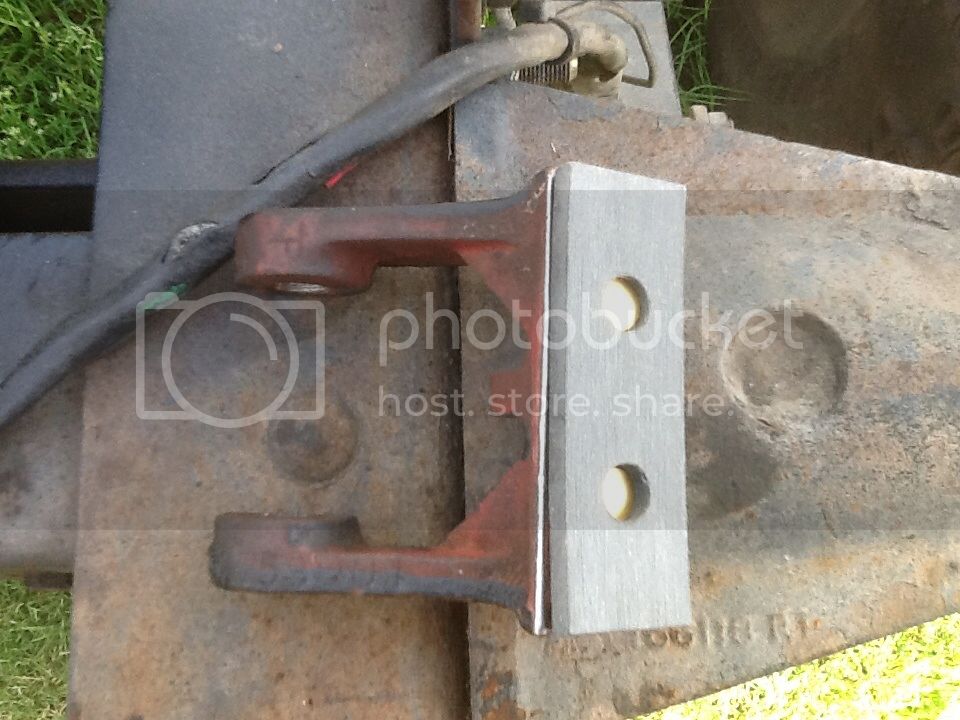
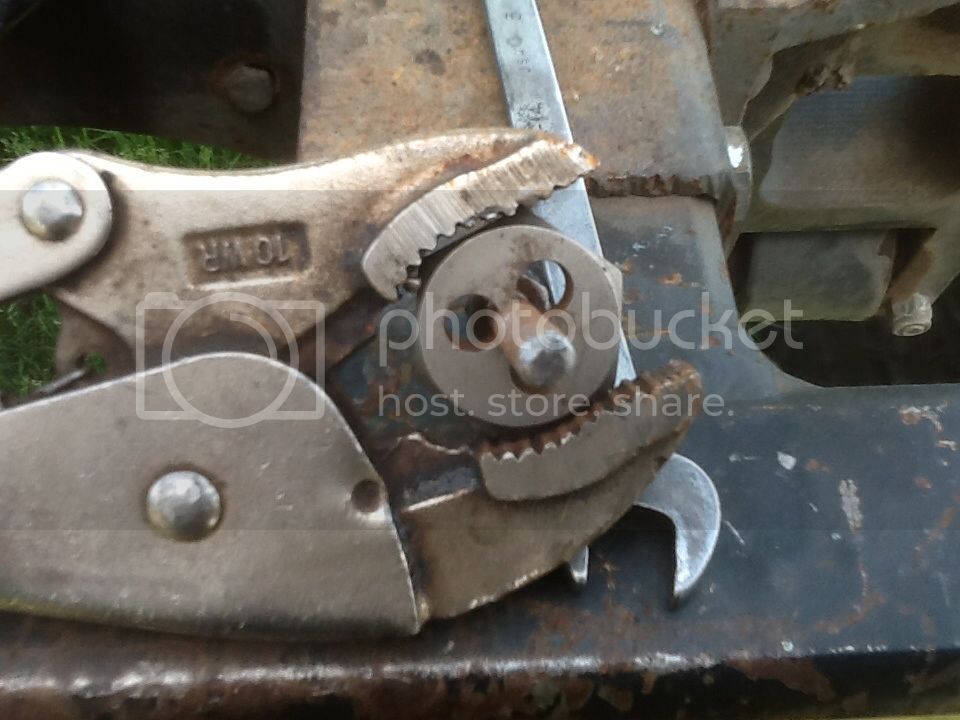
Chased the threads the brake spring goes on.
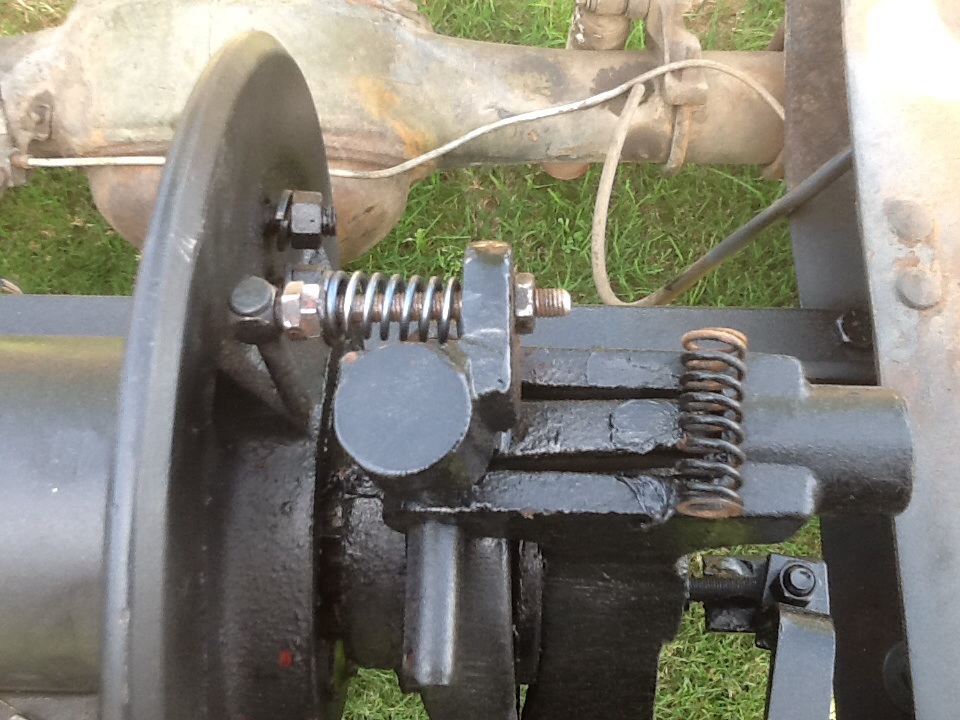
Replaced the spring.
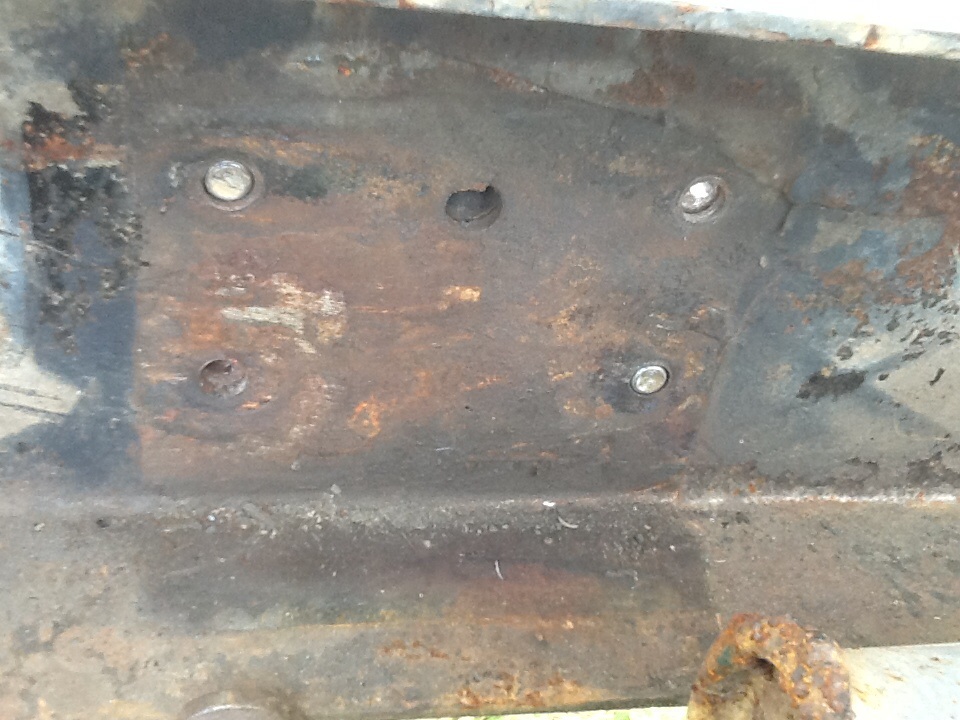
Cracks on the inside of the frame.
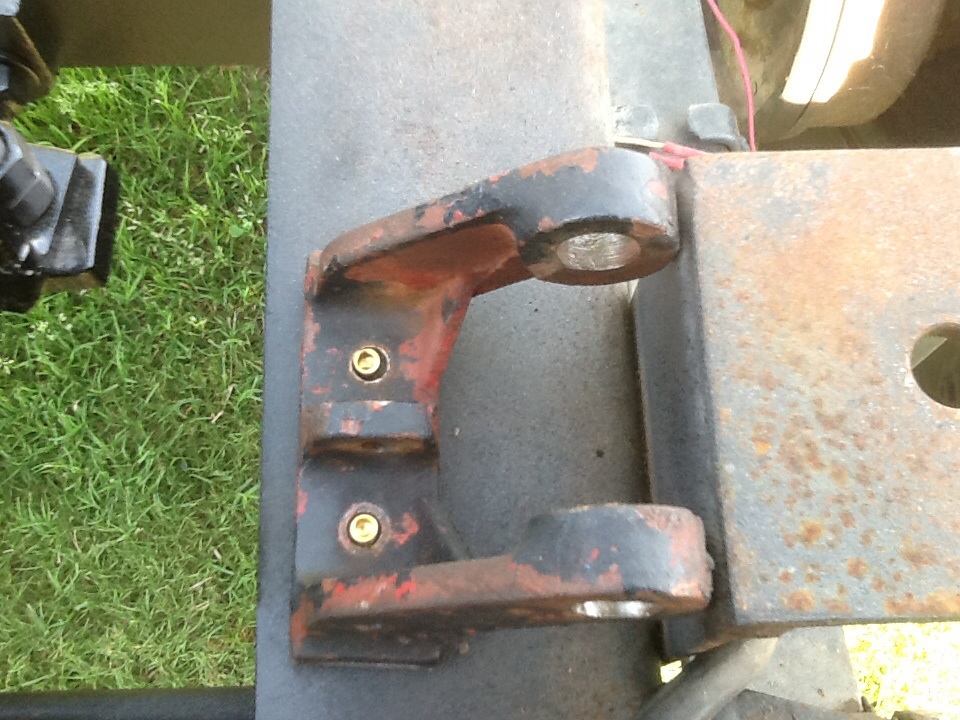
Got the other crossmember side bracket done.
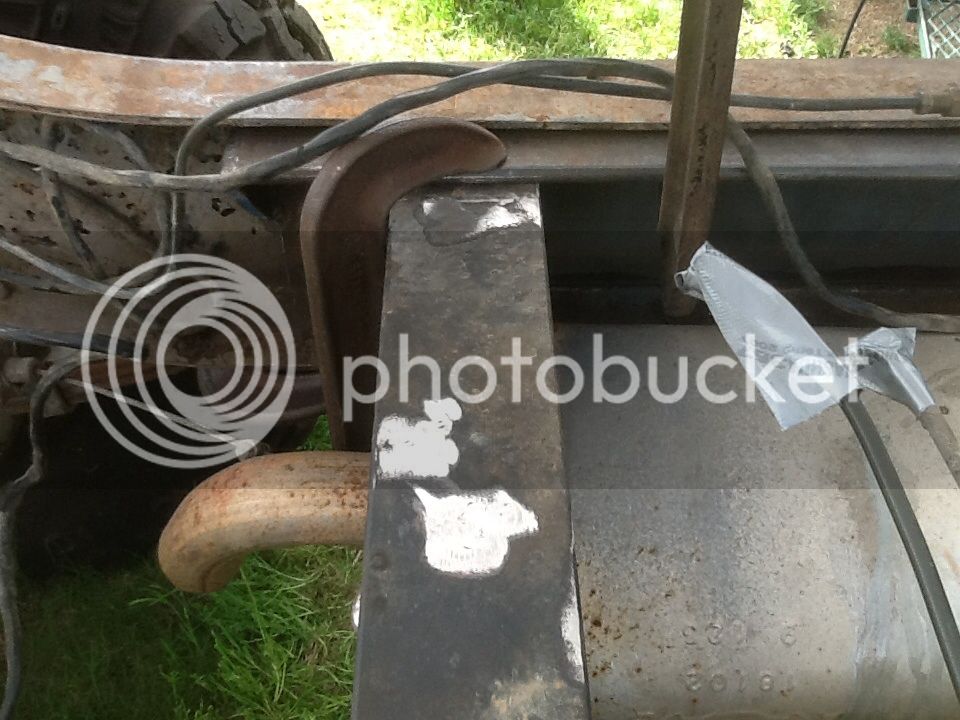
Need to decide if I'm going to use the same piece of channel that was in there, or get something that will grab onto more surface. More likely to stay attached that way.
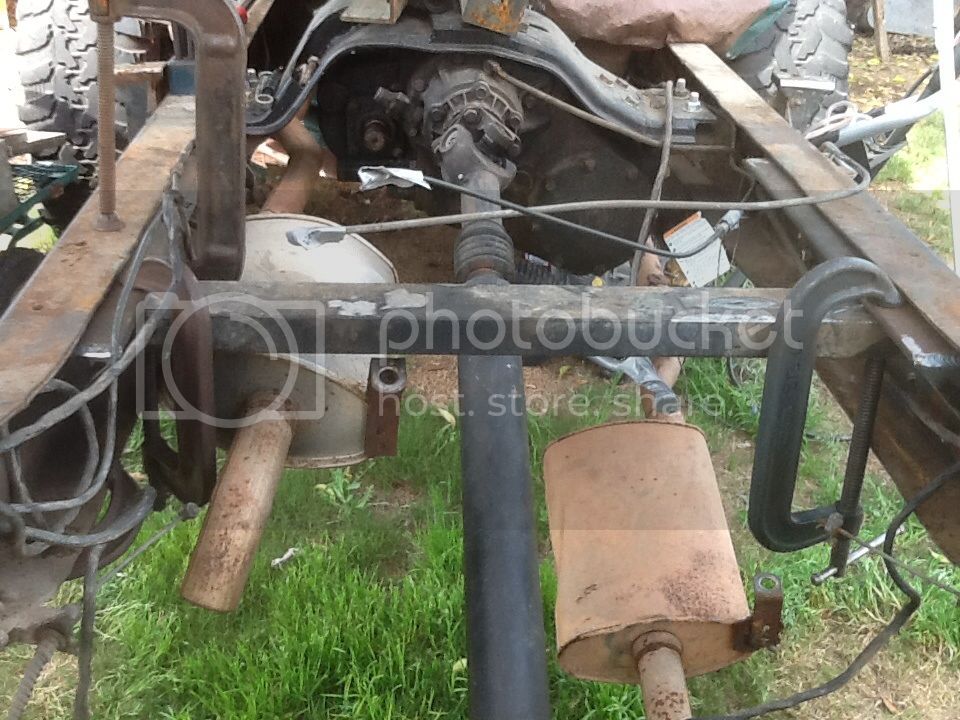
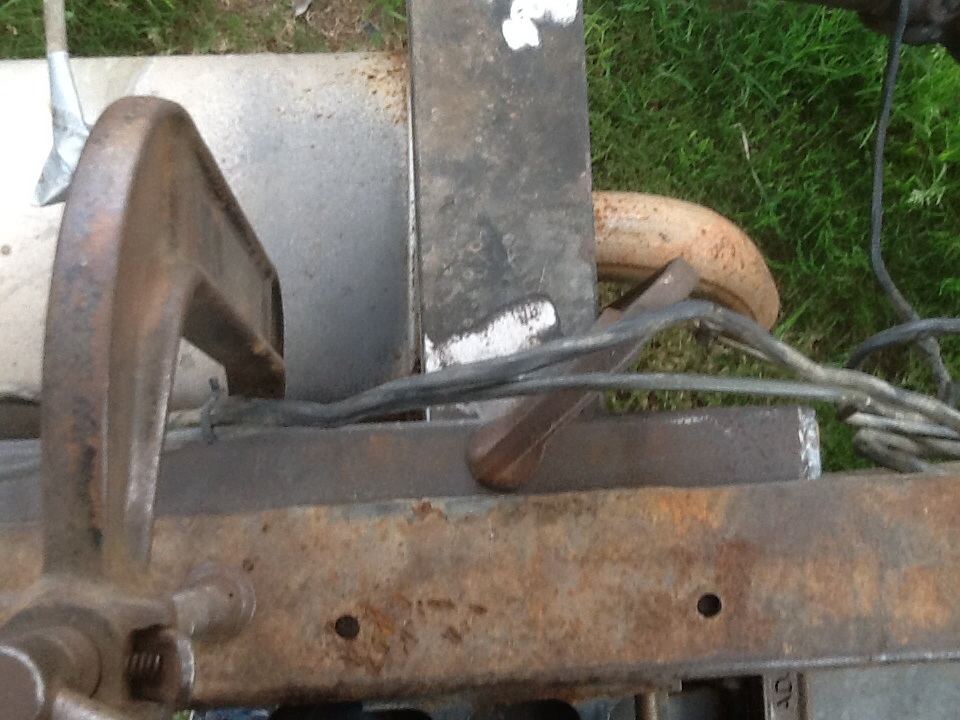
Got the crossmember put back under the second transmission, it got powder coated.
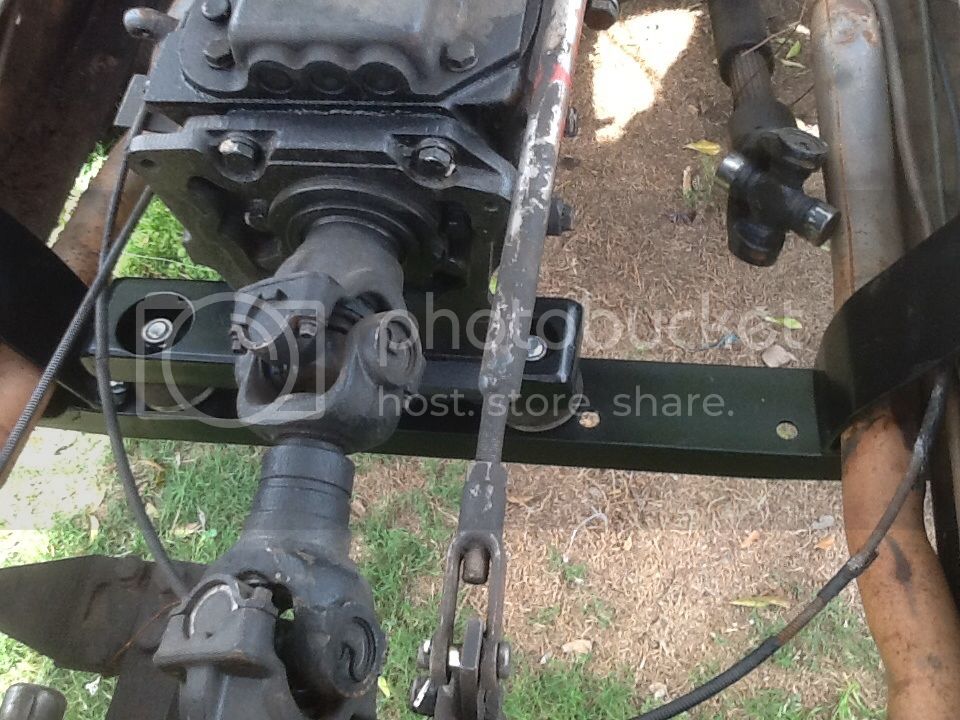
Offset the mount to the drivers side to make room for the front driveshaft Carrier bearing.
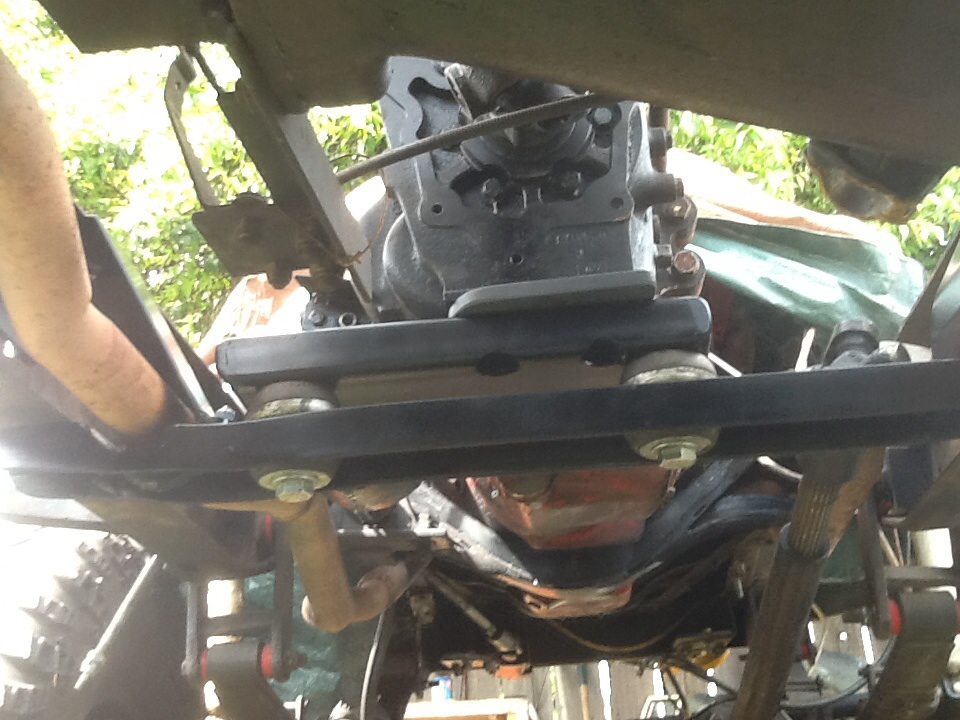
Bolted to top, bottom, and sides of frame.
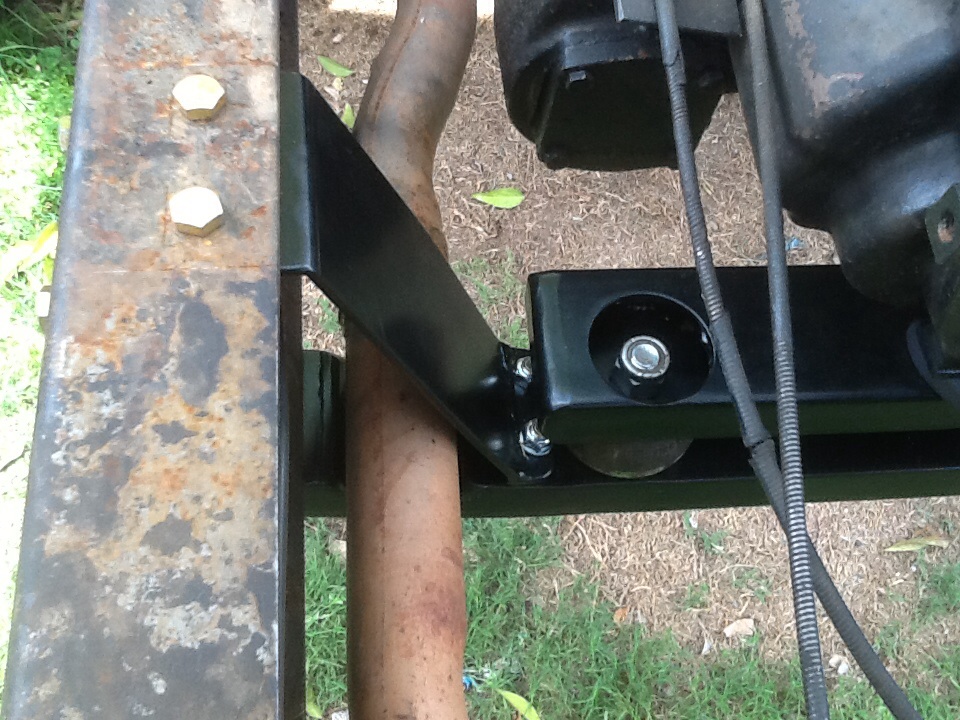
This stuff is much easier to do without the cab on.
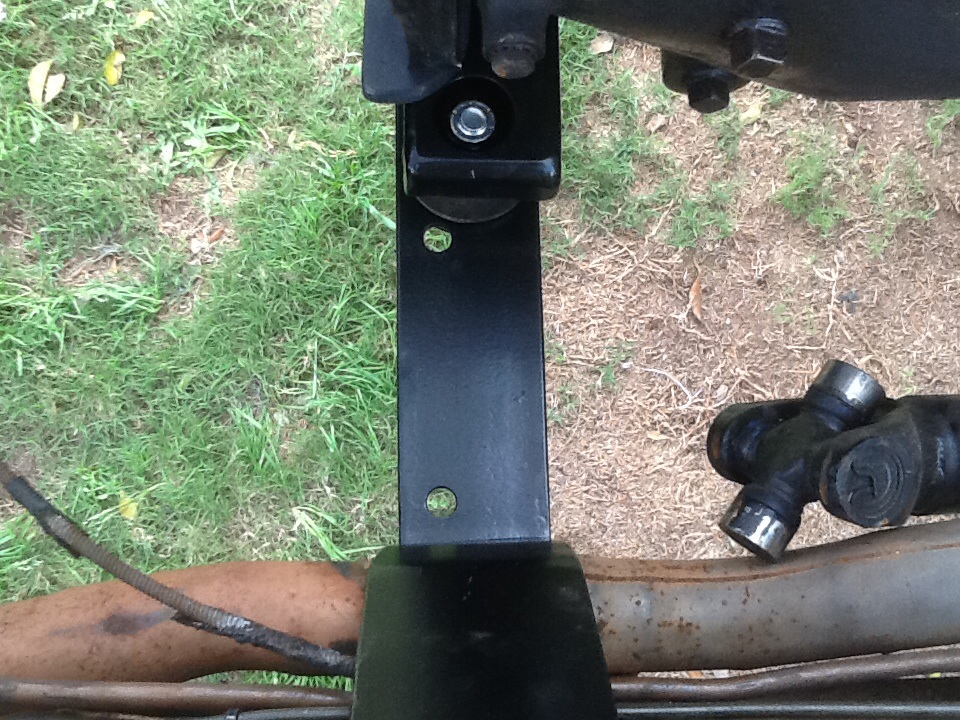
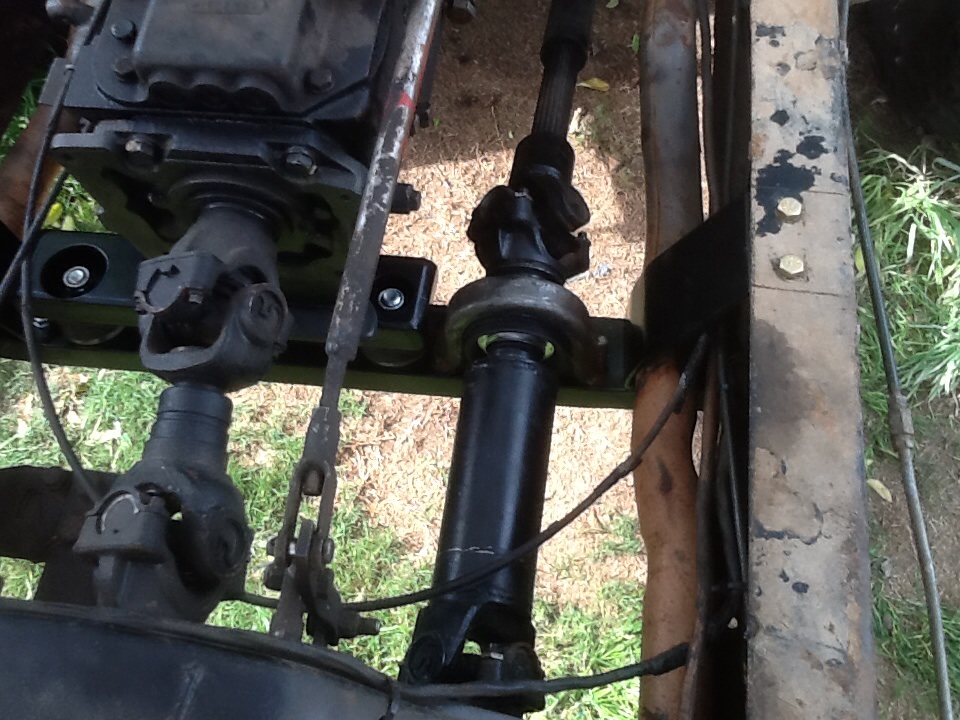
Wow Ed;
You got photos of this build all over the place... Good to see you on here too!
I've got it posted on four forums, the ones where interest is shown. I get more interest on some non IH forums, than I do on ScoutsWest.
Just discovered this thread today.
Very cool!
What kind of life did the truck lead before you got it in order to get all those cracks in the frame?
Dan
I've had the truck since 2000, and have used it for running the trails and hauling firewood. I think I've put most of the cracks in it.
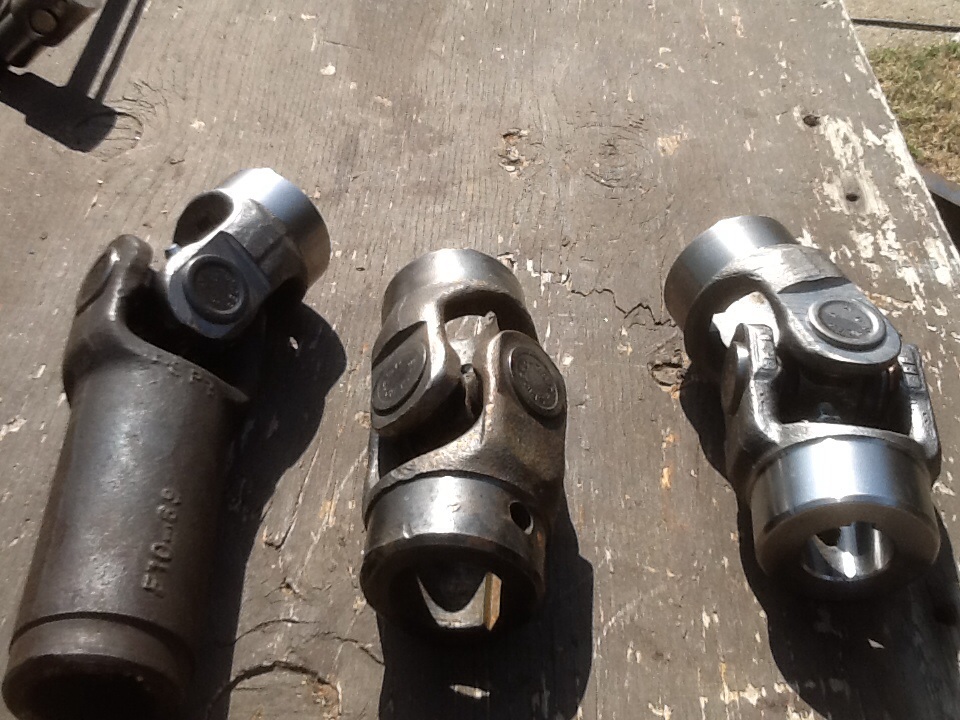
Got the yokes and u joints together.
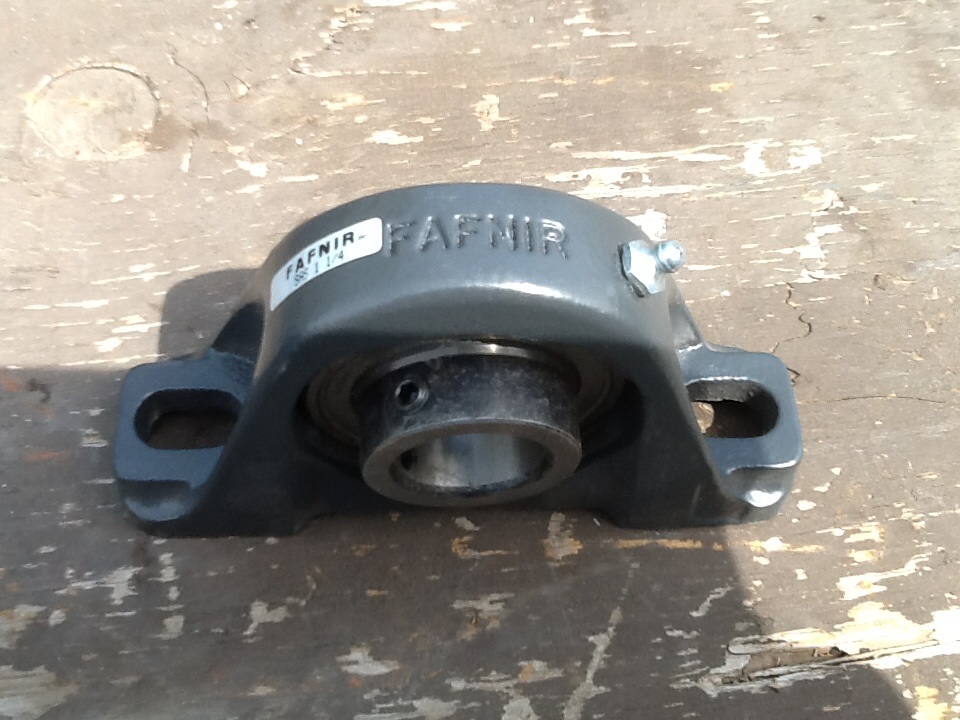
This is the same exact bearing I have on the front winch driveshaft.
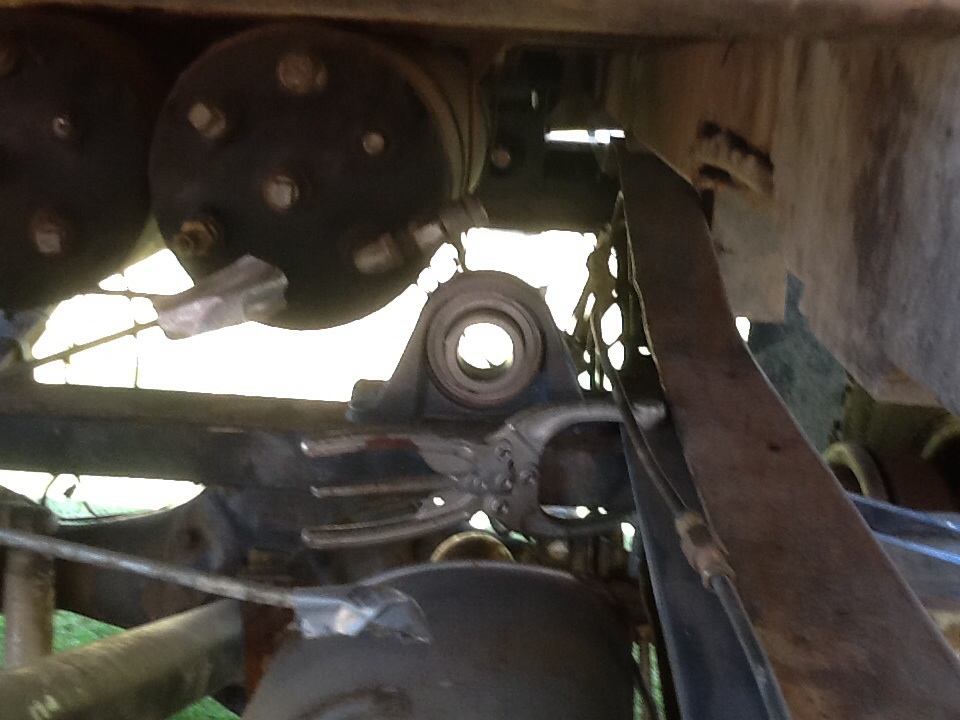
Put the bed back on to make sure drive shaft routing is okay.
You can see the input shaft on the winch.
Here you can see the shaft on the PTO.
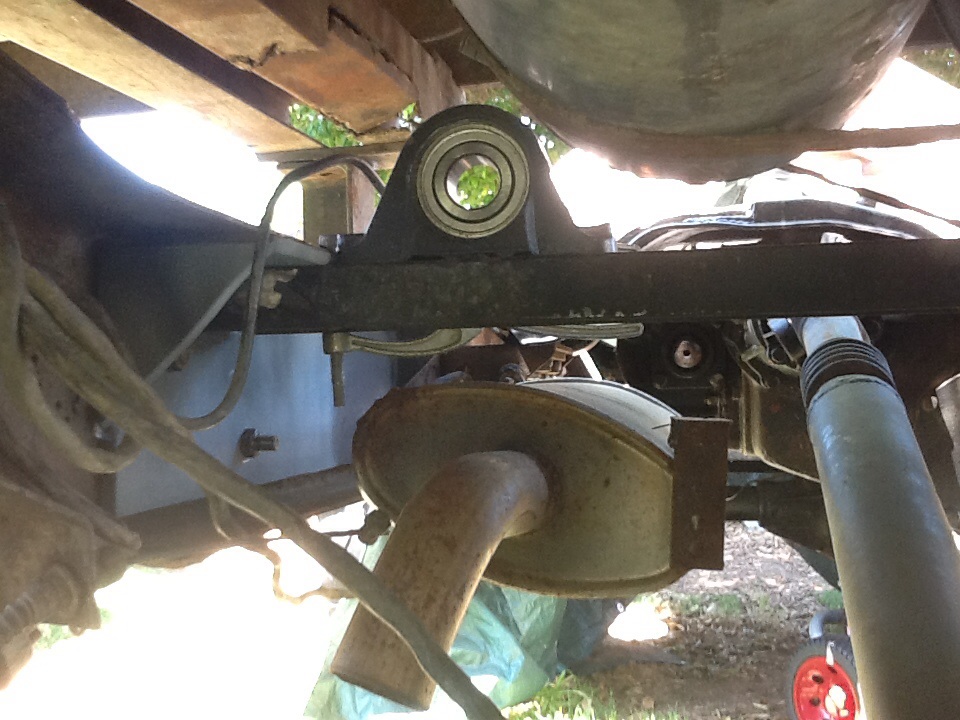
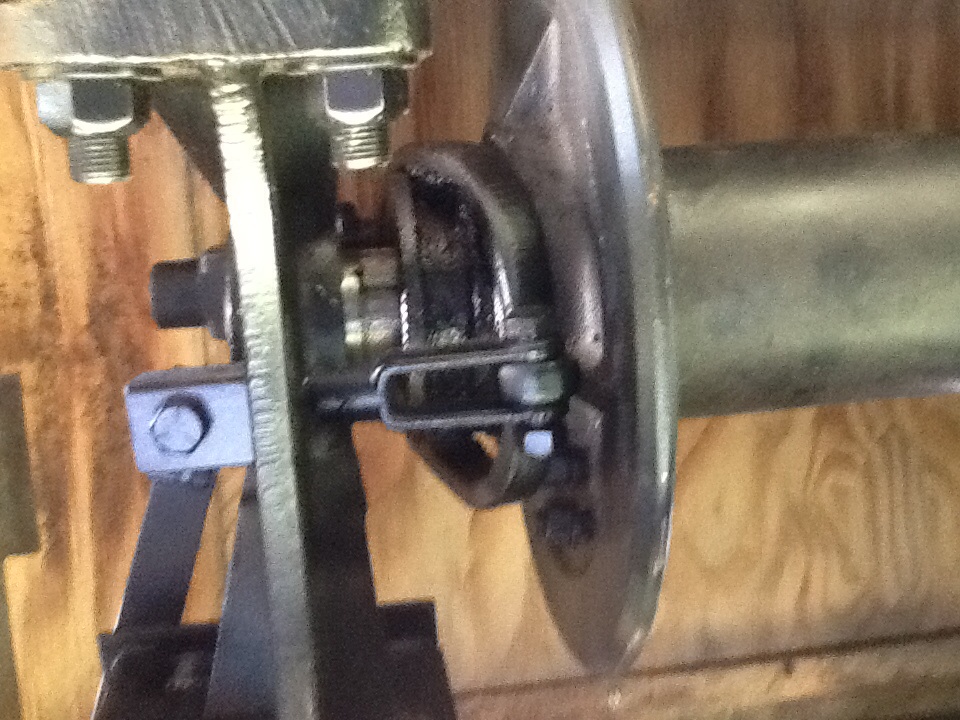
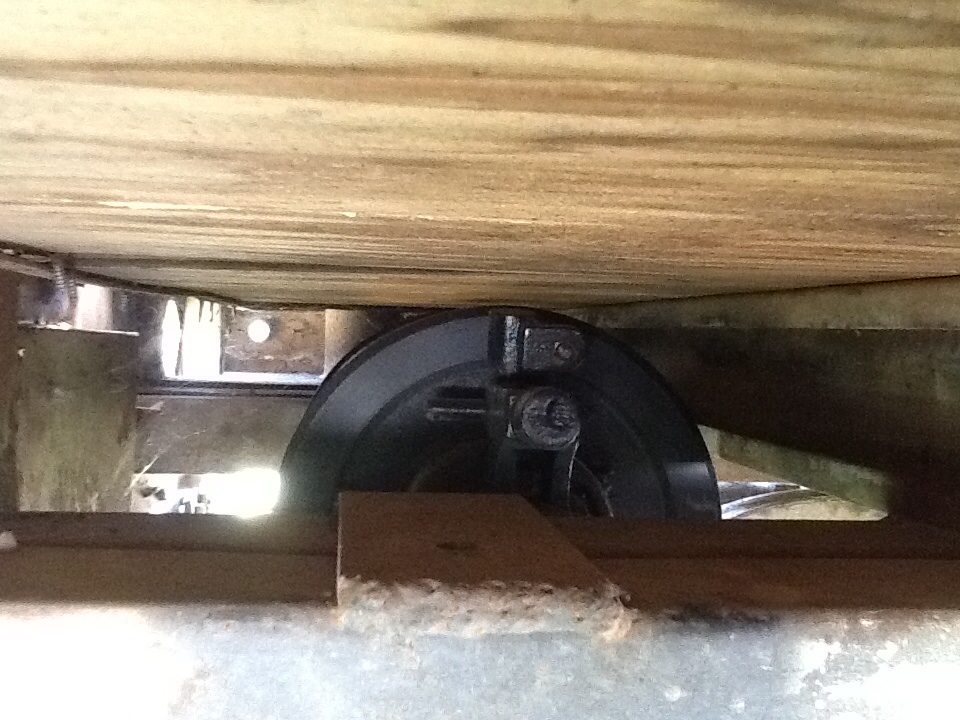
In the engage position the lever is touching the side of the bed frame. It's not keeping it from engaging, just a little contact. I will trim the lever a little.
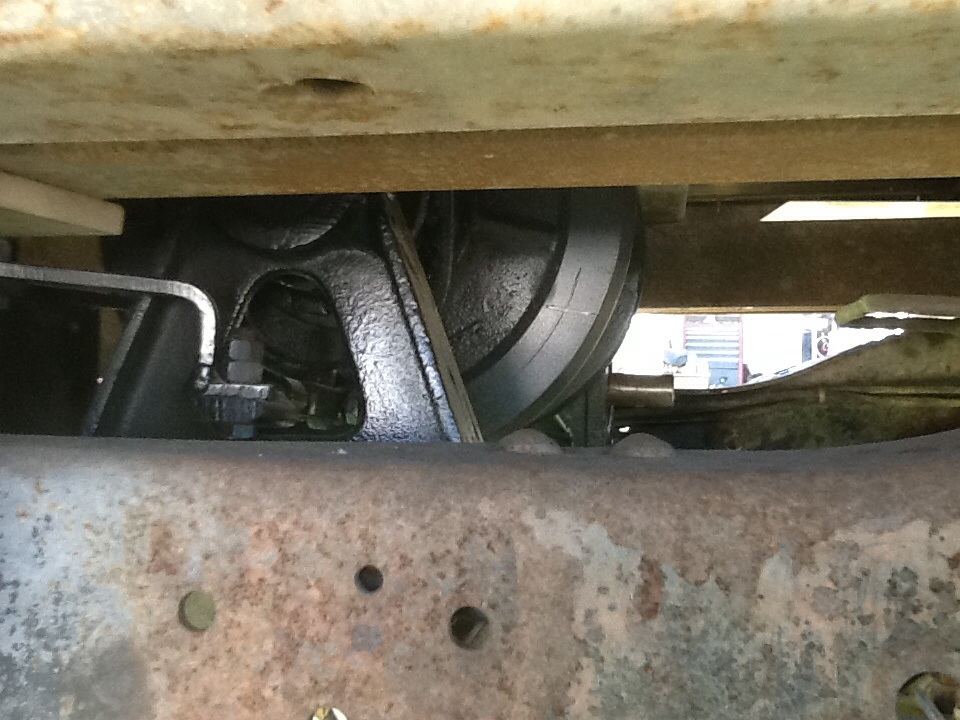
So now I can mark the crossmember for the pillow block mounting holes, cut the hand hole for the winch lever, and take the bed back off.
Done.
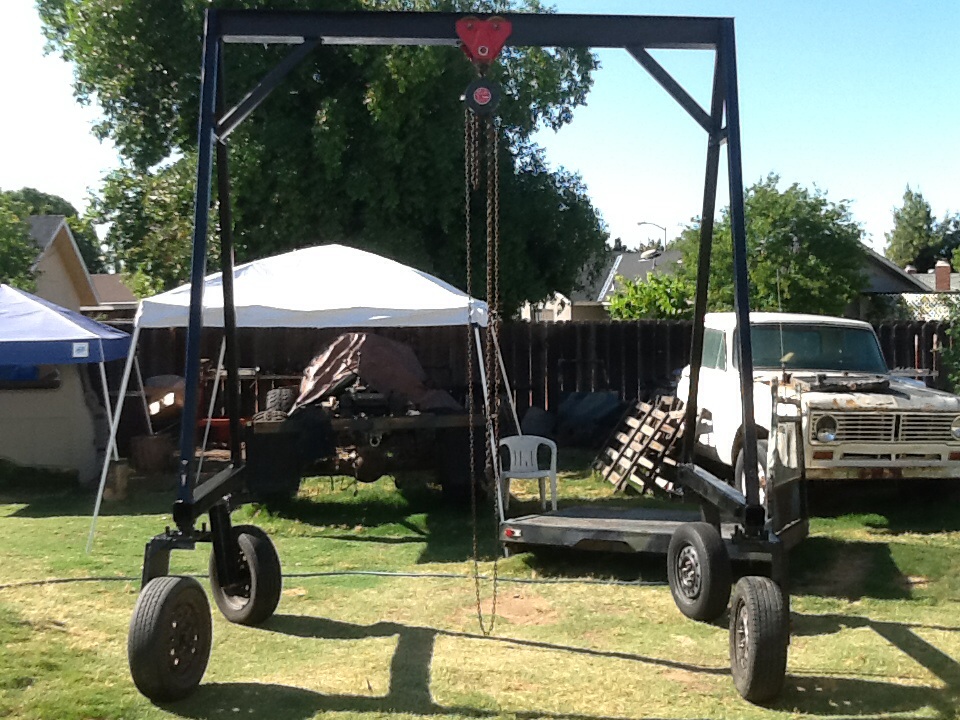
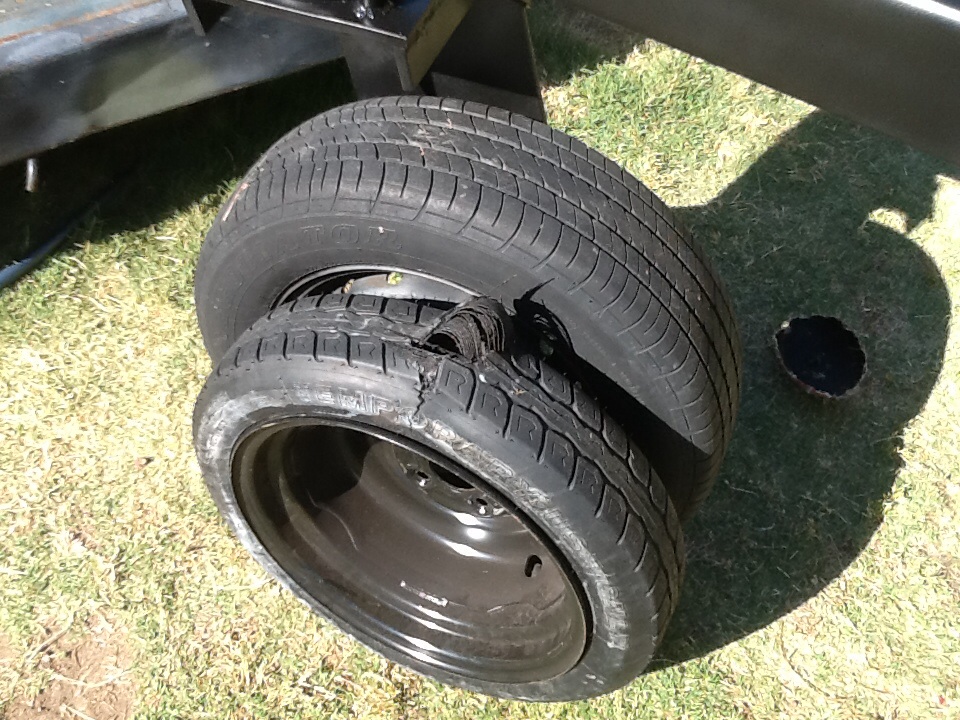
One of the little donut spares already blew up. Somebody told me they wouldn't last in the sun, after I bought them. So it's a little taller now with the regular tires.
Already used it to put the bed back on so I can see where the PTO driveshaft needs to go.




