IH 1964 IH 1Ton

This site may earn a commission from merchant affiliate
links, including eBay, Amazon, Skimlinks, and others.

View of passenger side of adapter plates with front driveshaft partially blocking view.

What I did with 5 speed drain plug.

Dual transmissions 15.webp


Dual transmissions 16.webp
 
Last edited:
Time to swap the beat up body on my truck, found one in a self serve wrecking yard last May. It's at the sand blaster now.
Started taking the cab apart to get ready for the new one to go on.


Door hinge bolts, only one broke off out of eight removed so far.

Fender mounting.

I believe this damage was done by the tree that fell on it.


Wanted to have a reference for where I have all my doodads.
 
Will be able to clean and work on the frame easier now.


Removed steering column.

Removed parking brake.


This shows what I had to do to accommodate the 5 speed, the tc shifter originally came out of the round hole in the side. There wasn't room to do that with the wider transmission, so I made a hole and brought it through the floor.

Since the new cab is 2wd I will reference these pictures to make this hole.

This shows how the elongated hole had to be lengthened to allow for the second transmission.


I am going to add plate to the frame where the steering box mounts, this will be much easier now.
 
Look at a Toyota dual transmission set up in comparison, and all that for only about a three and a half to one first gear.

There are cracks adjacent to the front cab mounts. A few years ago those mounts were damaged, and when doing a repair we found the part of the mount that tied into the top of the frame was broken off. With the cab on we couldn't tie it back in, that's probably what cracked the frame. Well now I plan on drilling out the rivets and making a piece to bolt on (might weld on), then it can be welded to the cab mount bracket.


Got the rivets out of the front cab mounts.


Under side of cab where it sits on the rubber mount.

These are the back cab mounts.

I've got good used mounts on the way, new are not available.

I went out with a tape measure and made a list of what steel I need to get for reinforcing cab (inside & out) ,reinforcing steering box mounting area, tying front cab mounts back into the top of the frame, and building a winch bumper for my other vehicle.
 
I have been working on this a little, cut a piece of angle to reinforce the front core support mount, got a 1" bimetal hole saw to make the hole in it, layed out where I need to bend the plate for the steering box mounting area (and made a cardboard template for the angle), then took it over to have it done, drilled holes in the top of the frame for the rear transmission cross member we recently made (It has supports going to the top, but from underneath we could only get to the side), drilled the old pins out of all the door hinges and had them sand blasted and powder coated, got new pins (OEM), ordered a mounting plate for the separate clutch and brake master cylinder (mine are combined, which means no separate systems for front and rear brakes), this will also allow me to use a typical power booster instead of the hydro vac I have, also took a box of smallish parts over to get blasted and powder coated (battery tray, steering column brackets, etc), checked on the cab and other parts, he said they're working on it, and he will let me know.
Used my vintage drill, works really well.


Throttle linkage, pivot thingy.


Assembled hinges.


Holes drilled in outer plate, but still need to trim it.
Made the bend with a hydraulic press.

Inner plate is done.

The old inner plate was pretty damaged, had to beat it with a hammer just to get it this flat.

Not putting the top portion in the inner plate, like the old one had. It was hard enough to get the bolts in with the thinner plate, plus the outer plate will have top and bottom portions.
 
The bottom part of the frame is broken right behind the angle iron gusset.

I had the new outer plate clamped on to scribe where it needs to be trimmed. Was going to trim along the bottom of the frame until I got to the gusset, then follow along the gusset. Then decided any kind of a strap across the broken part of the frame would just be a mess with the gusset still there, so I decided to remove the gusset, and make a new longer one that extends past the break in the frame.

Trimmed the top of the outer plate.

 
The cab is back, it was already starting to get dark, will get better pictures when I can.


Cut out the spot for the transfer case shifter.

Marked where the opening needs to be elongated for the second transmission. Already cut it, but forgot to take a picture.
 
Not going to use the fuel filler hole, I have a fuel cell mounted in the bed.

I cut a piece out of the old cab because it's the same metal, and has the bend in it.

After cutting the piece out of the cab, I made a cardboard pattern using the old hole. Then traced that onto the metal, and cut it big, then brought it to size with a grinder. Took a while, but I didn't remove too much.

This is on the drivers side behind the door, I holesawed the back side and tried to push it back out. I made some improvement, but still more to do. The hole only allowed me to get about half of the damaged area, I don't want to make a bigger hole inside either. I wanted to have it welded before it went to the paint guys.

There are only two spots bad enough that I want them fixed, this is the second one.

Also made a little progress on reinforcing the cab mounts inside, but didn't get pictures yet.
 
Scored this from Pick A Part a couple weeks ago, $38.50 including PTO shifter cable. It's destined for the rear of my truck, already measured under there, it'll fit. Normally I wouldn't want a hidden winch because you can't monitor it, cable might all load up in one place and get jammed. It won't be the primary winch, it'll be for emergencies. I've slid off the trail in the snow, and the only way to go was backwards. Luckily I had someone behind me the times that happened, well what if I don't? It's a deep drum, and I won't put on enough cable for it to be a problem. Might come in handy for loading trailers too.

Won't need the sprockets, chain, or direction control box.
 
Took off the bed to access this cross member, it's broken loose from the pieces that bolt to the frame rails. I want to get all the needed welding prepped and accessible for when a good welder friend comes over, so it can all be done at once. This is also what the driveshaft carrier bearing will bolt to.

Will use the opportunity to mount the winch too.

I will put angle iron across the bottom (inside) of the frame rails, and bolt the winch to it. It will just fit under the bed like that.

Like this, except I'll turn the angle iron around the other way, so it won't sit up too high.
 
Went and got the steel, cut it to length, and put it in there to see where it lands at. Had to remove the shock mounts to get it in there, they needed to move anyway.
 
Had to pull the sprocket off.

A drive shaft will go on now, instead of a sprocket.

Pressure washed, then took it apart. The worm screw needed to be turned around so the input shaft faced forward, also have gaskets and seal to put in. Cleaned up a lot of the parts already, more to do tomorrow.

Worm screw.
 
Used the pressure washer on the outside of the parts, solvent and wire wheel on the inside, then blew everything off.
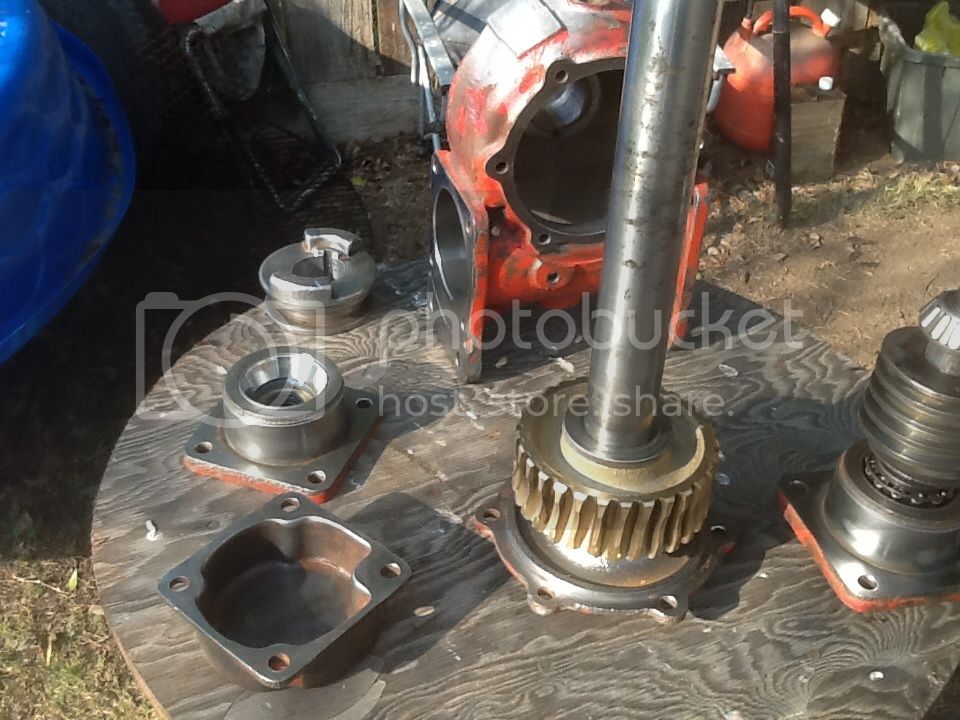
Worm screw on the right, gear it meshes with is on the left.
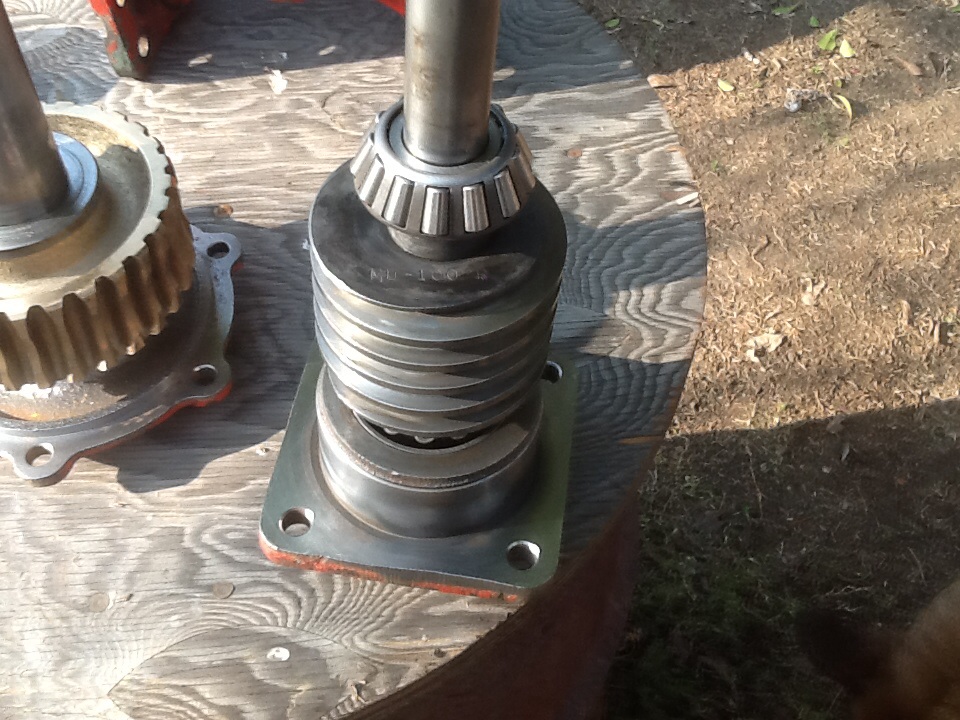
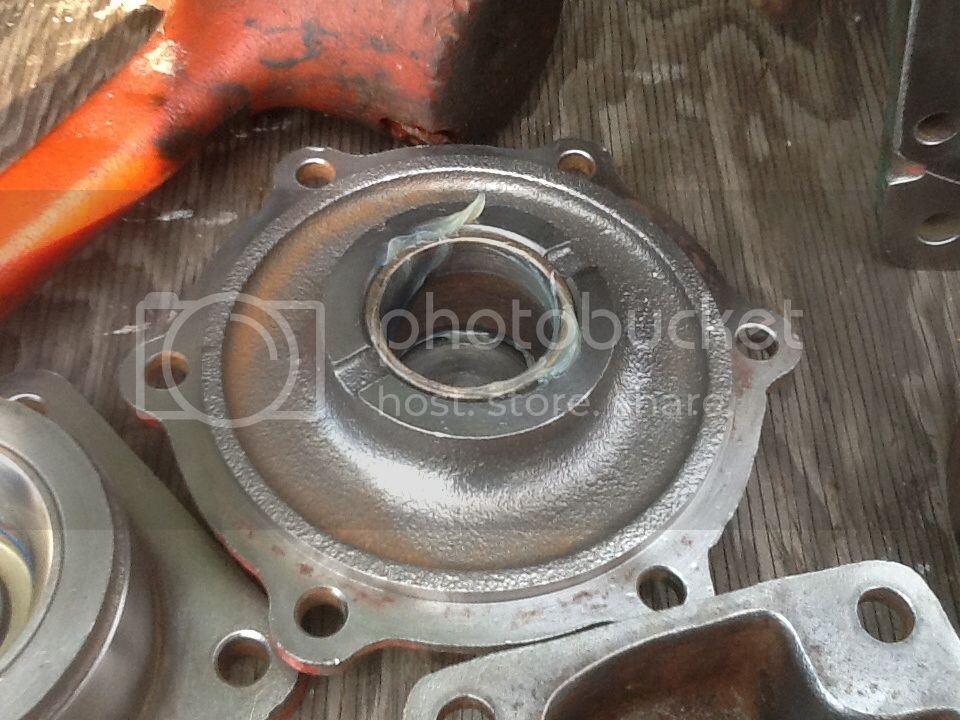
One of the retainers with a new seal.
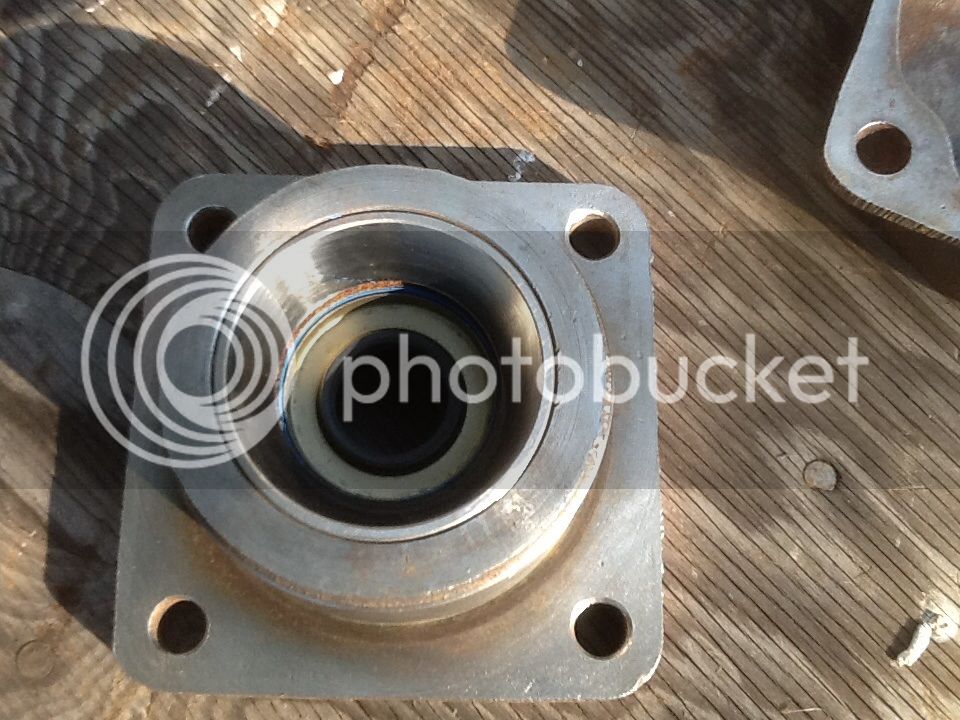
This was mushroomed a little where it contacts with the clutch dogs, you can see where I used a grinder to remove it.
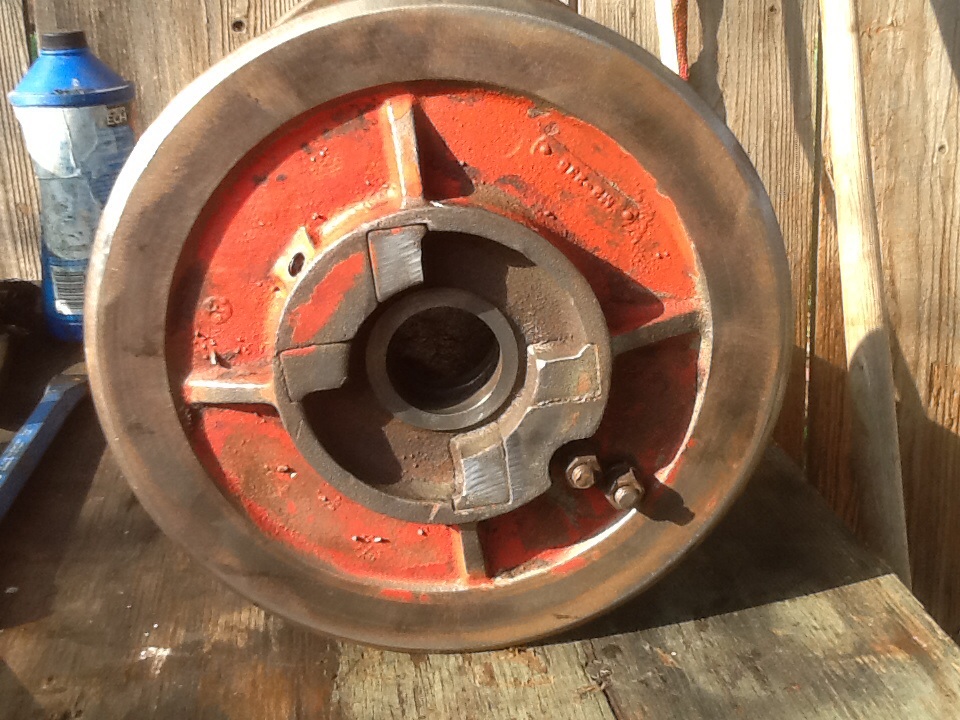
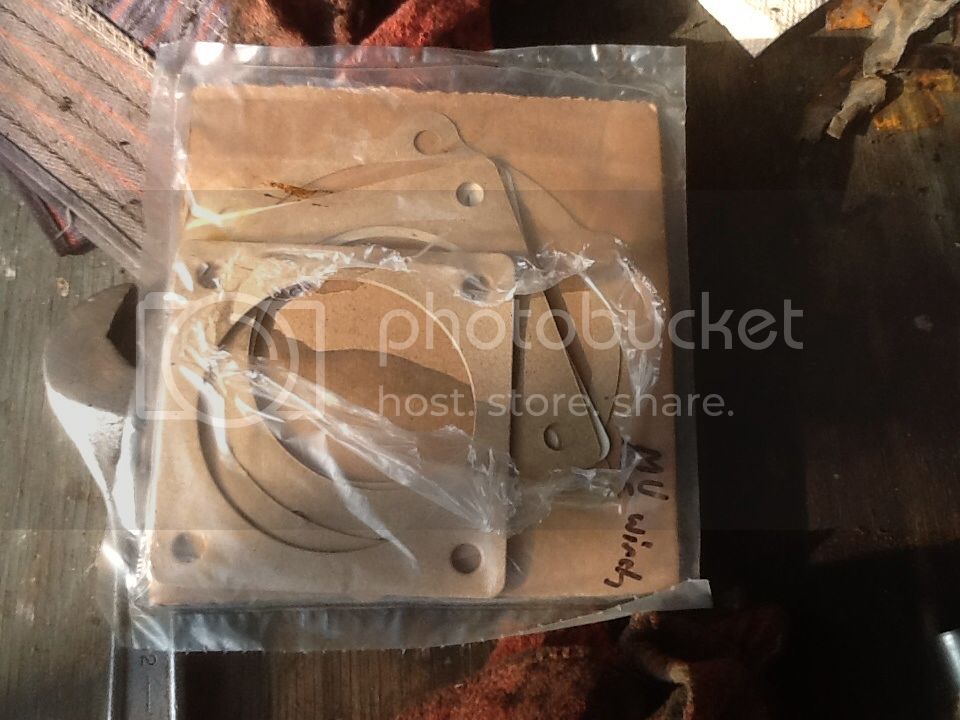
Going back together.
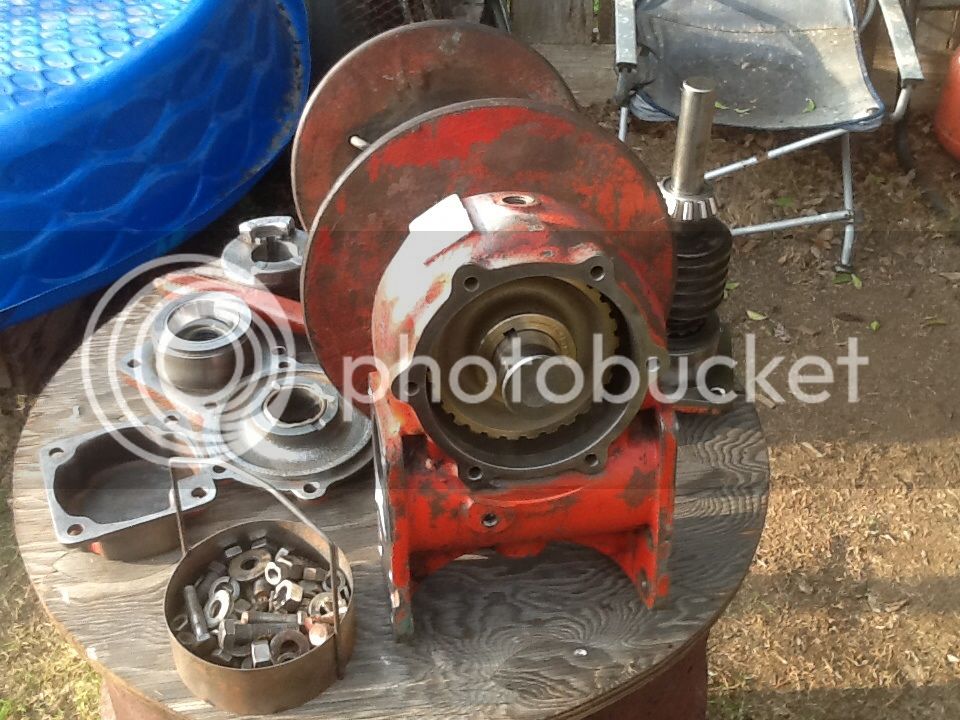
Greased all the bushings.
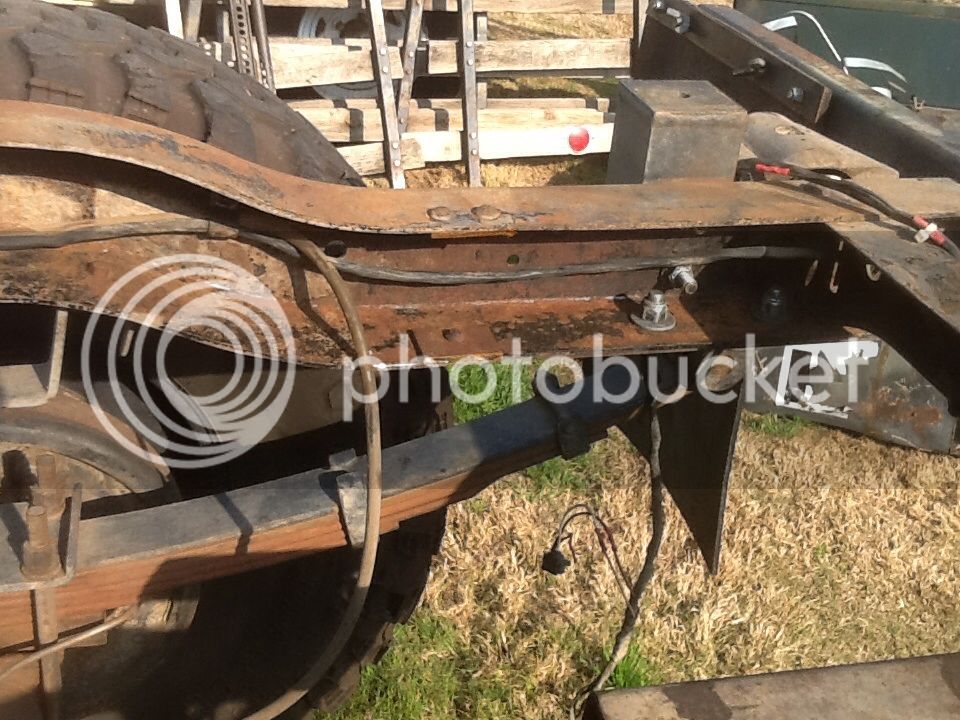
Pressure washed the inside of the frame too.
I have the worm screw all bolted in there right now, but it's too hard to turn the input shaft. I measured the old gaskets on each side, added them up, then made the same amount with new gaskets. Then randomly split them side to side, I was thinking of the preload on the bearings. Apparently I needed to be thinking of the two gears being centered on each other too. If I loosen one side, it's still hard to turn the shaft.
So, the one retainer that's still tight must be pushing or pulling the worm screw into the gear. The gasket and seal set came with an assortment of gasket thicknesses, just for this. Tomorrow I will adjust the gasket thickness until the shaft turns easier. Still need to clean the support/mount for the other side of the drum. Then it will be back to working on the mounting angles.

 
Okay, I got it figured out. I messaged the guy I bought the seal set from, he said to remove the drum shaft and bull gear. That way I can set the preload on the worm screw bearings without interference. So, it's just like the steering knuckles on my closed knuckle D70. Ended up adding .02", it was too tight at first. So now it's all sealed up and torqued, also cleaned the support/mount for the other side of the drum.
Then I put the mounting angles under the winch and marked where I need to cut some clearance, gear housing side only. This is because the angle is 2", but there isn't quite enough clearance under the bearing retainers. When I measured the space before taking the bed off, I saw there wasn't any room to go up higher. The bottom of the winch needed to stay even with the bottom of the inside of the frame.
So next I'll be cutting, grinding, drilling.
 
Back
Top Bottom
