- Thread starter
- #81
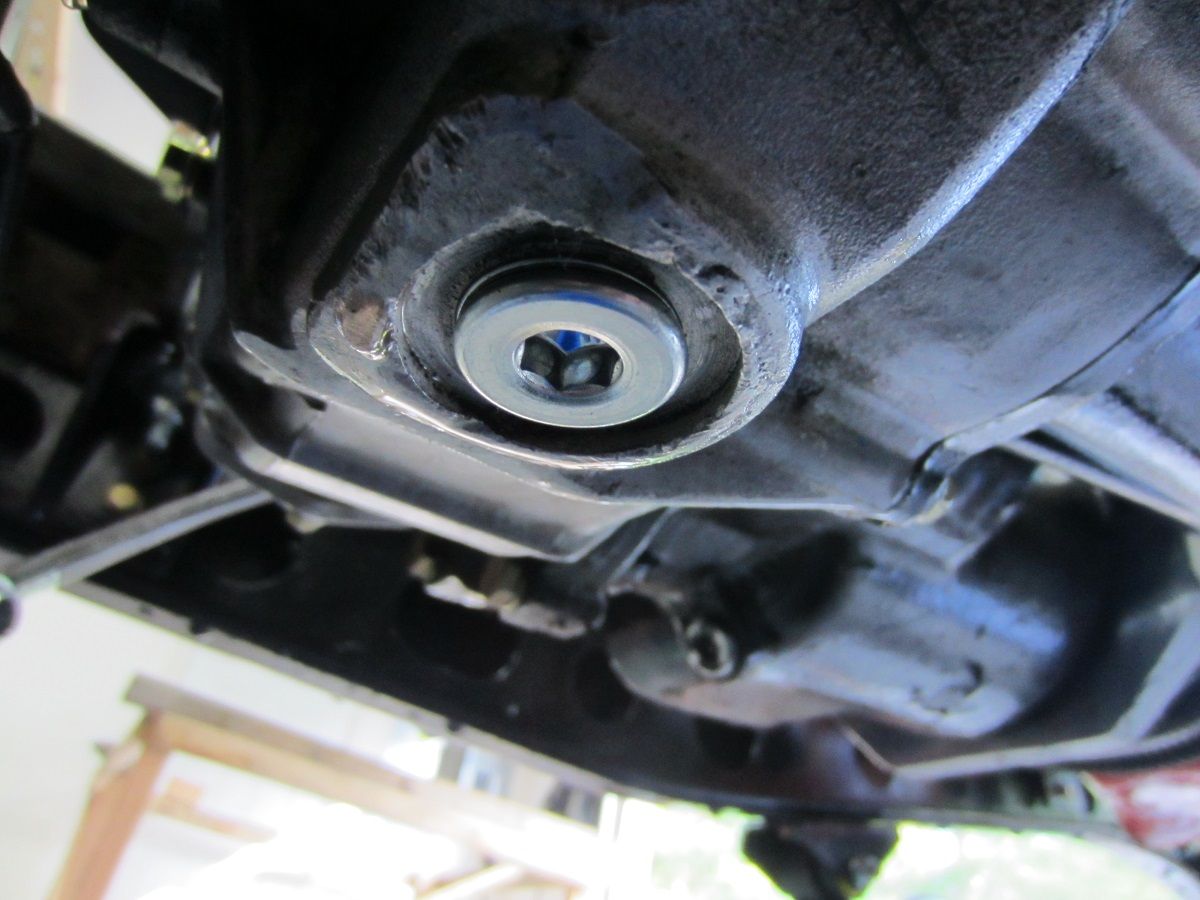
Those washers have been standard issue in the aftermarket rebuild kits for about twenty years now.
Guess that's what I have then. All mine came from cruiser outfitters. I just ordered extras not realizing some things already came with them