Builds 619TOY’s 200 Series Build & Adventure Thread (1 Viewer)

This site may earn a commission from merchant affiliate
links, including eBay, Amazon, Skimlinks, and others.

619TOY

SILVER Star
Joined
Jun 27, 2006
Threads
159
Messages
2,085
Location
San Diego
Well we’ve had the 200 for about a year now and we’re ready to start on some more mods. I’ve posted up a couple of our mods here and there, but I really like the consolidated build threads a few members have done, so at first this will just be a recap. Since we originally decided to add another Land Cruiser to the herd, our plans have changed slightly, although our primary goals haven’t. This is my daily driver and has replaced our 4Runner for that position. This is and will continue to be our light off-roading, camping, overlanding, trailer pulling, Dober hauling, domestic sightseeing and expedition rig. In no particular order, here are some of our plans:

· ≈2” lift
· ≈33” AT tires
· Sliders
· Dual Batteries
· Line-X floor for cargo area featuring track type tie downs, 50 quart ARB and fridge slide
· Ham Radio
· Roof rack
· LED lighting upgrades and additions
· Awning
· Aftermarket bumpers are on the radar, but not a priority at this point
 
Group 31 Battery & Group 34 Battery

Part of my plans for this rig include a dual battery setup. Unfortunately, I wasn’t aware that anyone makes a tray and I’m pretty sure nobody makes a kit for a group 31 in the stock location. So I did it from scratch. I fabricated the brackets from 1/8" aluminum based on some ideas I got from the internet and mostly from 100 series group 31 brackets. All in all it was pretty straightforward. The 31 fits without issue, so the only work was the brackets. I used some group 31 stud adapters so I could use the terminals on the battery closest to the edge. Next step will be to add the second battery, which will be my starting battery and isolate the two. I was going to use the TJM tray, but I’m thinking of something a little different nor. I decided to go with the two Die Hard Marine Batteries because I wanted to go AGM and they're just rebadged Odysseys but quite a bit less than if they sport the Odyssey label... So, here are the pics:

[/URL
]

[URL=http://s78.photobucket.com/user/mrarlo2u/media/IMG_6112_zpsa6e574ae.jpg.html] [/URL
]

[URL=http://s78.photobucket.com/user/mrarlo2u/media/IMG_6116_zps9dcb755d.jpg.html] [/URL
]

[URL=http://s78.photobucket.com/user/mrarlo2u/media/IMG_6120_zps4f11eb4b.jpg.html] [/URL
]

[URL=http://s78.photobucket.com/user/mrarlo2u/media/IMG_6118_zps03a09a4c.jpg.html] [/URL
]
[/URL][/URL][/URL][/URL]
 
Then came Slee Sliders!!!

My sliders arrived last Thursday, so I’m sure you all know I was chomping at the bit for the weekend to come. Well. I’m not going to say this was an easy install, at some points it was really frustrating, but I will say that I volunteered myself into quite a bit more work than I think Slee intended (what can I say, I’m an overachiever :D)…

Here’s what I did different than the instructions:

· The sliders come with 16 riv-nuts, but since there are plenty more holes in the frame and sliders than that, I proceeded to use every possible mounting hole. In all, I believe I installed 26 riv-nuts! Since there’s pretty much no way to get a drill into many of the upper holes, I enlarged the existing frame holes with a right angle die grinder.

· The sliders are supplied with silver screws to mount the footboard to the tubular frame and I’m not really into that look so I ordered some black stainless screws instead. I feel as if it’s a huge improvement.

· Replaced many of the factory bolts with my own bolts as opposed to using up the ones provided. This left me with more matching bolts for the riv-nuts.

[/URL
]

[URL=http://s78.photobucket.com/user/mrarlo2u/media/IMG_7524_zpszaqswmrz.jpg.html] [/URL
]

[URL=http://s78.photobucket.com/user/mrarlo2u/media/IMG_7525_zpsgfzz1u3h.jpg.html] [/URL
]

[URL=http://s78.photobucket.com/user/mrarlo2u/media/IMG_7526_zpsdolulole.jpg.html] [/URL
]
[/URL][/URL][/URL]
 
Next up: lift and tires. Stay tuned…
 
Great work on the battery tray.
 
Will you make me a battery tray? Name your price!
 
I didn't think an OE 200 tray would hold a Group 31 Battery?
 
Will you make me a battery tray? Name your price!

No need. As I later found out, you can buy one online, so other than saving $100, it turns out I didn't really need to make one myself;)


I didn't think an OE 200 tray would hold a Group 31 Battery?

Thanks and no it won't, you're correct. If you didn't mind hanging the battery off of the edge of the sheetmetal body platform, you could probably get away with just a different top bracket, but that's about as close as you could get.
 
I made everything by hand, but there's a link in post #9 to a complete bracket :D
 
· The sliders are supplied with silver screws to mount the footboard to the tubular frame and I’m not really into that look so I ordered some black stainless screws instead. I feel as if it’s a huge improvement.

I have looked high and low for black hardware that is corrosion resistant. I have never seen black stainless steel. Would you mind sharing where you got them?
 
I have looked high and low for black hardware that is corrosion resistant. I have never seen black stainless steel. Would you mind sharing where you got them?

Of course. I only use black SS in small quantities, so I order from McMaster Carr. I'm checking with my bulk quantity hardware vendor to see if they can source them for you cheaper in bulk. I'll let you know what I find...
 
Ok, I finally made a little progress on the second battery tray. I started by fabricating a mount to relocate the power steering reservoir and then fabricated a sub structure for the second battery tray to house the solid state battery charging solenoid. The substructure was fabricated from aluminum as the charging solenoid's current capability is maximized by providing an optimum heat sink for it (it will work fine without the additional heat sink, it just won't have it's maximum current capacity). Then last but not least, I mounted the actual battery bracket to the sub-structure.

For the reservoir relocation bracket, I reused the rubber isolation grommets so as to eliminate a solid, unforgiving mount for the reservoir. The stock bracket uses a locking tab to hold the reservoir in place, but I just used two #6 machine screws:


Here's the substructure for the battery tray and the charging solenoid:


And last a teaser of what it should look like when it's all done, whew, time to go home!!!:beer::beer::beer:

 
Last edited:
Ok, I finally made a little progress on the second battery tray. I started by fabricating a mount to relocate the power steering reservoir and then fabricated a sub structure for the second battery tray to house the solid state battery charging solenoid. The substructure was fabricated from aluminum as the charging solenoid's current capability is maximized by providing an optimum heat sink for it (it will work fine without the additional heat sink, it just won't have it's maximum current capacity). Then last but not least, I mounted the actual battery bracket to the sub-structure.

For the reservoir relocation bracket, I reused the rubber isolation grommets so as to eliminate a solid, unforgiving mount for the reservoir. The stock bracket uses a locking tab to hold the reservoir in place, but I just used two #6 machine screws:


Here's the substructure for the battery tray and the charging solenoid:


And last a teaser of what it should look like when it's all done, whew, time to go home!!!:beer::beer::beer:

Nice work
 
Those are some amazing fabrications / design skills!

What kinds of tools/training did do you have that enable you to do this?
 
Thanks guys! I'm certainly no fabricator, more of a tinkerer, but I do have access to quite a few tools which makes stuff like this a little easier.
 
No Sir, you are a fabricator.....and a darn good one! I wish I had your talent! :)
Very nice work! But you should just go ahead and build 20 of each bracket you are making and I'm sure you could sell them in just a few minutes here.....I'd buy 'em! :)
 
Well, it was definitely a scramble, but I finished the dual batteries before rolling out the door for Ouray. So to recap what I've done:
  • Diehard group 31 battery with a tray that I fabbed myself on the driver's side. This is my auxiliary battery and I've run a 6AWG power wire to the rear of the rig through a 50A circuit breaker which also serves as an on/off switch.
  • Diehard group 34 battery with a Roughstuff battery tray on the passenger's side. This is my starting battery and has been connected to the factory battery terminals via an isolator plate.
  • InPower ABS solid state battery contactor. I chose solid state primarily due to the fact that it functions silently, but there are . This is mounted to a plate of aluminum which serves as a heatsink below the group 34 battery.


ICON lift

So after a lot of deliberation, I decided to go with an ICON lift. This is essentially their stage 5 lift with the exception of the rear lower control arms, which I chose to omit. Since ICON doesn't offer rear springs for the 200, I went with OME 722's. When all was said and done, I ended up with about 3" of lift both front and rear.

I'm not going to lie, this was more of an endeavor than I was expecting. This is definitely a two man job. By comparison, the 6" Slee lift on the 80 and the 3" Sonoran Steel lift on the 4Runner were both accomplished relatively easily by myself. I think I spent about 12 hours myself and required a couple hours of assistance from a buddy for the two man portions, removing and installing coil overs and removing stock rear springs.

Overall, I'm really happy with setup. When adjusted to the softest setting, the ride is nearly a soft as stock and I wouldn't even call it firm. I have yet to do any comparison testing between the settings so can't really report on that yet, although I expect I'll ultimately end up on a firmer setting.

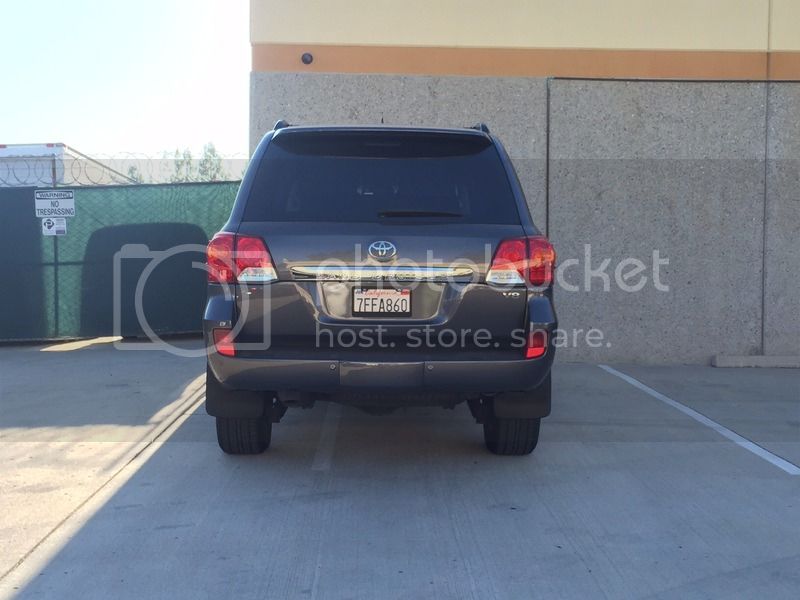
Stock:


Going under the knife:


Using bungee cords to support the spindle (this worked way better on the Tacoma video I watched on YouTube:bang:):


Finished product right front:


Yours truly hard at work:banana::D:


Finished product left front:


Major hurdle, rear reservoir is supposed to be mounted right where the truss for the Slee sliders is:crybaby::doh: This required a lot of cutting and the use of a hole saw:


Rear reservoir completed:


The finished product:


Users who are viewing this thread

Back
Top Bottom