Builds Shipwreck (9 Viewers)

This site may earn a commission from merchant affiliate
links, including eBay, Amazon, Skimlinks, and others.

yep, that is the hesitation - and it's not the driver's side, the passenger side is the biggest issue. I can hide the tube under the the sill level on the driver's side - but it's the blasted tank that prevents it on the passenger side... so I don't know
choices, as I see them
1) say "who cares about the passenger" done this before
2) move the tank 2" to the left (lots of work because of the tank well and who knows what's underneath that won't clear
3) put a new tank under somewhere
4) raise the rear floor and put the tank in that space - the step from the bed to the floorboard makes 2 steps.... if I raise the step to the bed level, then there's room between the frame and the body for some sort of tank...

I dunno.... I'll post pictures when I decide.
 
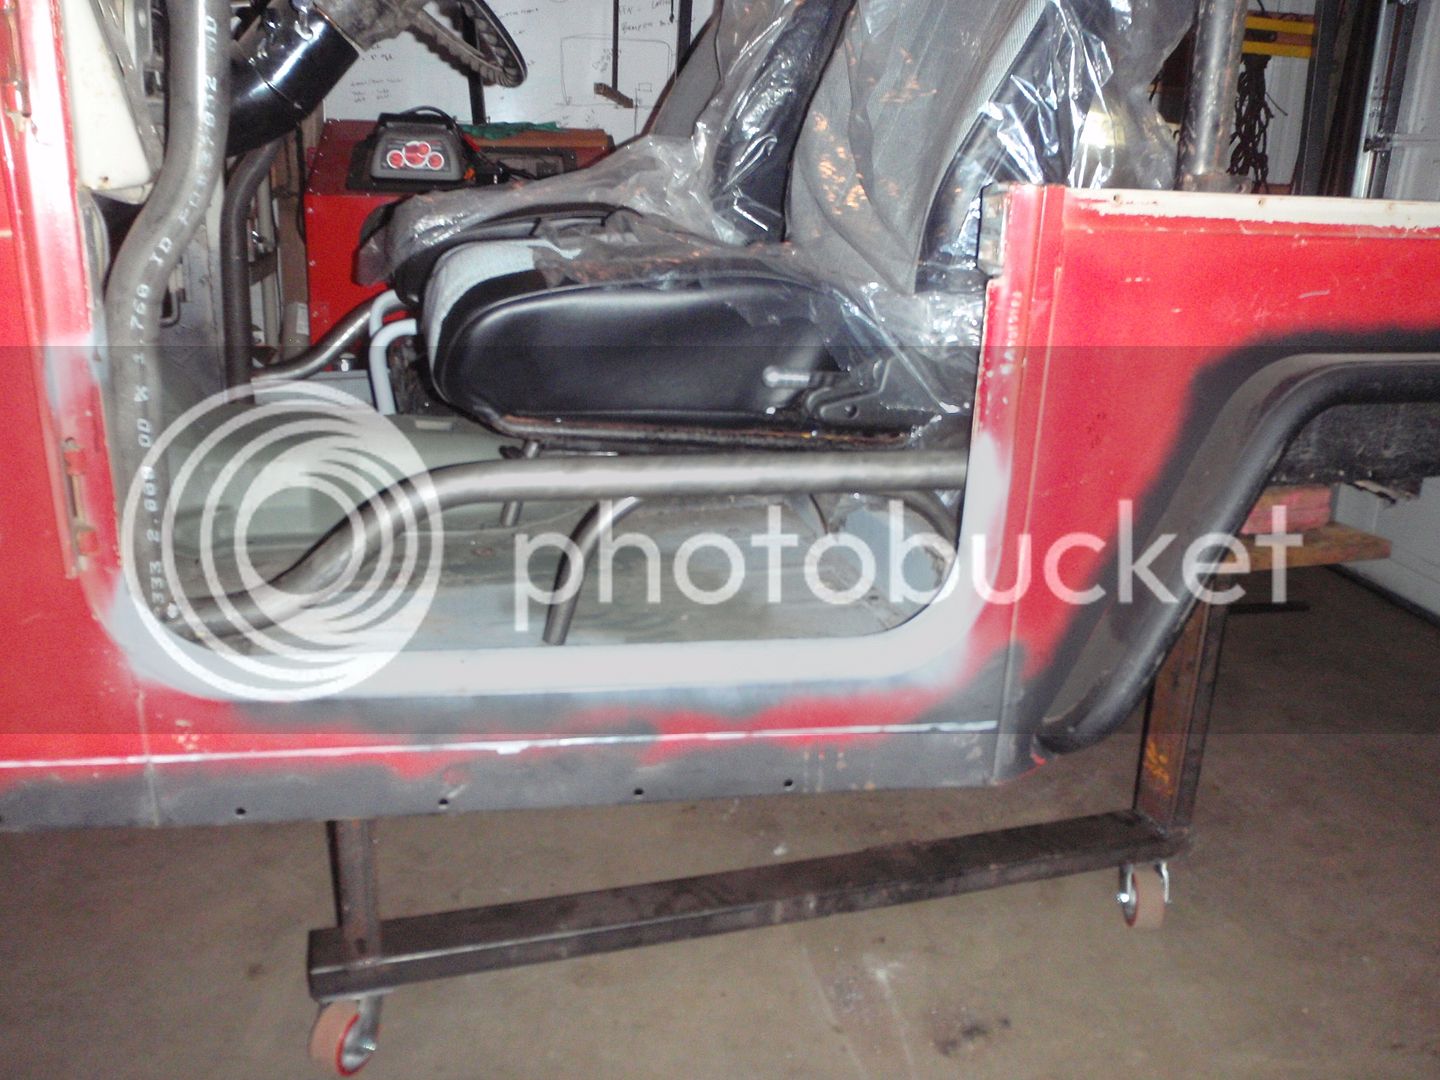
If the cage A and B pillars are tied into the frame will you even need the bars?

My suggestion would be to build some half doors, when latched they will add a lot of strength to the body.The other reason I like half doors has to do with a broken off tree limb that entered the passenger side door opening of my truck in a partial roll. No passenger that day so no problem. You can dodge stuff coming in the top half of the door pretty easy, when belted in it's a lot harder to dodge something coming in lower. If you want to keep the open feel maybe some tube doors skinned in expanded steel?

Just some thoughts.
 
I don't like the tank being so exposed and since I'm not coming up with a reasonable relocation of it - it simply needs to be safer, if that means only monkeys can ride in the passenger seat, then so be it

a bit more accomplished
so here's where I was a couple nights ago


went to this last night


and this tonight
 
While I think the bent tube is better, I still don't think they are needed. Your going to have beefy rock sliders right? Won't they achieve the same thing? Also I really don't think you should cut up the dash to put a storage box in, the stockish dash on a 40 with the pull knobs kinda gives it 40 only type character. Im just trying to offer constructive criticism thats all. If you wan't me to shut up I will haha.:beer:
 
Is the riser that your door bar is welded to welded to the floor?

P6180011_zpswft5b1if.jpg
 
If you wan't me to shut up I will haha.:beer:
please don't, input is great. What gets me is the character assassination that others do when I disagree with them that puts them on ignore.

That said, those are also seat mounts and seat belt anchors - heaven forbid I ever use it for its intended purpose.... as was said, this isn't a low-buck build.

Is the riser that your door bar is welded to welded to the floor?

nope, that's a plate that distributes any load over the floor. Since I can't get behind the brace to bolt it down without cutting a hole, it may simply just sit there. The idea behind it is similar to what others did by putting a brace to the frame - this does the same thing, only it's on the inside. When I pull the body off again, I may make the brace go all the way to the body mount... but still not bolt it... but who knows that's today's plan :)
 
Last edited:
Based on daily driving a SOA 40 on 37's for a number of years I'd try to move the dogleg in the drivers side bar back to mid way in the door opening.
 
so I had to work on my H3 today to get it ready to go to the Overland Rally this weekend....
but, as is my custom, I always do something to keep moving forward on my main project
the passenger seat, with the gas tank under it, determines the seat height of the driver's side so that was my focus tonight


narrowed the old, stock bracket


now to make mounts to solid mount it
 
been a couple days, next one won't be until next week.... anyway
it was the classic, start, stop
I started looking to weld the mounts on the rear axle... missing one piece, so I spent time straightening up... ugh, I need a shop maid. Didn't find the bits, but I did come up with a clever way of doing the rear springs.... no pictures because I didn't work on that tonight

so then I started working on setting up the rear end


got the gear off, then got stopped because the bearings simply didn't look right - so I ordered new ones that will be here tomorrow


the first project 2 nights ago was the seat frames.... passenger side looks good, and I started mocking up the driver's side.... I dunno, I don't like the non-similar radii. That said, I'm not buying a die or bender simply for these bends so I might have to get creative with the pie cuts. The counter-balance is no one but me will see them... and that top, flat bit... is exactly the right length


anyway, I'm going out to the wilderness to break stuff.... ttfn
 
Didn't break stuff, but had a blast until the temps hit 106 degrees... ugh


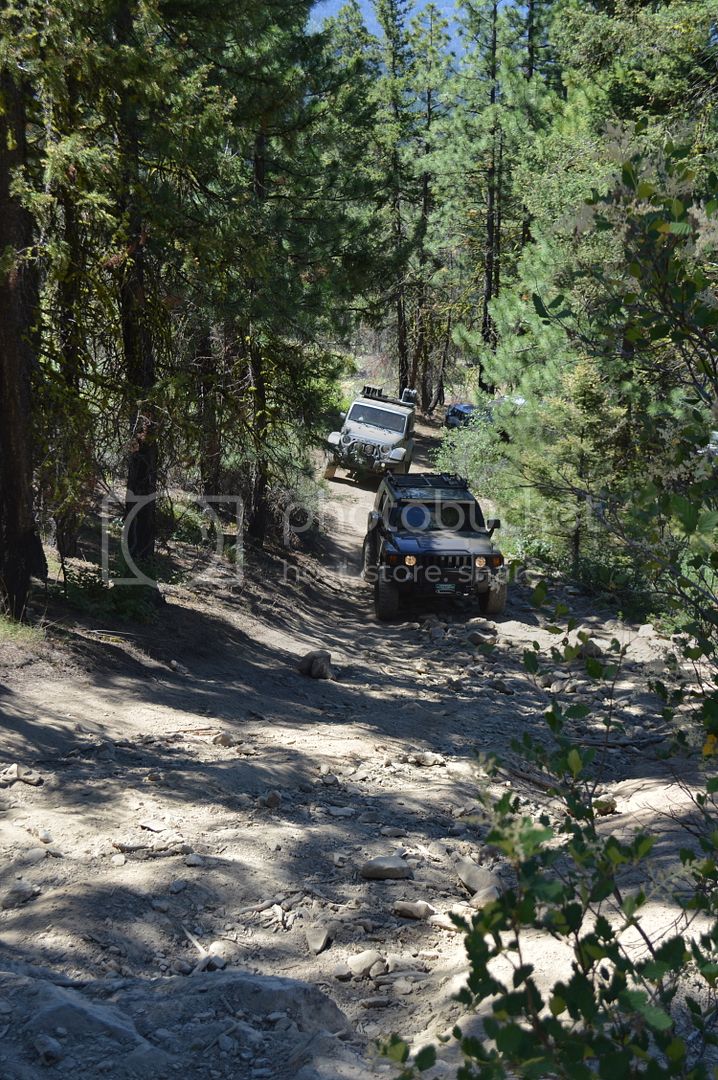
I followed this guy around

I like his FJ70, even a diesel (Nitro gears) - though on that day, it was so nice to be in an air conditioned rig...


so, progress?
now it's as far apart as I'm going to take it (which is good since there isn't anything left to remove)


Buick thinks the old-school sbc is a good choice


on the trailer for a trip to the sand blaster


and back to the driver's seat frame.... I still don't know what I'm going to do
 
Heres what I would do with your seat mounting: Get rid of the radius tube things, redo the lower side bar cage supports so the bend is about 8" further back than where you have it now for better in and out access for your feet and then weld them in, then weld tabs on those side tubes on passenger and driver side, then run a 2"x1" or something fairly heavy duty piece of C channel all the way accross from one tab to the other side, one piece run accross for where the front of the seats will bolt too and one for where the back of the seats will bolt too and each piece bolted to the tabs. Then you will have a ton of room under the driver seat for storage or whatever. That way the side tubes just support your seats rather than the floor which takes up more space.
 
I've also thought of ditching both sides and running tubes all the way across then mounting the seats to that... the benefit is it would give me a flat space for a center console. I also looked at a gun safe today that would be nice to incorporate; but I'm pondering the "if it looks like a gun safe, would that make it more or less likely to be screwed with when I'm not around the vehicle?" Fortunately, I'm at least a month from making a decision on any of it because I'm back on the frame. All that said, I like where the seat is now (height).

about the door bars, like the distributor, there's a lot more room there then what appears in the picture (mostly because the bar is hidden behind the door sill when you look straight at it) the perspective of the camera is looking down on the bar but if looked at from the side, the door sill is about 1/2 way up the transition).

good thoughts....
 
Warm day, but got some accomplished until I ran out of wire and oxygen (was using the torch too)...


with some grinding, drilling and torch work the brackets came off

I suppose I would have given up earlier if I hadn't just had to buy a bracket - so I figure that these are totally reuseable and I did save them


and removed the shock mount


some CAD work (cardboard assisted design)


copy


test


weld


turned it over to weld the top


and ran out of wire
 
alrighty, more progress
first fix the seam


then the upper control arm mount


notice that everything is in compression? while I do trust my welds, I also know that it's really easy to make it doubly secure by compressing the forces

Also, frame flex is gone. When I put this on jack stands, I could flex the frame 3" on any corner - now, not at all.... finally, a solid foundation to let the suspension do what it's designed to do and, should the worst happen, a frame that won't fail to hold up if I roll it.

gave it a quick bend and welded it up


and my weight-loss-through-sweating is over for the night

thanks for lurking ;)
 
so I welded... for 2 hours.... looks EXACTLY the same


even so, it's ready to turn back over and finish the bottom side. For those who have never done this - you can warp a frame with too much heat, thus tack first, weld a bit at a time, but tack both top and bottom.... then I'll flip it back up, put the motor back in place and figure out the rest of the bracing for the front hoops.
 

Users who are viewing this thread

Back
Top Bottom