
I finally had some time to get to this today. Figured I would take some pictures and do a write up. There is plenty of info here, but it is a bit scattered. This will go from the start to the end. Is it worth it? Absolutely! For all those that complain about the brakes, we have plenty of rotor and caliper. I can now lock up the 37's on a dry road without a lot of pedal effort.
No additional parts are needed. Everything you need is already on the truck.
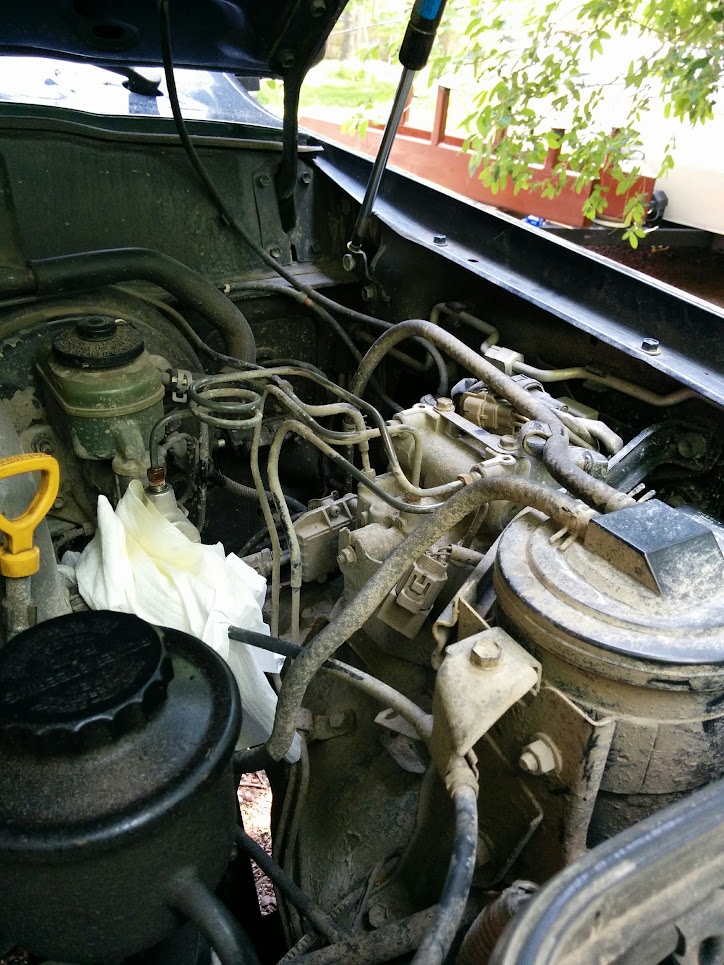
Let's get started. First picture is how it will look when you open the hood:

Step one is remove the front line from the master cylinder to the ABS unit. This line is for your rear brakes. Notice the open port in the ABS unit in the picture below.
Then undo the front line from the ABS unit:
Also note that every line is labeled on the ABS unit itself. The top two line are from the master cylinder, the bottom three go out to the wheels.
The next step is to bend the rear brake line. It needs a simple 180* bend. Then it will screw right into the master cylinder:
Next we will remove the ABS unit. Remove the three remaining brake lines. Then unbolt the this ??? from the ABS bracket:
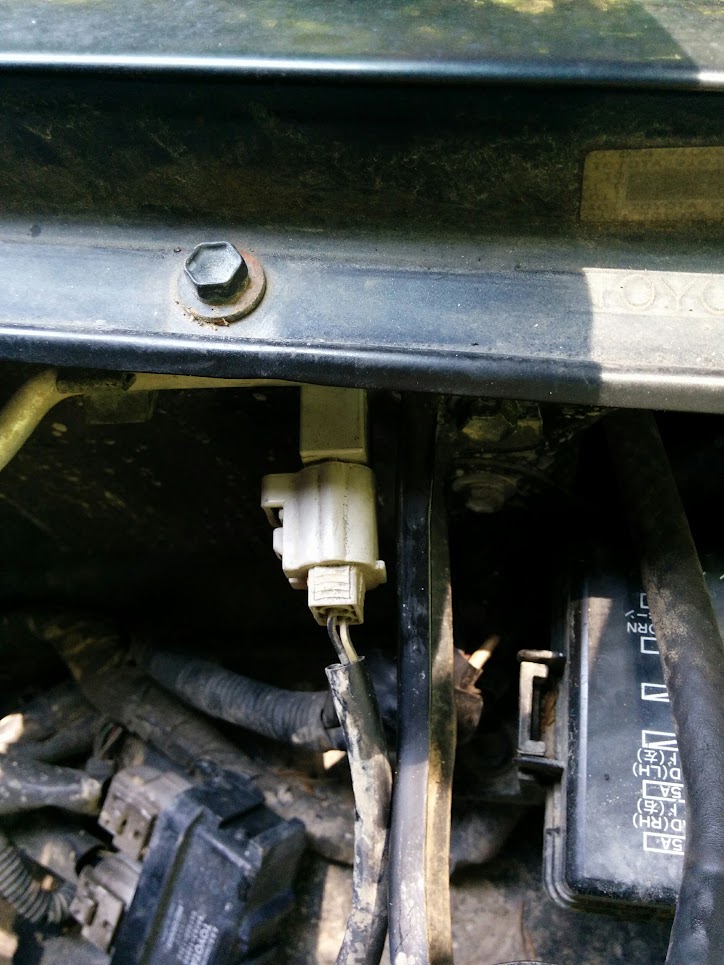
There are four bolts holding the ABS unit to the truck. Two tucked up under the flange of the fender, two on the inner fender. There is another black box bolted to the ABS unit which you can see hanging in the picture below. I could not disconnect the ABS wires easily, so I removed the two screws than hold a bracket that the plugs mount to. Once that was done, it was easy to disconnect the plugs.
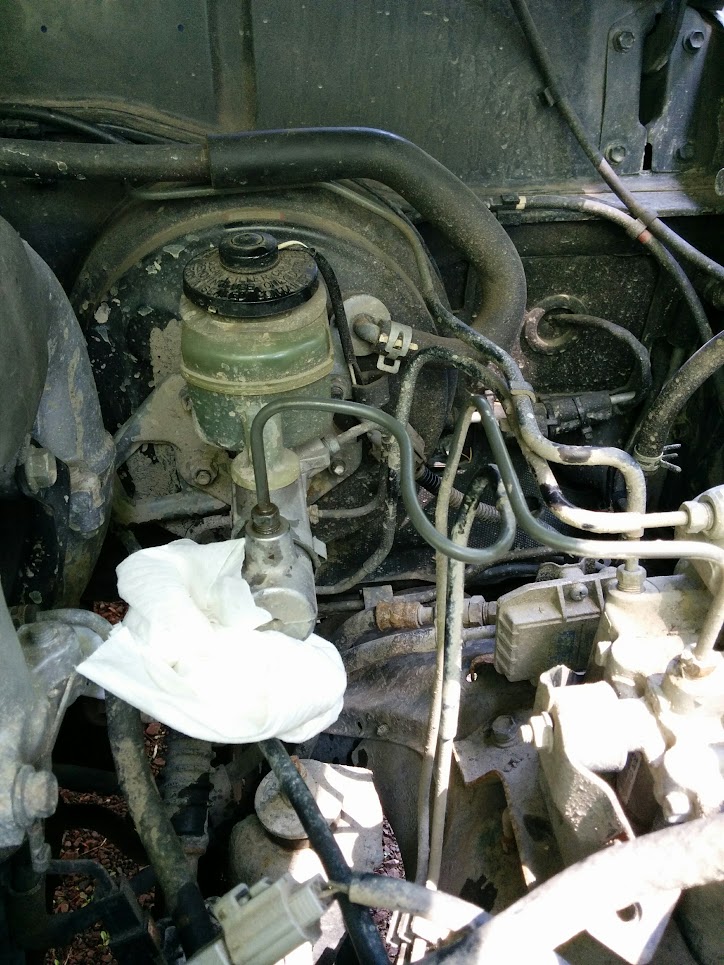
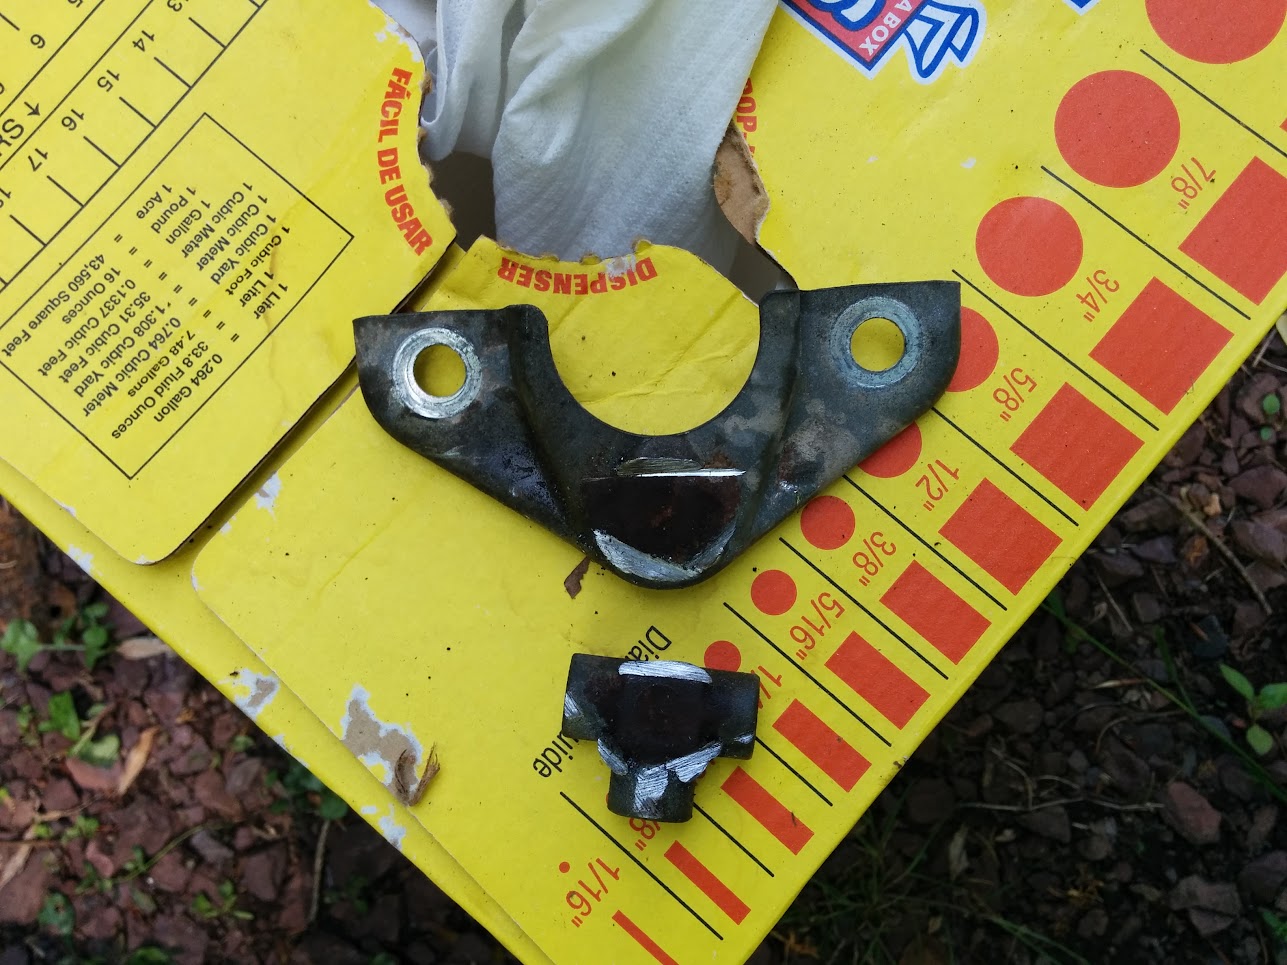
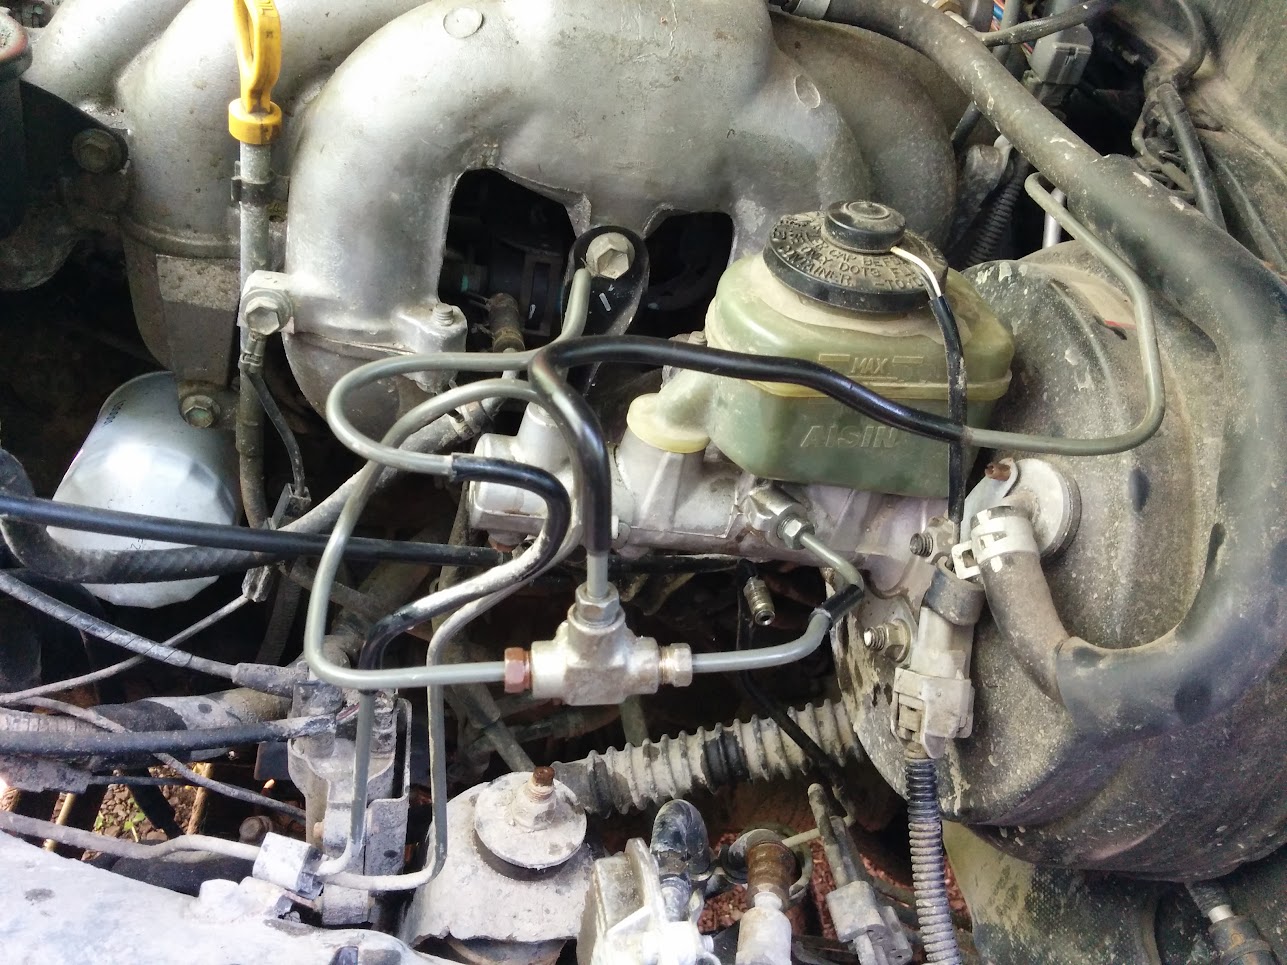
Next step is to extract the tee under the master cylinder. There is a short U shaped line going from the master cylinder to the tee, a second line going from the tee to the ABS unit, and a third line which went to the LSPV. The tee is held to the brake booster / master cylinder by the two lower master cylinder bolts. You only need to disconnect the U shaped line at the master cylinder and the line going to the LSPV. The other two connections can be disassembled outside of the truck. This is what you will end up with:
I used a hacksaw to cut the welds that attach the tee to the bracket. Took two minutes:
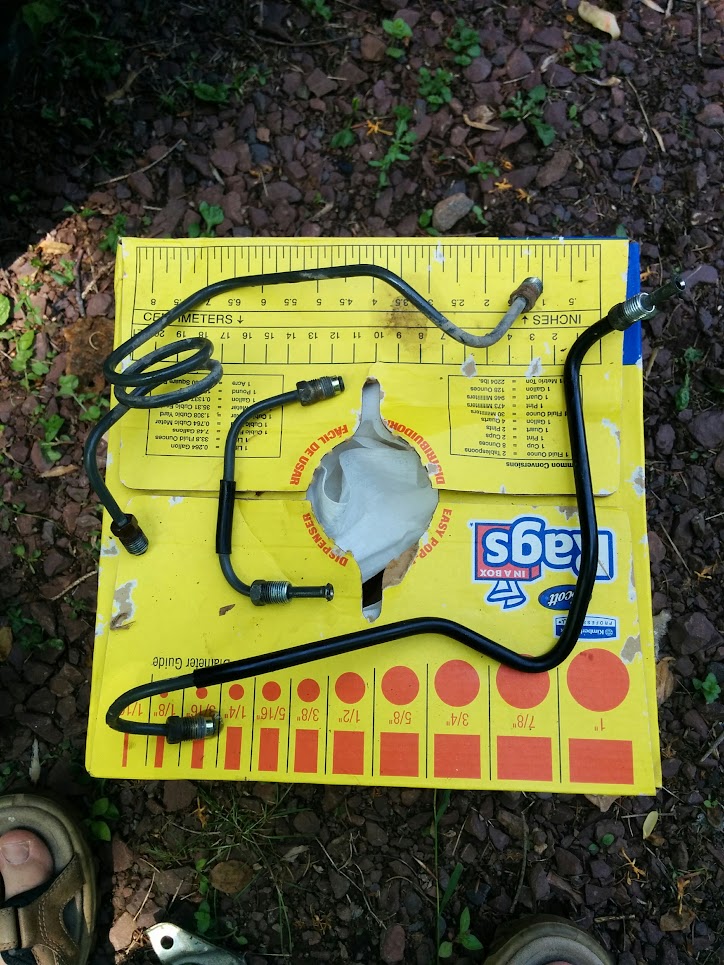
At this point you will have three "extra" lines:
I chose to reuse the U shaped line to connect the tee to the master cylinder. The two remaining lines that go to each front wheel need some reshaping. The brake line is soft and easily bent. The right front line took very little tweaking. The left front line required a 90* bend to get it in the proper direction to mate to the tee. All in all it came out pretty clean:
One of the bolts that held the ABS unit in place also holds a support bracket for the charcoal canister. Remember the grey box shown earlier? I sandwiched its mounting bracket between the canister bracket and the inner fender:
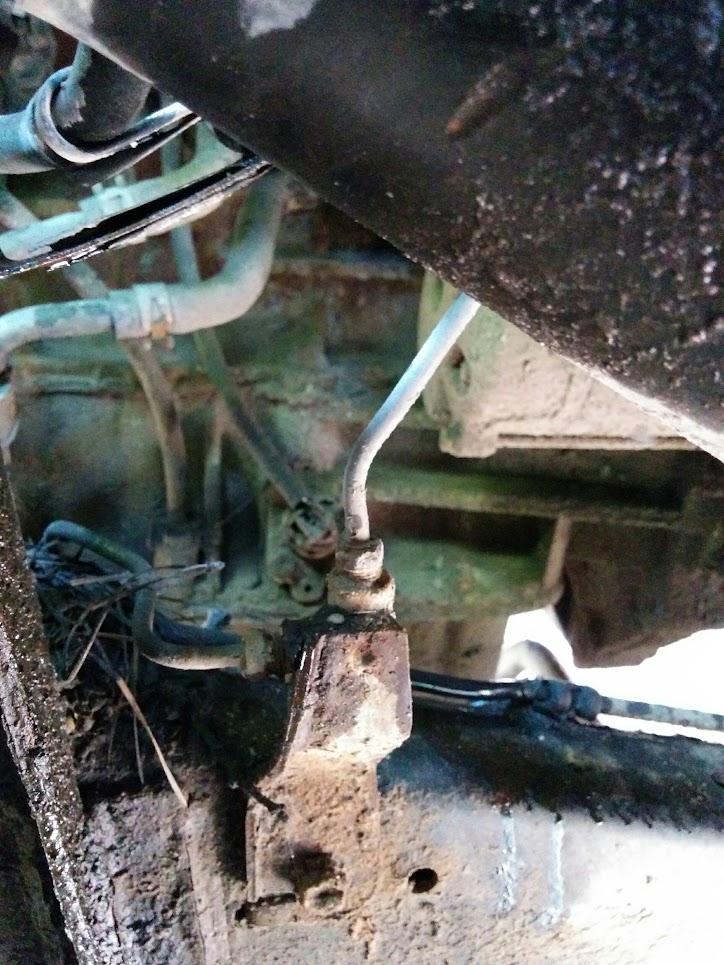
At this point we are done in the engine bay. Time to move into the right front wheel well. Pull back the rear splash guard and you will see this:
This is the elbow you will need to bypass the LSPV. One bolt in the frame, two brake line connections. You only need to remove the horizontal line at this point. The vertical line will come out with the elbow. You can then disconnect it at the bench.
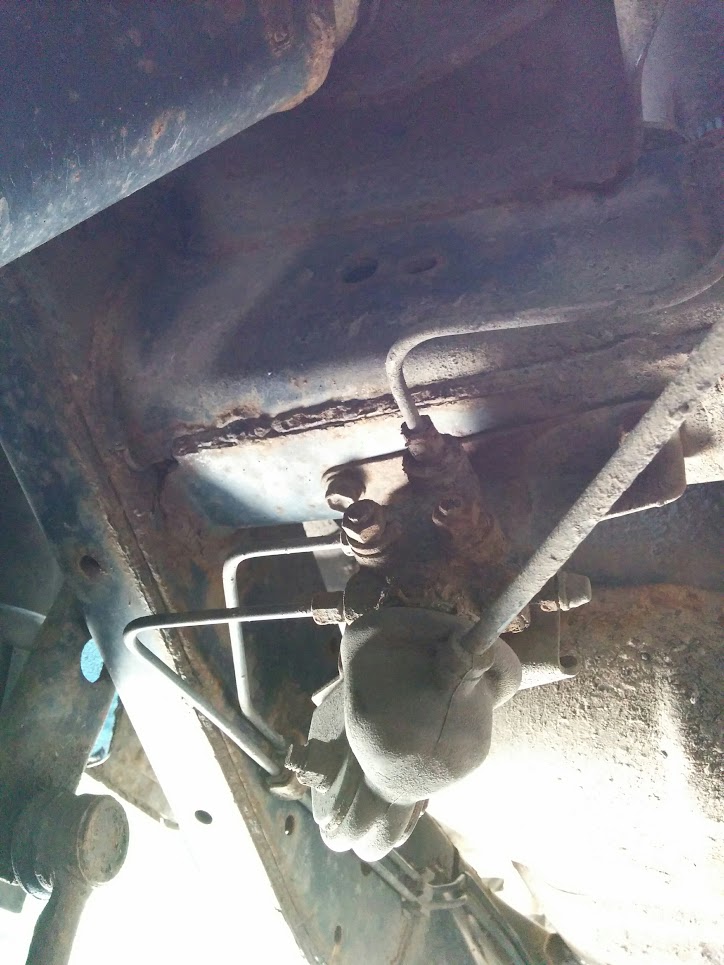
Moving back to the LSPV. Climb on under and this is what you are going to see:
Note there are three lines there. The lower line on the left of this picture is no longer used. The elbow will tie the upper left line to the rear line like so:
I haven't removed the LSPV yet. Broke one mounting bolt in the frame. It just so happens that you can reuse the bracket on the elbow if you add a short piece of pipe as a spacer, and a longer bolt. The bolt I broke, unfortunately for me, is the hole you would need to use.
That's it! Bleed the brakes, check for leaks. Enjoy you much more effective brakes.
No additional parts are needed. Everything you need is already on the truck.
Let's get started. First picture is how it will look when you open the hood:
Step one is remove the front line from the master cylinder to the ABS unit. This line is for your rear brakes. Notice the open port in the ABS unit in the picture below.
Then undo the front line from the ABS unit:
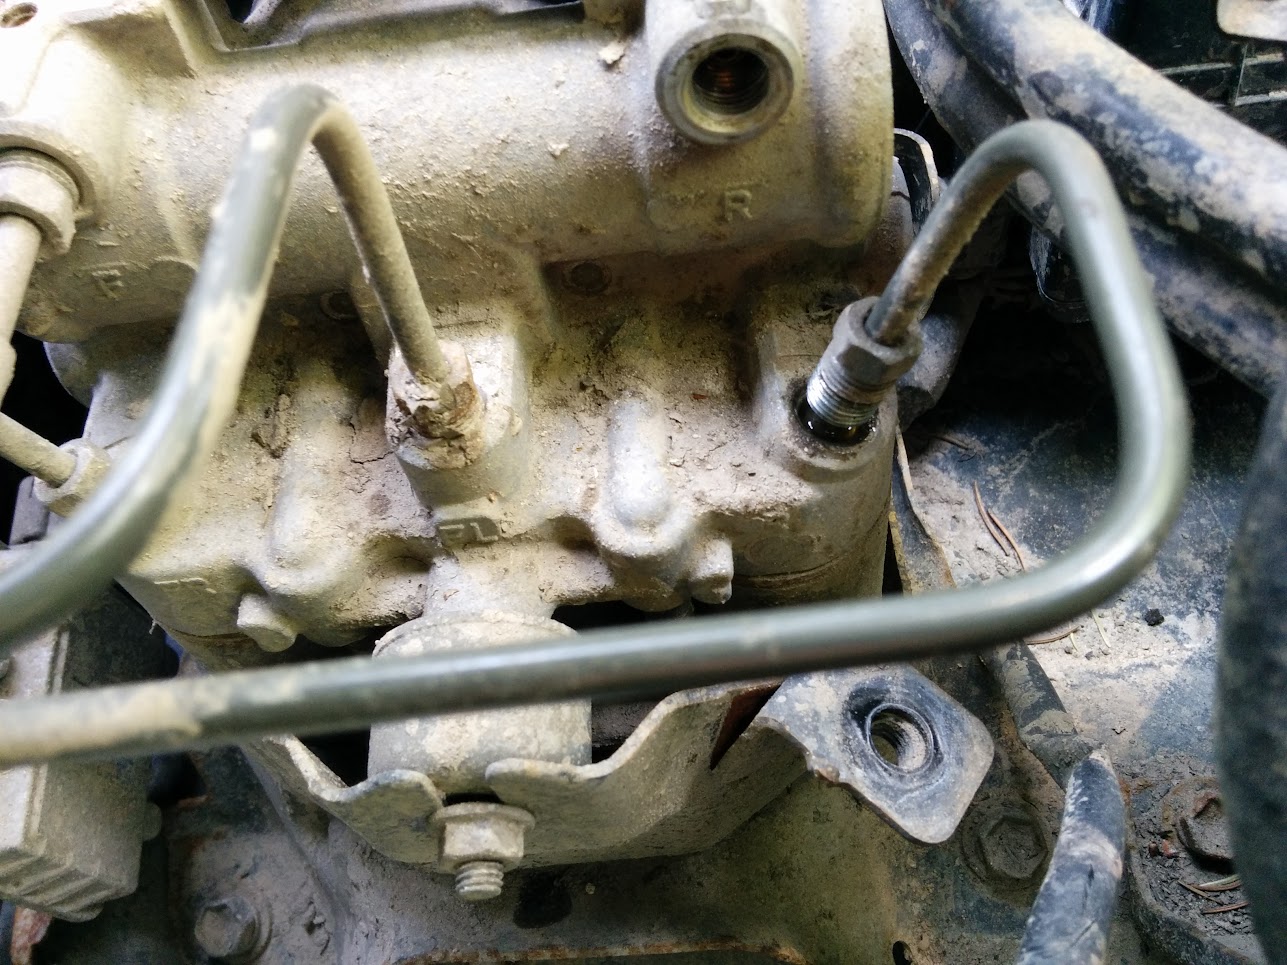
Also note that every line is labeled on the ABS unit itself. The top two line are from the master cylinder, the bottom three go out to the wheels.
The next step is to bend the rear brake line. It needs a simple 180* bend. Then it will screw right into the master cylinder:
Next we will remove the ABS unit. Remove the three remaining brake lines. Then unbolt the this ??? from the ABS bracket:
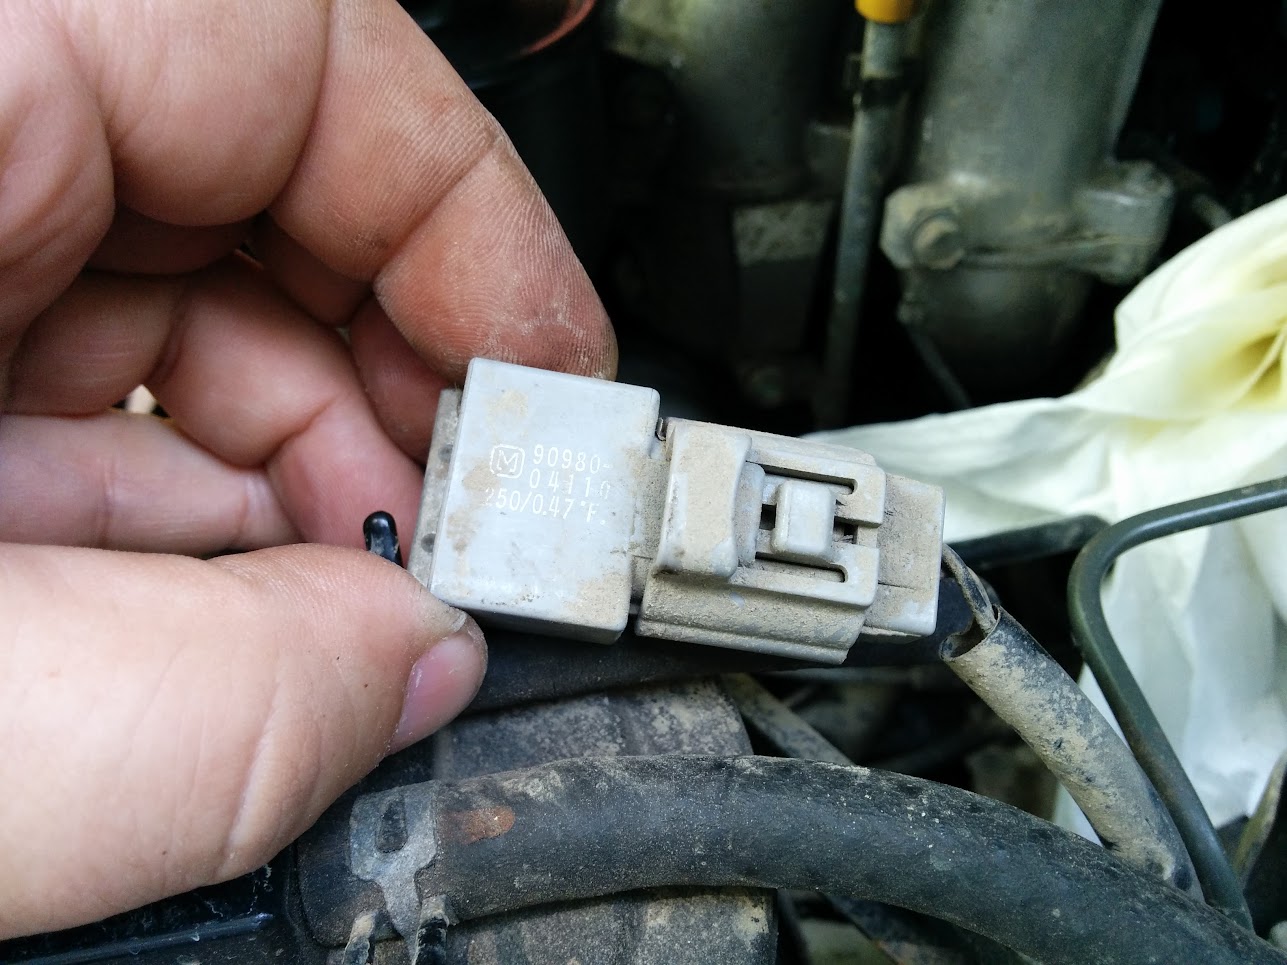
There are four bolts holding the ABS unit to the truck. Two tucked up under the flange of the fender, two on the inner fender. There is another black box bolted to the ABS unit which you can see hanging in the picture below. I could not disconnect the ABS wires easily, so I removed the two screws than hold a bracket that the plugs mount to. Once that was done, it was easy to disconnect the plugs.

Next step is to extract the tee under the master cylinder. There is a short U shaped line going from the master cylinder to the tee, a second line going from the tee to the ABS unit, and a third line which went to the LSPV. The tee is held to the brake booster / master cylinder by the two lower master cylinder bolts. You only need to disconnect the U shaped line at the master cylinder and the line going to the LSPV. The other two connections can be disassembled outside of the truck. This is what you will end up with:

I used a hacksaw to cut the welds that attach the tee to the bracket. Took two minutes:
At this point you will have three "extra" lines:
I chose to reuse the U shaped line to connect the tee to the master cylinder. The two remaining lines that go to each front wheel need some reshaping. The brake line is soft and easily bent. The right front line took very little tweaking. The left front line required a 90* bend to get it in the proper direction to mate to the tee. All in all it came out pretty clean:

One of the bolts that held the ABS unit in place also holds a support bracket for the charcoal canister. Remember the grey box shown earlier? I sandwiched its mounting bracket between the canister bracket and the inner fender:
At this point we are done in the engine bay. Time to move into the right front wheel well. Pull back the rear splash guard and you will see this:
This is the elbow you will need to bypass the LSPV. One bolt in the frame, two brake line connections. You only need to remove the horizontal line at this point. The vertical line will come out with the elbow. You can then disconnect it at the bench.
Moving back to the LSPV. Climb on under and this is what you are going to see:
Note there are three lines there. The lower line on the left of this picture is no longer used. The elbow will tie the upper left line to the rear line like so:

I haven't removed the LSPV yet. Broke one mounting bolt in the frame. It just so happens that you can reuse the bracket on the elbow if you add a short piece of pipe as a spacer, and a longer bolt. The bolt I broke, unfortunately for me, is the hole you would need to use.
That's it! Bleed the brakes, check for leaks. Enjoy you much more effective brakes.
