Acid can't eat plastic or glass, helps protect the paint and metal.
Tip: When cleaning battery always sprinkle with baking soda to neutralize acid before rinsing lightly with water.
Awesome. Thanks and will do.
Follow along with the video below to see how to install our site as a web app on your home screen.
Note: This feature may not be available in some browsers.
This site may earn a commission from merchant affiliate
links, including eBay, Amazon, Skimlinks, and others.
Acid can't eat plastic or glass, helps protect the paint and metal.
Tip: When cleaning battery always sprinkle with baking soda to neutralize acid before rinsing lightly with water.
Please tell me the Slee BB is a reasonably simple install?Big day for plasti-dip I guess. I covered some pretty serious hits and scratches in the rocker panels. I did black to match the newly added blueberry bumper my son and I installed on Monday night.
Tried to reindex the tbars but they are stuck solid. I'll have to gnaw on those for awhile. I had to button it back up for today.
View attachment 1337605
It is, just takes a little time to grind off the OEM brackets and paint the trim.Please tell me the Slee BB is a reasonably simple install?
Please scroll down I posted an answer not hit reply, like a noob.Please tell me the Slee BB is a reasonably simple install?
I have a 5 week wait before it arrives, replace the ARB Sahara Bar with a Slee, can't wait - never seen one in person though, so a little anxious.
@MattThompson Is that wired with the fogs, or independent?
Replaced the worn out OEM battery terminals with military style terminals and extensions from Slee. Also gave her a bath, detailed the interior, and aired up all the tires. Make sure to check your spare!
View attachment 1338204
Thanks CMCK, happy with the 2 banana outcome.I think it is a two banana job.
Here's my thoughts:
First the instructions are good and make sense as your doing it. I used an air cut off tool and air grinder which were small and able to get in close. I would take more time in marking the end of the frame rail for the bracket cut off next time. The more clean and tight the cut the less grinding it needs to get it flush. Have some primer and black paint at the ready. I went thru 2, 1/2" drill bits and not low quality ones. I recommend oil as a lube and not starting after 9:00pm like I did or you can't run get another one from the store in your buddies car.
Last and not least it is heavy (the winch was inside) and you have to hold it vertical (it wants to tip wings up) as you slide it over the frame rails. I did it with my son and we had stacks of 4x4's making it a short lift. We had the top bolts at hand to put in the top quickly. That was a really good idea he had. Even with that, the number of lifts is not to be under estimated. Do the cutting and grinding then get the guys (more than 1) to come over for the lift.
It's a great bumper, make it a gathering, not a chore.
if it doesnt let me know hahahahaOh yeah! Hate to get rid of my '06 but wth the low mileage, 1 owner, diligent maintenance, and rust free...I couldn't say no. I just hope white grows on me!
Replaced the worn out OEM battery terminals with military style terminals and extensions from Slee. Also gave her a bath, detailed the interior, and aired up all the tires. Make sure to check your spare!
View attachment 1338204
That is a massive battery. I have two in that spot! Clean looking installation. Do you have a write up somewhere on what you have going on there?
Looks good! I've been debating doing this to my wheels as well until I get new ones. Any more pictures of it?

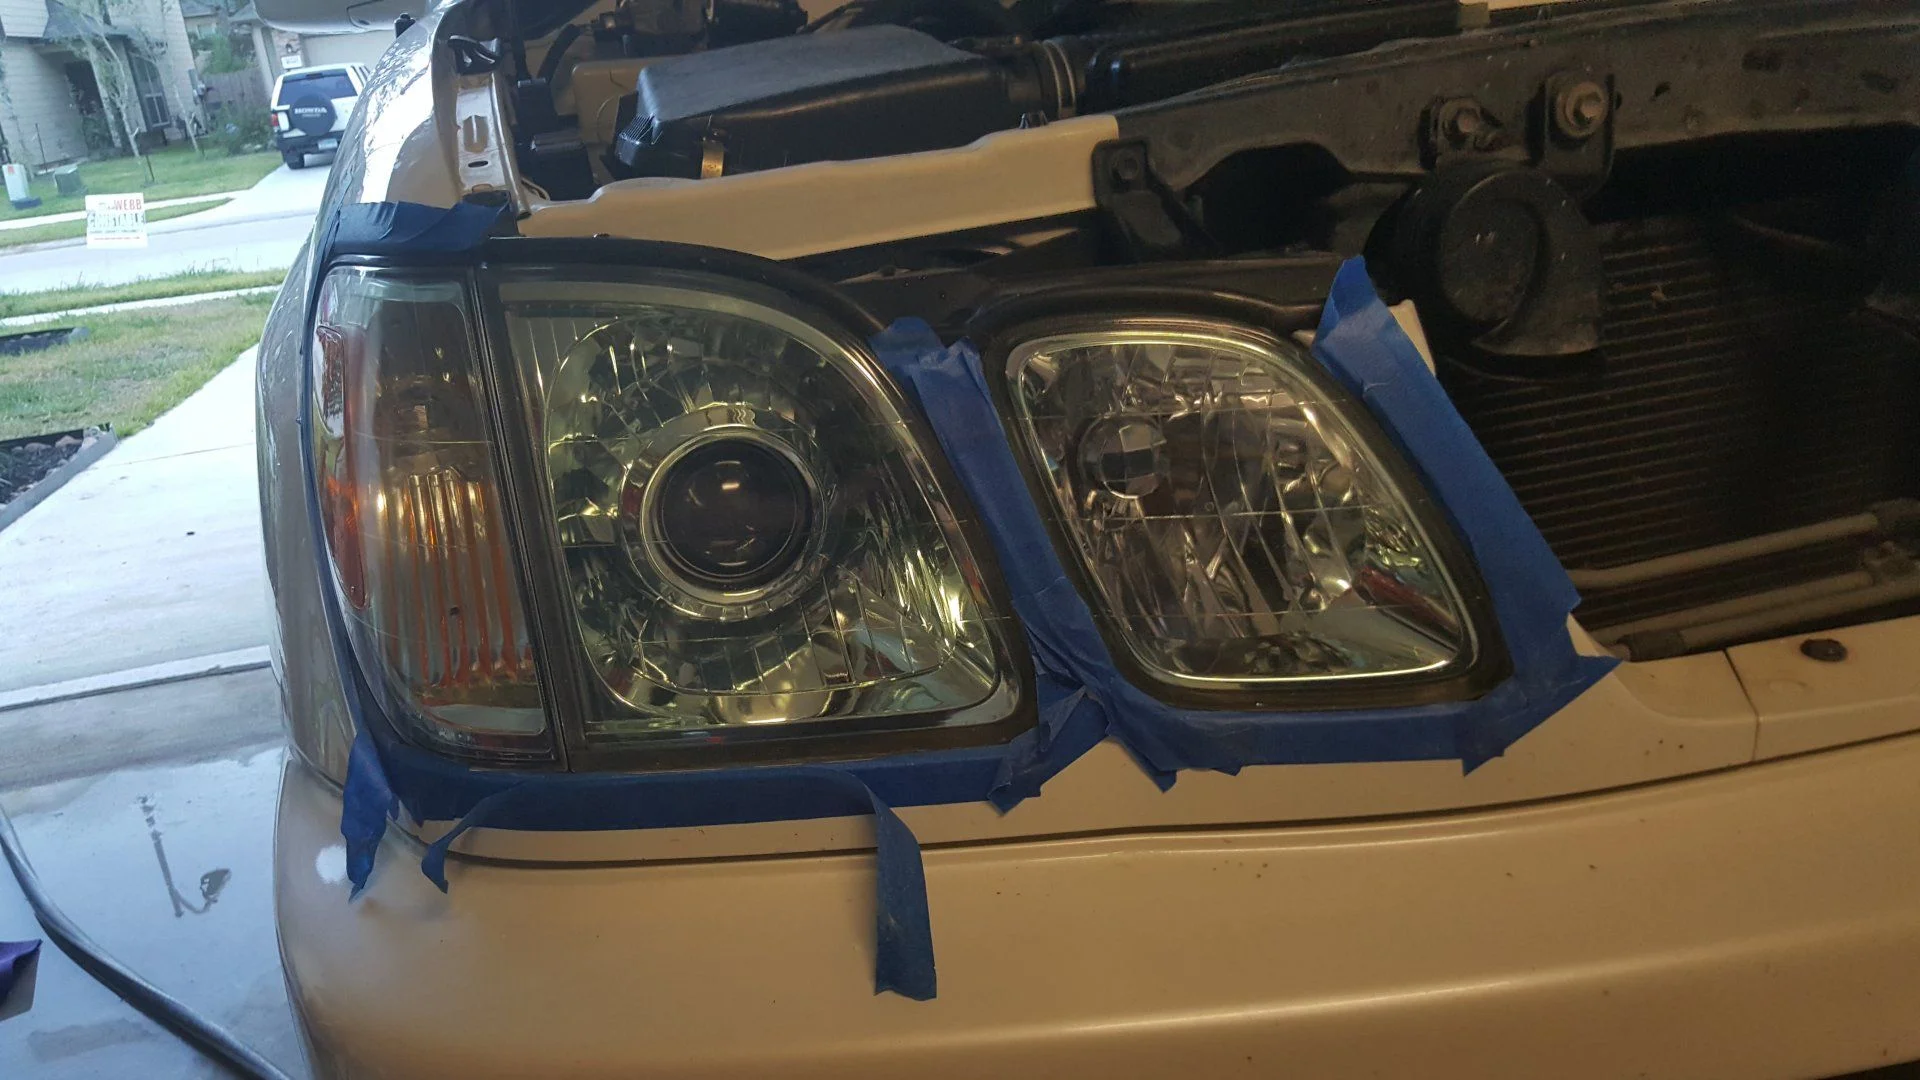
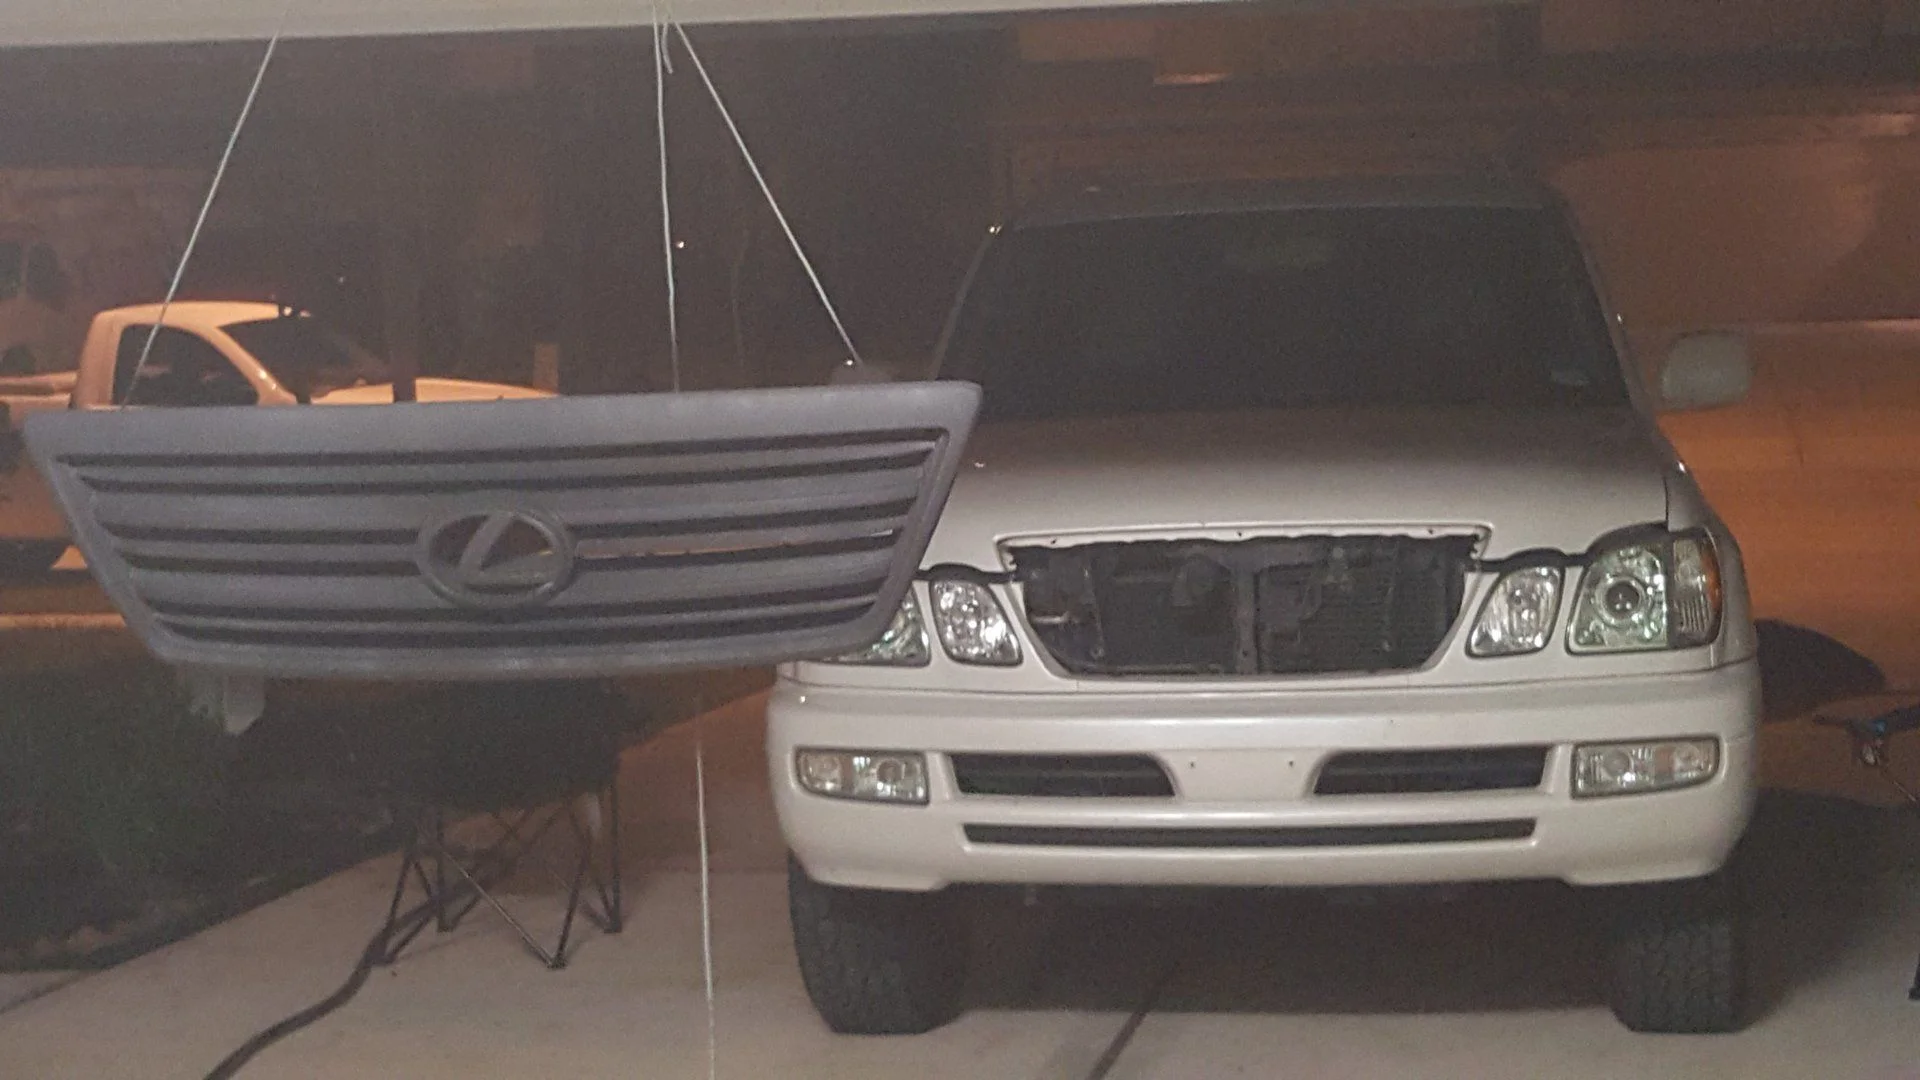
 headlight lenses and plastidipped the grill. Thought it turned out ok until I walked around the back and got blinded by the rest of the chrome. I guess that's what I'm doing tonight.