Summary of an Aftermarket Tachometer installed on fzj80 (1 Viewer)

This site may earn a commission from merchant affiliate
links, including eBay, Amazon, Skimlinks, and others.

Joined
Mar 14, 2020
Threads
19
Messages
484
Location
california
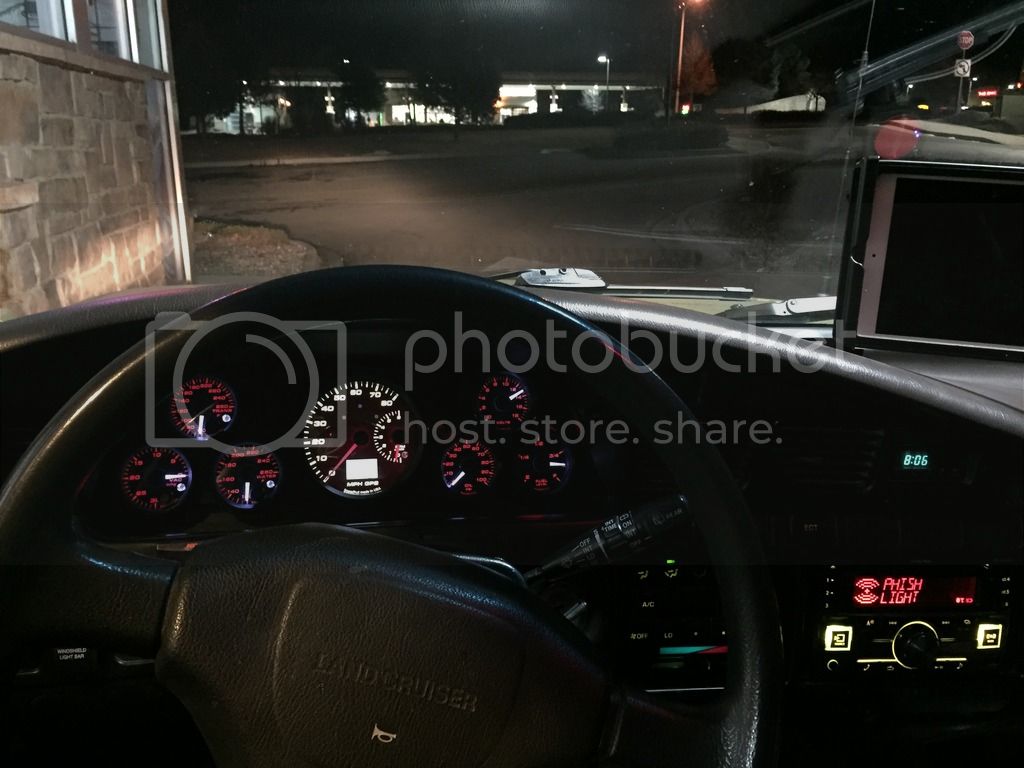
My 1993 fzj80 factory tach quit working and as a quick fix I purchased a Bosch Sport II.
Tools:
Electrical tape
Wire stripper
Exacto blade
Nose pliers

After identifying the blk cable with white is the negative of the Ignition coil (thanks to Johnheld). I then removed the connector and stripped the cable to expose the bare wires.
20201003_164836.jpg
20201004_095704_HDR.jpg
20201004_095320.jpg


I then took the green cable of the Tachometer and intertwined the bare cables together.
I used electrical tape to secure the splice and attached it back onto the coil.
20201004_095704_HDR(1).jpg
20201004_100111_HDR.jpg
 
Last edited:
20201004_100311_HDR.jpg

After installing the connector back onto the coil, the white, blk and red cables from the Bosch will need to be worked on.

The blk cable is grounded anywhere on the kick panel.

I used the CIG fuse to connect the 12v onto the RED cable.
The WHITE cable is connected to the TAIL fuse for the back lighting.
20201004_100710.jpg
20201004_095056.jpg


You can now turn the ignition on and test the Tachometer.
20201004_095138.jpg


This mod only took me around 30min. Hopefully this write up will help someone needing to install an aftermarket Tachometer.
 
Last edited:
I then took the green cable of the Tachometer and intertwined the bare cables together.
I used electrical tape to secure the splice and attached it back onto the coil.
If it were me, I'd make this repair/splice just a little bit more permanent, and waterproof then just relaying on a few wraps of electrical tape to do the job. I'd use a crimp on, heat shrink, solder seal waterproof sleeve connector.

First you crimp on the connector, then you apply heat to the connector, that heats up the solder causing it to flow, then it heats up the glue inside the shrink tubing, then the tubing shrinks around the wires making a strong waterproof seal.
1601862731931.png
 
Last edited:
Any reason you chose not to fix the factory unit? To me, the aftermarket one looks out of place.
 
Any reason you chose not to fix the factory unit? To me, the aftermarket one looks out of place.
I took.a chance on a $75 replacement cluster from a yard and that too did not work as well. I did combination of swaps of the Tach faces on both clusters and determined it could be the Tach itself on both clusters that is broken.
The used replacements looked like it has been tempered with and the oil and the temp gauges was not working.
Since I had nothing to do over the weekend, I just installed the external Tach. Till then, I figured I could wait for a good deal on a known working cluster to be on the market. And plus it was a cheap band aid.
20200928_145028.jpg
20200928_145017.jpg


Since this will not be a permanent fix...there is really no good place for a temporary location. I used a 26" valcro strap to tie it down against the steering column......i did not want to drill holes.
 
Last edited:
I took.a chance on a $75 replacement cluster from a yard and that too did not work as well. I did combination of swaps of the Tach faces on both clusters and determined it could be the Tach itself on both clusters that is broken.
The used replacements looked like it has been tempered with and the oil and the temp gauges was not working.
Since I had nothing to do over the weekend, I just installed the external Tach. Till then, I figured I could wait for a good deal on a known working cluster to be on the market. And plus it was a cheap band aid.
View attachment 2456090View attachment 2456092

Since this will not be a permanent fix...there is really no good place for a temporary location. I used a 26" valcro strap to tie it down against the steering column......i did not want to drill holes.

Great write up, did you ever find out what the issue was?
 
I went a different route with my whole gauges setup after I got frustrated having swapped 2 clusters trying to find ones that worked.
IMG_0505_zpsyblp5jqw.jpg

My custom gauge setup
 
If it were me, I'd make this repair/splice just a little bit more permanent, and waterproof then just relaying on a few wraps of electrical tape to do the job. I'd use a crimp on, heat shrink, solder seal waterproof sleeve connector.

First you crimp on the connector, then you apply heat to the connector, that heats up the solder causing it to flow, then it heats up the glue inside the shrink tubing, then the tubing shrinks around the wires making a strong waterproof seal.
View attachment 2456057
This is a great method for connecting 2 wires that you mentioned.
But what I had to do was to tap onto the cable of the coil by intertwining the gauge wire so it will get the signal for the RPM.(you definitely don't want to cut the coil wires)
And it was supposed to be temporary for easy de-install.
 
Last edited:
Nice write up but it's an automatic. I don't think anything bad will happen if it stayed broken. Just saying.
Maybe OCD but I like to know my RPM when crawling and driving. It will let me know if something is off by knowing where the RPM should be sitting at certain speeds.
 
Read your write up....wish I had your skills.
I only have these skills because of my land cruiser. The previous owner hacked up so much of the harness that I replaced it all when I rebuilt my engine in 2016. At that time electrical stuff was voodoo magic to me, I was just focused on 'not letting the smoke out'.

Only because I had to learn so much about it to fix my car did I realize how cool and straightforward it all is.

So you can do it too, just try.
 

Users who are viewing this thread

Back
Top Bottom