Have 5 steel OEM steel wheels that needed to be cleaned up and painted.
Sand blasted them the remove the rust and to get down to a good base. Ground the dents the knobs from the outed rims. Most of them where pretty good. The outside edge thad the most minor dents. The inside edge had almost none.
Little in of heavy rust pitting on the bead edge of some, hopefully with paint the tubeless tire will seal well enough.
Had to think of away to paint all of the three surfaces with out touching the wheel surface. This is what we came up with. A few pieces of 1" diameter hardwood dowel and a few 2x4's screwed to the sawhorses. Used a couple of small washers and a wood screw to hold them on to the jig. Worked pretty well except for the blister on the left hand from turning them.
Have the 2 part etching primer on them now and have 7 day window to apply the top coat without sanding the primer. The primer is just about the same colour as the the top coat to come.
Took just under 1 litre of primer to give them two coats. Have about two litres of topcoat so should be able to give them two or three good coats, with some left over for other parts. Not too thick and not too thin. Maybe 5 to 6 mls when all finished.
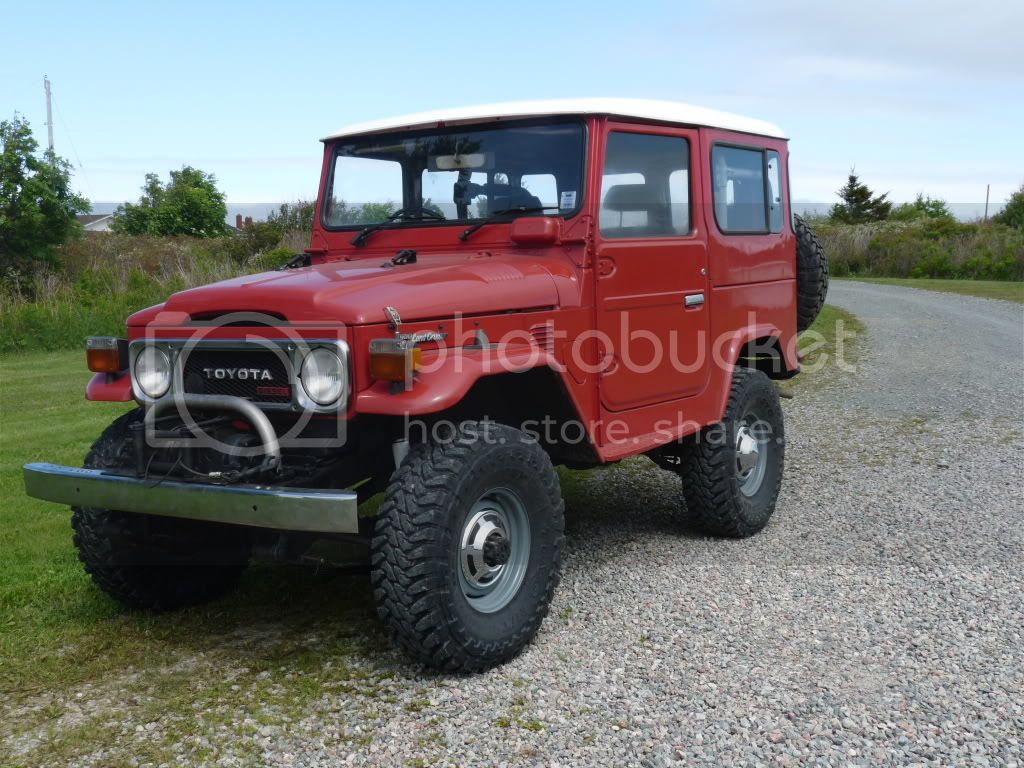
Going to mount 33x10.5x15 BFG mud terrains on them.


Sand blasted them the remove the rust and to get down to a good base. Ground the dents the knobs from the outed rims. Most of them where pretty good. The outside edge thad the most minor dents. The inside edge had almost none.
Little in of heavy rust pitting on the bead edge of some, hopefully with paint the tubeless tire will seal well enough.
Had to think of away to paint all of the three surfaces with out touching the wheel surface. This is what we came up with. A few pieces of 1" diameter hardwood dowel and a few 2x4's screwed to the sawhorses. Used a couple of small washers and a wood screw to hold them on to the jig. Worked pretty well except for the blister on the left hand from turning them.
Have the 2 part etching primer on them now and have 7 day window to apply the top coat without sanding the primer. The primer is just about the same colour as the the top coat to come.
Took just under 1 litre of primer to give them two coats. Have about two litres of topcoat so should be able to give them two or three good coats, with some left over for other parts. Not too thick and not too thin. Maybe 5 to 6 mls when all finished.
Going to mount 33x10.5x15 BFG mud terrains on them.

")