My 40 build tread (sloooowww)

This site may earn a commission from merchant affiliate
links, including eBay, Amazon, Skimlinks, and others.

More pics, working on the lids for the box.

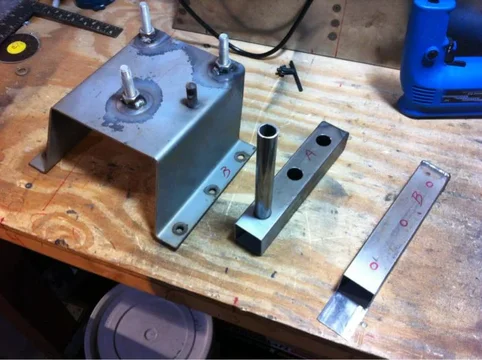
A little advice: measure everything 10 times before bending and cutting
IMG_2582.webp
IMG_2785.webp
IMG_2790.webp
 
I work on my projects little bits at a time during my lunch at work! We are a full restoration shop for classic jaguar and other British sport cars ( although we do a lot of other stuff like Vettes Mustangs Porsches)
So I just use the equipment we have over there. In the case of sheet metal I use the braker to bend it.
I don't like to rush so I just take my time and have fun building my stuff! And believe me, I have a long list of projects to tackle! Don't we all?!?!?
 
I used the whole gallon of bed liner inside the tub! I think it was about $60! I got rid of all surface rust, scuffed the surface a bit so it have something to bite and wiped down with wax and grease cleaner. It's not thick and heavy duty like the stuff you pay for somebody to spray but also it didn't cost $1000, that's about what would cost around here!
 
Great looking project and welcome!

.....As you all can see I like pics of work in progress....

If you hang around here long enough, you will know that we really like pics of all the progress. I can tell by this console that you have some skills. Take all the pics you want of progress and post them because there are a lot of us that don't have those mad fabricating skills and the pics are very helpful. Again, welcome.
 
Thanks! I'm no fab wizard! I just enjoy doing this kind of stuff and have fun with it!
I keep telling myself I should've listened to my mom way back then n I would probably have become an engineer or something! But NO, I had to go out n play!
I'm 35 by the way!
 
Here we go!!!

It's finally friday nigh!!! Wife is doing a bonus shift until 11pm, kids are sound asleep!
What do we do?????

GARAGE TIME!!!!!!!!
 
just so nobody says I haven't done anything

Got kind of sick and worked on my trailer tear down for few hours on sat but sunday was a complete waste! Nothing at all!

Oh well, I'll try again next weekend!

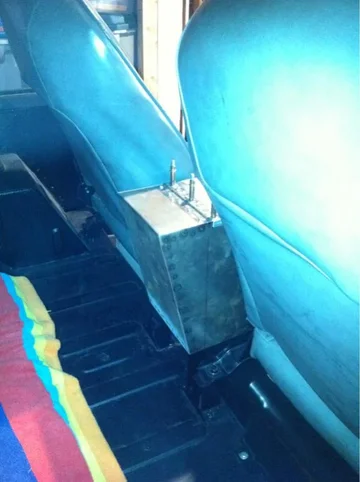
Here are some pics of my console in place.

Plenty of room for shifting and arm rest hight! I just don't think I want any padding on the top!

Also no cup holders on it!
IMG_2946.webp
IMG_2957.webp
IMG_2955.webp
 
A bit of an up date on my 40 build! End of the year is always tough! There is always a lot going on but I've managed to get some little things done here and there!

image-1780740970.webp

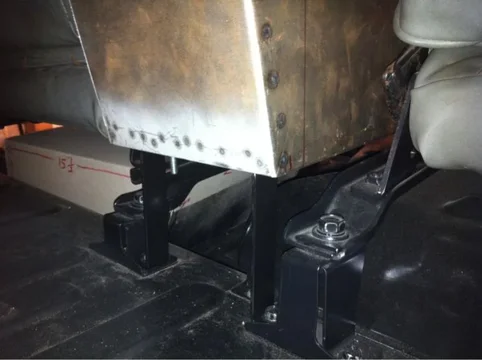
The rear of the console lines up with the back of the driver seat.

image-1920075815.webp

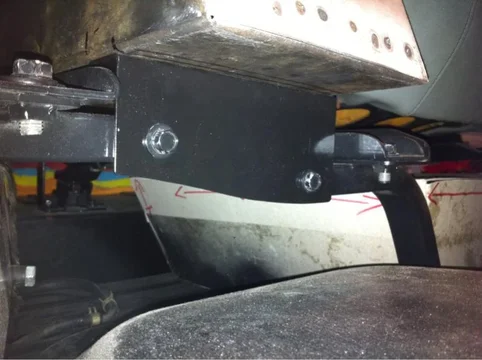
Made a bracket out of 1" strap that mounts on the same bolts that hold the seats! No drilling!


image-3235652640.webp

Again no drilling, used the captive nuts on the front seat bars! Just made a L shape bracket and done!
image-1780740970.webp
image-1920075815.webp
image-3235652640.webp
 
I like the center console. I have plans to do one myself. Your gave me some good ideas
 
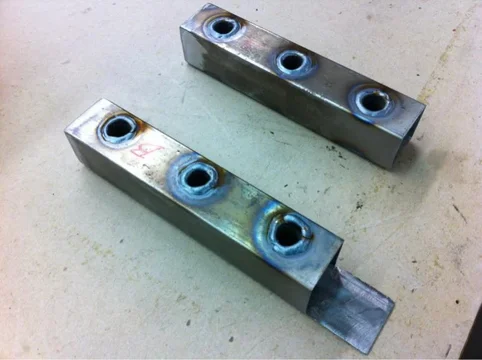
In order to slide my camping gear box out the back I need to swing the rear doors all the way but i needed another inch or so!

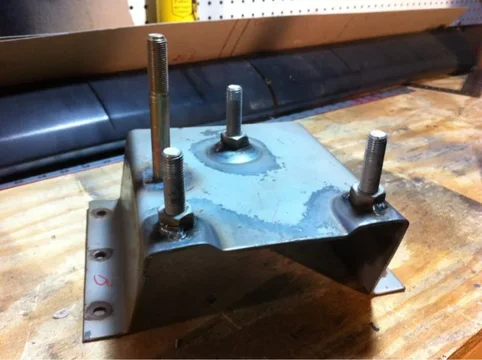
Well I decided first to make some extensions for the spare holder out of 1n1/2 square tubing! That gives me a bit more swinging on that side door when the tire is hanging there.


image-655582846.webp

Cut holes for the bolts and then cut some round tubing to go inside for strength.


image-1172068967.webp

Round tubes done.

image-3181500530.webp

Decided to go ahead and replace the lug studs with new ones and a grade 8 new bolt for the lock stud! Will cut it down!

image-2392332145.webp

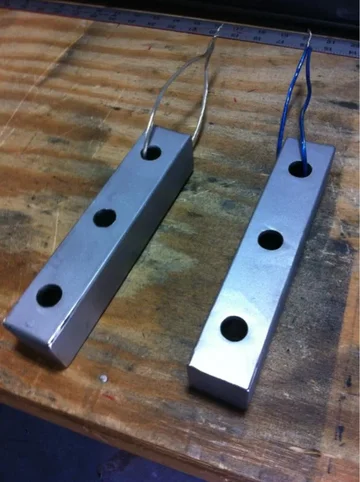
The ends already boxed,

image-2986667844.webp

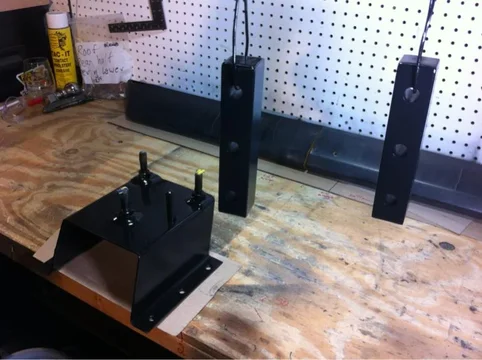
welds smoothed out and all clean for some paint!

All done!!!
image-2677780753.webp
image-3141825801.webp
image-655582846.webp
image-2712047634.webp
image-1172068967.webp
image-3181500530.webp
image-2392332145.webp
image-2986667844.webp
 
I guess I tried to upload too many pics at once and the went out of order but you guys can get the idea!
 
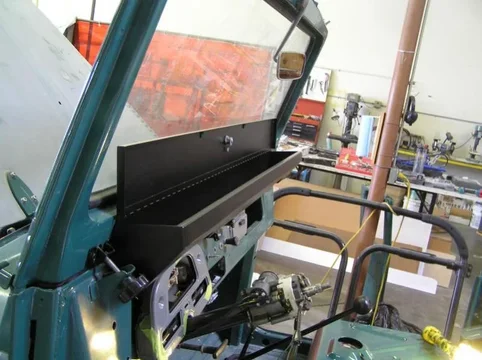
The other day wile browsing through the forums I saw some pics of this dash box that works as a storage compartment and right way I knew I had to have one as well!


image-1389166343.webp
The one I saw!


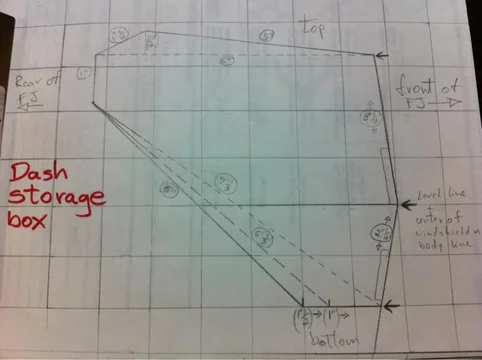
The padded dash on my 40 is shot and like any other 40 owner, I could used a little more storage space! Since they cost around $300 and I freaking love projects I decided to build my own!


image-1817749840.webp

As always, do it on paper before cutting any sheet metal!
image-1389166343.webp
image-1817749840.webp
 
Back
Top Bottom