Build Cruiser Patch 2003 LX470 Build Thread

Member Builds and Stories

This site may earn a commission from merchant affiliate
links, including eBay, Amazon, Skimlinks, and others.

cruiserpatch

Supporting Vendor
Joined
Nov 24, 2020
Threads
140
Messages
1,405
Location
Atlanta, Georgia
Website
www.cruiserpatch.com
That's right we got another one.

Figured I should break into the mid-late 100 series model years to be able to develop products for them and test fitment etc.

This one will primarily serve as the wife's DD but will also be a sleeper build.

So far I've baselined it (see list) but will be upgrading things as time allows.

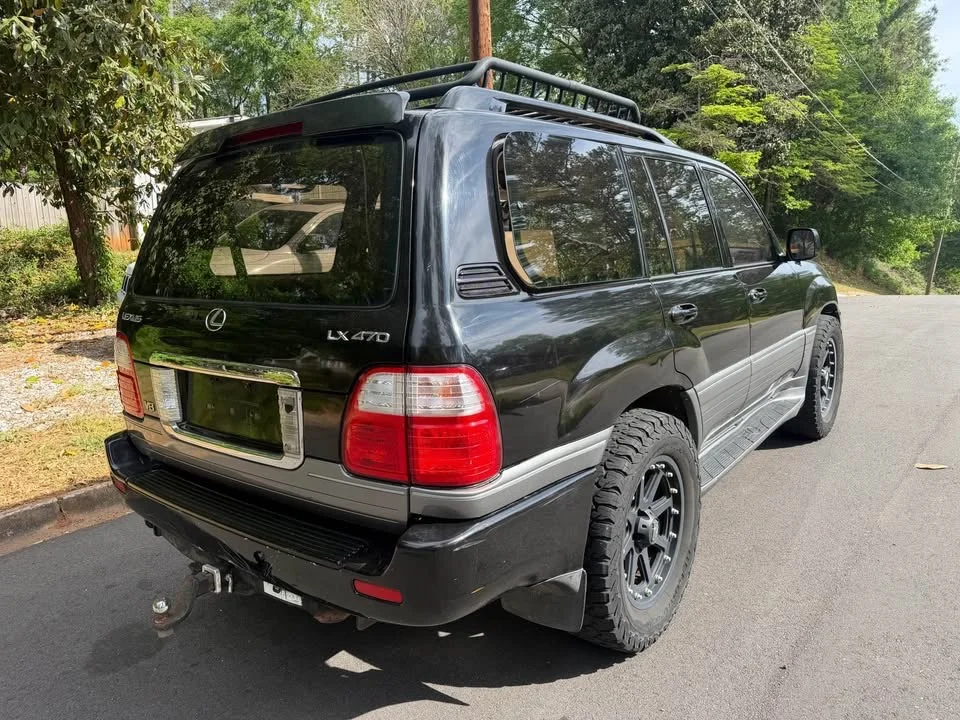
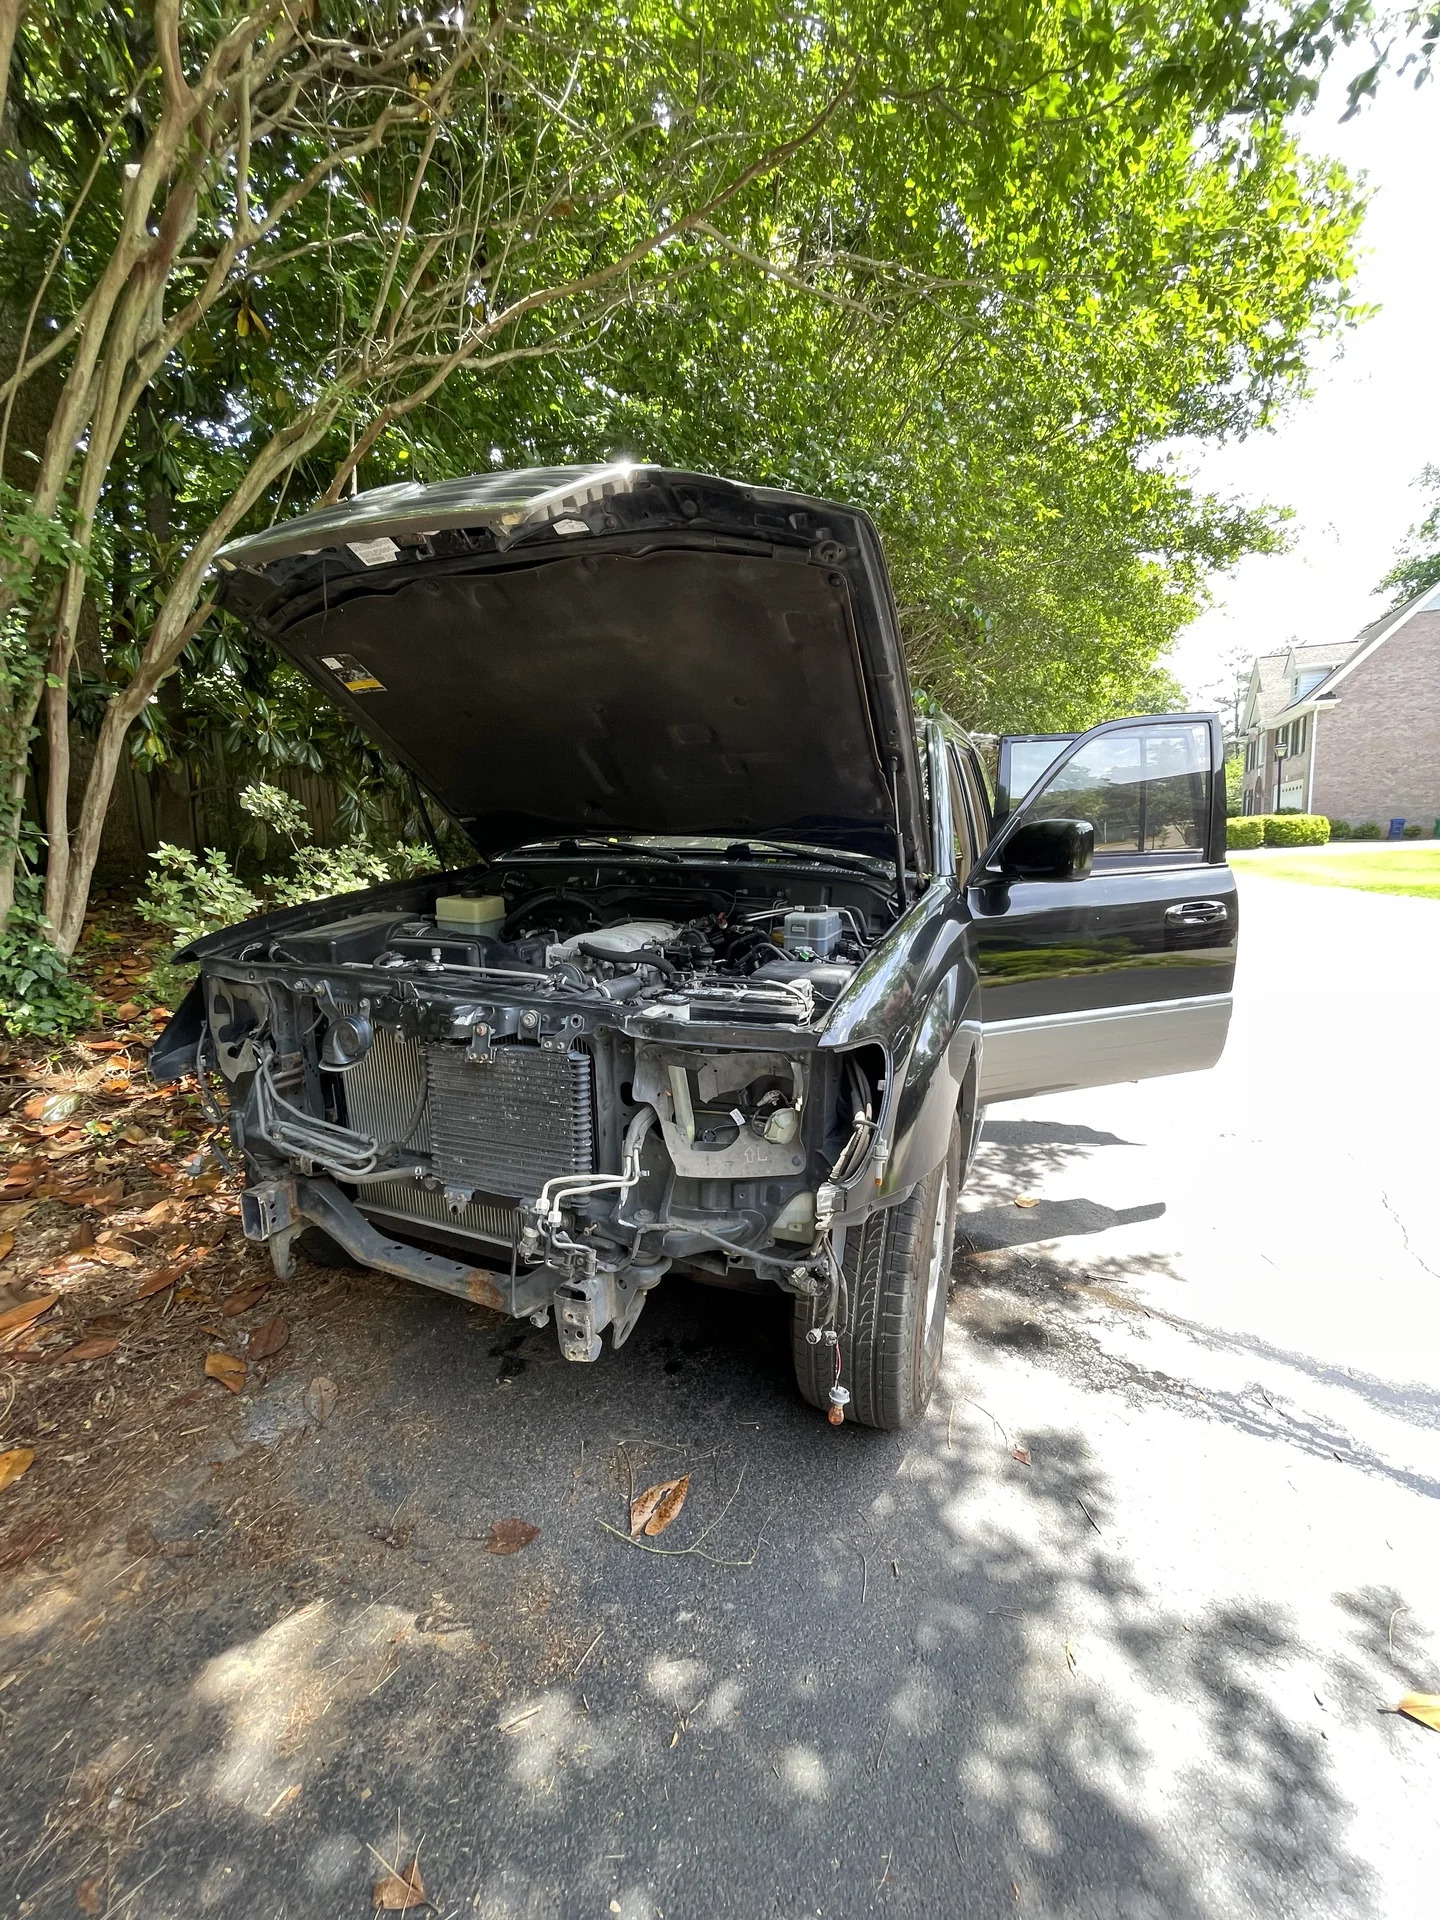
184,000 miles with some rust, a terrible paint job (looks good from 10 feet), horrible body work and a whole host of other problems. Perfect. Paid $5,800 for it which was too much in hindsight but how would I have known the AC compressor would fall off? What a POS...

Maintenance and repairs:
  • Brass heater tees
  • Condenser replaced & several AC lines
  • AC compressor was not tightened to engine block. Fixed that
  • Replaced leaky aftermarket exhaust parts & muffler w/ used OEM
  • Replaced steering rack with 44250-60100 LC rack and Cruiser Patch claw washers
  • Replaced motor mounts
  • Replaced outer tie rod ends
  • Replaced fuse box lid gasket
  • Replaced idler pulley with NSK
  • Replaced tensioner pulley bearing
  • Replaced front wiper blades with OEM
  • Replaced cabin air filters
  • Replaced engine air filter
Mods:

Image 2.webp
Image 1.webp

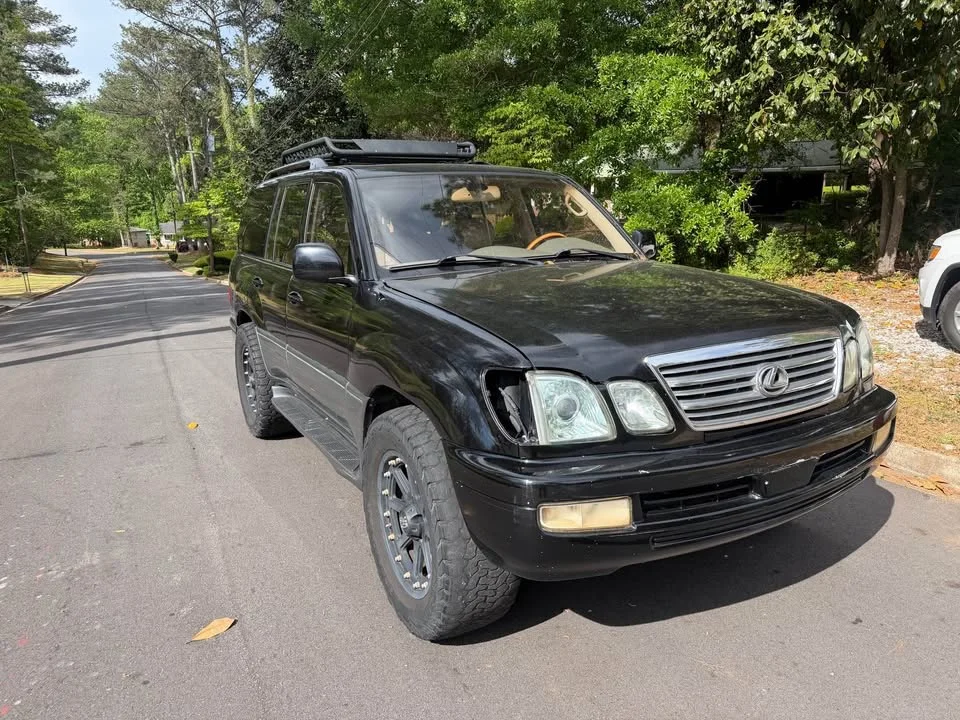
Removed and sold wheels and tires immediately. +$650
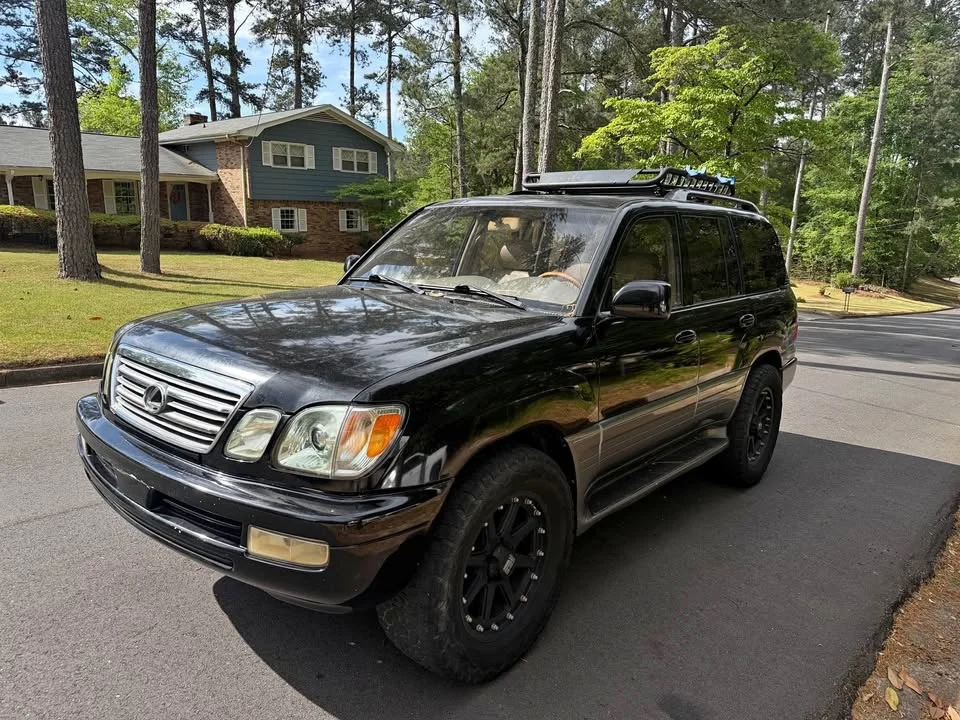
Image.webp

Sold roof basket +$100

IMG_4580.webp

Began body repair work. What a mess....
 
Last edited:
The previous owner or whoever he hired to flip this thing did some of the worst body work I've seen- ever.
Not a good thing coming from me. I use a sledge hammer to repair my truck hahaha

IMG_4544.webp
IMG_4547.webp

Pretty sure that wire is structural

IMG_4568.webp
IMG_4569.webp

Oh look another one! Why use fasteners when you can just tac everything in place and not paint it?

IMG_4633.webp

wtf...and it didn't get any better
 
IMG_4545.webp
IMG_4546.webp

Structural zip-tie. That broken bumper would stop a direct impact. I'm sure of it

IMG_4565.webp

Pretty quickly I realized how bad the situation was. It would need a lot more than just a touch-up.

I could tell the frame rail was bent just by looking at it. The x-member had taken an impact crushing the condenser but somehow not the radiator? The trans cooler was bent but not leaking. I've left it alone.

IMG_4581.webp

The RH #1 body mount was under a lot of strain from the bend.

IMG_5396.webp

I used a bottle jack to push the frame rails back to factory width then cut out the bent section and welded some 3/16" square tube in place of the crossmember. Not perfect but so much better. Relieved tension on the body mount and got things back where they should be.
 
IMG_4749.webp
IMG_4759.webp

I've had a few parts trucks lying around which was part of my logic for buying this one. I knew I could source things to fix it up but didn't expect I would have to go this deep. No matter. Onward.

IMG_4757.webp
IMG_4750.webp

A few cans of black paint later...no one would know the valance was ever green.

IMG_4978.webp

See if this fits...ah! Yes perfect fit. Now to make a custom wire harness for it...and add a hole for the fluid level sensor.

And throw on a 1" body lift...
 
Nice job saving this one. Congrats to Charissa! I hope she loves it.

Will we be seeing it in TN this month?
I bought it for her and initially she didn't like.

Then I cleaned it up a bit and she's all over it. I got excited and thought I might have another wheeling rig project for a second there haha

TBD if it will make the trip to COTR or not. The front diff was seized when I bought it so it's been in RWD since. Probably won't have time to get the ARBs and 4.30s in before then...my goal was to have it ready for next event season (thinking GSMTR as the debut).

IMG_4640.webp
IMG_4628.webp


The carpet was in need of some love as they all are.

IMG_4637.webp
IMG_4753.webp


Has a little rust here and there so I've been cleaning it up as I go.

IMG_4755.webp

Deleted the DVD player
 
Nice work, Patch. I will be following along with hopes that I get a clean, stock 100 for the missus.
Love the Vidal front, nice and lightweight, with lots of hole patterns to mount a radio, lights, winch etc.
I did make a Badlands 12k winch relocation kit when I did this bumper with a 3d printed box.
I feel like our trucks are similarly built lol
 
Valve cover gasket and spark plugs today. Original VCGs and plugs also seemed pretty old.

4 of 8 plugs were only finger tight. Feels good to prevent catastrophes

IMG_5625.webp

Old plugs were DENSO SK20R11 which is what they got replaced with. Old plugs said "assembled in USA with Japanese parts." New plugs said "assembled in USA with foreign materials." Probably all the same but who knows?

IMG_5622.webp
IMG_5624.webp

RH & LH covers were totally different where cleanliness is concerned...when I did this on my 1999 both covers looked like the LH (dirty).

IMG_5623.webp


This truck may be a total beater rust bucket but at least the motor was taken care of along the way.
185,093 miles

IMG_5626.webp

Buttoned back up with new hardware. Might replace the PCV valve might not. Hoses are definitely a bit crusty.

VCG kit
PCV valve kit
 
Also pulled the running boards off in preparation for a visit to @Chippiepooh

IMG_5621.webp

(water accumulates in the RH rocker panel. the pinch welds are a bit rusty in spots and therefore blocked/clogged)

IMG_5627.webp

Had been leaving an oil spot in the driveway which prompted the VCG job. Also smelled oil burning on the exhaust at times. Unpleasant
 
The oil leaks seem to have kept the front cross member nice and solid though!

I attribute oil leaks to the pristine condition of the underside on my 85 diesel Benz. Not a spec of rust under there after 40 years and 360k miles.
 
Last edited:
Not a spec of rust under there after 40 years and 360k miles.
Unfortunately this one was not spared. Chipping it for 37s right now and have been forced into some rust repair “while in there”

Turns out it’s a good thing I’m cutting holes in the body 😂

“honey, this IS maintenance”
 
Drilled out all the pinch welds on the inner fender and tucked the engine bay by about 1" all around.

Also cut out a large rusty section which happened to be the area of rocker that would've needed to go anyway.

IMG_5629.webp
IMG_5628.webp


On my 1999 I used rivets to fasten the sections of engine bay back together but I decided to weld this one. Much more solid

A little more hammer work and it'll be G2G on the driver's side.
 
Did you use a BL?
Just a 1" but yes. Used 1" on my truck and this one. Sweet spot IMO. Still a lot of work but not nearly as much required.

2" might save you from having to cut into the engine bay but the rocker would still need to be chopped and capped if the caster is setup correctly

IMG_5305.webp


Ignore the toe but here are my current alignment numbers for this 2003 LX. This is with the SPC UBJ in the "B" position so theoretically there's more caster to be achieved. (Sheet is for 25455 but the arms are the new 35455)

IMG_1026.webp


EDIT:

So besides the pinch welds, do you also need a body lift in order to fit 37s?

BL is not needed to fit 37s but you'll have to cut a lot more into the firewall, engine bay, and body overall to make them fit.

.5" BL gets you well within easy install for tall 35s or 36s with some mods to the pinch welds.

1" BL gets you closer for 37s but still have to chop about 2-2.5" into the rocker and tub the inner fenders/engine bay. Also have to cut the outer fender which I haven't done yet.

Relocation of the washer bottle is also necessary to fit anything bigger than a 35

*this is all assuming you're not limiting up travel in the front. by doing so you're essentially limiting an already very limited suspension to even less travel- not worth it for larger tires. better to keep all the travel on smaller tires than lose an inch (about 1/7th of total wheel travel)
 
Last edited:
Back
Top Bottom