

Biodiesel Piggie #2 Buildup (was Sad Sad day...)

This site may earn a commission from merchant affiliate
links, including eBay, Amazon, Skimlinks, and others.

Anyway, crossmember is pretty good, not as 'clean' as the other stuff but I am happy with it...

Dude, you are high, that crossmember looks great! love to see how you made it, I will use those cutting techniques in the future for sure!

Noah
 
Wow. Your skills are excellent, and you have an acute attention to detail.

This is gonna be one sweet pig. Plenty of ideas to steal in this thread. ;)
 
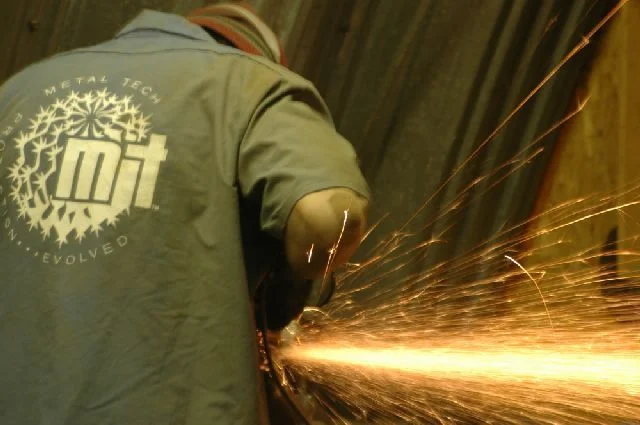
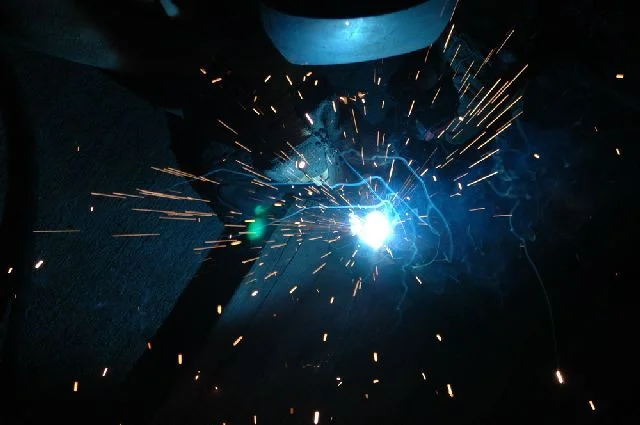
More updates.. Was down at the shop till about 1AM last night.. Pretty spent all day today.. Anyway, tried to get everything done and bolted in but spent some time helping my buddy get is Isuzu 4BD1T (which is also a killer diesel) running to put in his FJ62 which we'll do in a couple months.. I also forgot my camera but he had his... Took a bunch of trippy art like pics also that turned out pretty well IMO! I'm wearing a shirt that Mark Hawley from Metal Tech gave me...
attachment.php


attachment.php

Sweet photos. I'm digging this project, certainly are chugging along on it.

Going to be ready for Moab? If not I'll probably have an open seat available in my 40.
 
Uh.. Moab? Boy I wish, maybe next year LOL... Anyway, great, see you guys down there..! I sent Mark a whole bunch.. Mark sent down that shirt last summer and I sort of use it as a fab shirt over my regular stuff.. I just washed it again a couple weeks ago and broke it out again.. Cheers LT, :beer:
 
Not too much to report.. Sort of went down, did a little lollygagging, not too much work.. I have been meaning to start cracking on more body mounts.. I only have 4 so far.. I already had two more fabbed, just had to weld them on.. So did that...

First pic is all of my misc body mount parts.. Been storing them since before the move..

Second is the mount. I marked and drilled where the holes should be...
SM_Picture 005.webp
SM_Picture 007.webp
SM_Picture 008.webp
 
Here it is tacked and in place.. Did both sides, only took pics of one side.. So I have 6 body mounts done for now. Probably another 2, possibly 4 in the back, and I will done with those and I think more or less done with frame mods, I think...

These were not "necessary" and there were not body mounts here originally.. Instead where the little stud (first pic) was, sticking out of the bottom of the body, were some rubber isolator pads. They were sort of like supports not attached to the frame, only lightly screwed to the body...
SM_Picture 010.webp
SM_Picture 011.webp
SM_Picture 013.webp
 
Then here is the really good news.. Finally got around to doing a compression test.. This is something I was really paranoid about. Last thing I wanted to do was a rebuild, also for $$ purposes besides that I have never done one before, and last thing I wanted was for a piston to seat wrong or something like that after time and $$ on a complete rebuild...

I posted a couple threads about it a month or two back on different forums...
http://www.4btswaps.com/forum/showthread.php?t=276
http://www.turbodieselregister.com/forums/showthread.php?t=176987 (may not be viewable to guests? Can't remember how it works over there)...


Anyway, about 350+ pretty much across the board.. More details on numbers here:
http://www.4btswaps.com/forum/showthread.php?t=509


Used a cheapo harbor freight compression tester. Bad news is we also redid Bill's Isuzu 4BD1T and he is low (less than 200) on #1 cyl only... His motor is a recent factory Isuzu rebuild, very clean and low mileage.. Means that a piston ring didn't quite seat right or something like that, probably.. Bummer for him :frown:

Anyway, the tools/parts.. Gauge lightly deflated here so that is why it is reading about 320 instead of about 350 that I was getting on that cyl... I have to do a head gasket regardless, so it is going to get that, valve check possible grind, all new bearings while I am in the oil pan regardless, and all new gaskets.. But is a good healthy motor, as I figured because the bread truck ran really well and was quite peppy...

The compression tester I borrowed from Berg (thanks Ken) and was last on sale at Harbor Freight, for only $25 (which is a killer deal).. Contrary to popular belief and how they are marked, they actually do come with Cummins B series adapter.. Bottom right is the Cummins adapter...

:beer:
SM_Picture 016.webp
SM_Picture 018.webp
SM_Picture 022.webp
 
Last edited:
Just read through your thread and enjoyed every minute of it!! It was better than watching any reality show on TV!:cheers:

To bad you are not going to be able to take the pig to CM. I was looking forward to taking a peek at it.

Keep up the awesome fab work!!

Brian
 
Nothing too major unfortunately :( Things may begin slowing down again hopefully and I'll get some updates posted, especially now the spring is slowing down... That said I have been busy..

I have been helping my friend with an Isuzu 4BD1T lately who has to do a complete rebuild unfortunately.. Here is a thread on it...
https://forum.ih8mud.com/showthread.php?t=128585


Also, we redid the shop and have a lot more room now.. I sort of have 3 buds that have moved in with me in the shop which is nice.. So we took over half of the space... See how it goes, so far it has been busy so I havn't done a whole lot..

I am also doing a lot of biodiesel stuff lately including trying to become the sponsorship rep for several "biodiesel motorsports" projects.. Thinking about trying to maybe turn this project into a "biodiesel motorsport" project, get some funding for it, work full time on it with a goal of having it done by October, take to SEMA and maybe to the Baja 1000 as a support vehicle.. Then I sort of lose my "amateur status," LOL.. So I am sort of all over the place.. Anyway, as updates come I'll post.. Sorry for the delays...!
SM_Picture 141.webp
SM_Picture 145.webp
SM_Picture 147.webp
 
OK some updates...

Something I have been meaning to do for a while.. Cut out the firewall.. It drove me nuts last time having all of the air coming through the holes I wasn't using.. So this is an effort to do that. Also, goal is a super clean firewall once I do start drilling holes, etc...

First pulled motor...
SM_Picture 004.webp
SM_Picture 006.webp
SM_Picture 012.webp
 
Started cutting. Again used grinder with cutoff wheel. Third pic shows a tight little spot where I also had to do some tricky grinding from the inside. This shows the spot that normally supports the pedal assembly. That I will have to mimic when I fab up this section...
SM_Picture 013.webp
SM_Picture 016.webp
SM_Picture 020.webp
 
Again, the cut off wheel and my universal drill press / fab table, LOL...

Then, pic of it tacked in place.. this is as far as I got tonight. Again I might do all this after I get the body sand blasted at some point (still have a long way to go before then, but still slowly whittling away at it). Or tack all the pieces in for now. The tricky one will be the driver's side with the holes for the masters, steering, and gas pedal. Nothing too tough but some work there, I could probably spend a whole night on that one piece. I think I am going to use fairly thick 14 gauge there, very stout, nearly 1/8" thick..

The thing welded to it is a little handle to position the piece more easily...

:beer:
SM_Picture 038.webp
SM_Picture 044.webp
SM_Picture 048.webp
 
Back
Top Bottom