
So we meet again! I've been working on a lot of project on the new 84 60. Coming along great, if slowly.
I have the 60 torn down in my garage prepping the body for paint. While i was at it (can't drive it anyway - without doors, hood, fenders) i thought i'd finally get going on the damplifier install.
I started a few weeks back - working out some tips and tricks for getting the OEM tar mat out. Though i know folks have left it in, from what i gathered speaking with ANT (owner of SS) it will have better dampening (quieter) if stuck to bare metal.
Here's the "how do i..." thread for some tips/tricks on the tar mat removal:
https://forum.ih8mud.com/60-series-...r-mat-sound-deadener-removal-tips-tricks.html
And my measurements were done w/ a cheap-o used Radio shack analog SPL meter. Going down a smooth'ish stretch of I90 at 60-65mph. 70-80db (A weight) and 90-100db (C weight) .
.
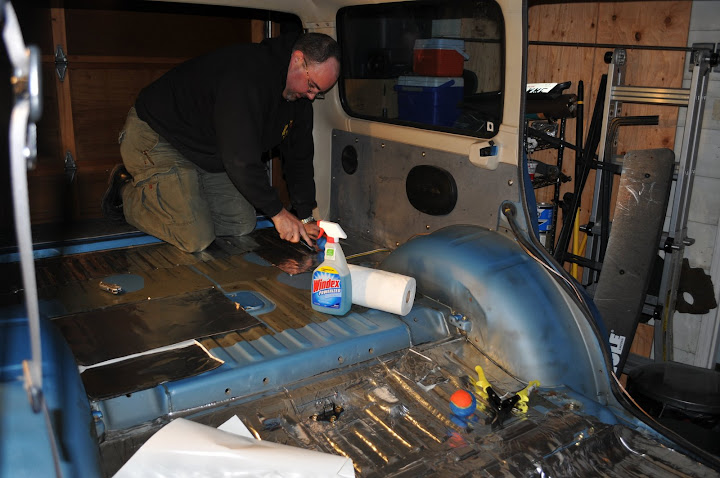
here is the start of the project - interior pulled out w/ factory tar in process of removal w/ dry ice/hammer/help from brother.
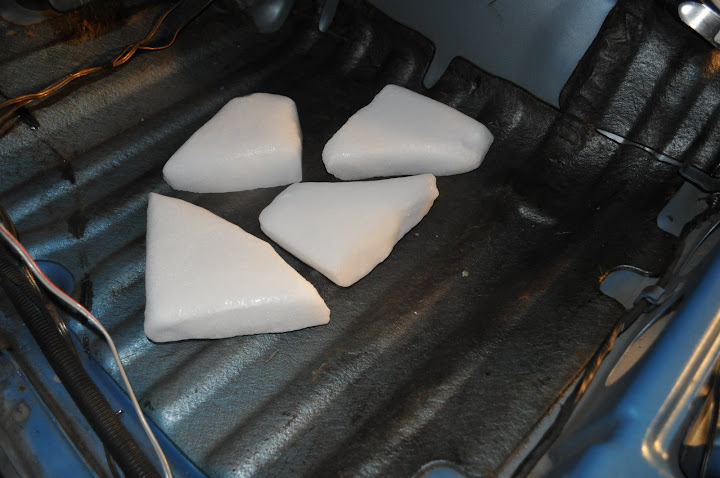
My bro was an ANIMAL when he got the hang of this. Set the 5lbs of dry ice on a section for 2'ish minutes, then move and hit with a hammer. It would come off in BIG pieces this way - most of the time just pickup w/ your fingers and move on. Sometimes need a screwdriver or chisel to get a tough spot or some leftover chips of tar mat.
We (ie my brother mainly) pulled it all in about 2 hours. If i were to do it again, i'd get TWO 5lb bags of the dry ice so you can swap it around faster between two people and let it sit 2-3min for best results (probably longer if it was warm to begin with). We had 45-50 deg weather all day, so dry ice didn't need 10min to work.
ice and hammer (harbor freight - harder plastic side worked great):
so - Before:

and - After:
fast forward through a bunch of other projects... Crazy amounts of work @ work, and pulling the body apart for sanding/prep for paint...
A few weeks go by and i finally decide i need to get this done. Pulled the crap out of the truck (set back in while sanding), and started cleaning/vacuuming. A buddy of mine came over to help last night after work. (family and good friends rock!).
He is fast! I spent the entire night cleaning ahead of him, or following and just nitpicking spots (pressing all edges down etc).
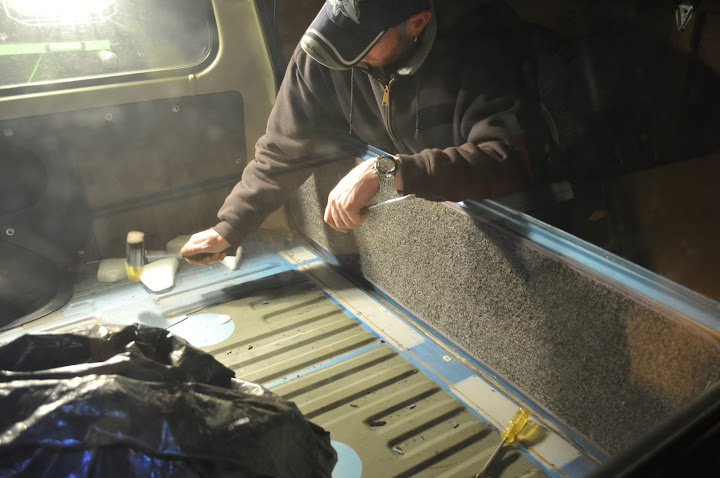
Starting out:
Both actually a bit into it and once we were getting the swing of it, but first time i remembered to grab some pics:
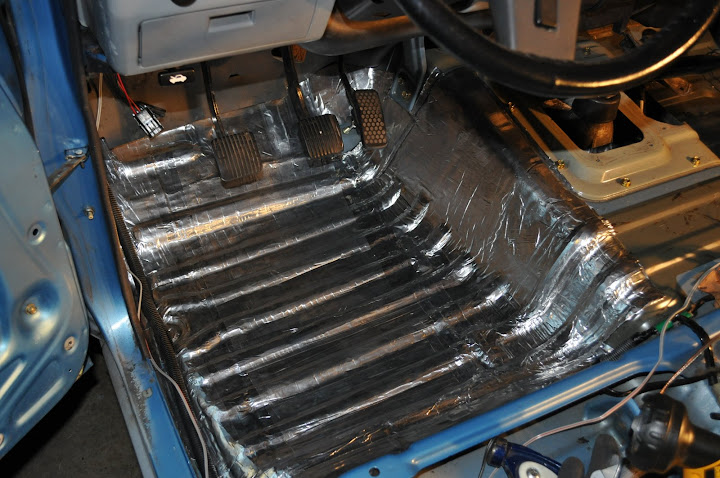
And just about done for the night (probably 3-4 hours hauling ass):
We have a full single layer over everything EXCEPT under the front seats. That will be next.
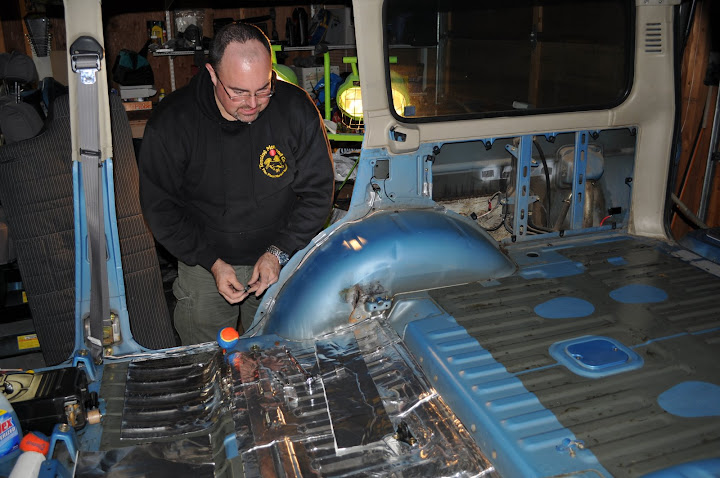
I'm doing 2 layers of Damplifier pro over the transmission hump (partially done), and rear wheel arches (done). Still need to do 3 of 4 doors, rear quarters, and rear gate.
in my quest to make this truck REALLY quiet (for a cruiser w/ offroad tires) - i am also looking at possibly shooting some liquid Spectrum deadener in spots i can't easily get at, and over trouble spots (arches, tranny hump, etc). Plus going to try using it as an undercoating in the wheel wells to sandwich deadener for best result.
Once that is done - i am going to lay Luxury Liner pro down where I can through the interior, under my new (hopefully soon to arrive) molded vinyl (replacing carpet).
So big plans and a LONG way to go!! But here's a start and i will try to update it as i go w/ pics. Let me know if you want any pics of something in particular or questions in general.
Almost forgot - tips for laying down the damplifier:
Thanks for all the help in the past - i hope this helps someone out in return!

rob
I have the 60 torn down in my garage prepping the body for paint. While i was at it (can't drive it anyway - without doors, hood, fenders) i thought i'd finally get going on the damplifier install.
I started a few weeks back - working out some tips and tricks for getting the OEM tar mat out. Though i know folks have left it in, from what i gathered speaking with ANT (owner of SS) it will have better dampening (quieter) if stuck to bare metal.
Here's the "how do i..." thread for some tips/tricks on the tar mat removal:
https://forum.ih8mud.com/60-series-...r-mat-sound-deadener-removal-tips-tricks.html
And my measurements were done w/ a cheap-o used Radio shack analog SPL meter. Going down a smooth'ish stretch of I90 at 60-65mph. 70-80db (A weight) and 90-100db (C weight)
.here is the start of the project - interior pulled out w/ factory tar in process of removal w/ dry ice/hammer/help from brother.
My bro was an ANIMAL when he got the hang of this. Set the 5lbs of dry ice on a section for 2'ish minutes, then move and hit with a hammer. It would come off in BIG pieces this way - most of the time just pickup w/ your fingers and move on. Sometimes need a screwdriver or chisel to get a tough spot or some leftover chips of tar mat.
We (ie my brother mainly) pulled it all in about 2 hours. If i were to do it again, i'd get TWO 5lb bags of the dry ice so you can swap it around faster between two people and let it sit 2-3min for best results (probably longer if it was warm to begin with). We had 45-50 deg weather all day, so dry ice didn't need 10min to work.
ice and hammer (harbor freight - harder plastic side worked great):
so - Before:
and - After:
fast forward through a bunch of other projects... Crazy amounts of work @ work, and pulling the body apart for sanding/prep for paint...
A few weeks go by and i finally decide i need to get this done. Pulled the crap out of the truck (set back in while sanding), and started cleaning/vacuuming. A buddy of mine came over to help last night after work. (family and good friends rock!).
He is fast! I spent the entire night cleaning ahead of him, or following and just nitpicking spots (pressing all edges down etc).
Starting out:
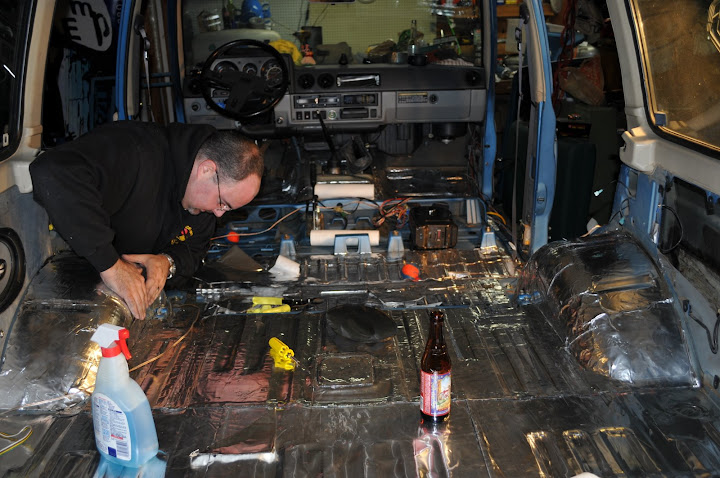
Both actually a bit into it and once we were getting the swing of it, but first time i remembered to grab some pics:
And just about done for the night (probably 3-4 hours hauling ass):
We have a full single layer over everything EXCEPT under the front seats. That will be next.
I'm doing 2 layers of Damplifier pro over the transmission hump (partially done), and rear wheel arches (done). Still need to do 3 of 4 doors, rear quarters, and rear gate.
in my quest to make this truck REALLY quiet (for a cruiser w/ offroad tires) - i am also looking at possibly shooting some liquid Spectrum deadener in spots i can't easily get at, and over trouble spots (arches, tranny hump, etc). Plus going to try using it as an undercoating in the wheel wells to sandwich deadener for best result.
Once that is done - i am going to lay Luxury Liner pro down where I can through the interior, under my new (hopefully soon to arrive) molded vinyl (replacing carpet).
So big plans and a LONG way to go!! But here's a start and i will try to update it as i go w/ pics. Let me know if you want any pics of something in particular or questions in general.
Almost forgot - tips for laying down the damplifier:
- The 1" roller works very well, but a tennis ball works nearly as well and is MUCH MUCH faster!!
- I used the end of the handle on the roller to push down corners and edges of sunken areas. That's another tool it would be nice to have 2 of so you can really tag team and not wait for someone to finish using it. A nice smooth, smaller screwdriver's end also works similar. The wood handle is nicer though IMO.
- the razor blade knife is really helpful for straight cuts and cutting sheets smaller for tough areas.
- cheap tin snips from harbor freight - more flexible for curves and odd shapes, also easier to use than the knife, but slower.
Thanks for all the help in the past - i hope this helps someone out in return!
rob

")

 mechanics!