40' Series swing type spare wheel carrier pin upgrade (1 Viewer)

This site may earn a commission from merchant affiliate
links, including eBay, Amazon, Skimlinks, and others.

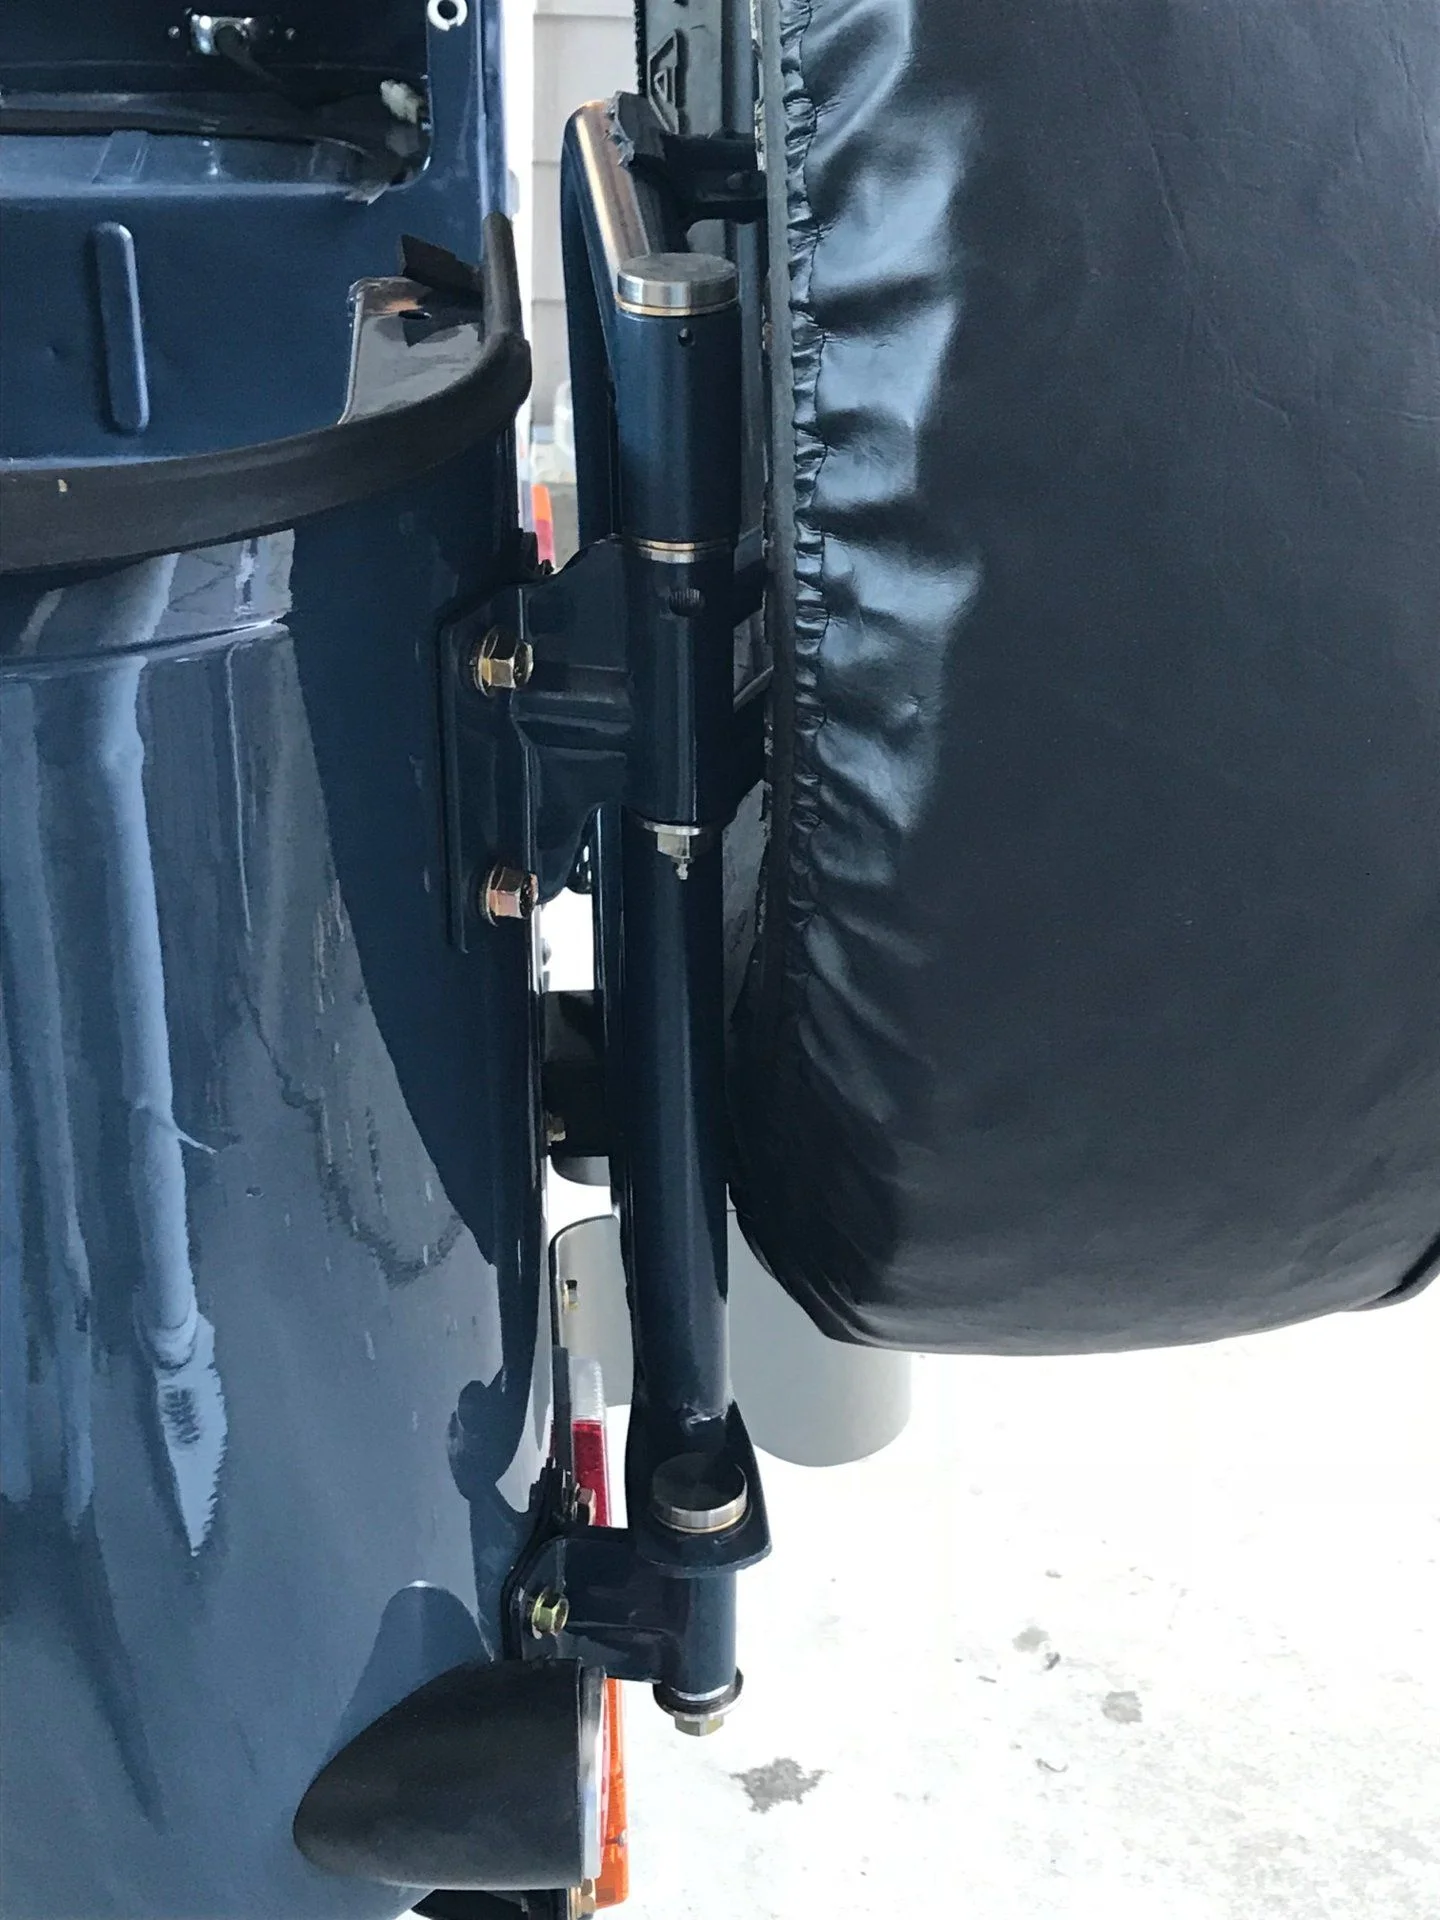
Another happy swing carrier upgrade ..
great work Glenn, getting rid of those stubborn welds using the cylindrical bur.

IMG_3342.JPG


IMG_3343.JPG
 
Installation Guide

Time :(4-5 hours)


1/
How to remove the stock hinge pin?

- remove carrier from vehicle
- remove all rubbers (ie. plugs, stoppers)
- mill the bottom of the pin within the hinge using a carbide bur
- once the weld is milled off hold the carrier in a vice and drive out the pin using a buck bar and a heavy hammer

No need to worry even if this procedure seems a bit barbaric or dirty. Most of these pins never ever been removed and only collected rust in the past 30 odd years. It will be ugly when you mill out the old weld. Just try to preserve the hinge lower edge. Dont hit the hinge! Only hit the pin! You can use a liberal amount of old brake fluid or orher lubricant to penetrate between the hinge and the pin. That will help driving the pin out.

Good luck!

IMG_3597.JPG


IMG_3600.JPG


IMG_3603.JPG


IMG_3613.JPG


IMG_3609.JPG
 
Last edited:
2/
Installation of the stainless steel pins

VERY IMPORTANT!

Before you install the bronze bushes and the pins make sure that the insert holes are perfectly rust free! The rust that build up with the old pin will throw the tolerance out of context and you will not be able to drive in the bronze bush. Further more the pin will be too tight!
So make sure before you install the bush/pin assembly the holes are perfectly clean to raw steel.
I use a drill sander to smooth and equalise the uneven surface after the rust of the old pin.
Once the bushes installed rhe pins should go through with finger tight resistance!
Finger tight resistance! No need to bash the pin or the bush, if the holes are cleaned properly!

These bushes are made slightly oversized to fit the hole adequately once it is cleaned out. Even if the old pin was very corroded and you had to remove a lot of rust the bushes will equalise the tolerance.

See the cleaned and chamfered insert holes on the photo below.

IMG_3618.JPG


IMG_3620.JPG


IMG_3621.JPG
 
Once the carrier is back in place, and the hinges are more close to square than before I have noticed that the support pillow and the lock hook needs to be adjusted.
My "old" carrier was a bit sagging and since the new squarer position is more proud those need to be pushed up meet the "new" carrier. The photo shows the previous marks of the locking handle on the frame when it locked and hit the tube. Now the same lock is straight about 15degrees straighter than it was before.
I'm calling it "old" and "new" as it really feels like an entirely different part.
It has some resistance, it is square, exactly where it supposed to be and it doesn't rattle and it will last my lifetime and another to come. .. WoW..

IMG_3626.JPG


IMG_3629.JPG


IMG_3630.JPG


IMG_3631.JPG


IMG_3632.JPG
 
The city racer links seems broken? @koxfarm you taking any further orders? Thanks 😊
 

Users who are viewing this thread

Back
Top Bottom