12V STARTER SWAP
The current 24v starting worked great but the need to have an isolated house battery and the safety factor of being able to self jump-start indicated the needed swap. I kept the driver side battery as the Main (start) and the passenger side as the House (aux).
1-
Disconnect and remove all wires attached to the the 24v starter solenoid located behind the passenger side battery.
Remove the starter solenoid.

2-
you will be left with 1 grey plug with 2 green wires and 1 white wire with a ring terminal. Cut those 3 wires and connect them all together using a heat shrink/crimp connector.

3-
Disconnect the starter+ and the small negative connector from the starter. Remove the original starter and replace with 12v version. Connect the negative connector just like the original and run a new cable from starter+ to Main+. (I used 2/0 welding cable for almost all my connections as it was free.)
4-
Ground both batteries to existing body and engine grounds
5-
Connect Main+ to Battery Isolator(I used Battery Doctor 150amp), Battery Isolator to 150amp fuse, Fuse to House+
6-
you will be left with this wire originally connected to passenger side+. Use a heat shrink butt connector and extend it to the Main+ post

7-
make a new wire from alternator to Main+
I think that's it...
I used a Blue Sea 5511e between the Main+ / starter and the House+ / Fuse box. This allows me to shut everything off with one switch and combine both batteries for self jump-start or winching.
I used dual wall heat shrink on the Full length of all wire and wiring loom almost everywhere.
Tin plated cooper lugs were used throughout.
All the small wires connected to the driver side battery+ will remain connected to the Main+
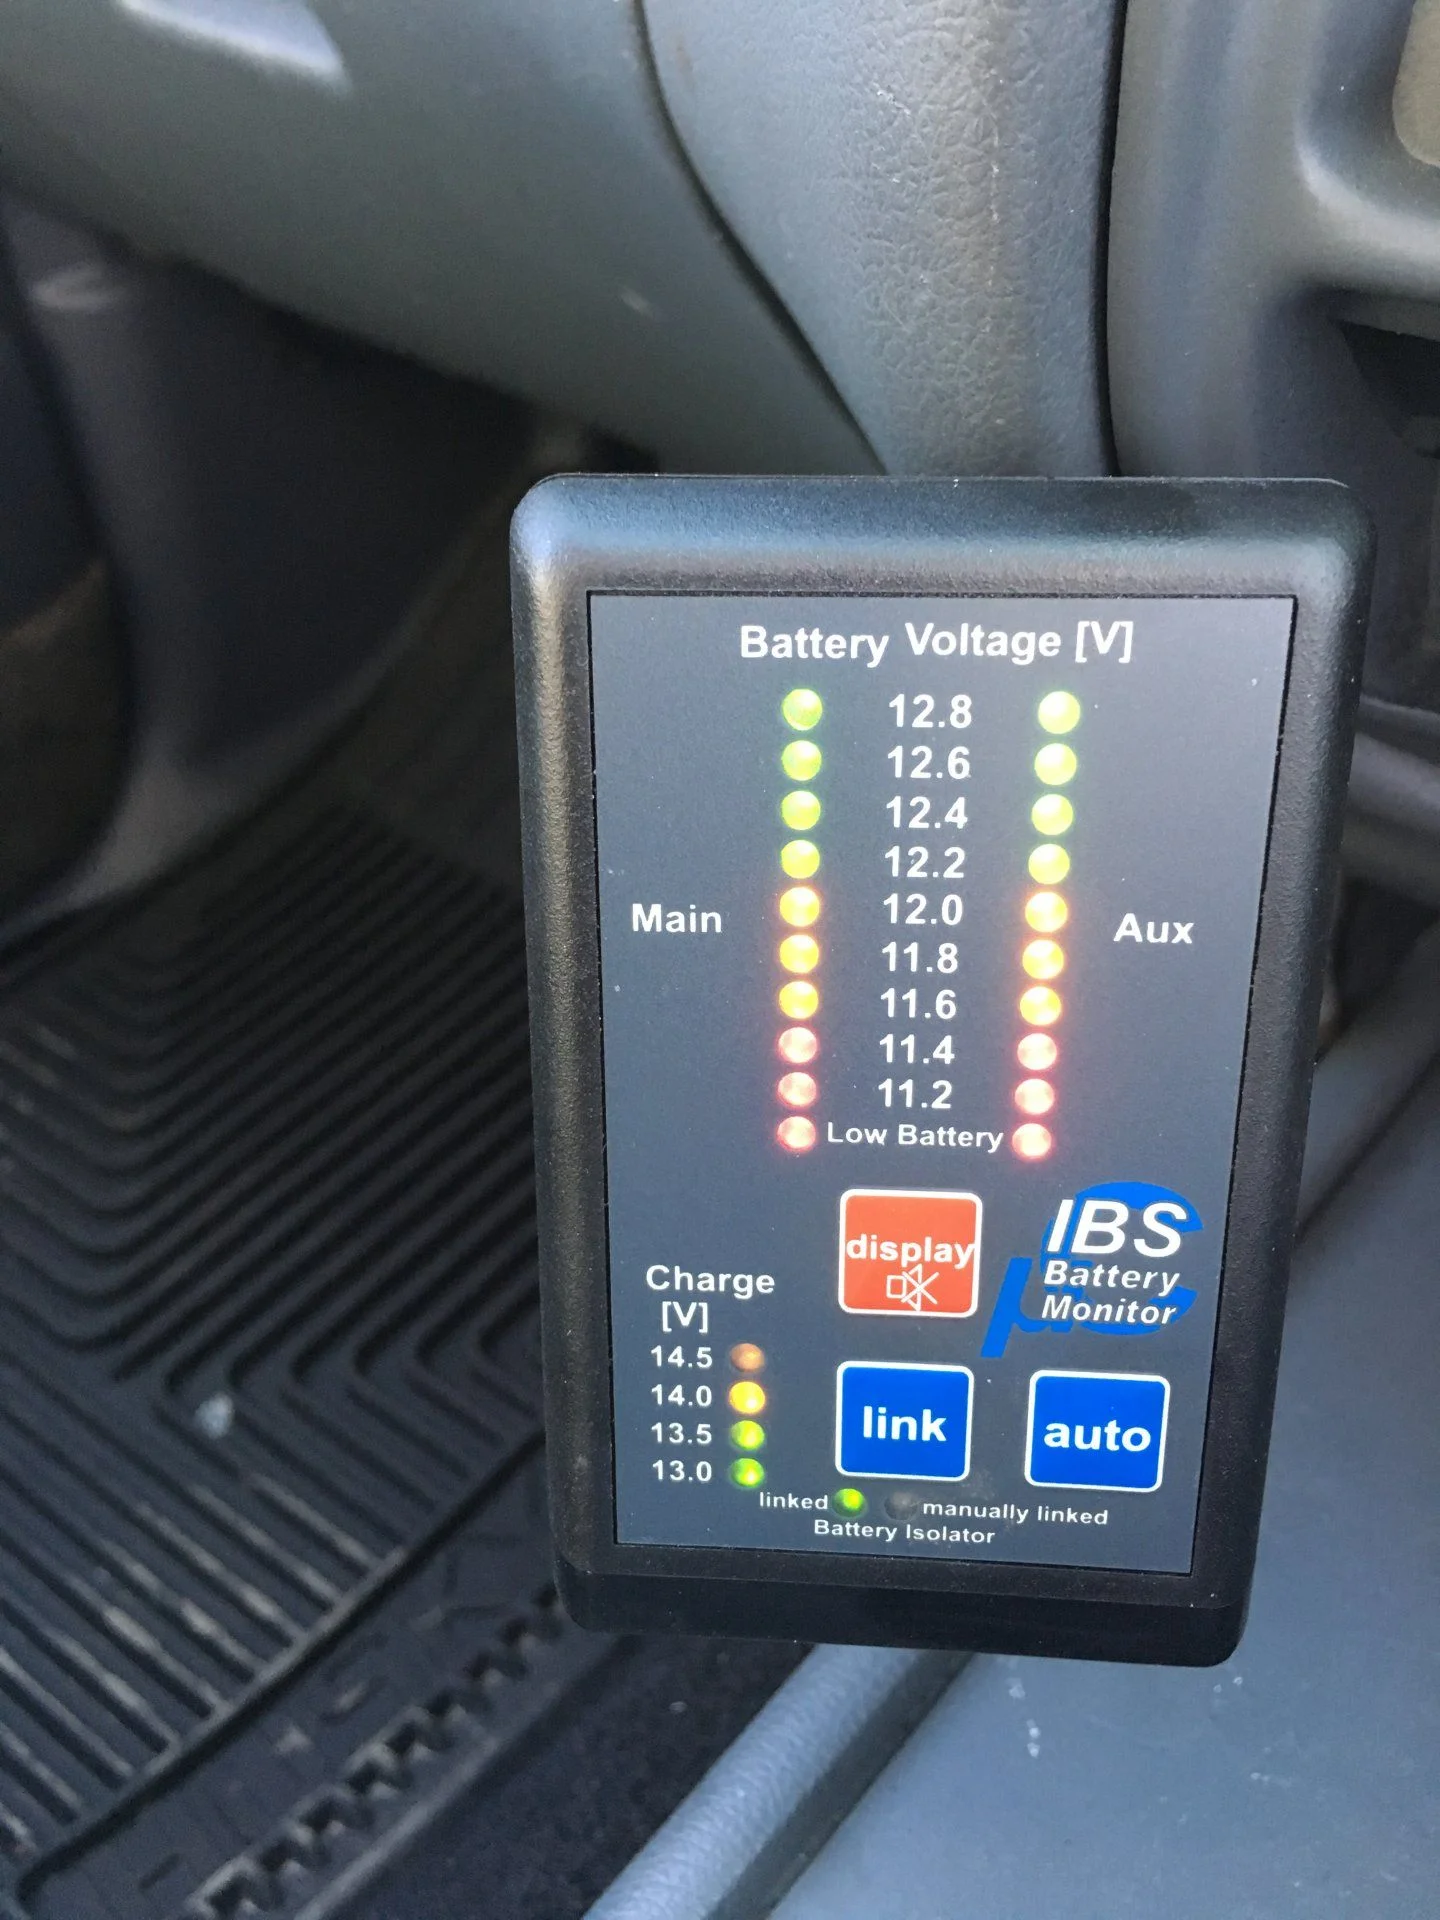
Batteries: Eliminator Ultra XD 34/78 AGM battery for the Main and a Nautilus Ultra XD Group 27 AGM Deep Cycle for the House.
The current 24v starting worked great but the need to have an isolated house battery and the safety factor of being able to self jump-start indicated the needed swap. I kept the driver side battery as the Main (start) and the passenger side as the House (aux).
1-
Disconnect and remove all wires attached to the the 24v starter solenoid located behind the passenger side battery.
Remove the starter solenoid.
2-
you will be left with 1 grey plug with 2 green wires and 1 white wire with a ring terminal. Cut those 3 wires and connect them all together using a heat shrink/crimp connector.
3-
Disconnect the starter+ and the small negative connector from the starter. Remove the original starter and replace with 12v version. Connect the negative connector just like the original and run a new cable from starter+ to Main+. (I used 2/0 welding cable for almost all my connections as it was free.)
4-
Ground both batteries to existing body and engine grounds
5-
Connect Main+ to Battery Isolator(I used Battery Doctor 150amp), Battery Isolator to 150amp fuse, Fuse to House+
6-
you will be left with this wire originally connected to passenger side+. Use a heat shrink butt connector and extend it to the Main+ post
7-
make a new wire from alternator to Main+
I think that's it...
I used a Blue Sea 5511e between the Main+ / starter and the House+ / Fuse box. This allows me to shut everything off with one switch and combine both batteries for self jump-start or winching.
I used dual wall heat shrink on the Full length of all wire and wiring loom almost everywhere.
Tin plated cooper lugs were used throughout.
All the small wires connected to the driver side battery+ will remain connected to the Main+
Batteries: Eliminator Ultra XD 34/78 AGM battery for the Main and a Nautilus Ultra XD Group 27 AGM Deep Cycle for the House.