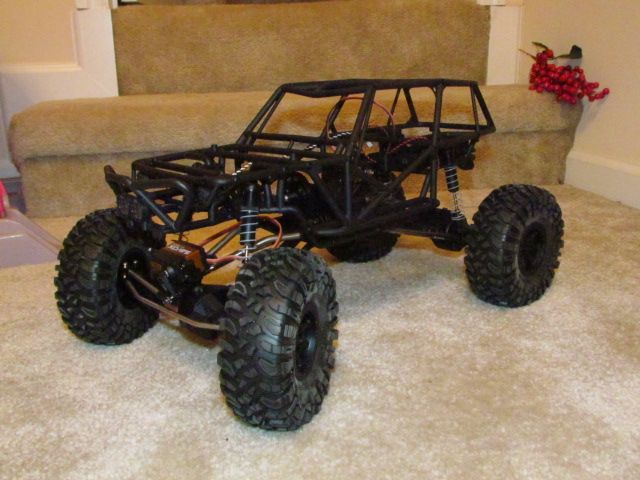
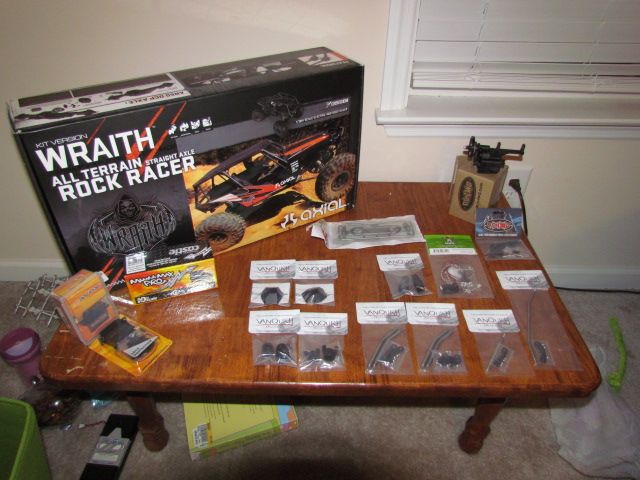
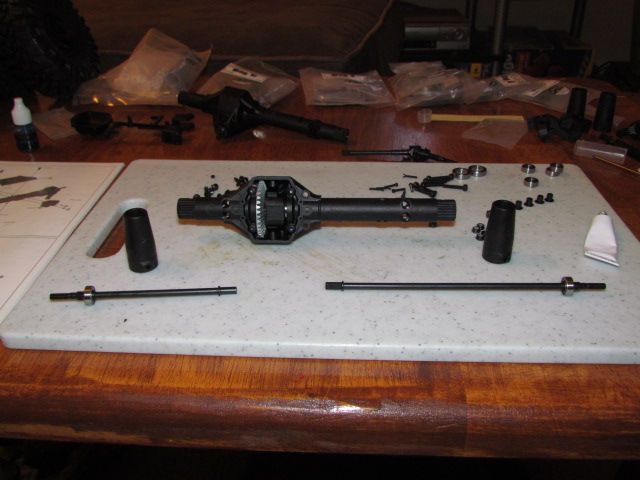
Well, I got myself a Christmas Present and I thought you all might be interested to follow the build. I will get some Pictures later this evening when I can get everything opened up and laid out but here is what I have in-hand:

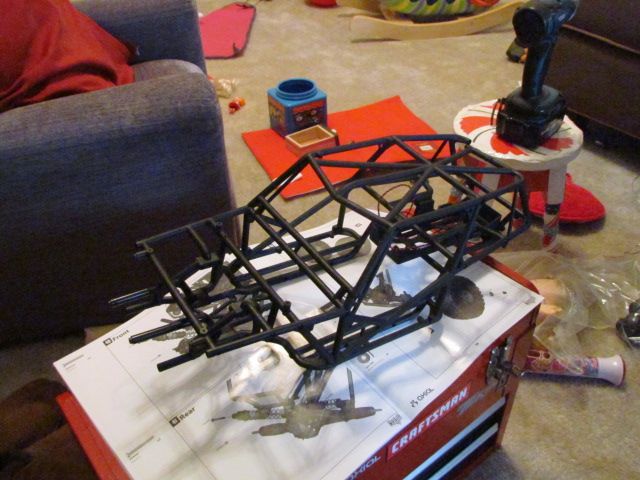
Axial Wraith Kit
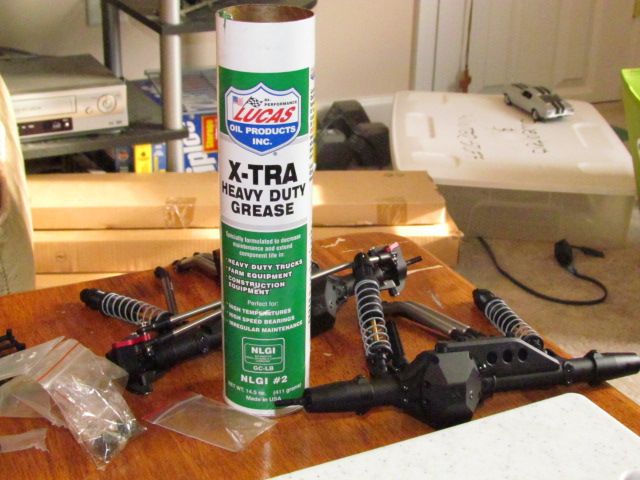
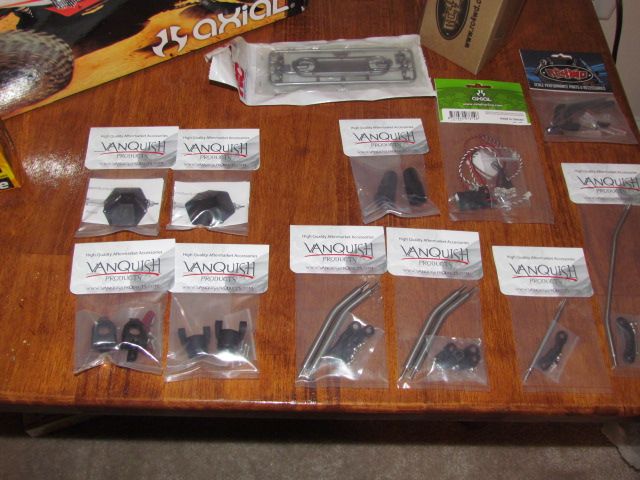
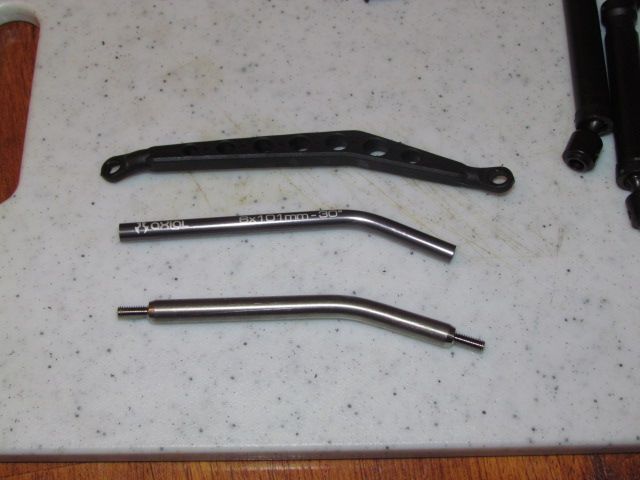
Vanquish Products (VP) Titanium Upper Links - Front & Rear
VP Titanium Draglink
VP Titanium Tie-rod
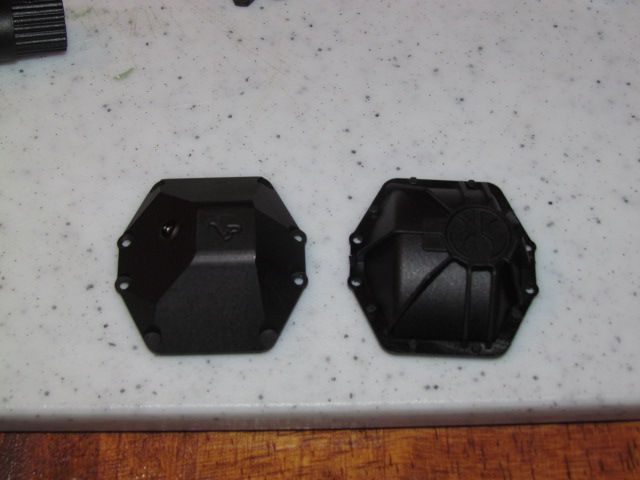
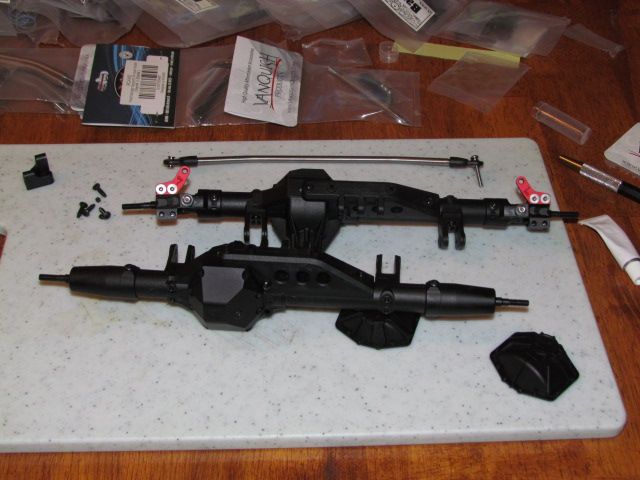
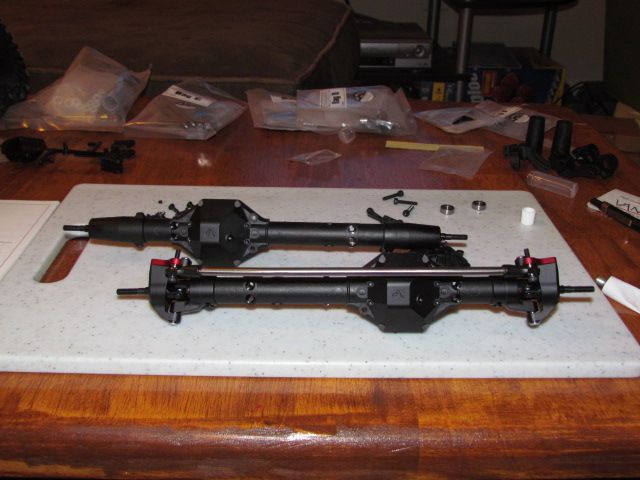
VP Aluminum Diff covers
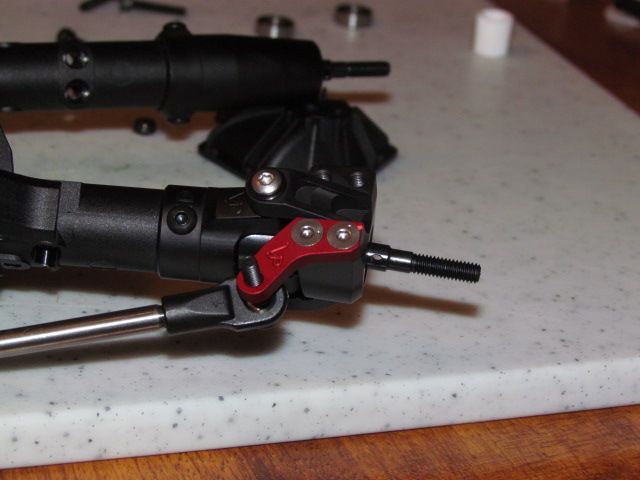
VP CHubs
VP Knuckles
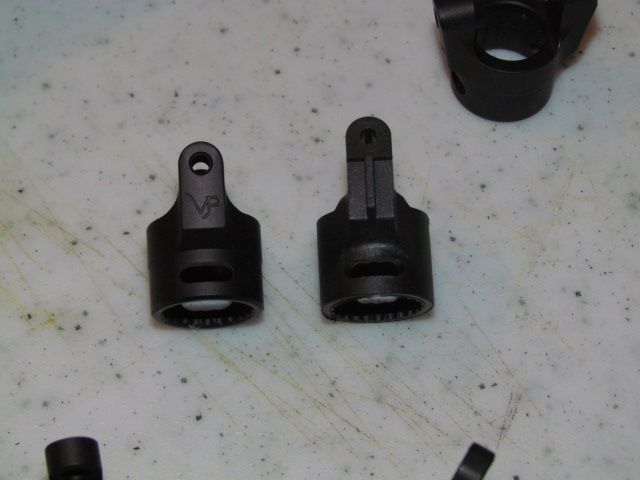
VP Rear Lockouts
RC4WD front Bumper Braces
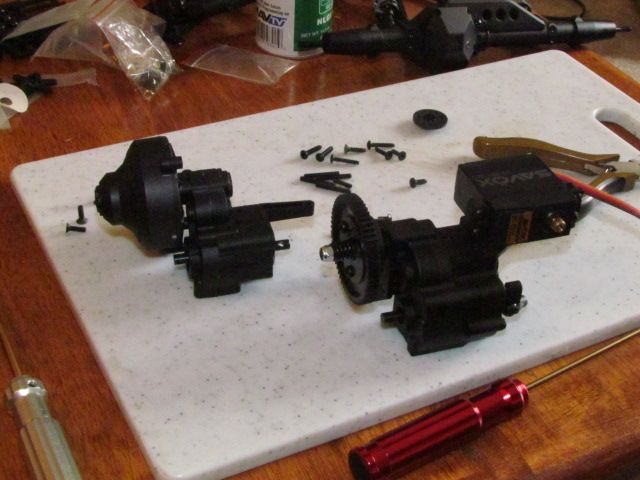
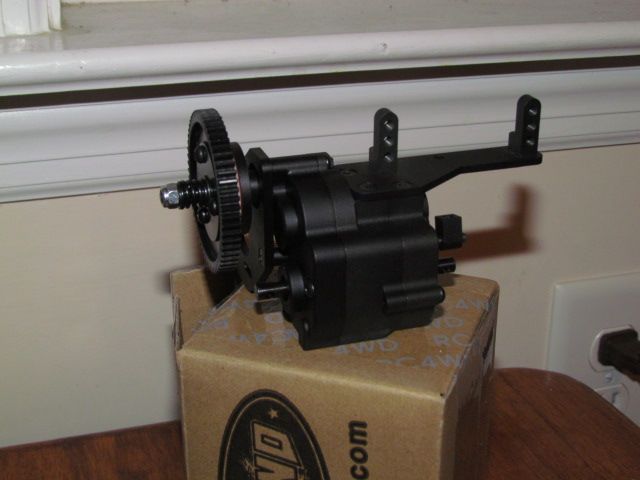
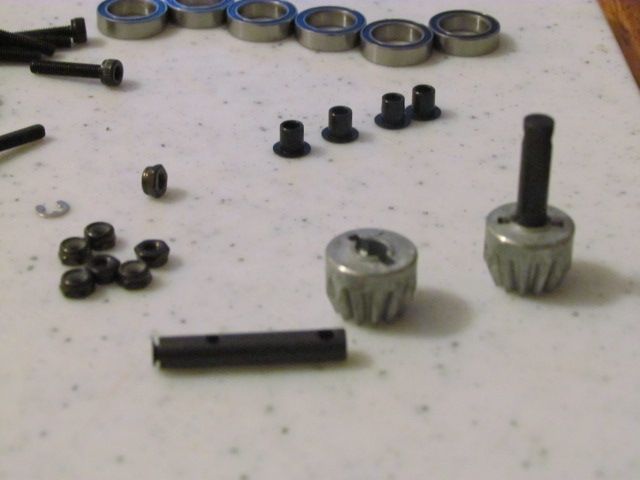
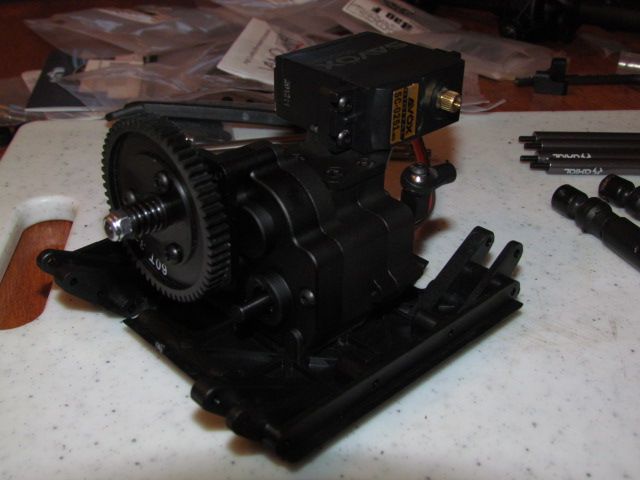
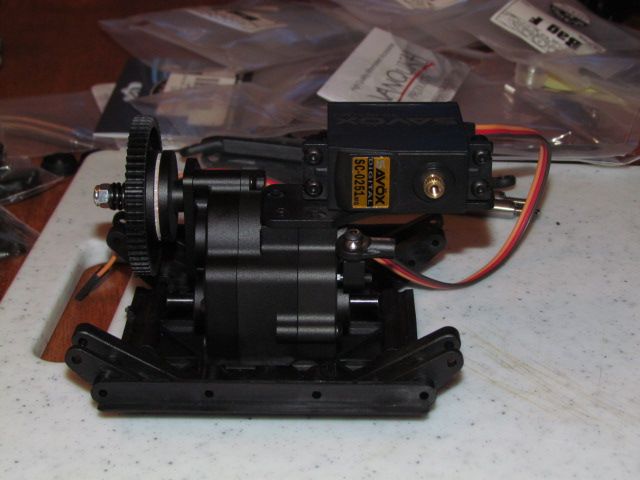
RC4WD 2 Speed Transmission
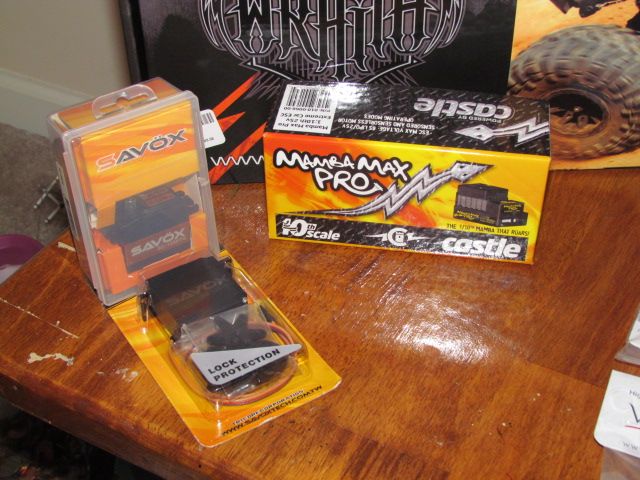
Mamba Max Pro ESC
Savox - Titanium Gear for Steering
Savox - MG for shifting duties
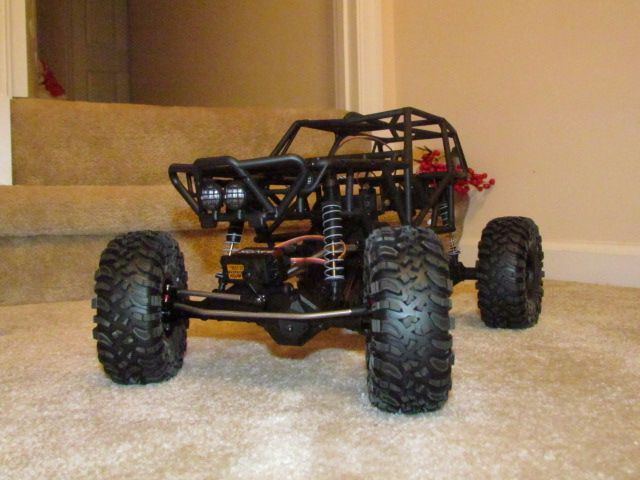
Axial simple LED controller (4 white front/ 2 red rear)
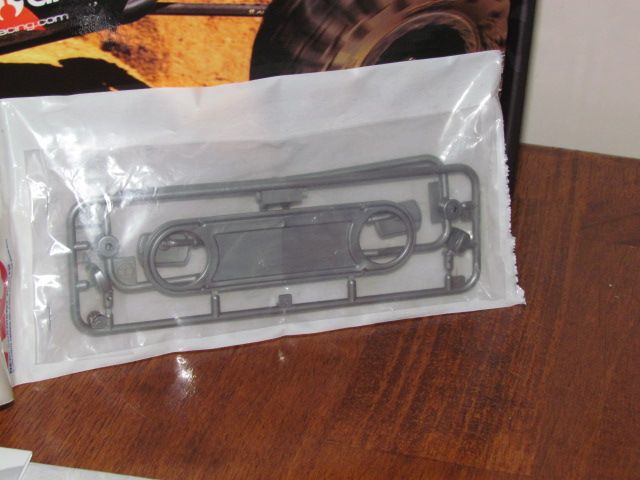
Tamiya CR01 FJ40 Grill set
I still have to get the motor and radio but will most likely be going after a Spektrum DX3S so that I can keep tabs on the Tekin Redline 13.5T Brushless or the Tekin Pro4 (3300) Brushless Motor running a 3S Li-po battery.
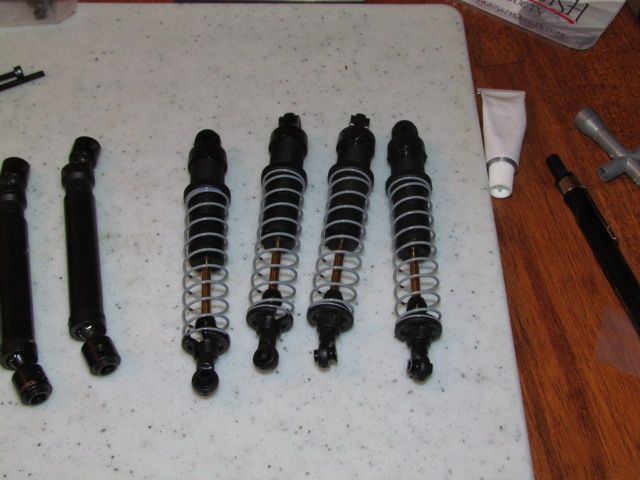
I am probably going to try and pick up a pair of Hot Racing Lockers, Axial HD gears and some Pro-line shocks, but beyond that I will probably just upgrade parts as they break.
This will be more of a backyard all-around rig, some crawling and some bashing around. It should be a fun build.
Stay Tuned.

Axial Wraith Kit
Vanquish Products (VP) Titanium Upper Links - Front & Rear
VP Titanium Draglink
VP Titanium Tie-rod
VP Aluminum Diff covers
VP CHubs
VP Knuckles
VP Rear Lockouts
RC4WD front Bumper Braces
RC4WD 2 Speed Transmission
Mamba Max Pro ESC
Savox - Titanium Gear for Steering
Savox - MG for shifting duties
Axial simple LED controller (4 white front/ 2 red rear)
Tamiya CR01 FJ40 Grill set
I still have to get the motor and radio but will most likely be going after a Spektrum DX3S so that I can keep tabs on the Tekin Redline 13.5T Brushless or the Tekin Pro4 (3300) Brushless Motor running a 3S Li-po battery.
I am probably going to try and pick up a pair of Hot Racing Lockers, Axial HD gears and some Pro-line shocks, but beyond that I will probably just upgrade parts as they break.
This will be more of a backyard all-around rig, some crawling and some bashing around. It should be a fun build.
Stay Tuned.
Last edited:


 I will probably put it together and just put it in the box of misc. extra parts, maybe drop it in my other bruiser frame and start a custom crawler....
 put to bed I will get the latest pictures up.