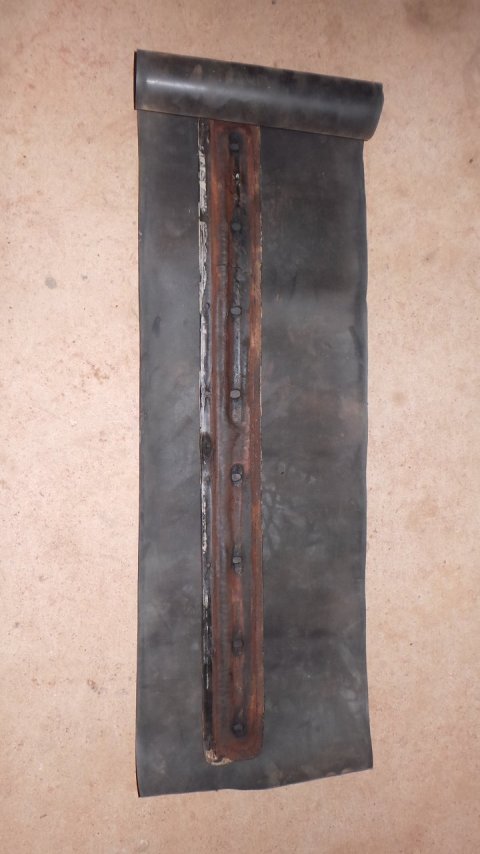
Look what I found.... 1961 FJ40 FST (1 Viewer)

This site may earn a commission from merchant affiliate
links, including eBay, Amazon, Skimlinks, and others.

thank you sir that is great; gives me something to go on with. i am a couple days away from rusty at the moment.

your fusebox is ever so slightly different again from the pics. on my 61 the fuse bridges are 'inboard' (ie towards the glass fuses) and on the 62 the bridges are outboard (ie away from the glass fuses) if that makes sense. both 61 and 62 retain the 25 style carrier (with the tin cover). my 25 fuse layout is different again (tho tin carrier is presumably the same). by 64 the pressed tin carrier is gone in favour of a plastic fuse cover.

i shall be back in a few days with some pics. in the city today and hoping to catch up with new mudder 'platebasher' with his 63 hardtop. shall be inspecting the fusebox among much else!

a first glance of my damaged box tells me the po has bypassed the light fuse (and hence disregarded the bridged wiper circuit in the process). we shall see.

thanks again
 
platebashers 63 fusebox

20150215_153652[1].jpg
 
i think same as yours mr hdtachtig. 'outboard' bridges but still with the old stlyle tin cover carrier.

anyone have a pic of one like the 61 with the 'inboard' bridges???

platebashers 63 hardtop is a nice thing. 2f motor, hideous old paintjob and loads of various po mods in the way of seats, guages, wiring etc but a very solid old survivor. great base for a resto.
 
spending a couple days in the city. with the rusty 'budget' already blown i charged ahead. new brake shoes, flex lines, brake master kit and clutch master buckets. original plan was to run the new flex lines on patina and she donate her old...but...these repo lines are far to ugly for that. so rusty it is. only going to bother building front axle brakes for now. dont have a serviceable hard line running to the rear.

20150216_234750.JPG
 
Crikey westaussie is that a bit of grass in your photo, whats the place coming to?

I like what you have done with Rusty babe, a true enthusiast way to go about it cheers
 
That's got to be the ground in the city. No grass out at Mt. Morgan.
 
yes a little patch of suburban front lawn; my version of hell really. be nice to get this stuff home.
 
are those the 9mm fittings on the soft lines or 10mm?
 
not sure off top of my head nuclearlemon. will let you know; i couple days away from home and my workshop yet. i think its 25 has the rare thread?? so its prob not that one. my brake shop had no probs to copy them; sure thay available new or even oem but just didnt have time to shop around. they look fine just a bit ugly with the writing on the hose.
 
nuclearlemon; not too sure of the thread language but did check and they are generic 1960s threads that match my other old junk so not the rarer ealier stuff. do you have a pic of annies fusebox perchance?

so been all over lately and have no spare time in the forseeable future; but snuck a half hour in tonight regardless. is good relax time when im busy or stressed elsewhere. therapy haha.

changed tact a little. my oxy set needed to be dragged 50 yards back out of the weather so found a small heating tip and tacked the windshield and softop bow mounts. these all got a heat, spray, few sharp whacks with a copper drift, reheat and respray. my only broken bolt remaining on rusty is a tub end bonnet hinge and it annoys me greatly! patience. (there still a few po ones but i have sorted most of them).

20150226_222621.JPG 20150226_222647.JPG

also heated the rear bow mounts, then the dimmer switch studs from the cab side and lastly the master cyl pushrods. dunno how i missed these when bumstein was doing his epic split pin removal mission. baby steps.
 
in other news my mate gave me pair on these old perspex cupboard doors in about 4.5mm thick. with budget blowout alredy astronomical :) thinking donor windshield.

20150226_223108.JPG

wandered through my local free car dump week or so ago looking for windshield rubber. reckon i had a win with an old daihatsu cab chassis destined for the crusher. very toyota oem looking. corners and height are perfect but a bit narrow. hoping to cut in a piece from the rear window rubber to gain the correct width. all very rough but might do for now; i have a budget to consider!

20150226_223137.JPG 20150226_223149.JPG
 
new look. got the bows off and screen folded down. lots of heat inc the screen hinges. broke a couple of bolts; still got one to get out.

20150302_003217.JPG 20150302_003251.JPG 20150302_003409.JPG 20150302_003316.JPG
20150302_003226.JPG
 
last year i found a battered old 65 windscreen surround literally in the chookyard of an abandoned homestead. tore into this tonight; rusty, and hard to get apart for a sausage fingered bloke like myself. a bit of heat and a lot of care and came apart without damage. rusty 61 was missing the under windscreen vent. perfect job for this.

20150302_214641.JPG
 
it was rough and had been painted a crusty white with a housebrush. a date with the anvil, hammer and wire wheel to knock the loose rust off revealed a few blemishes but charged ahead.

20150302_221317.JPG

i painted all with a phosphoric acid based rust converter that has been sitting on the shelf long time and found some appropriate rubber among my junk.

20150302_224916.JPG

coming along well.

20150302_231739.JPG

the best bit is that after a careful 'buff' with the wire wheel some lovely shades of green and blue were revealed beneath the crusty white; a perfect match! this is going to fill the hole very nicely; too rough for a real resto but perfect for old rusty.

20150302_221337.JPG


ready to bolt back together now.
 
do you have a pic of annies fusebox perchance?
some assembly required.
DSC09304.JPG
DSC09303.JPG
had it plated since i figured the terminals were all loose anyways and it really wouldn't do any harm. now just need to find correct rivets and re-rivet terminals back on.
 
thanks for the pics nuclearlemon; that is great work!

for reference here is a another pic of my 61 fusebox

20150305_165751.JPG


it can also be seen in post #239. the difference is in what i call the 'bridges'; the links between fuses on the power input side of the box. on mine these 'bridges' are closer to the fuse than other early 40s i have seen including mudders nuclearlemon, hdjachtig and platebasher. this interests my inner geek. i presume my fusebox in original toyota though it is a bit broken and hanging loose from the old style carrier. for now i think i plan to use a donor 64 fusebox though getting these rusty old screws apart is proving a massive PIA.
 
think my next trick to try is using an old school pyramid shaped soldering iron to get heat into these screws one at a time.
 
got a few little things done. mounted my under screen vent, not perfect; but looks mighty fine if i may say so myself!

20150305_194426.JPG


have a little issue with the control knob for this; it has been po half unscrewed and very stuck there. all my usual tricks have failed to budge it so far and dont want to risk damaging the plastic. this means the vent wont open fully (and also looks wrong without the blind nut that is supposed to be there). anyways doing the job in a fashion for now. may tinker further with this down the track.

20150305_165719.JPG

got some heat into the hinges of the floorwell kick vents. these were solid as of course and stuck half open. had to remove one to straighten the cowl (so it would close properly) where it had been forced in the past. these now operate but still not perfect; need some stronger springs so i can get that very satisfying 'snap' open and close that we all love!

20150305_165644.JPG

worked on the fuel filler neck. this had been loose mounted with a couple po gutter bolts, yanked every which way in the past and both neck and tub needed a straighten. sorted this and raided my wrecks for the oem bolts to mount this. need to cut a gasket yet.

20150305_175803.JPG

carefully exposed a little rust on the fuelcap and tapped out a quantity of loose flaky rust from the inside. was full to capacity and threatening to distort. very thin in places. unsure how to reseal this; bronze, solder, silicon?

20150305_183010.JPG
 
which brings me to BONNET HINGES. mine long ago snapped through the hinge pin who knows about these????

i had always kinda assumed that the pin must be a loose fit in one side of the hinge and threaded into the other? now im not so sure. both parts have the same BJ25 52251 part number cast into them so thinking the number should be different if one half has a cast thread? my 65 parts book lists nothing more detailed than the hinge assembly in its entirety. perhaps the pin is stepped to allow a tight press fit on one half and loose fit on the other? alternatively the pin is straight and one side of the hinge is drilled slighty larger. anyone know any of this for sure???

got one of the 4 pin section out after a lot of heat. (also made up some new rubber gaskets)

20150305_172059.JPG 20150306_000544.JPG 20150306_000528.JPG

also noticed that the number stamping is different on fj25 (and rusty61) compared to later versions. (and then post 65? are a different hinge completely). i dont really have any serviceable pre 65 donors that arent already earmarked for something; and in any case running the non correct number just wont do!

so i really want to resurrect my original hinges. this shouldnt be too hard if there is no thread to deal with. anyone input on this one greatly appreciated.
 

Users who are viewing this thread

Back
Top Bottom