
35snmud
SILVER Star
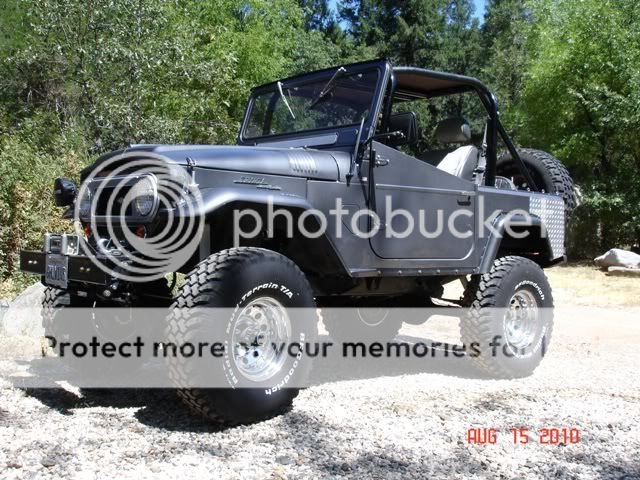
Well...when I bought the 64 from Miker a couple years ago it looked like this...
http://i756.photobucket.com/albums/xx209/ddmk6/64 rebuild/64cruiser1.jpg
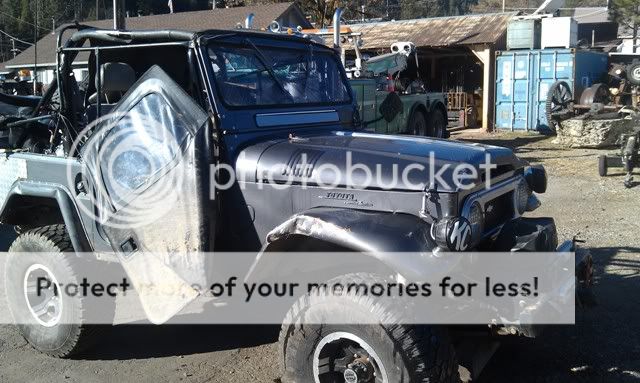
Then came an eventful lack of paying attention in January of this year. Hit a patch of ice doing 55 and OH S*** double roll, then it looked like this...
http://i756.photobucket.com/albums/xx209/ddmk6/64 rebuild/IMAG0109.jpg
http://i756.photobucket.com/albums/xx209/ddmk6/64 rebuild/IMAG0110.jpg
I'm thinking not too bad for rolling twice Now comes time to haggle with the insurance. I had full coverage on it, and the lord was smiling on me. Both the appraiser and the adjuster were 4x4 folks. They had jeeps, but they were still pretty good guys
  Long story short I got 9K out of the insurance to rebuild it and not totaled. It took some convincing regarding the value but it paid off.
Off it went to the local body shop for a visit to the frame rack. The frame was actually straight. The cowl and tub...not so straight. They did an awesome job stretching everything back into shape though. And as an added bonus they let me come in and work with them getting it put back together. Pretty cool.
So now to find some parts. The windshield frame was pretty much toast. As you know they are not a stock item. I start searching and what do you know. Timmbuc2 has this one for sale in CO.
http://i756.photobucket.com/albums/xx209/ddmk6/64 rebuild/white651.jpg
Game on. Windshield frame and a hard top!!! Ended up picking it up for $700.00 minus a few things I didn't need. Another $600.00 and it was shipped to Reno where I met the driver and loaded it up for the ride home.
I stripped everything I needed off donor rig (mainly windshield frame and hard top) and took it to a bead blaster so I could see what had to be repaired. It was actually in pretty good shape. There were a few places that had to be cut out and patched, but over all not too bad. I worked on this at home while they straightened the tub and cowl at the shop.
http://i756.photobucket.com/albums/xx209/ddmk6/64 rebuild/IMAG0149_1.jpg
http://i756.photobucket.com/albums/xx209/ddmk6/64 rebuild/IMAG0162_1.jpg
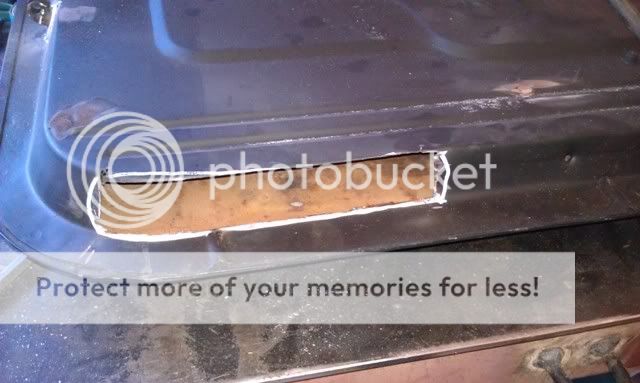
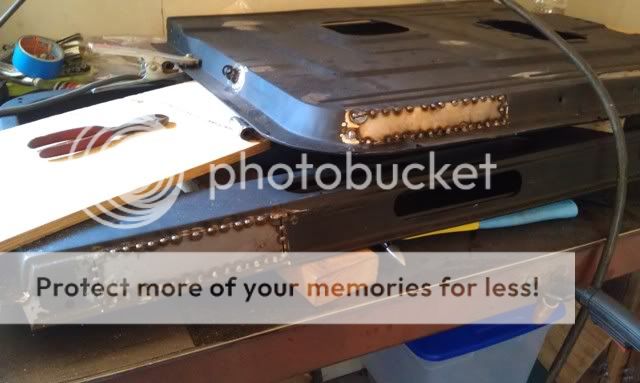
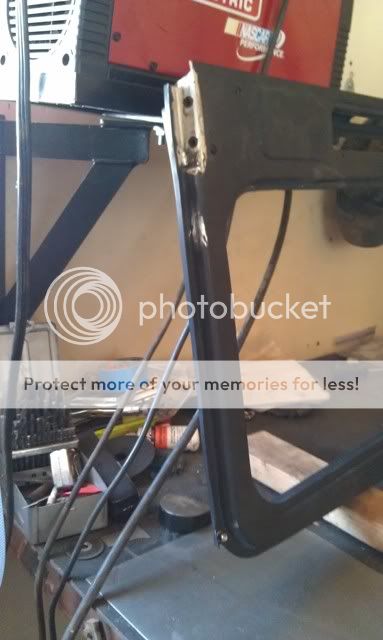
Above is a couple patches on the windshield frame and door bottom. I also had messed up the windshield bolts/threads when removing the hinges, so I cut out the metal inserts, made new ones and welded everything back up (see below) I had to do this on both sides, mainly due to my impatience.
http://i756.photobucket.com/albums/xx209/ddmk6/64 rebuild/IMAG0159.jpg
One of the door limiter attachments was missing, so I patched the hole and made a new one.
http://i756.photobucket.com/albums/xx209/ddmk6/64 rebuild/IMAG0151.jpg
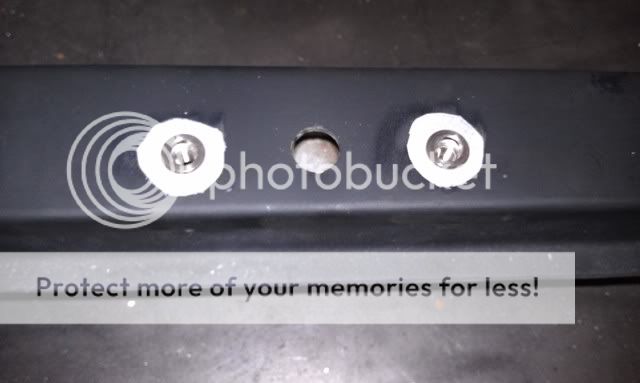
I'm upgrading to the over head 70 version windshield wipers, si I drilled the holes and added stainless nutserts to mount them up. Only problem...I did the layout on the bench, with the frame upside down. So take a guess...yep, the motor is on the drivers side instead of on the passenger side I'm not sure if the wipers will park in the right place or not. I may have to flip them to the way they are supposed to be and install new nutserts. I guess I will find out when I get to that point.
http://i756.photobucket.com/albums/xx209/ddmk6/64 rebuild/IMAG0156.jpg
Have to call it a day....I'll continue this later
http://i756.photobucket.com/albums/xx209/ddmk6/64 rebuild/64cruiser1.jpg
Then came an eventful lack of paying attention in January of this year. Hit a patch of ice doing 55 and OH S*** double roll, then it looked like this...
http://i756.photobucket.com/albums/xx209/ddmk6/64 rebuild/IMAG0109.jpg

http://i756.photobucket.com/albums/xx209/ddmk6/64 rebuild/IMAG0110.jpg
I'm thinking not too bad for rolling twice
Now comes time to haggle with the insurance. I had full coverage on it, and the lord was smiling on me. Both the appraiser and the adjuster were 4x4 folks. They had jeeps, but they were still pretty good guys Long story short I got 9K out of the insurance to rebuild it and not totaled. It took some convincing regarding the value but it paid off.Off it went to the local body shop for a visit to the frame rack. The frame was actually straight. The cowl and tub...not so straight. They did an awesome job stretching everything back into shape though. And as an added bonus they let me come in and work with them getting it put back together. Pretty cool.
So now to find some parts. The windshield frame was pretty much toast. As you know they are not a stock item. I start searching and what do you know. Timmbuc2 has this one for sale in CO.
http://i756.photobucket.com/albums/xx209/ddmk6/64 rebuild/white651.jpg

Game on. Windshield frame and a hard top!!! Ended up picking it up for $700.00 minus a few things I didn't need. Another $600.00 and it was shipped to Reno where I met the driver and loaded it up for the ride home.
I stripped everything I needed off donor rig (mainly windshield frame and hard top) and took it to a bead blaster so I could see what had to be repaired. It was actually in pretty good shape. There were a few places that had to be cut out and patched, but over all not too bad. I worked on this at home while they straightened the tub and cowl at the shop.
http://i756.photobucket.com/albums/xx209/ddmk6/64 rebuild/IMAG0149_1.jpg
http://i756.photobucket.com/albums/xx209/ddmk6/64 rebuild/IMAG0162_1.jpg
Above is a couple patches on the windshield frame and door bottom. I also had messed up the windshield bolts/threads when removing the hinges, so I cut out the metal inserts, made new ones and welded everything back up (see below) I had to do this on both sides, mainly due to my impatience.
http://i756.photobucket.com/albums/xx209/ddmk6/64 rebuild/IMAG0159.jpg
One of the door limiter attachments was missing, so I patched the hole and made a new one.
http://i756.photobucket.com/albums/xx209/ddmk6/64 rebuild/IMAG0151.jpg

I'm upgrading to the over head 70 version windshield wipers, si I drilled the holes and added stainless nutserts to mount them up. Only problem...I did the layout on the bench, with the frame upside down. So take a guess...yep, the motor is on the drivers side instead of on the passenger side
I'm not sure if the wipers will park in the right place or not. I may have to flip them to the way they are supposed to be and install new nutserts. I guess I will find out when I get to that point.http://i756.photobucket.com/albums/xx209/ddmk6/64 rebuild/IMAG0156.jpg
Have to call it a day....I'll continue this later


 I guess you can't have it all. They may still work, we'll see when it all get put back together??
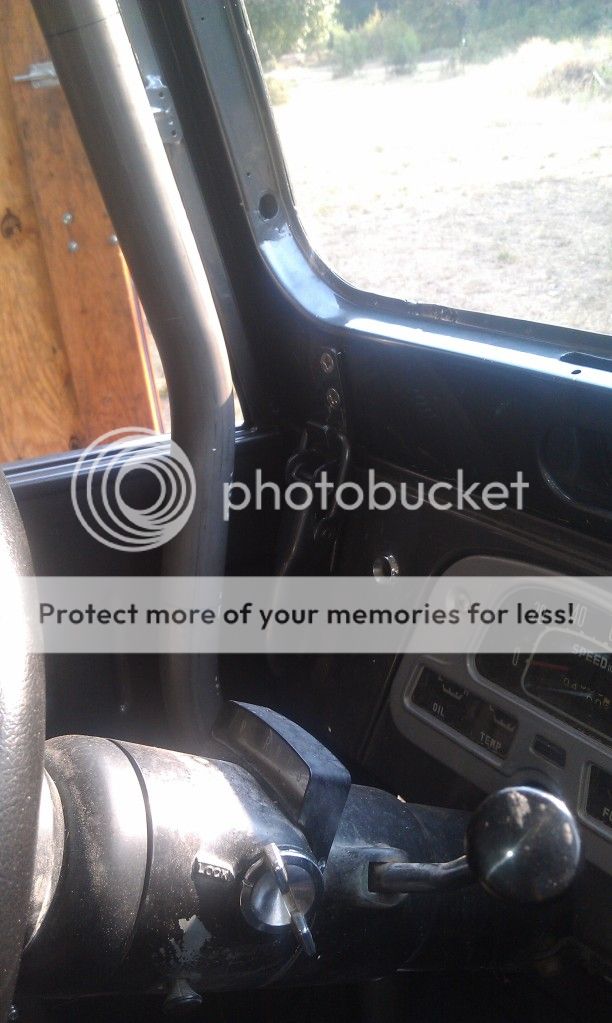
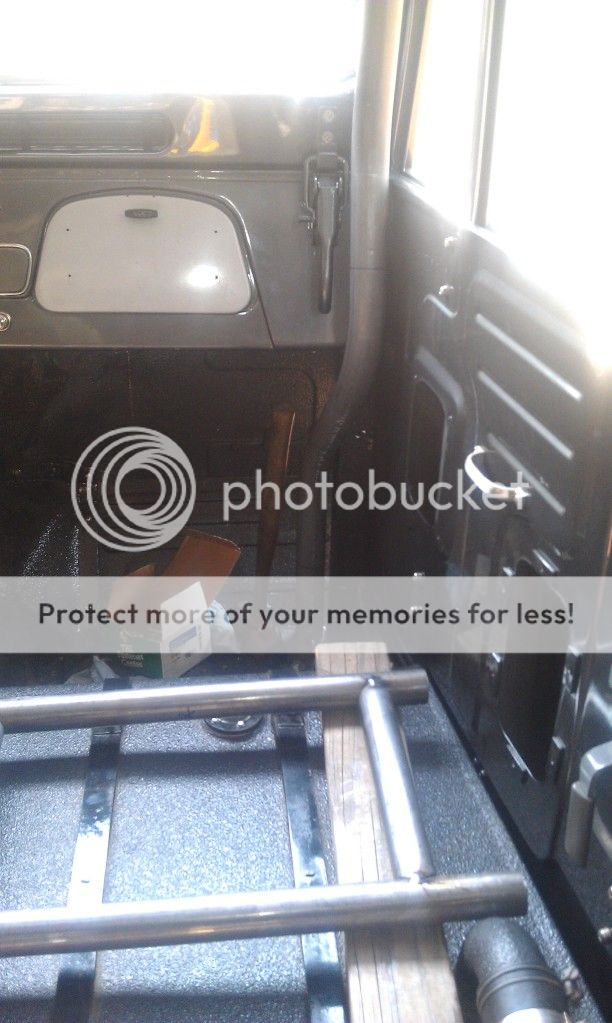

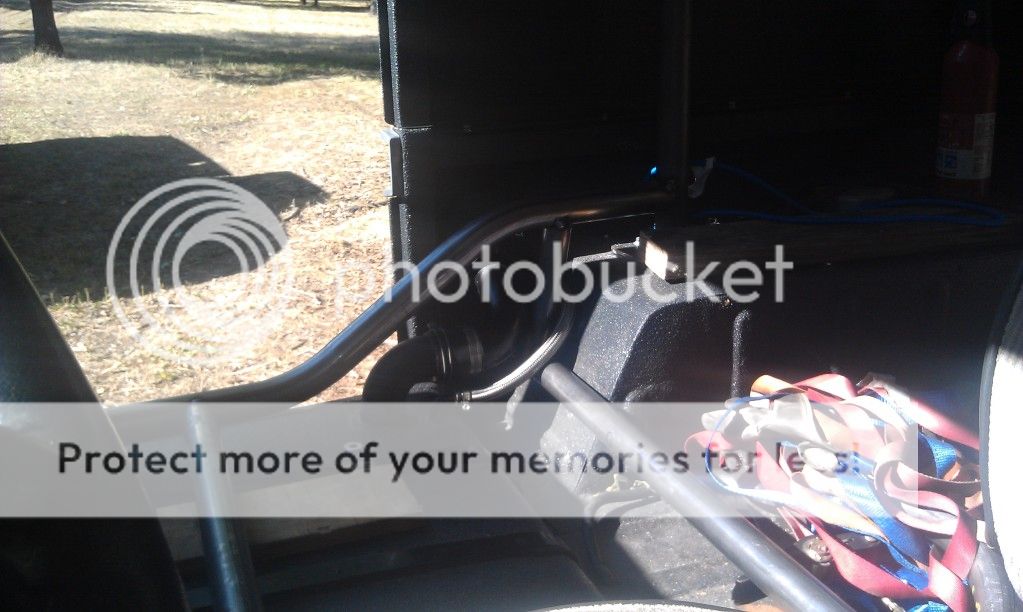

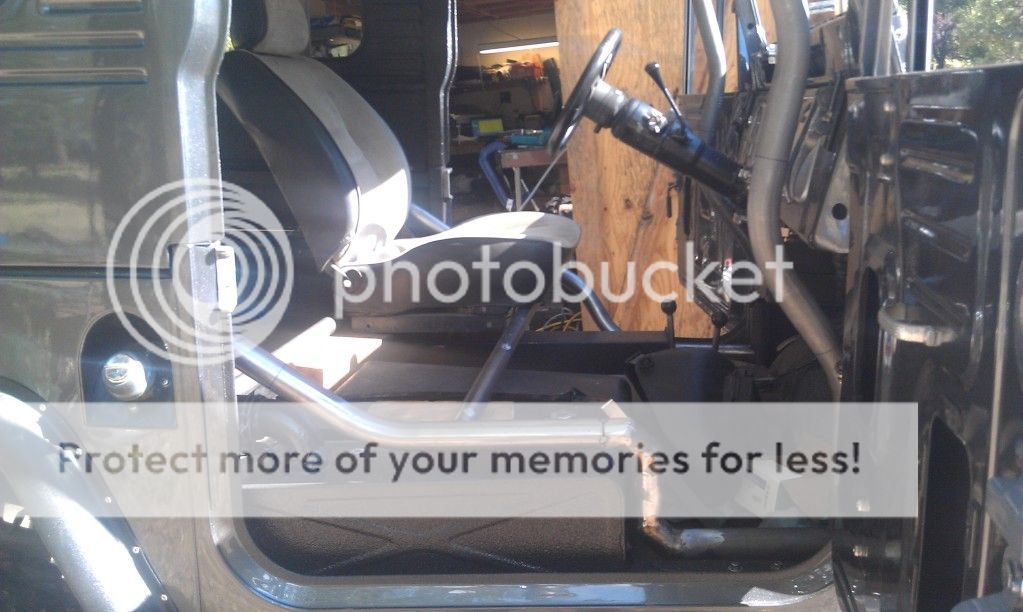
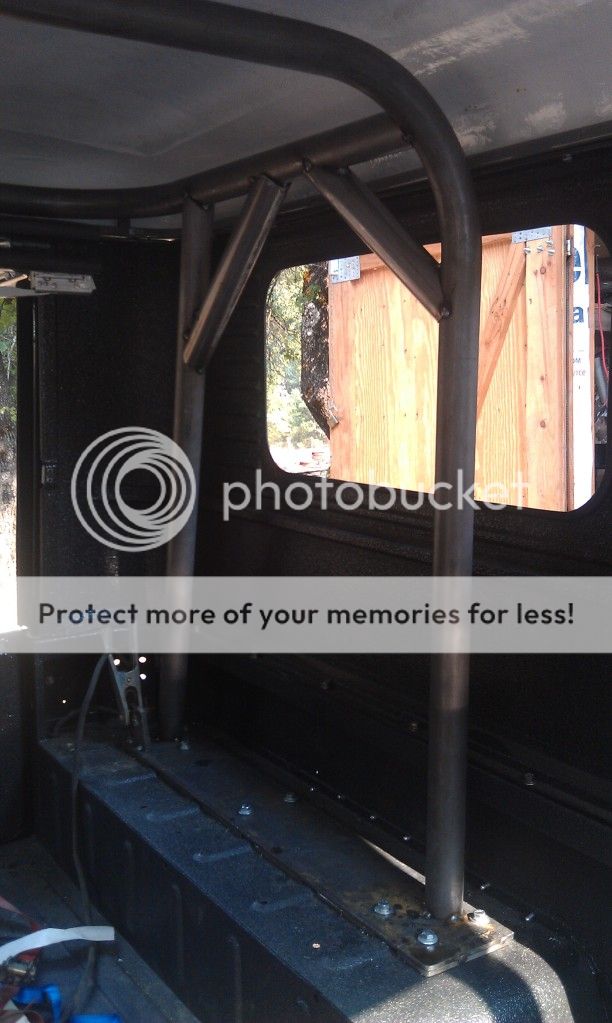
") . Should be able to finish the cage pretty quick when I can get back to work on it. Few more braces to put in and finish the seat mounts, good to go.
. Should be able to finish the cage pretty quick when I can get back to work on it. Few more braces to put in and finish the seat mounts, good to go. Maybe I need to go shopping. Or maybe I'll just use wire and get it done. Deer season is fast approaching.