Builds Mercedes OM606 Turbodiesel into FZJ80 - engine refresh and more turbo fun (2 Viewers)

This site may earn a commission from merchant affiliate
links, including eBay, Amazon, Skimlinks, and others.

Joined
Jun 2, 2016
Threads
50
Messages
361
Location
Colorado
Project complete! (as complete as a project ever is)


A couple years ago, I completed a 1KZ-TE hilux swap into my 01 Tacoma. I ended up needing to sell that rig, but couldn't stay away from 4x4 Yotas. That's when I found a locked 96 FZJ80 for 3k, cleaned her up, and got the diesel bug again. I ended up selling the 96' and finding a 97' in blue (my favorite) and decided to swap in an OM606.

There's a couple other guys that have done this conversion, but none (as far as I've found) that are using the stock auto. Our own @LandCruisinMy93 has been working on a pretty cool project using a manual, but I wanted to keep things simple and use the stock drivetrain.

Specs of this conversion:

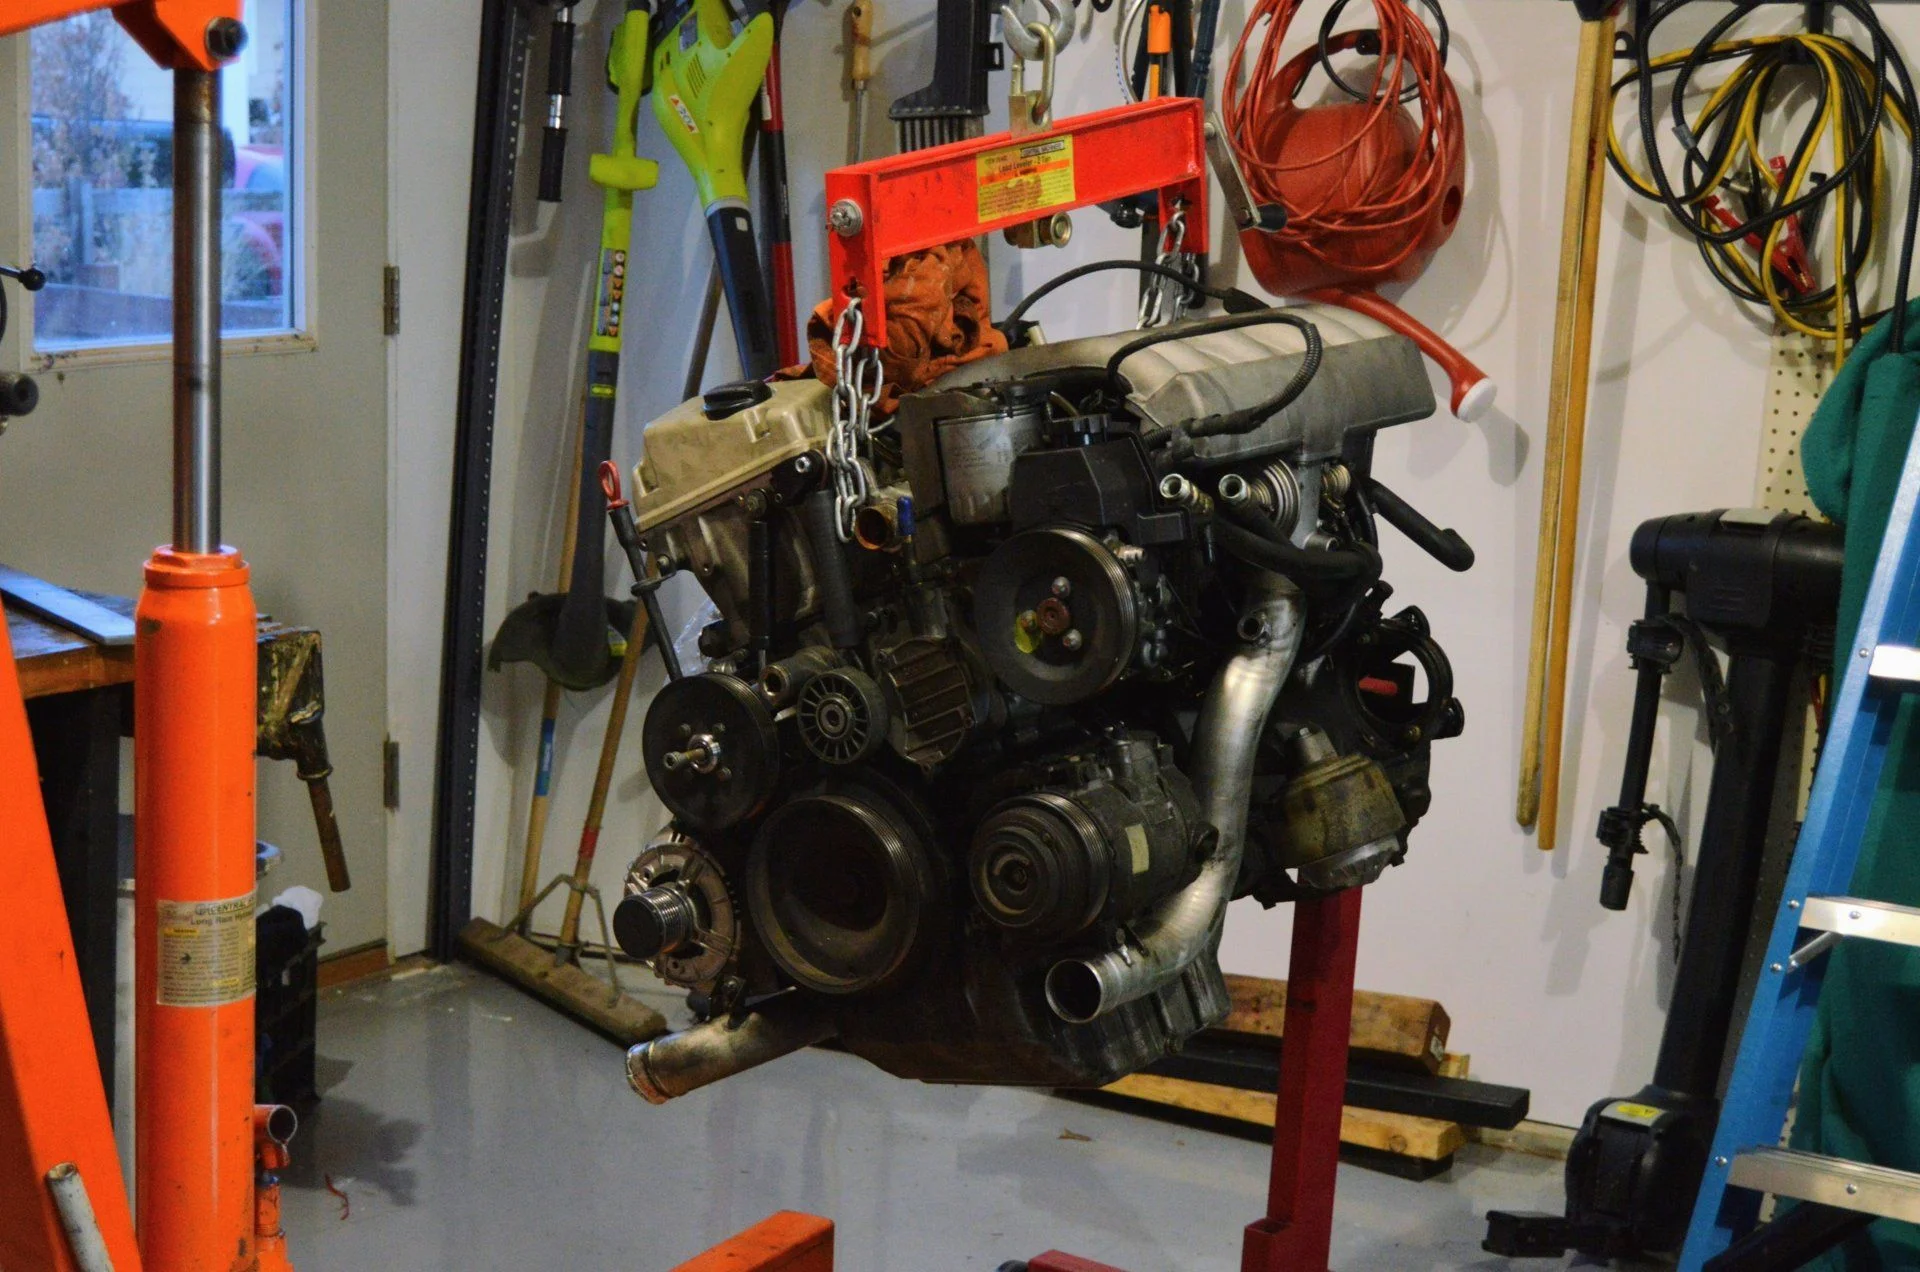
Engine: OM606 turbodiesel 174HP, 243 ft-lb (250 HP/300 ft-lb with increased boost and fuel)
Trans: Stock A343F
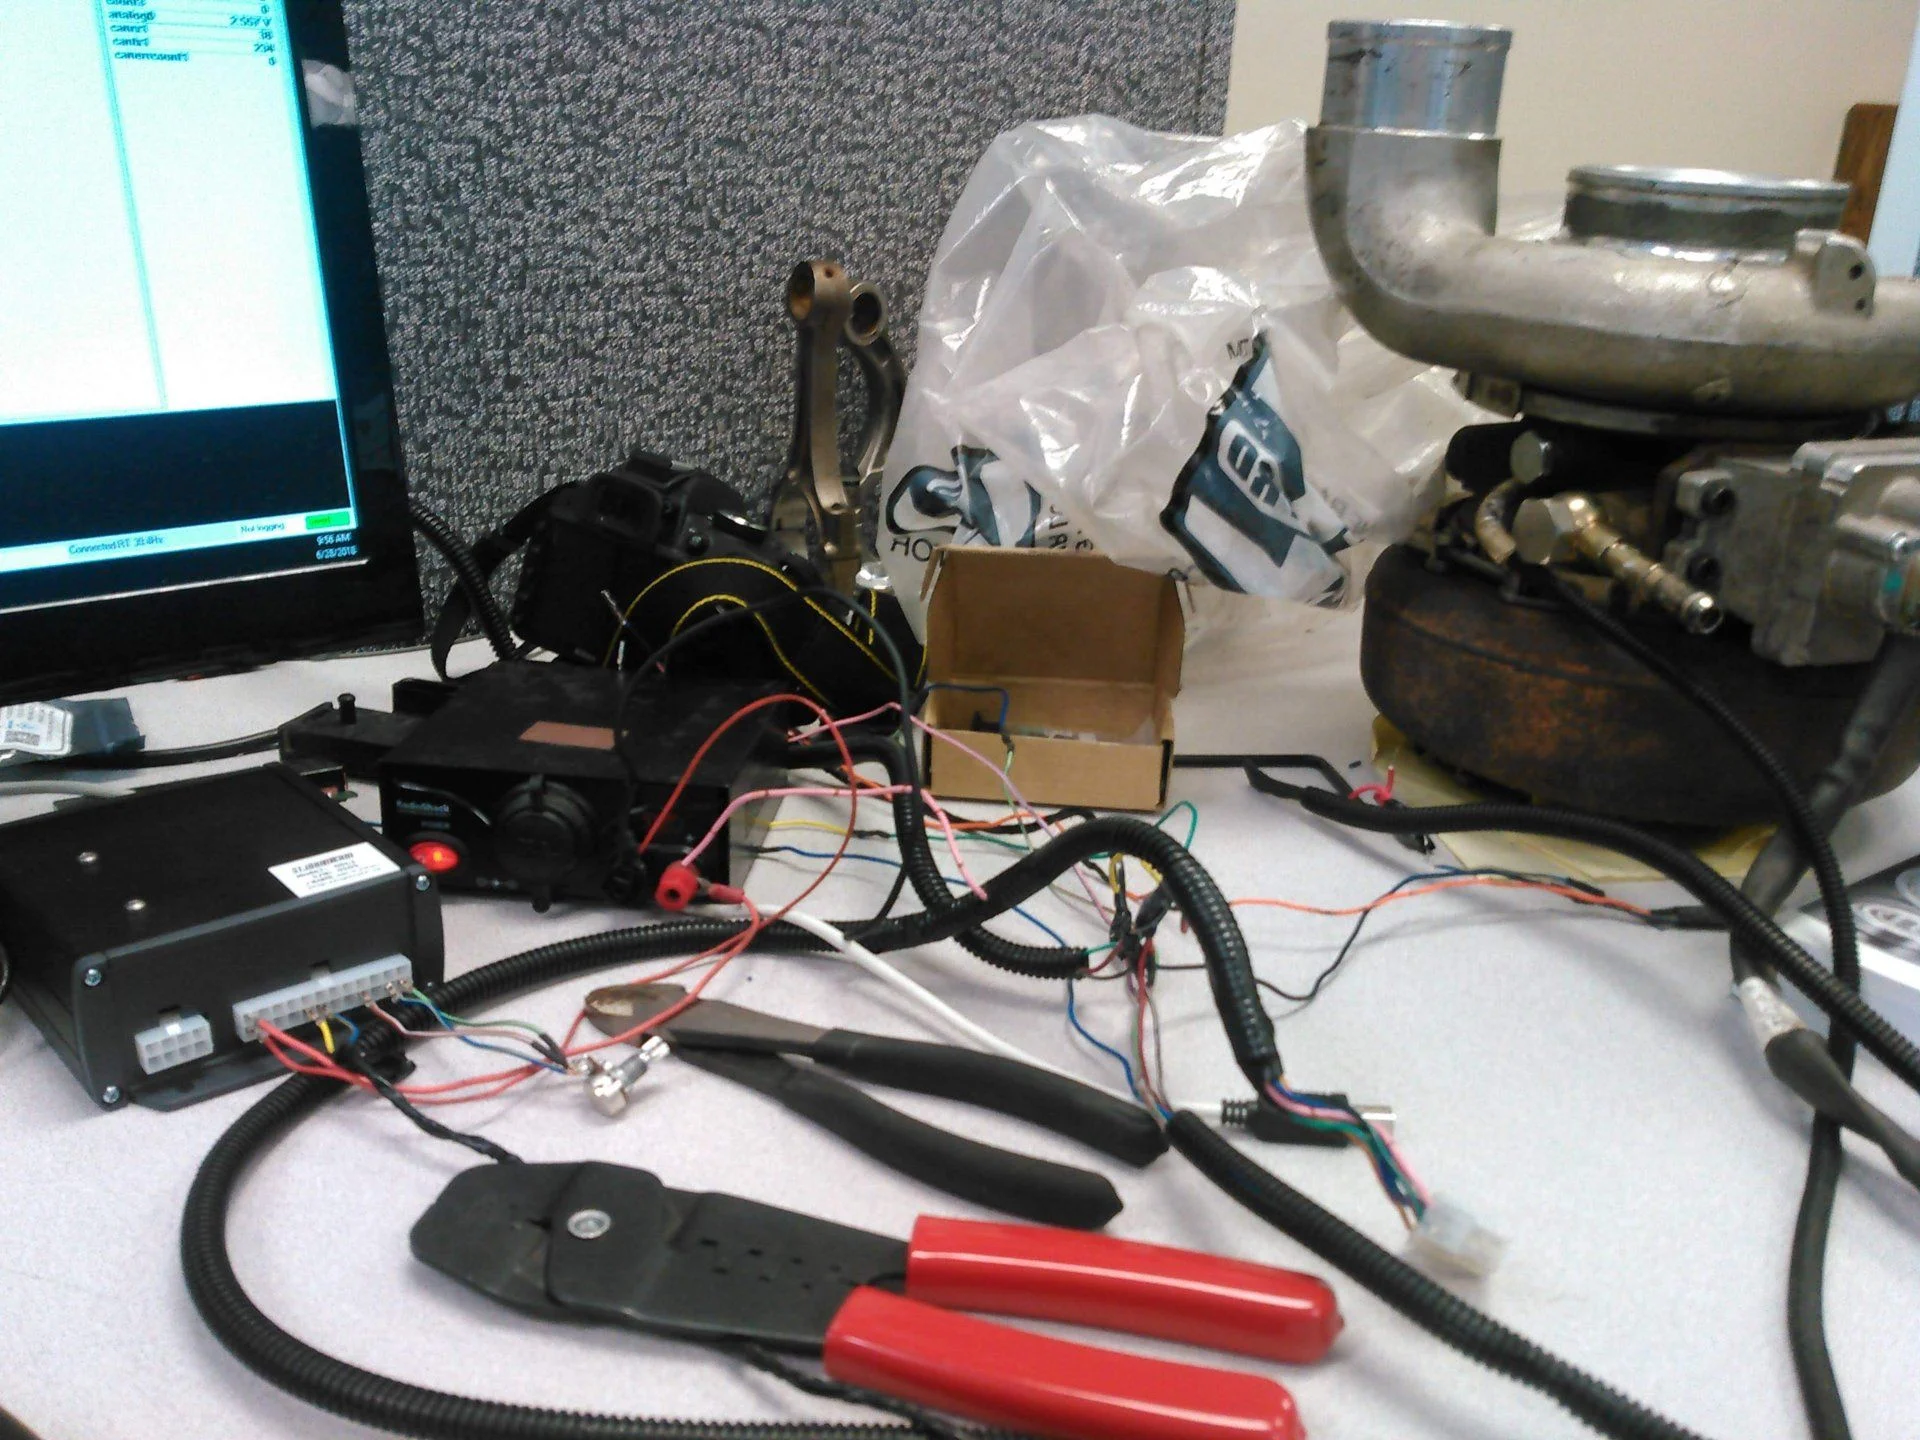
Trans controller: Microsquirt
Adapter: my own design
Engine mounts: custom (still deciding whether to adapt to the Mercedes mount, or develop a bolt-in option)

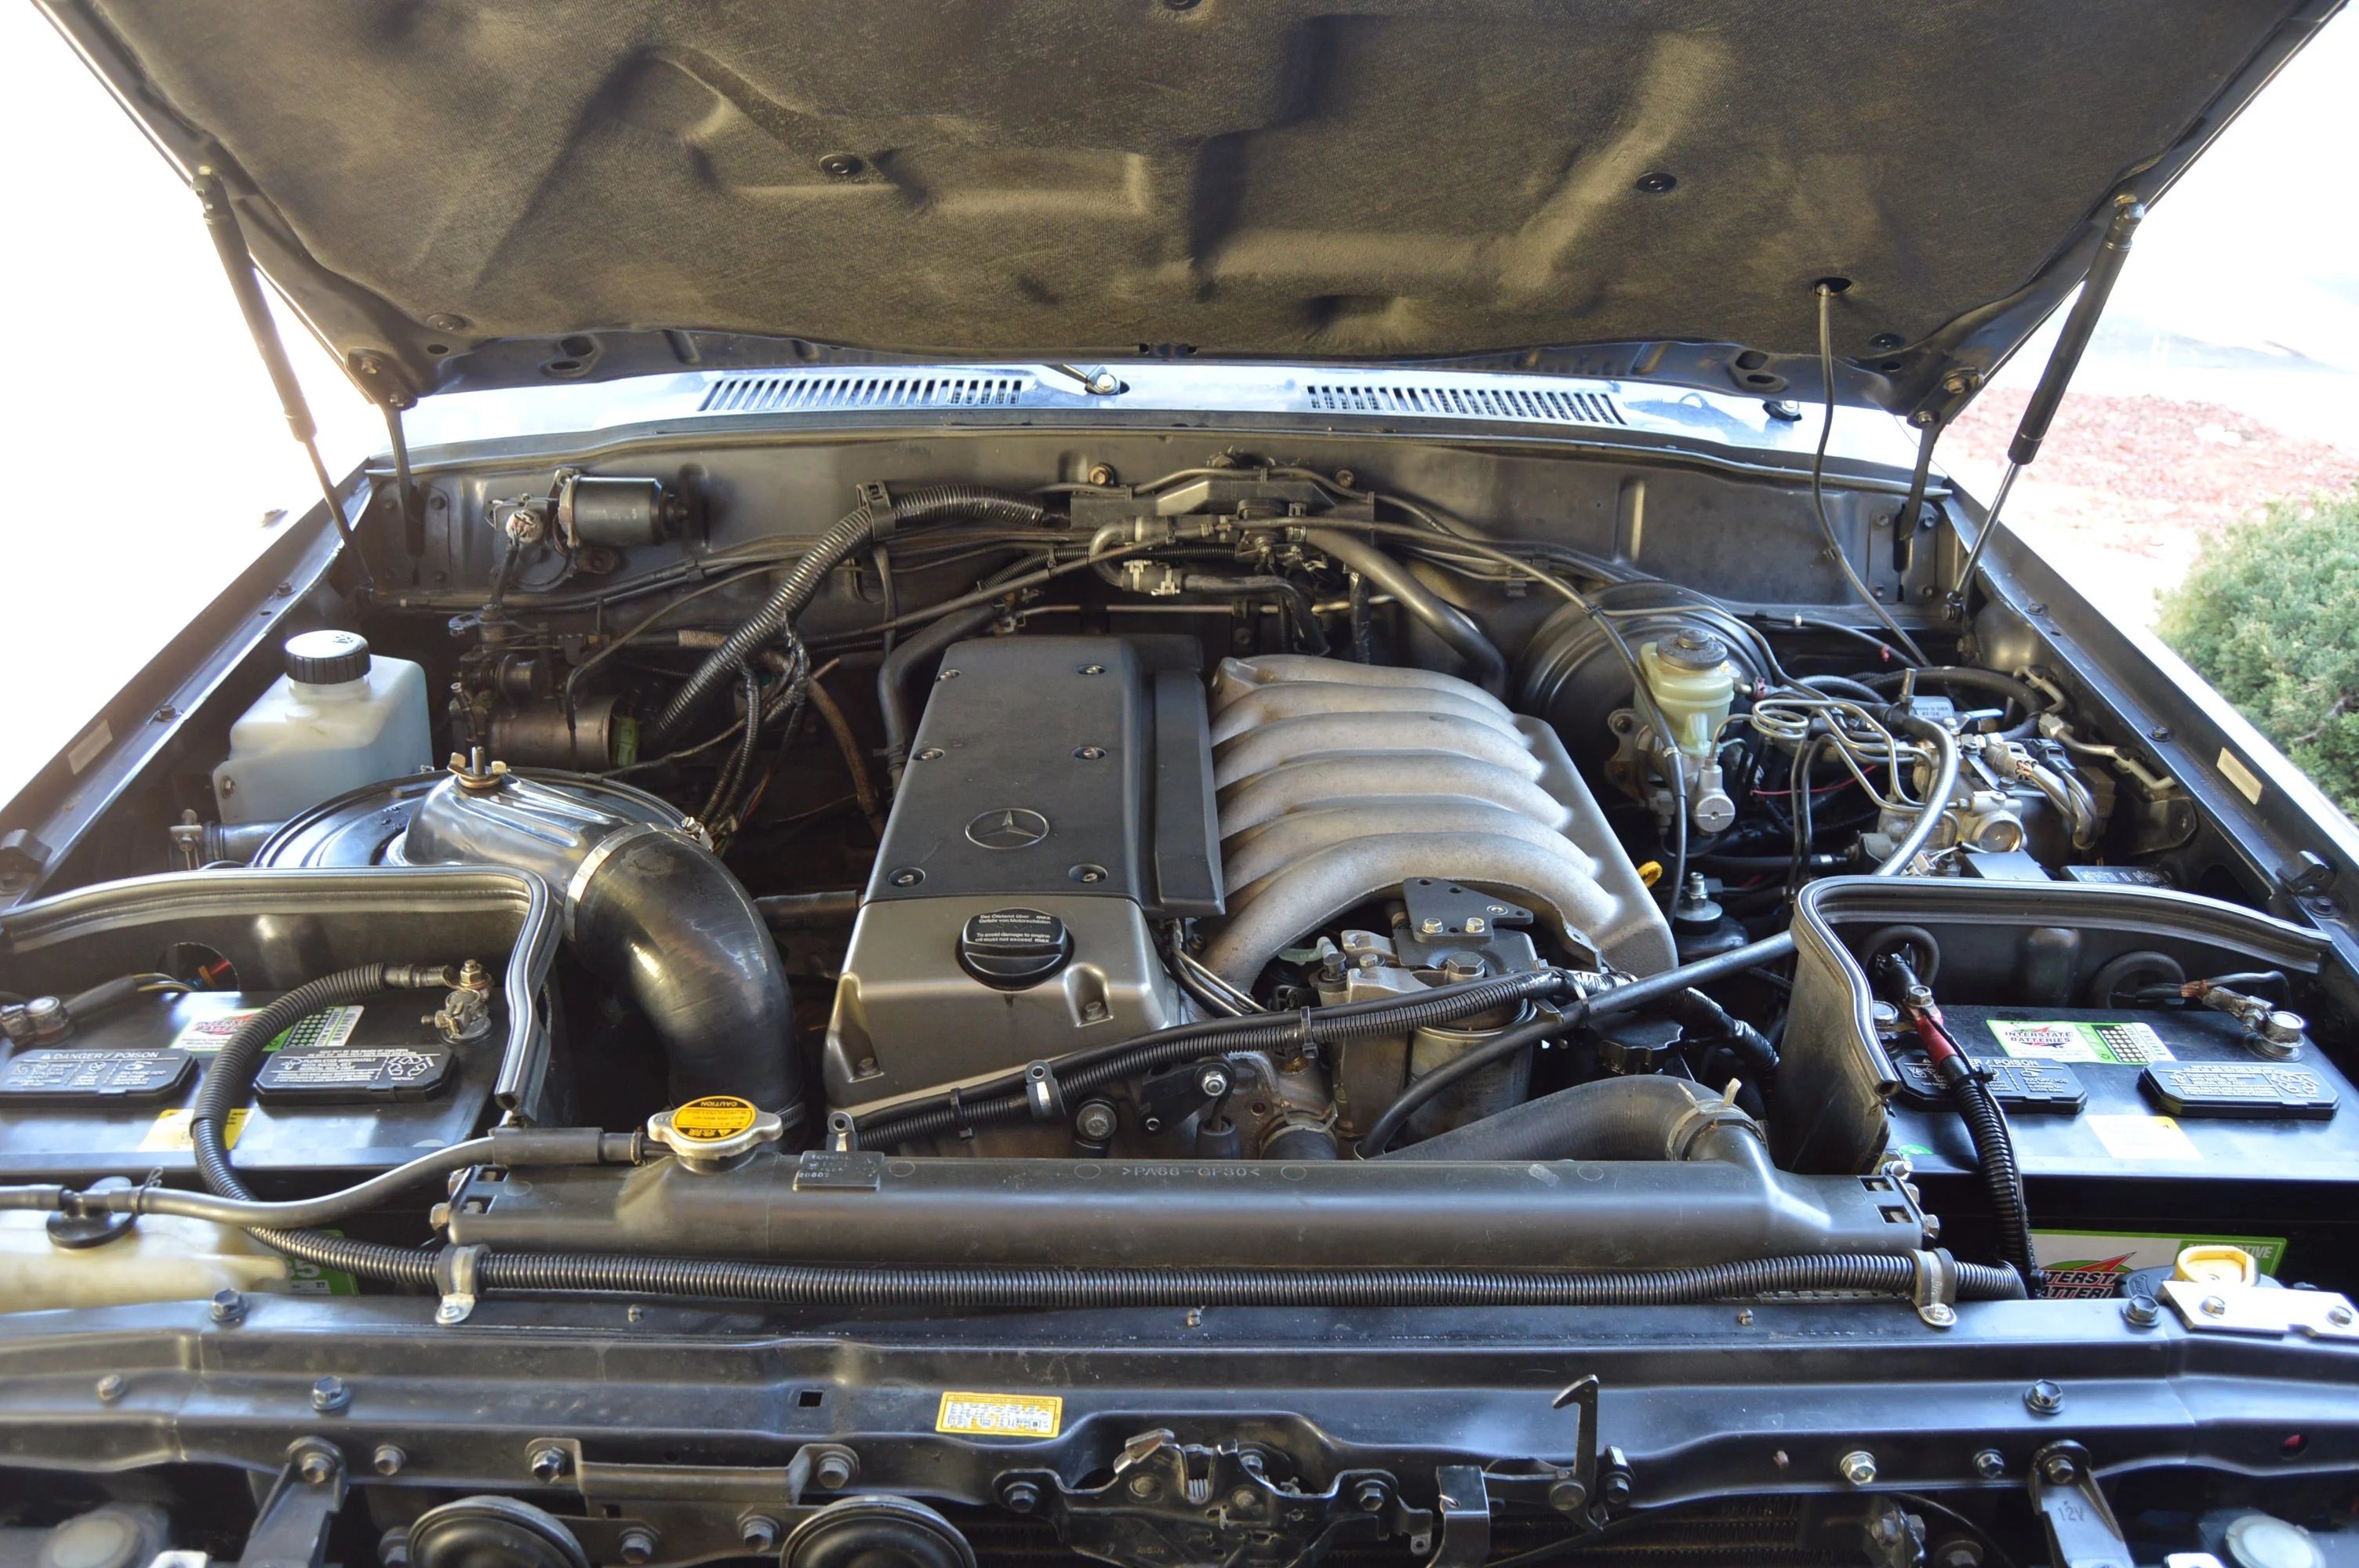
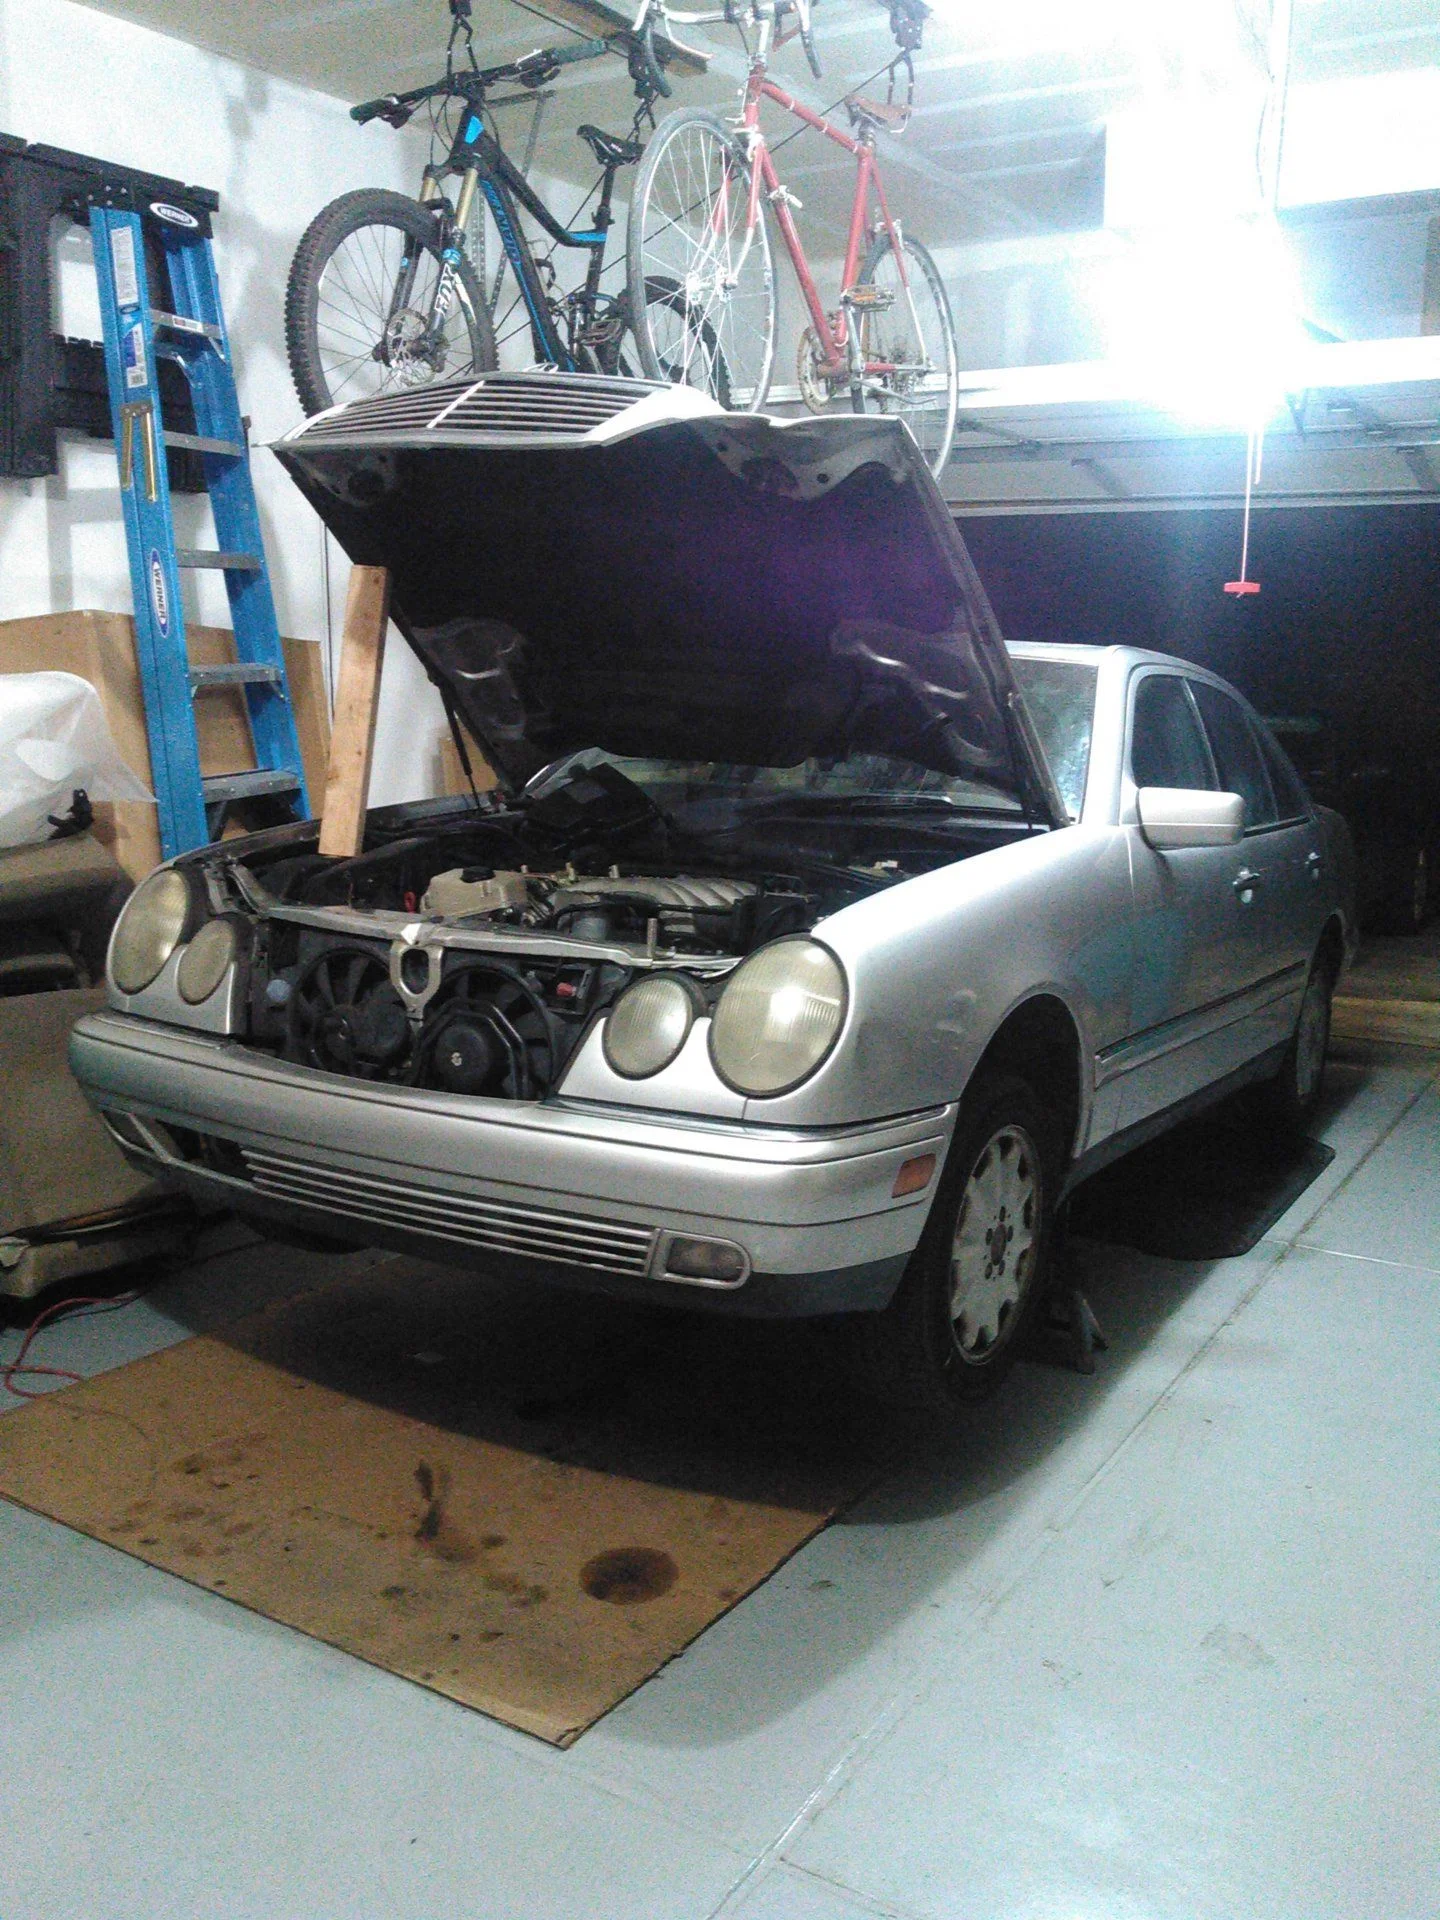
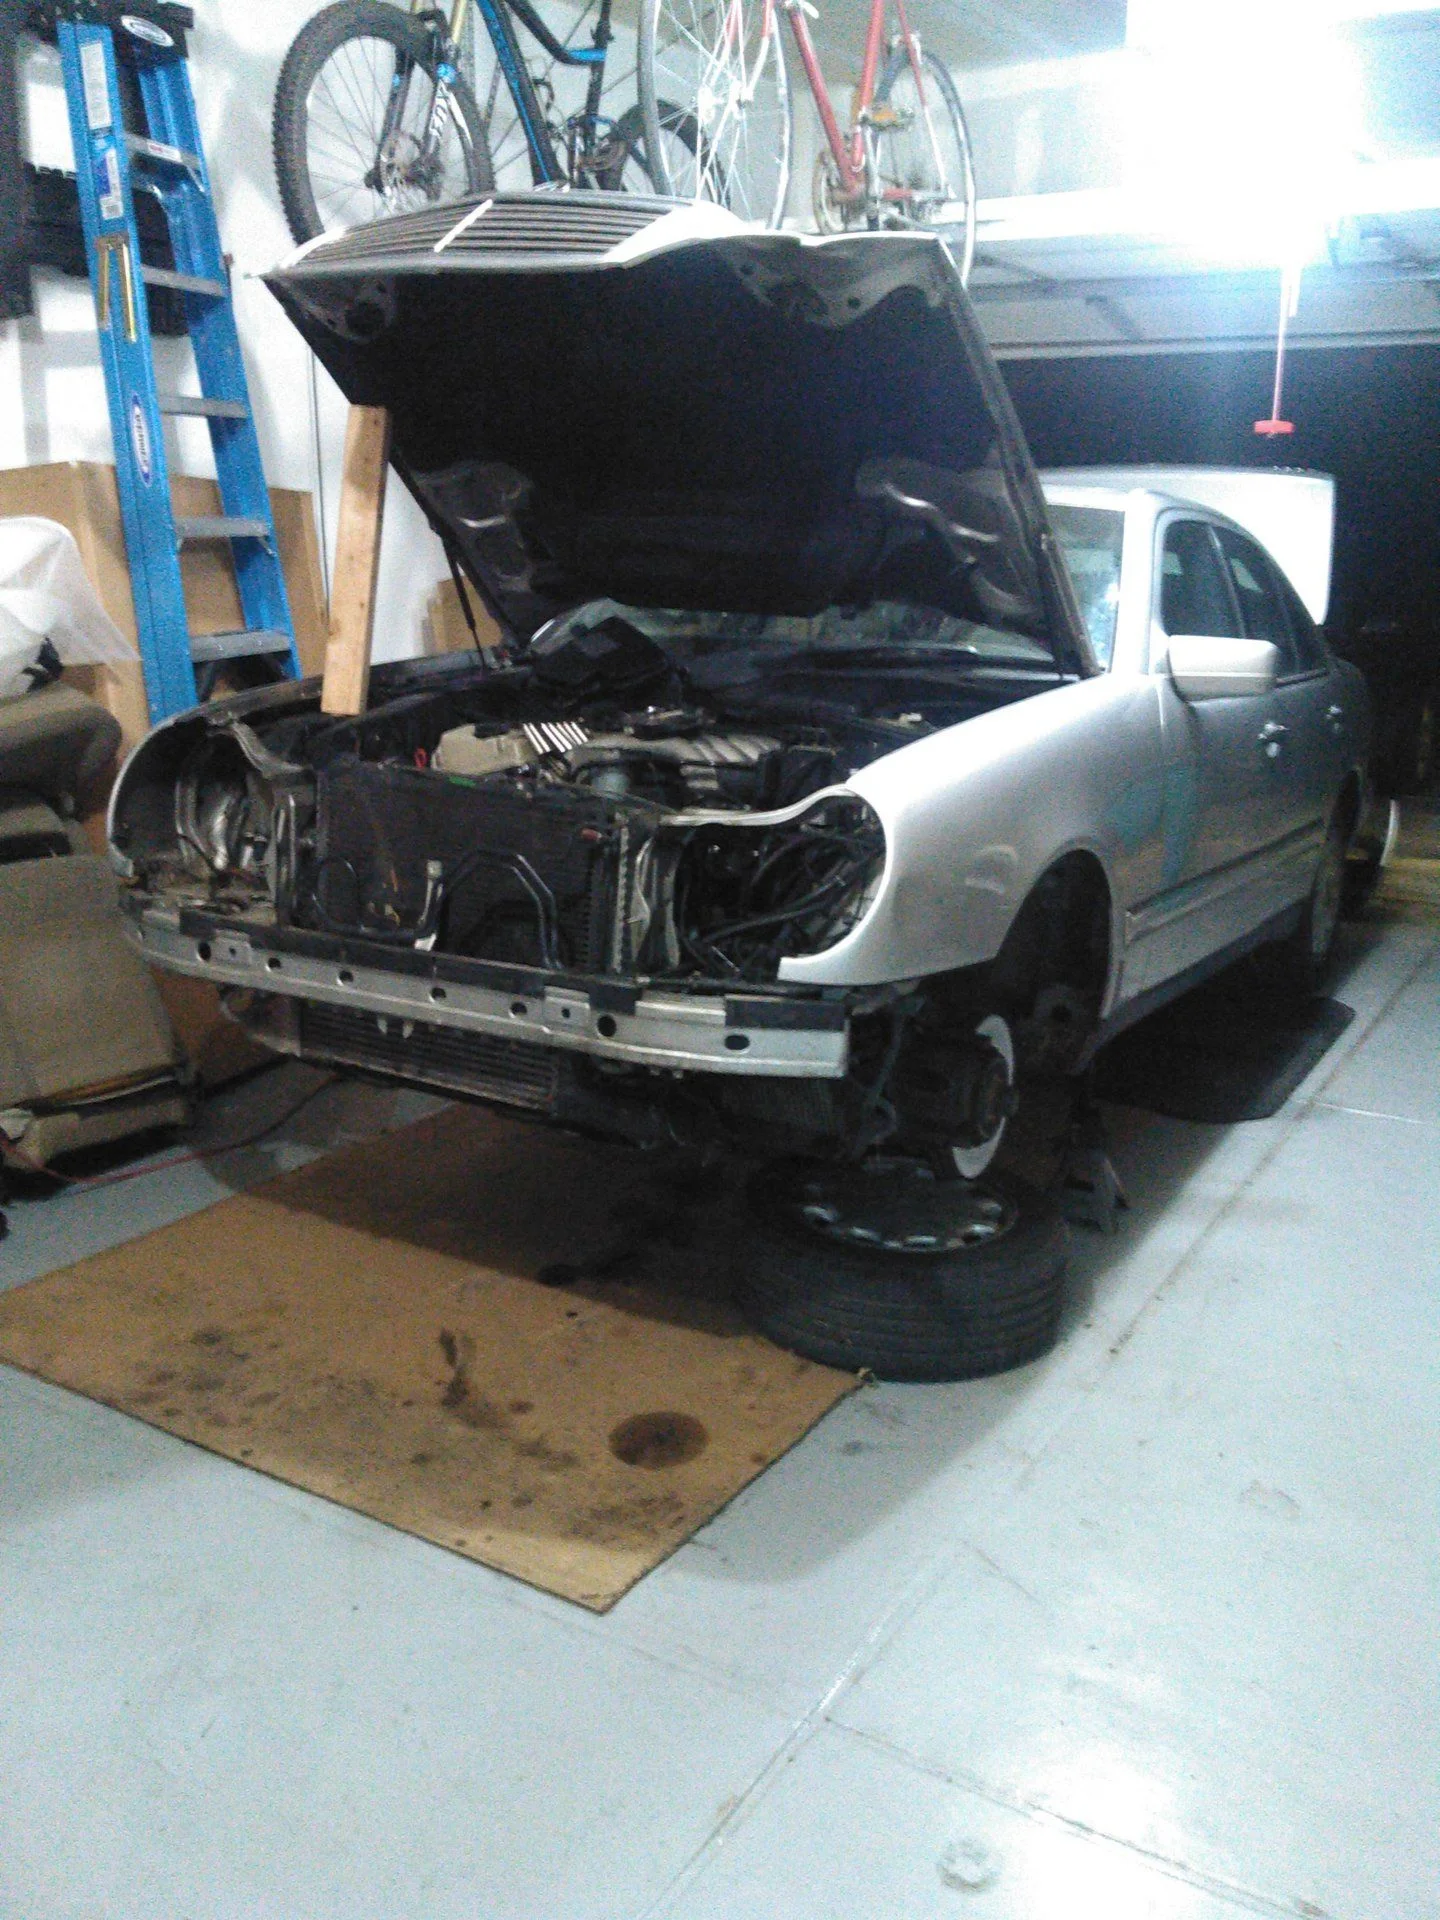
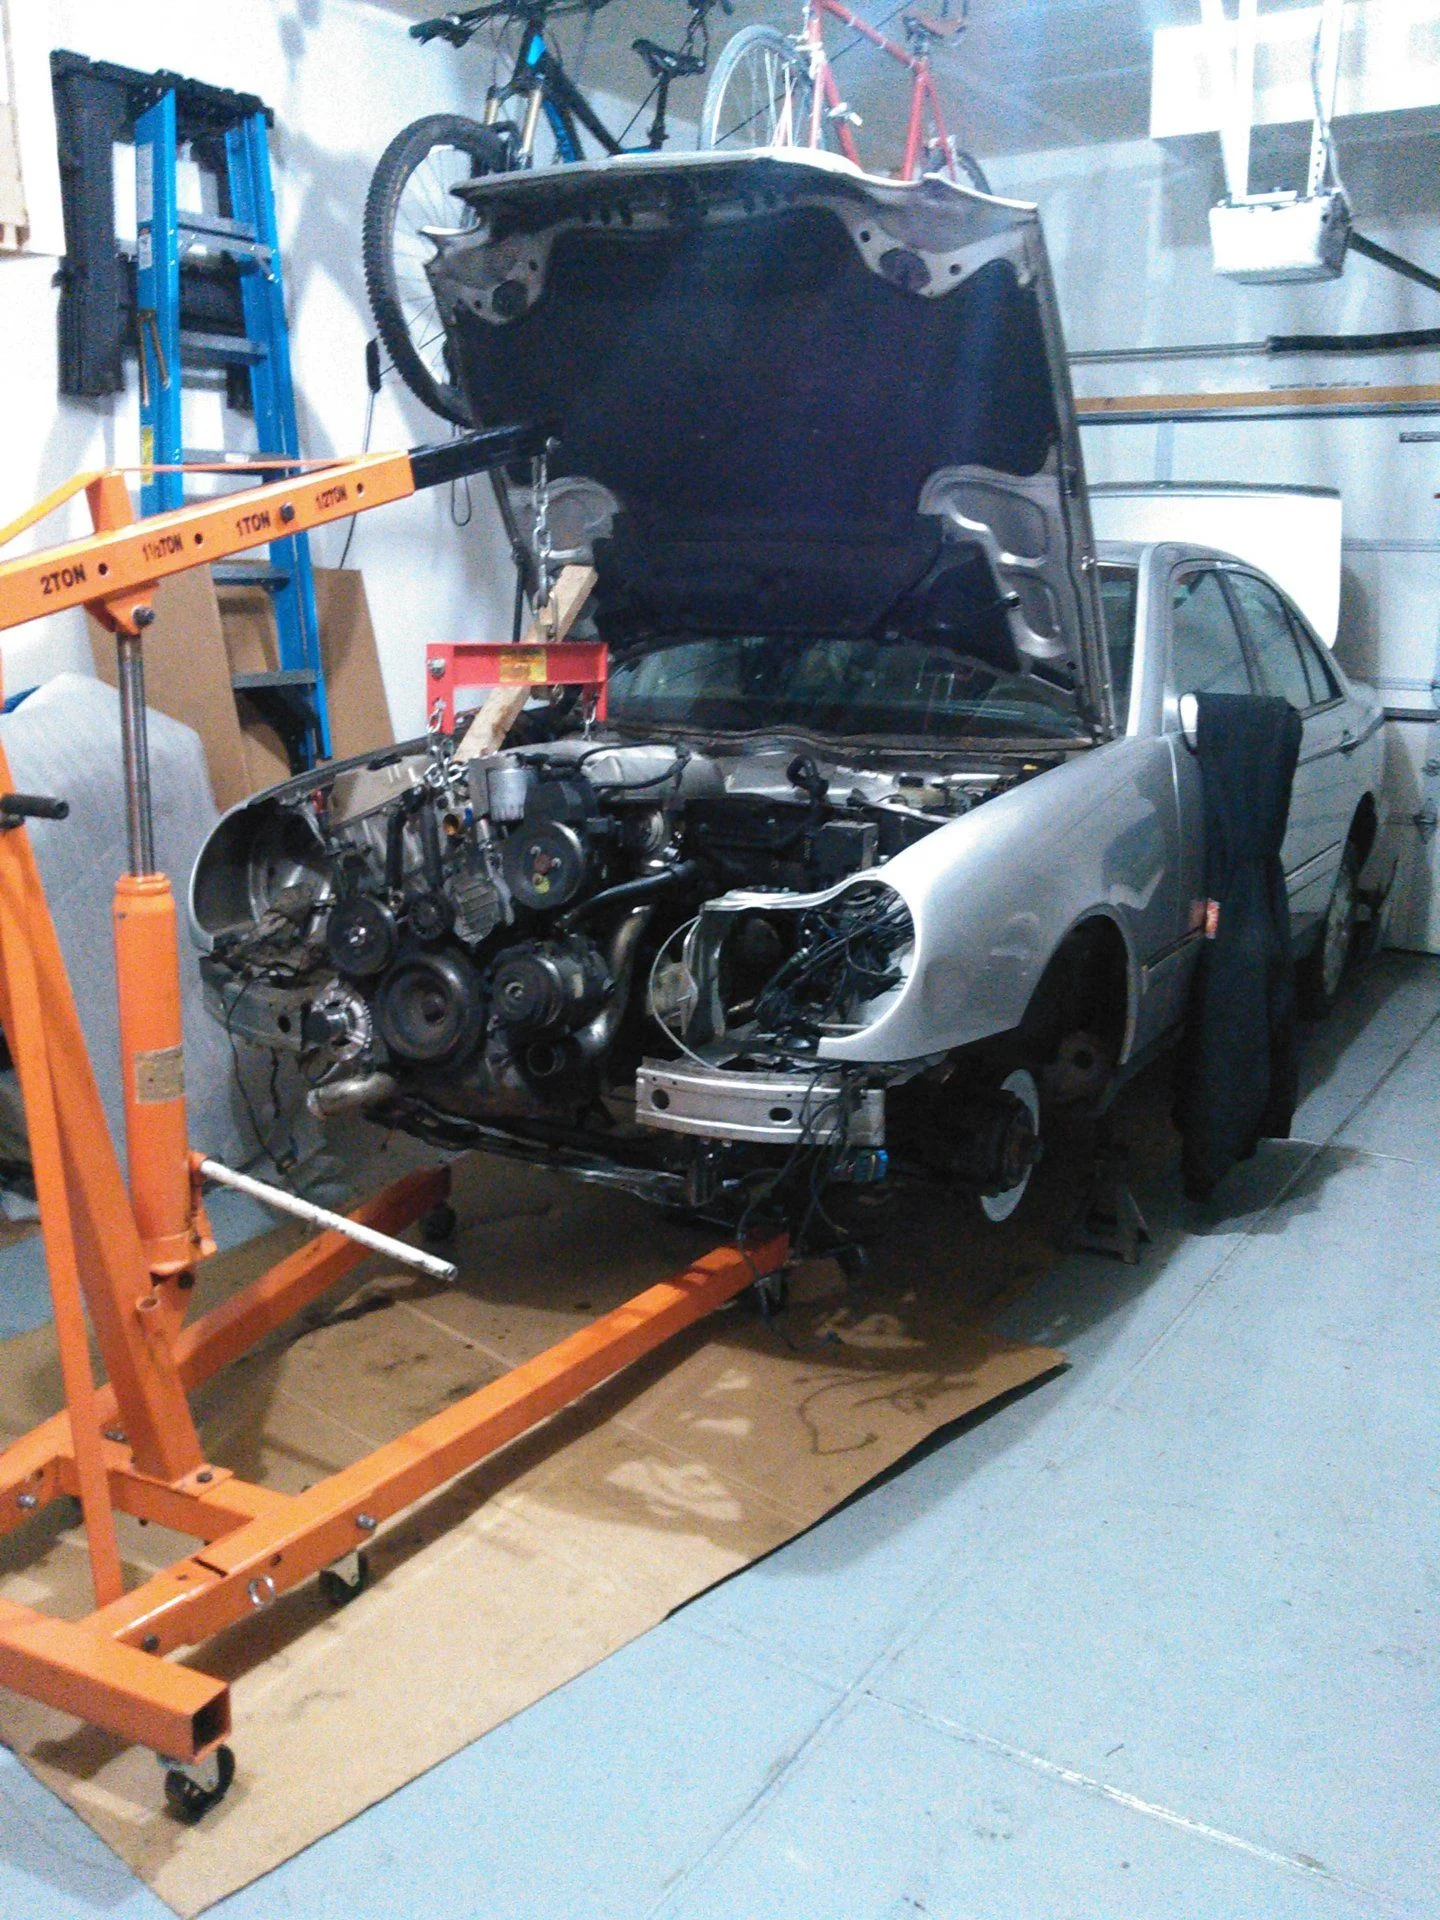
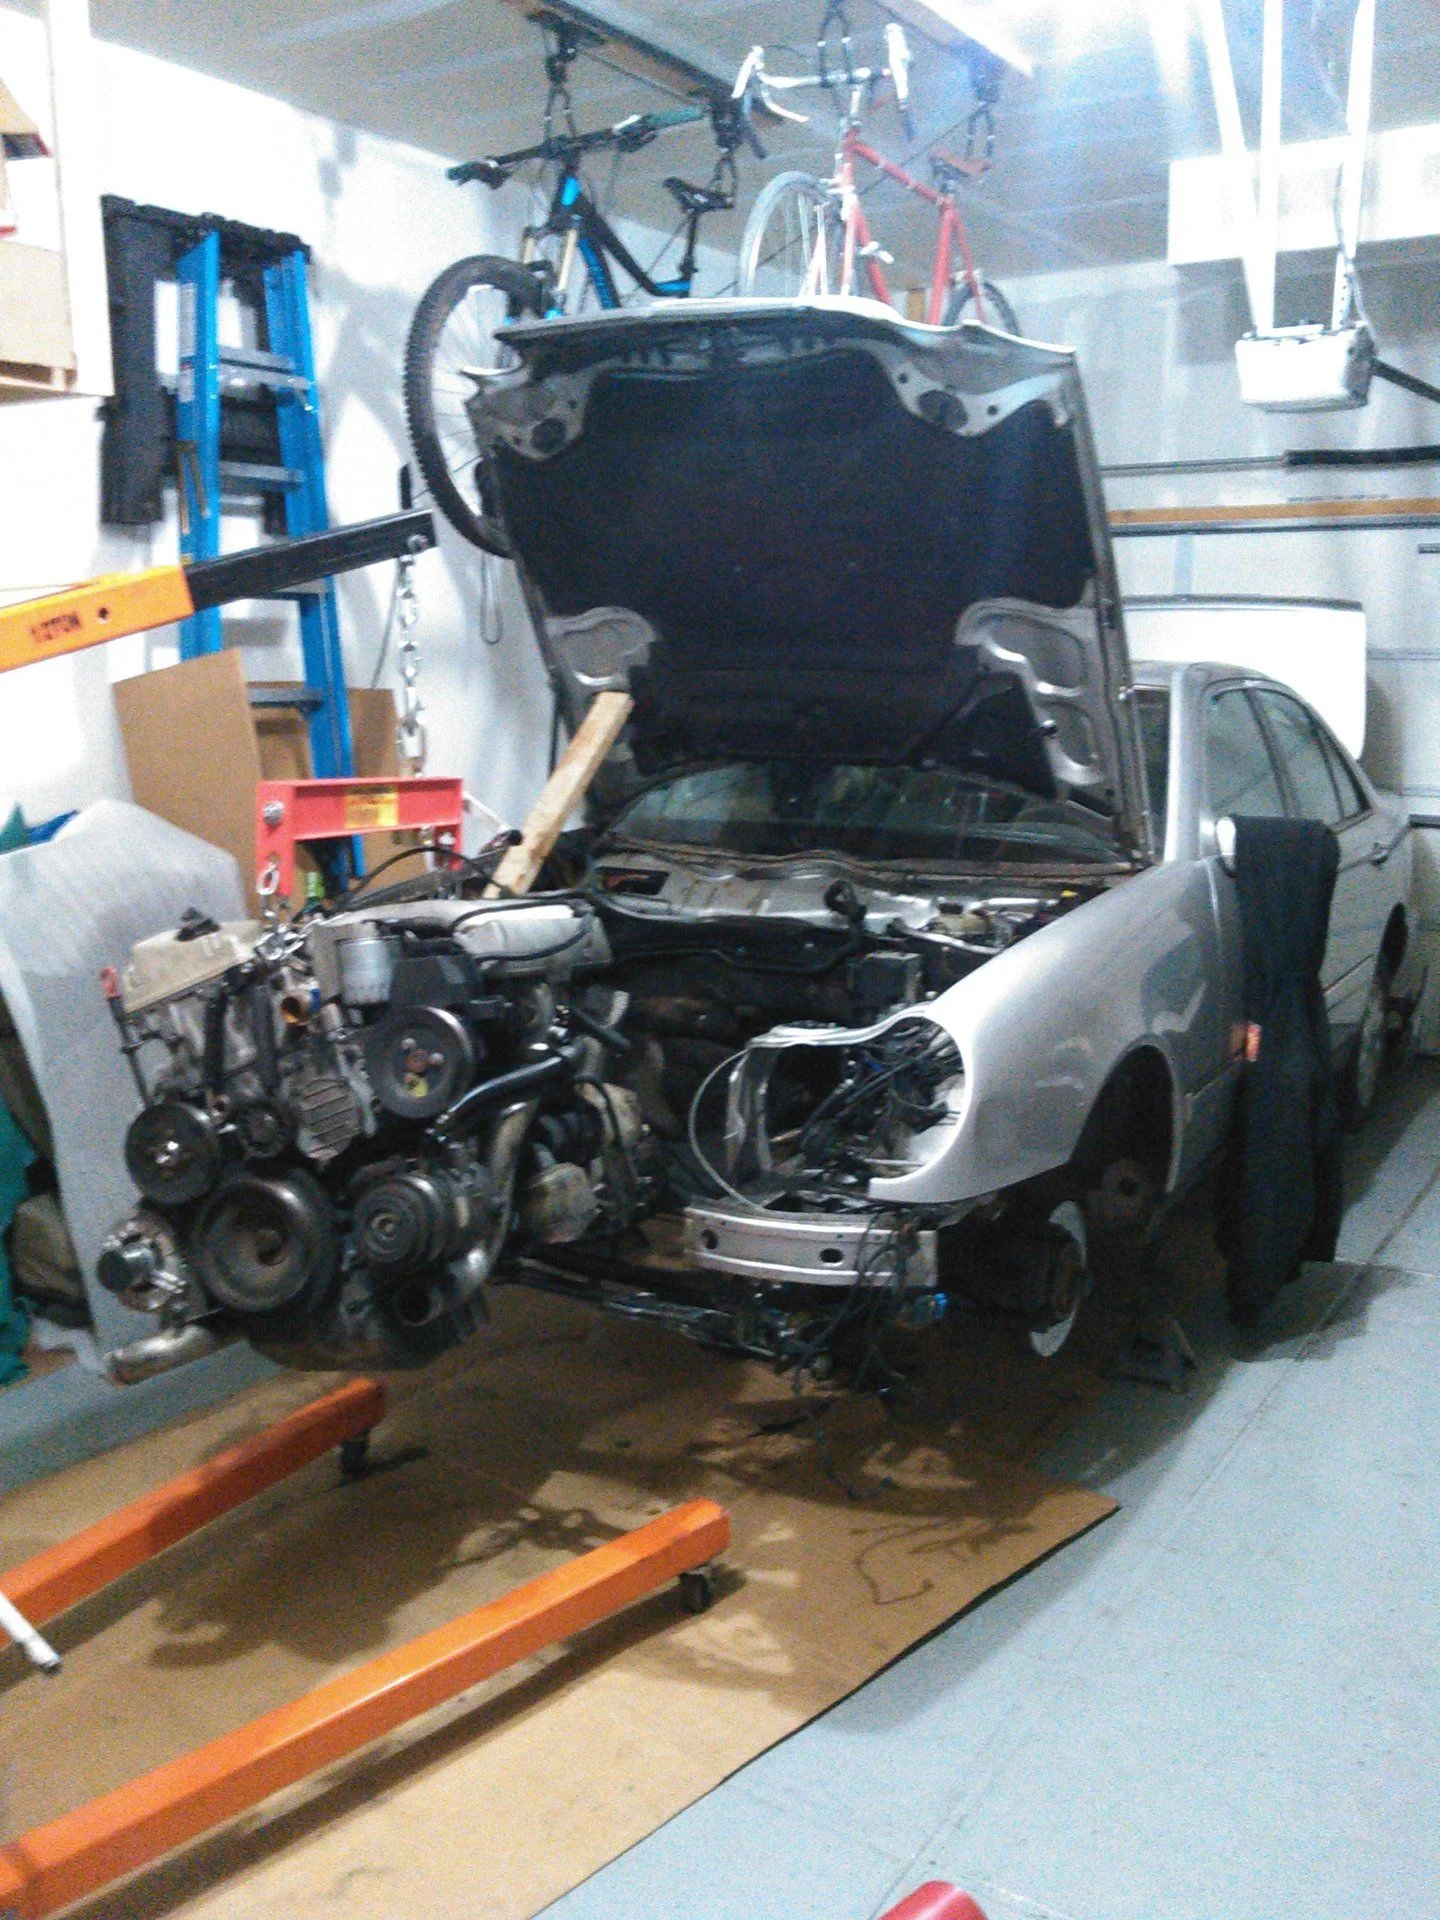
I purchased a clean 98 E300TD from auction, had it shipped up to CO, and tore it down.


The 1FZ-FE has a rear sump oil pan, but the OM606 has a front sump pan. The solution is the OM648 pan and pump. These currently run about $450 each from the dealer, but I found a used pair on eBay.

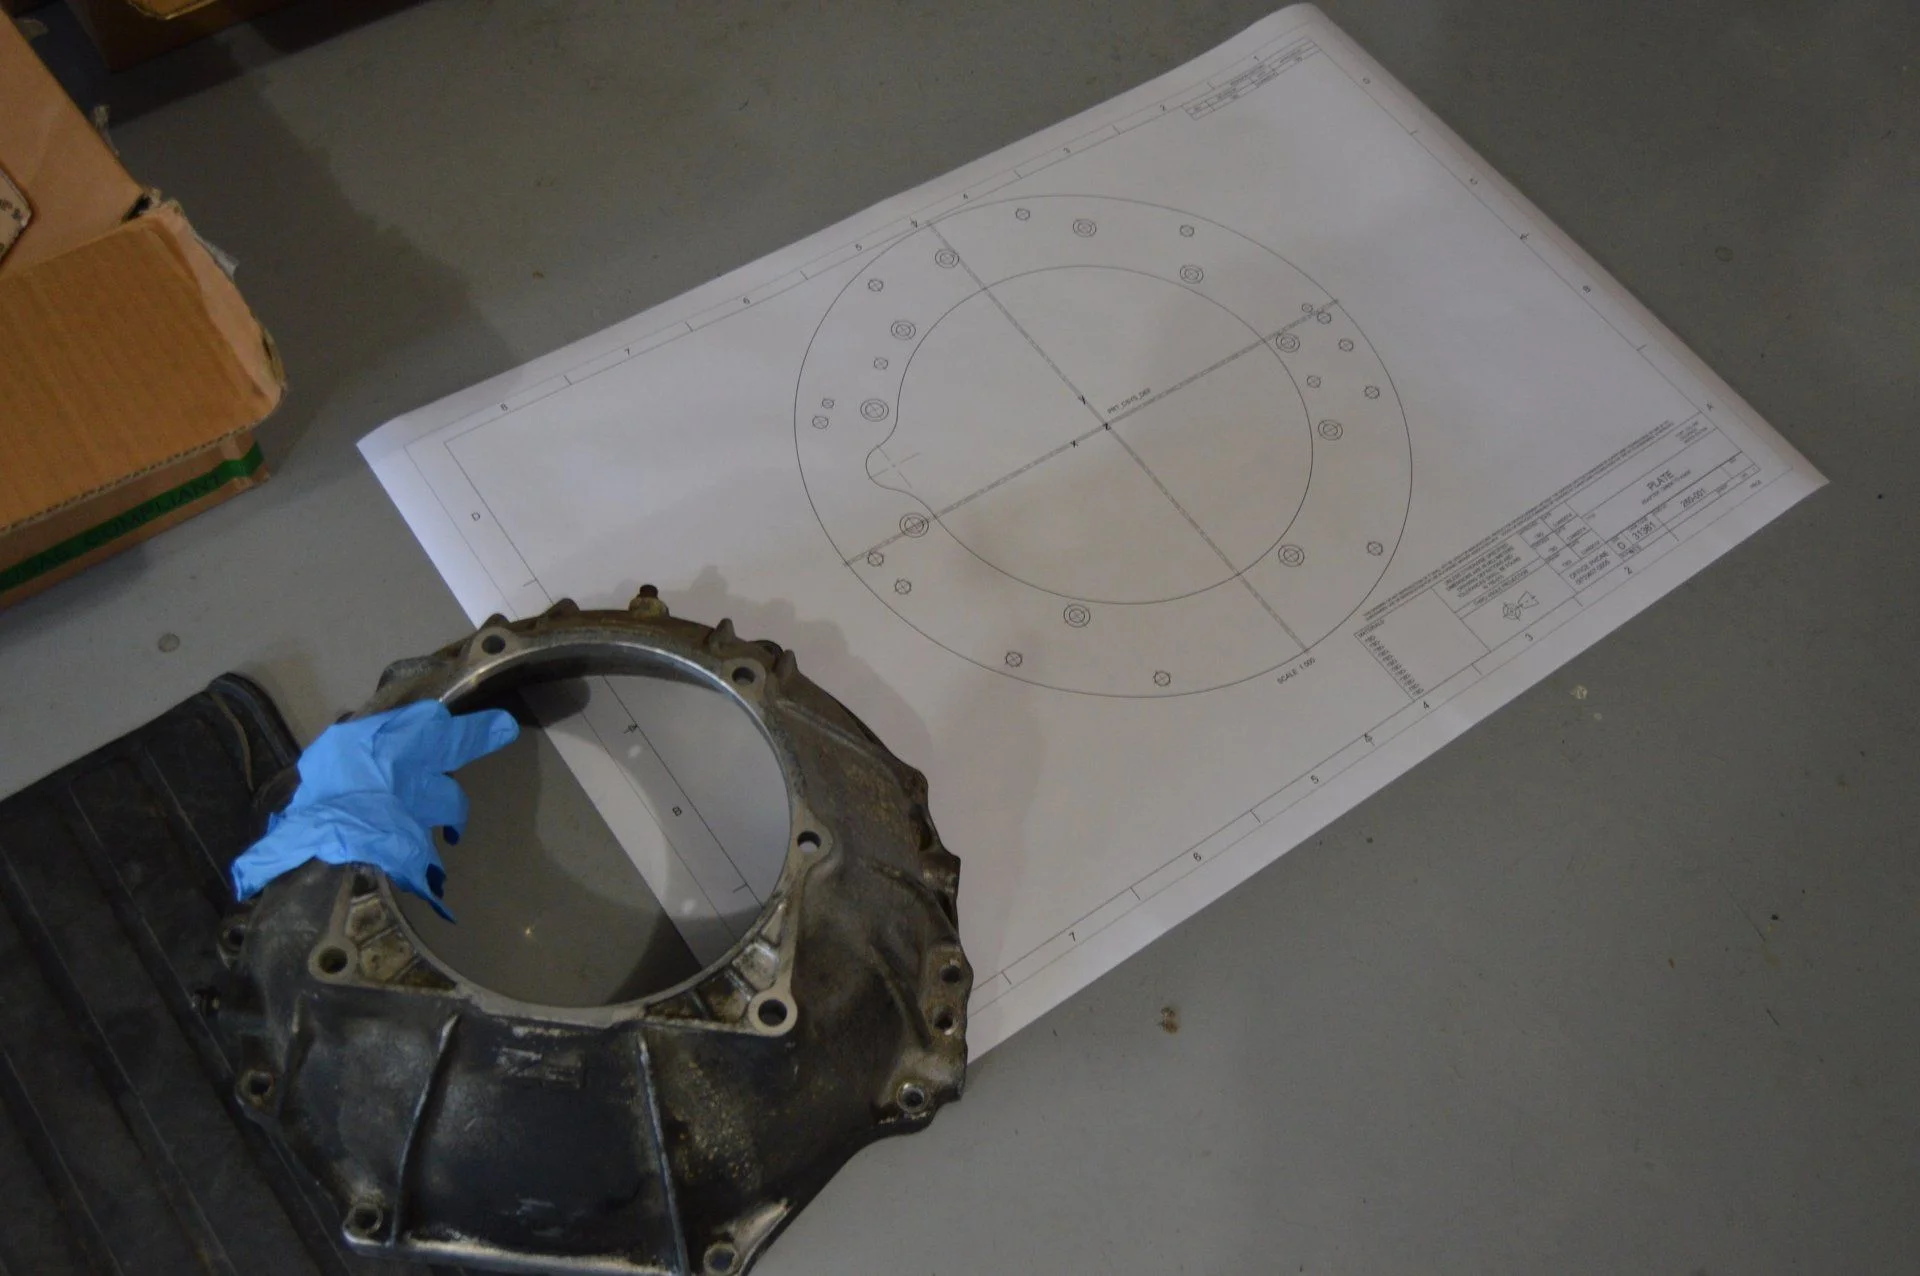
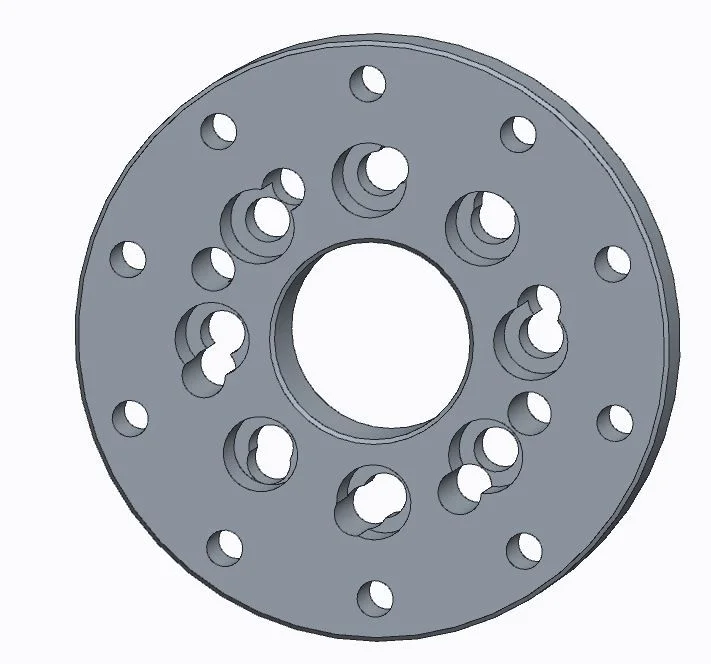
Here's the in-progress CAD model. The adapter will be a simple aluminum ring, that will be water-jet with the exception of the dowel pin holes, which will be cut on a much more precise CNC mill.

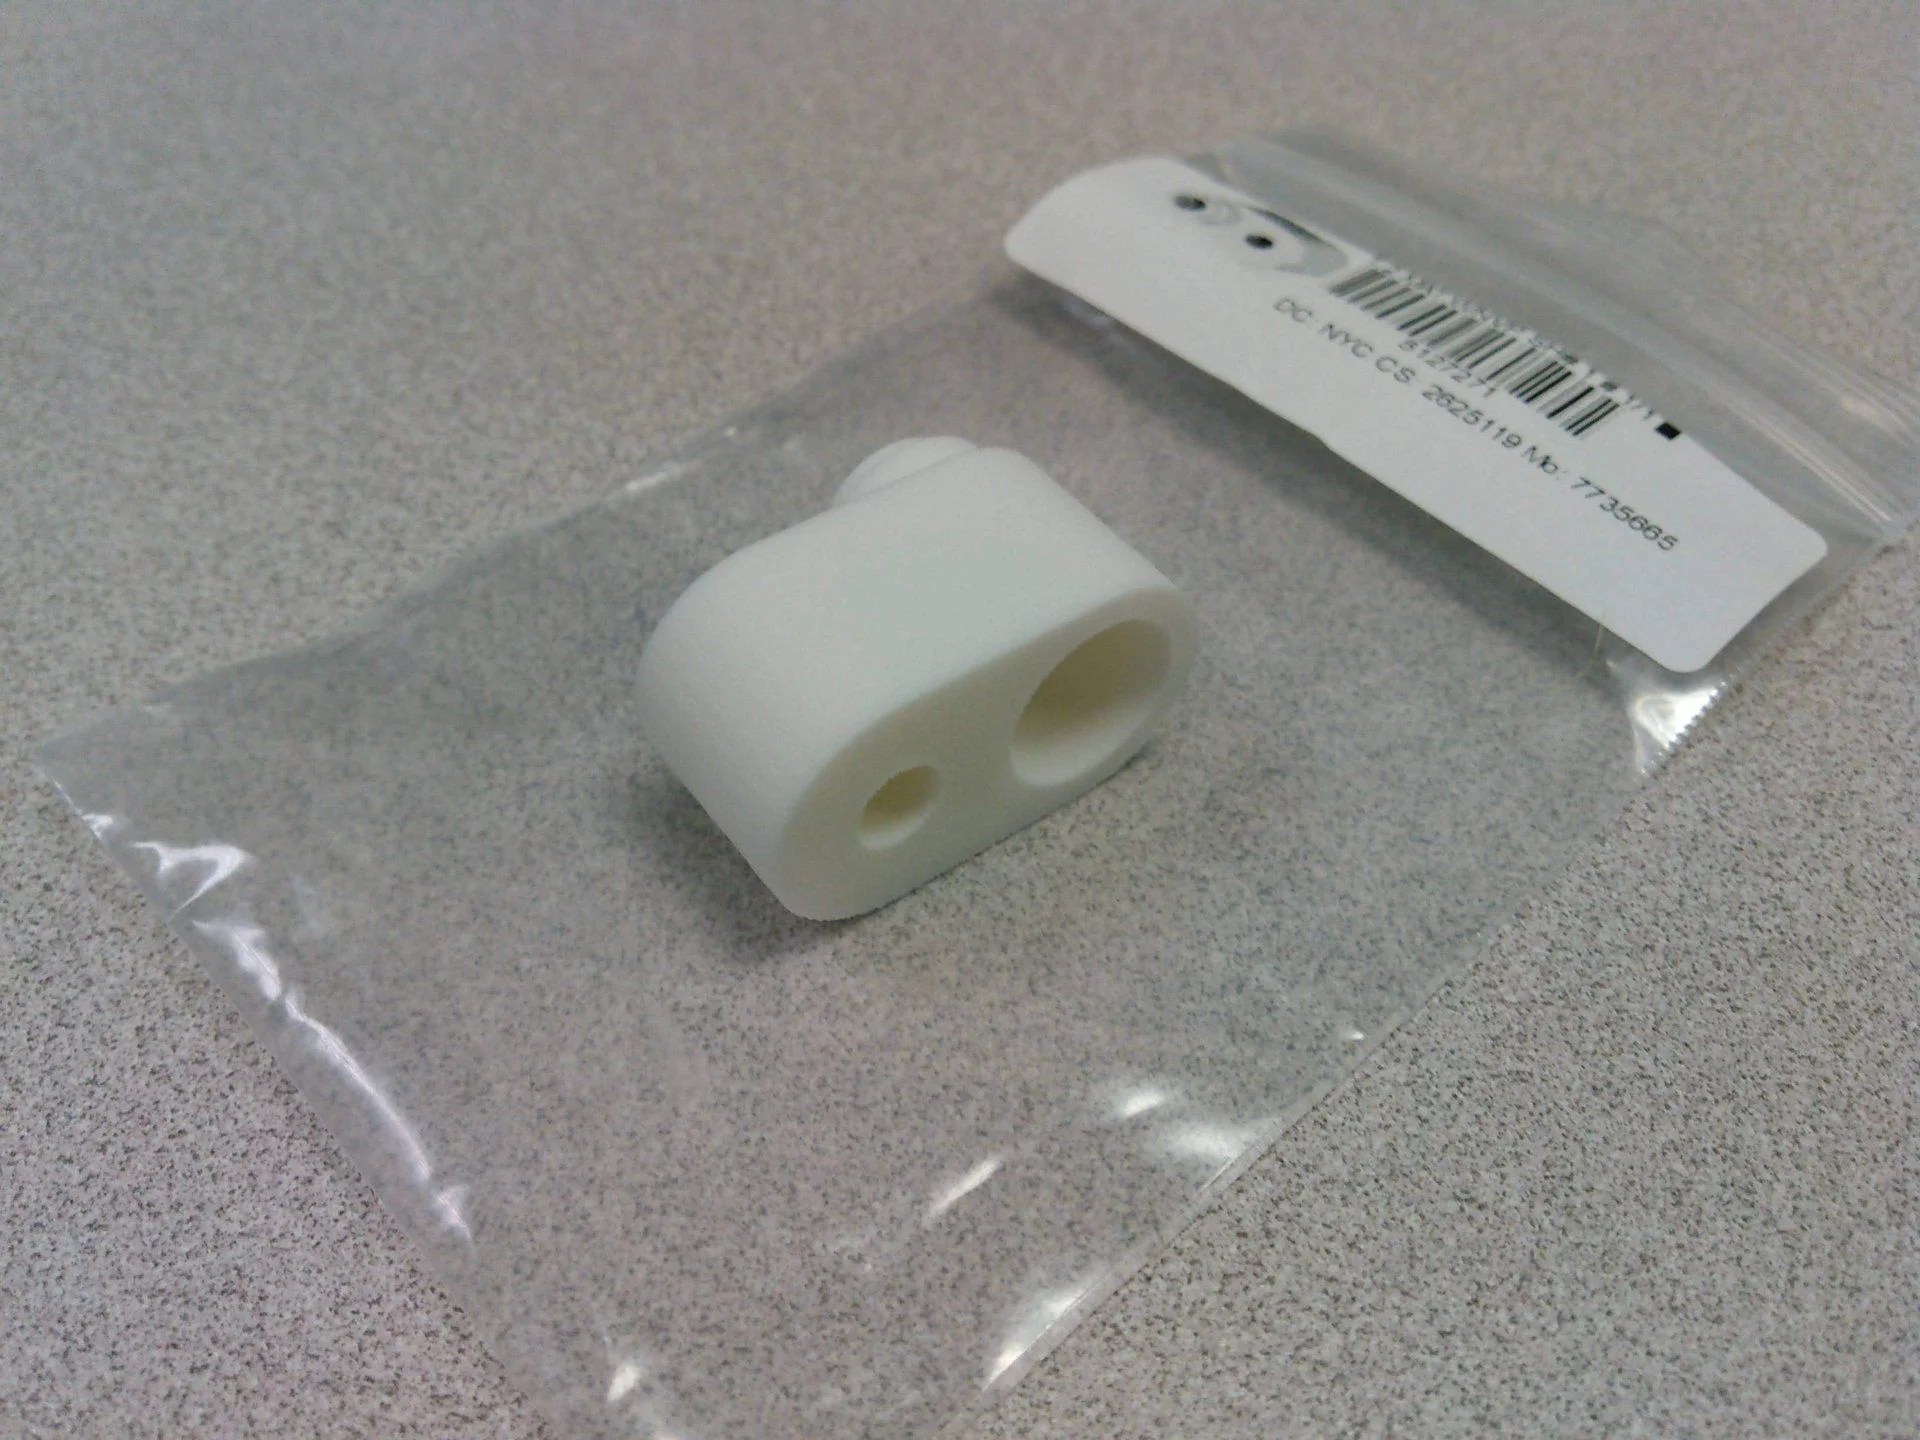
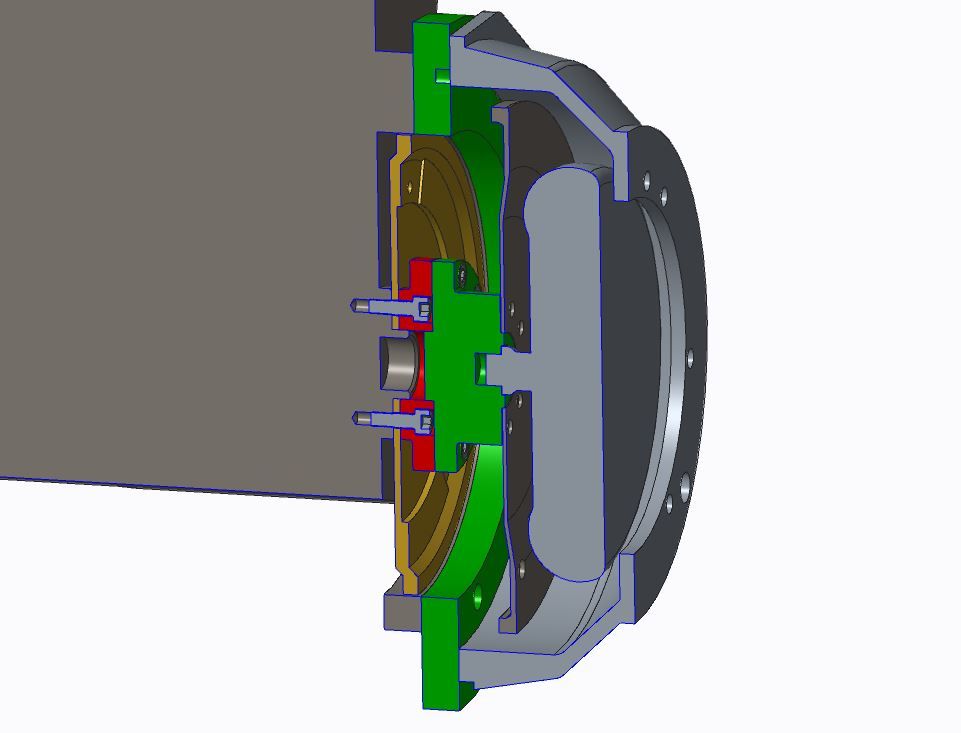
The crank adapter will be a 2-piece design, due to the fact that the OM606 crank has an 8-bolt pattern, and the A343F a 10-bolt pattern.

More to come!
 
Last edited:
Welcome to the club my friend.
 
Two pieces crank adapter it a bit awkward, you can do it in one piece. The bolt pattern diameter is wider on FZ than on OM engine. You can easily make in one piece. Less bolts = less chances to fail on that spot.
 
Two pieces crank adapter it a bit awkward, you can do it in one piece. The bolt pattern diameter is wider on FZ than on OM engine. You can easily make in one piece. Less bolts = less chances to fail on that spot.

The OM606 has a 70mm bolt pattern diameter and the A343F is around 80mm. When you factor the countersinks needed, there's overlapping all over the place. Unless the mockup transmission I have isn't what I think it is...

 
The guys with whom we did the OM613 project did the same project on auto and they actually machined a new flex plate which fixed to merc's flexplate as it supposed to be on side bolt holes

IMG-20180501-WA0053.jpg


IMG-20180501-WA0055.jpg
 
The guys with whom we did the OM613 project did the same project on auto and they actually machined a new flex plate which fixed to merc's flexplate as it supposed to be on side bolt holes

View attachment 1698313

View attachment 1698318

Thanks for linking those shots, that's cool to see how other people tackle similar projects.

Take a look at my previous post to see what I'm talking about with the crank bolt patterns.

Looking at the tolerance stackups, the runout at the A343F flex plate should still be within what is generally accepted for flywheel runout. I will of course be measuring all of that.
 
How many miles on the OM606? If its high miles will you do a rebuild? What would be high miles for that engine??
 
How many miles on the OM606? If its high miles will you do a rebuild? What would be high miles for that engine??

This engine has around 200k, but that's not too bad for these motors. I've seen plenty with 300k+ that run fine.

I did, however, replace all the seals and do some other maintenance:

Glow plugs
Delivery valve seals
Both filters
Water pump
Thermostat
Valve cover gasket
Front main seal
Rear main seal
New alternator (the old one had zero bearing balls left, haha)
Belt tensioner damper
Fuel injector line clips and rubber washers
New viscous fan clutch
New idler pulley
Serpentine belt

I test ran all these repairs in the E300 before I pulled the motor, so I knew it would be ready to go.
 
Thanks for linking those shots, that's cool to see how other people tackle similar projects.

Take a look at my previous post to see what I'm talking about with the crank bolt patterns.

Looking at the tolerance stackups, the runout at the A343F flex plate should still be within what is generally accepted for flywheel runout. I will of course be measuring all of that.
Yes I see the bolt pattern, we always follow the rule that adapter plate should be as thin as possible to keep the space and no extra parts where most of the engine load will be applied. That's our concept though. And we are just sharing information to make it easier. :)
Good luck with project, 606 is a great engine.

Yes, thanks again for sharing! I think I will go back and see how thin of adaper plate I can get away with given the thread engagment. I can probably reduce it by 5 or 6mm.
 
Mercedes flexplate has holes to mount the torque converter. IMHO best option is to bolt your custom flexplate to these holes, as they are meant to hold it. As the toyota's flexplate is bigger it will allow you to keep it simple as possible and maintenance access through standard rear OM's access hole in the rear of the engine.

Looking at the diagram I do not see the ways how you will be bolting the torque converter to your custom flexplate. That's another reason to keep the adapter plate as thin as possible.

Yes, you make good points. I had worried about that myself.

I originally designed a flex-plate adapter like you mentioned, but scrapped it because I am not confident in the perpendicular runout of the 606 flexplate is low enough to prevent large radial runout at the torque converter mechanism. I may look into using a deeper pilot feature to the 606 crank as a way to get that.
 
Interesting, I guess it is all matter of measuring both TCs and flexplates. Keep us updated
 
Any updates on this???:hmm:

I've got drawings out to 2 different machinists and am waiting to hear back on price and lead time.

I'm using another FZJ I bought as a fit-up vehicle so I can keep my red 96' running for summertime. I've got the former in the garage and getting torn down so at least I can get an idea on engine mounts and oil pan clearance in the mean time.
 
I am close to having the initial bell-housing adapter mockup in my hands. In the mean time, I modeled up a dipstick adapter to mount to the rear-sump OM648 oil pan. For those who aren't familiar, the rear sump oil pan that fits the OM606 doesn't work with the 606 dipstick, and the "service" dipstick for the OM648 pan is no longer available. This part will adapt a commonly-available dipstick straight to the OM648 oil pan. Here's the 3D printed prototype from Shapeways:


I got the dowel pin locations using a CNC and finding the centers, as well as the OM606 drawing that is floating around online (I hope it's correct). The flex plate dimensions were found with a similar method.'

Engine, all ready to get dropped in (pending ...everything)
 
Outstanding work so far. I can hardly wait to see the completion of your 80. There are definitely a lot of things I would have done different myself. Such as only a mild power increase and maybe staying with an auto transmission. I like having a manual transmission because my vehicle is completely mechanical with no electronics to fail; but at the same time I think an automatic would have made it move smoother around town. I think if I were doing an automatic I would have a flex plate lathed. Have the top portion turned to the diameter of the land cruiser flex plate and drilled for the land cruiser torque converter, then have it stepped down to the mercedes diameter. Then have the ring gear removed from the mercedes flex plate, heated up and dropped over and welded to the new one. That way you could make up the necessary distance from the adapter as well as have the land cruiser TC holes and only the merc 8 bolt center pattern. If you're having a hard time visualizing what I'm saying, think of a stub the diameter of the mercedes crank flange and (x.xxx") tall with a flat plate on top, then a skirt or material around the outside that is the inner diameter of the ring gear but maybe .020" over sized. I suppose thought that if you're using stock EDC pump and not a mechanical one that you'd have to have a machine shop replicate the teeth for timing also...its only 6 teeth though. That would probably be the most reliable setup and least prone to failure or runout issues as long as it was done on a lathe. I had adapters made on a mill that I asked to be done on a lathe....huge difference in tollerances. Keep up the good work.
 
The full mechanical thing is nice for sure.

I thought about doing what you described, but in the end, I want to have an adapter that's easy to reproduce if I ever want to sell more.

Yeah these are all parts that need to be done on a lathe. My final adapter design uses multiple pieces, but I pulled some tricks to not only minimize cost and material usage, but also keep runouts as low as can be while still having a bolt-on solution.

My prints are mostly out of manufacture, so in the mean-time, I've been getting the control systems work out.

Using the DSL1's custom CAN broadcast, functions I've figured out how to control the actuator of this Holset HE351VE variable geometry turbo. Right now it just works with a potentiometer but it'll be mapped to engine load and RPM so it'll work like it would(ish) on the 6.7 Cummins it came off of.

 
"Using the DSL1's custom CAN broadcast, functions I've figured out how to control the actuator of this Holset HE351VE variable geometry turbo. Right now it just works with a potentiometer but it'll be mapped to engine load and RPM so it'll work like it would(ish) on the 6.7 Cummins it came off of. "

Wow thats cool :)
How mutch that kind of controller cost?

DSL1
 

Users who are viewing this thread

Back
Top Bottom