Update.
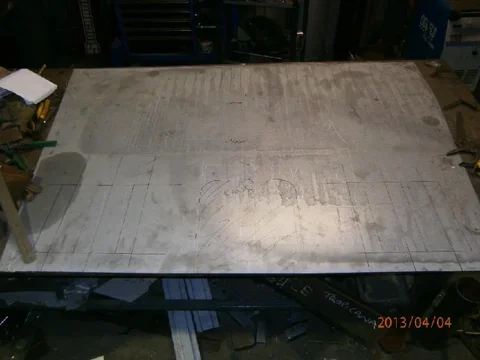
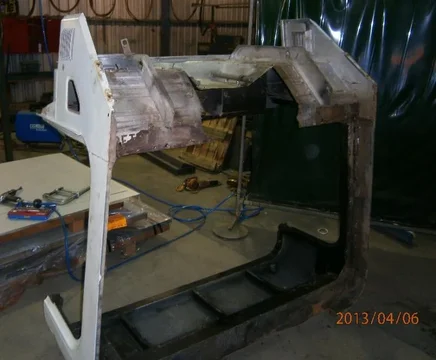
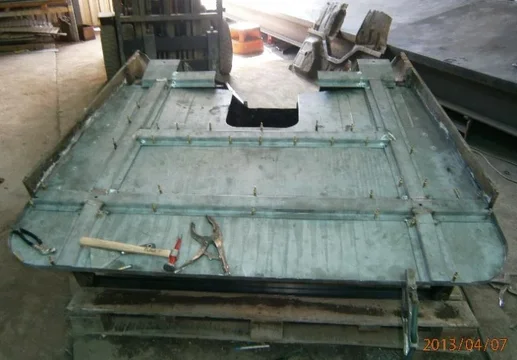
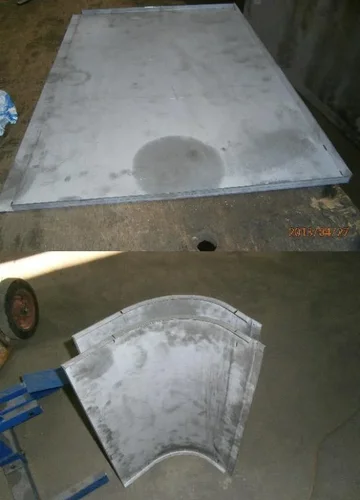
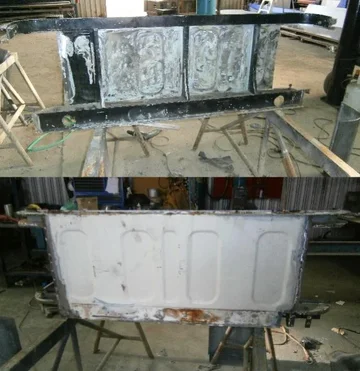
I haven't posted much lately but here is a update on last weeks fabrication of an entirely new floorpan. I have already added my 75mm to cab length and depleted the fuel tank moulding under the drivers seat. I also made a stamp in order to get the rectangular forms into the foot well of driver and passenger.For the new mounts I am utilising pressed hat channel sections as a sub frame underneath the cab. This is what i started with, a piece of 1.2mm hot rolled zincanneal as the main floorskin.
Will add more recent photos of the cab chop-up later
Cheers RAYJON, I hope it turns out nice aye, making the stamps for the floor pressings was a pest! Anyways, After I had the floor on the chassis I made the pressed cab frame suit all 4 of the 80's chassis mounts and then proceded to cut the cab's old floor out.
With the floor pan, front and rear cab mounts gone I cut the cab down the rear body seam just behind the door striker's channel. For now I left the dodgy firewalll to floor join as a measure point for lining up the new skin with the cab.Then it was just a matter of cleaning the inside of the sill pressing and rust converter/priming it. With that done, dropped in the new floorpan and subframe.
The front mounts will be gusseted and most likely radiused so they look the goods, but that will come later. For now I have tacked in the floorskin to the cab and will look at replacing the firewall to floor pressing before tacking the front mounts.
Stay Tuned....More updates in a few days!!
Update. After cutting the floor to firewall panel out I discovered both door hinge support channels were rusted out where they touch the floor panel. Simple repair done I pressed up both sides of the floor to firewall sections and welded them to the firewall.
With all that done the next step was to tack the body channel subframe on to the cab's floor and line-up the front mounts to suit the chassis to cab height. Then to test my accuracy and patience I rolled the cab over right-side-up and dropped it on the chassis!
I know its only very early days but i can't wait to drive her down the road with all the mods done to it!!!!! Stay tuned for more updates!!!
Update. After getting the cab onto the chassis, the subframe centres were spot on to the chassis's and i bolted the whole thing down. Then I threw the rear section of the cab on and wacked a couple of tacks on it and its starting to take shape ever so slowly...
I really couldn't resist sitting one of my guards on the cab for a visual check of proportions
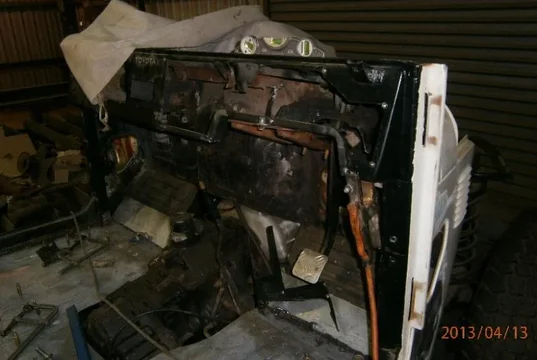
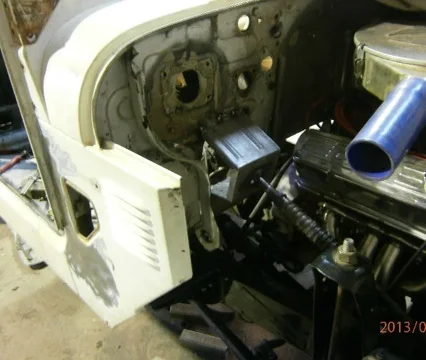
I have since chopped up the dash and firewall and have fitted the 80series tilt column to the 45 cab. I haven't taken too many fotos of it but will tomorrow and will post them up shortly
Cheers cruiserjunkie. In order to fit the 80series steering column I used the column bracket off the cab it came with and welded it to the 45's firewall/brake and clutch pedal bracket behind the dash. As soon as I saw the 80 tilt column I new there was to be some modifications required to fit it. I also had to extend part of the firewall out in order for the column dust seal to be fitted.
The firewall seal box is only tacked on now and will be properly shaped and formed into the firewall later when its on the rotisserie as its a pest to work on now. Same goes for the cut-up dash, it too will be finished off later when on the rotisserie. Next step is to fab/mod trans tunnel and form up the rear cab corners after that. More updates in a couple of days....
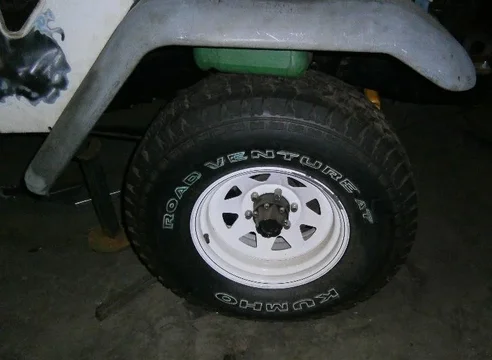
Last night I grabbed my mudguards and front apron and sat them on the chassis for reference. 84 Sloth, Good spotting. I wanted the cab and motor to sit the same distance to the front crossmember as the original. I didnt like the look of having the front differential too far forward of the guards like the original 45 did. I like the look of the guards being almost centre to the wheels rather than offset.
The Front apron will mount to the front crossmember like the original 45 probably with a polished stainless hinge or rigid bracket. Another thing to consider is my cab is sitting approx 25mm lower on the chassis than the original mounting. Cheers for watching my thread so far.Will be posting more in the next couple of days or so.
Cheers cruiserpilot, I always like to try making things from scratch rather then just patch and repair. Anyhoo, I have formed up my custom transmission tunnel and tacked it together. So far it still has a couple holes but will get to filling them and finish welding it hopefully this week.
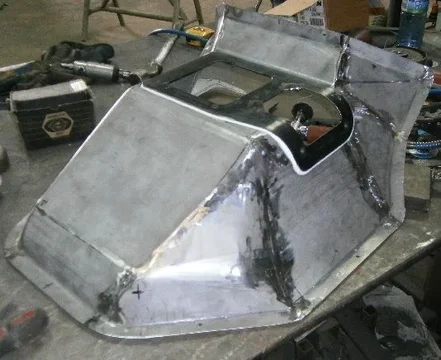
I have cut a 3mm pl flange that will stengthen the holes and to which the rubber boots will mount to. I tried getting the most amount of clearance on the drivers side for the clutch as possible. The Passenger foot well is larger which gives me the option of mounting something on the side of the tunnel (Torch,Extinguisher,etc) Again, the tunnel is made from 1.15mm zincanneal, just like the floor. Sorting out the tunnel this way allows me to gain more room on the floor behind the tunnel than the stock one. Will post more photos of the finished product soon.
More progress on the trans tunnel. I filled in all the gaps I left when tacking it together and then proceded to weld all the joins. I fully MIG welded the seams together on the topside and stitch welded the underside to give strength to the ground-down welds. I am using .6mm solid core wire on the floor and to tack the body up with but will likely TIG the body joins so they can be planished smooth. With the tunnel smoothed I reinstalled it and set up the 3mm flange plate to suit the rubber boots. I seal-welded the tunnel skin to the 3mm plate from the underside of the tunnel, then sealed the topside with Sikaflex Sealant. Heres the pics
While I was there I ground the plug welds flat that join the floorskin to the pressed mounting frame underneath it. Next Step will be forming the rear cab corners, removing old ones and tying the back of the cab to the front. Will Post more as it happens
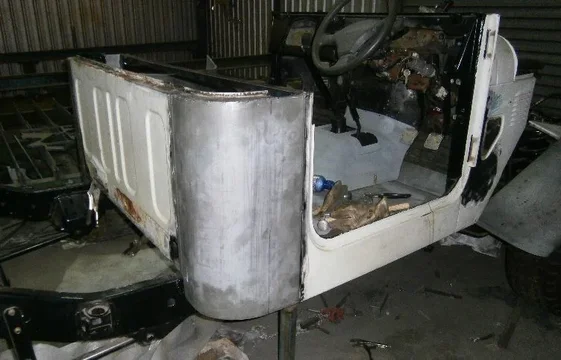
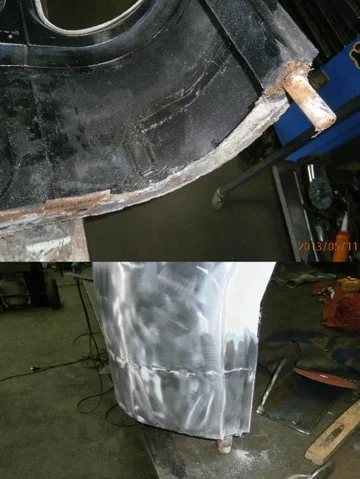
Update. This weekend I formed up the cab rear corners with the 75mm added to it out of 1.15 Zincanneal. First I pressed up 2x 3 sided trays with a swaged edge on one side. Using the shrinker and english wheel, I formed both panels following the cabs factory radius I templated off the floor and body flange. With these virtually done I set about removing the existing corners from the rear wall and flange channel.
Typical rusty joins and Previous Owners' "rust" repairs made me feel a bit better about cutting the cab up like this, after all, at the end she will be pretty close to brand new-ZERO rust. Cab Corners gone, I cleaned the cab wall of rubbish carpet, removed any rust and rust-royed the base stamped pressing and gave the inside a coating of rust-enamel as it would be the only time I could get to it.
Then It was time to tack weld the corners and wall section to the floorpan and cab body.
The corners will remain tacked together until the whole cab stretch has been completed (Rear Window panel and Roof) as I dont wanna have to cut welds to tweak a panel 2mm. I am very pleased with how the cab looks now, Looks like real progress! Next step will involve rust repairing the cab join flange on both the rear wall and rear window panel then i will stretch the window panel to suit the cab! Will post more updates soon.
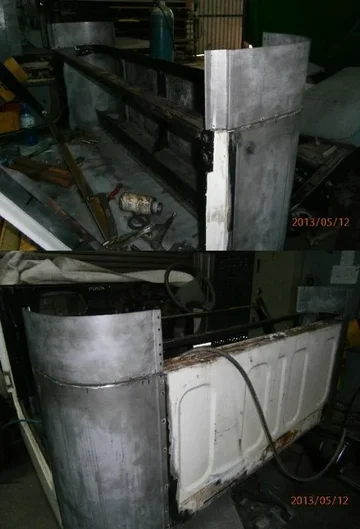
Update, Work has been hectic lately with more overtime and less cruiser time. However, Sundays are still a day off, so I got to extending the top rear cab section. After cleaning it with a strip disc I discovered the cab flange was mostly rust and bog. So I had to make new corner flanges aswell as replacing my patches i made as a 2nd year apprentice. I also discovered how badly rusted the metal was around the cab dowels.
As Always, the replacement panel work is out of zincanneal the flange is made from 1.6mm.
Using the english wheel and the shrinker I managed to get the radius about spot on
The Next part was splitting the cab then attaching it to the new corners