Grandpa's 1973 FJ 40

This site may earn a commission from merchant affiliate
links, including eBay, Amazon, Skimlinks, and others.

Waiting

AS everyone who's had body work done knows it always takes more time!!!

So the shop called me and apologized, their estimator didn't look at some of the damaged areas closely enough and it is taking more time than expected.

I was just waiting for the "This will cost more than we quoted",
but the shop was awesome and they said they would eat the extra labor cost. So I'm getting about $500 dollars of body work for free.

This said, they are shooting it Saturday, then wet sanding Sunday, Then clear coating Monday, and depending on how it comes out they said they may sand it again on Tuesday.

This is all good because I'm still painting the hinges, trim, emblems, and such. So I have at least till then to get my stuff done.

Then its off for new shoes some 33/10.50 R15s TOYO's and i'll be looking good.
 
Teasers

So I finished my part prep. I'm painting my own hinges, emblems, and redid my Marker Lights. RHinolined looks great.

HooksRhinolined.jpg
apronemblem.jpg

New lenses made a world of difference thanks Kurt!!!!!!
Cruiser Outfitters Rocks!:cheers:
MarkerLights.jpg

Painting the trim looks really cool too:clap:!
MarkerFront.jpg


Also got a new OEM 4WD one for the rear. It looks amazing!
The Bezel looks sweet with paint on it too!:bounce:
BezelPainted.jpg
 
So I finished my part prep. I'm painting my own hinges, emblems, and redid my Marker Lights. RHinolined looks great.

HooksRhinolined.jpg
apronemblem.jpg

New lenses made a world of difference thanks Kurt!!!!!!
Cruiser Outfitters Rocks!:cheers:
MarkerLights.jpg

Painting the trim looks really cool too:clap:!
MarkerFront.jpg


Also got a new OEM 4WD one for the rear. It looks amazing!
The Bezel looks sweet with paint on it too!:bounce:
BezelPainted.jpg


Thanks again Micah, excited to see your rig post paint! :cool:
 
It's Done, well for now ;)

Here are some along the way pictures. The body shop did a great job and worked really hard on this for me. I also got a lot of the trim pieces done myself. It turned out great. I am so thankful for all the people that have helped me with this. From the local club, to awesome vendors like Kurt at CruiserOutfitters, Jeremiah Proffits, Mooseman, CCOT, 69LC and his door hinges, and more than I can name:clap:

I think Grandpa will be proud when I show up next month at deer camp to have and have the Coyote back in tip top shape.

So here are shots of the prep.:bang::wrench:
allbrands.html

Some body damage repair.
IMG_3475.jpg


My cut wheelwells and rockers turned out great.

IMG_3477.jpg

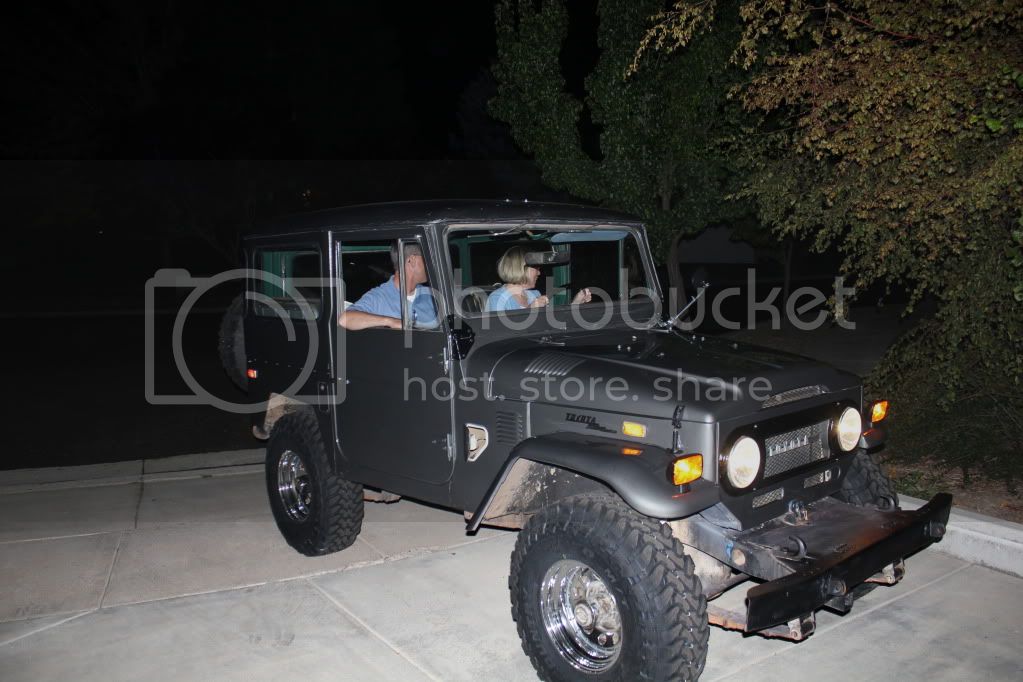
I also got some new rubber on this toyo 33x10.50 that rock!!!!! Look killer and make my armstrong steering a little easier.
IMG_3480.jpg

I need to learn though everytime I show up at my parent's house with a new mod, they disapear with the Coyote and I don't see them for like 20 minutes.:doh:
IMG_3481.jpg

IMG_3479.jpg

Oh well my mom has logged a ton of hours behind the wheel she knows it better than my dad. As Kurt will attest he jumped the thing in March. Something about driving like you stole it.:mad:

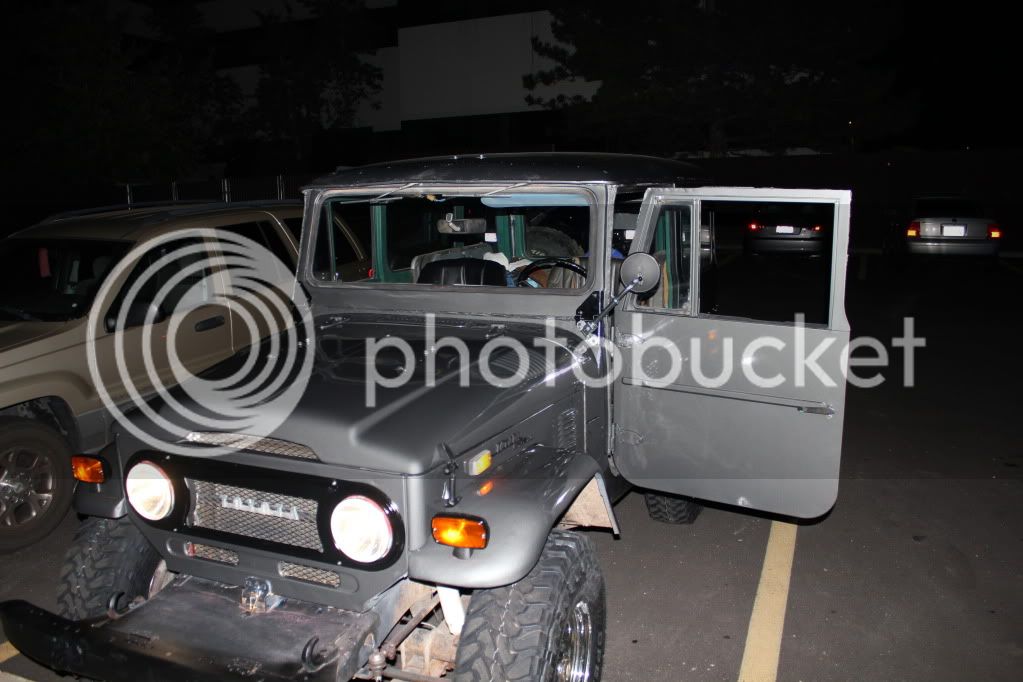
Anyway. Here it is with all the trim and looking great.
IMG_3476.jpg
IMG_3478.jpg


Thank you especially to my wife :princess: and beautiful daughter:princess:. They are so caring and indulgent.
pickedup.jpg

islafj2.jpg

Mud is the best guys and thanks again!!!
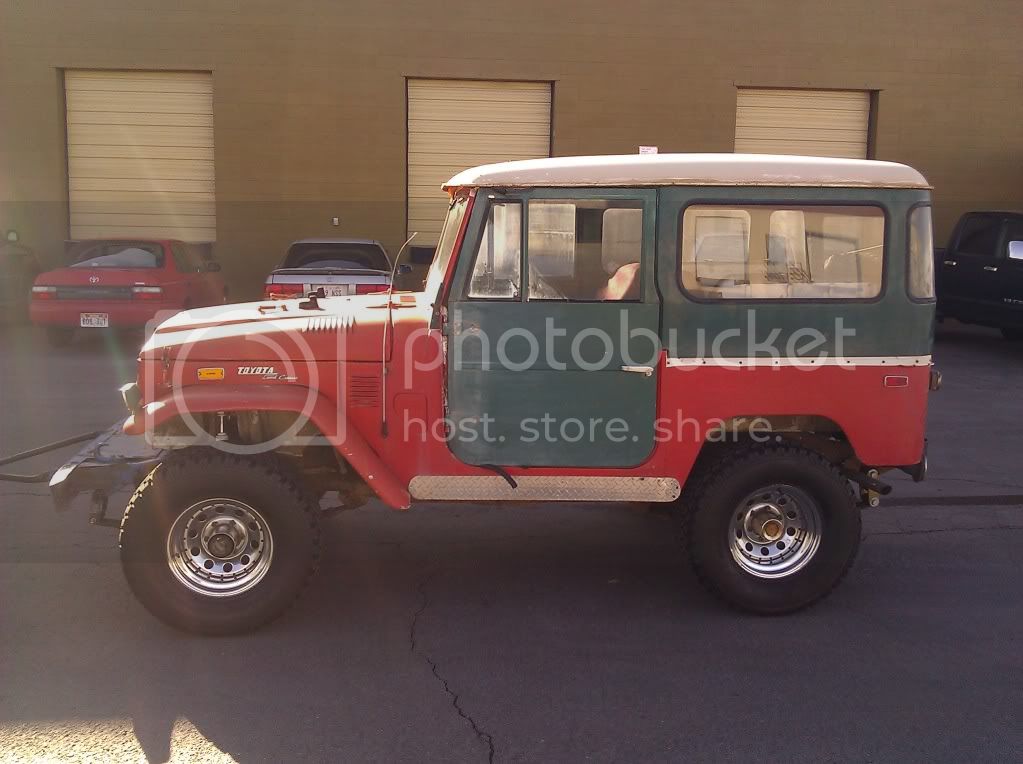
The history of the Coyote
IMG_20110102_200753.jpg

sidetires.jpg

IMG_3480.jpg
 
Can you post a picture of it in the daylight? Is that a color that the paint shop mixed for you, or do you have a code, or is it rattle can from the store? That looks just about right to touch up my paint, which needs to be done:
picture.php
 
Can you post a picture of it in the daylight? Is that a color that the paint shop mixed for you, or do you have a code, or is it rattle can from the store? That looks just about right to touch up my paint, which needs to be done:

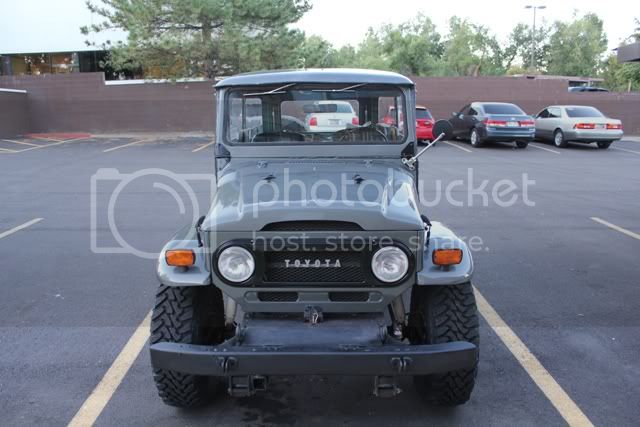
It was the gunmetal gray from MAACO nothing special just one of their premade colors. Heres some morning pics looks better than last night.
sidesmaller.jpg

frontsmaller.jpg

Emblemsmaller.jpg

IMG_3484.jpg
 
Very nice work! And those tires are bitching!
 
man, that could almost be my truck's older twin brother back when I bought it! silver cap, black bezel, etc. Why did you choose to paint the cap silver rather than keeping it the classic white?

I wonder if that silver can be made up in a rattle can...:hhmm:
 
man, that could almost be my truck's older twin brother back when I bought it! silver cap, black bezel, etc. Why did you choose to paint the cap silver rather than keeping it the classic white?

I wonder if that silver can be made up in a rattle can...:hhmm:
Honestly I did it to see what it would look like, and the two tone cost an extra 250. So If I don't like it I'll paint it black. If I don't like that I'll go white.
I'm glad that I found my FJ's little brother. Does that mean I get get to pick on you? ha ha ha.
We are going to cruiser moad this year for sure so maybe we'll get to see ya!
 
:hhmm: maybe I'll give going to Cruise Moab as a gift to myself for taking (and hopefully passing) my professional engineering exam! :hhmm:
 
Man that looks Awesome - I'm really diggin the pic of the parents grinnin from ear to ear! Good deal gettin the whole family in on it.

:cheers: Jason
 
New Hood Ornament

So I got a new hood ornament. Thanks to Grandpa's Gun, his secret spot and a good deal of luck I have a new piece of hardware. It was only on the bumper for about a mile. Good times in the Coyote.
DeerCamp.jpg
 
Heat it Up

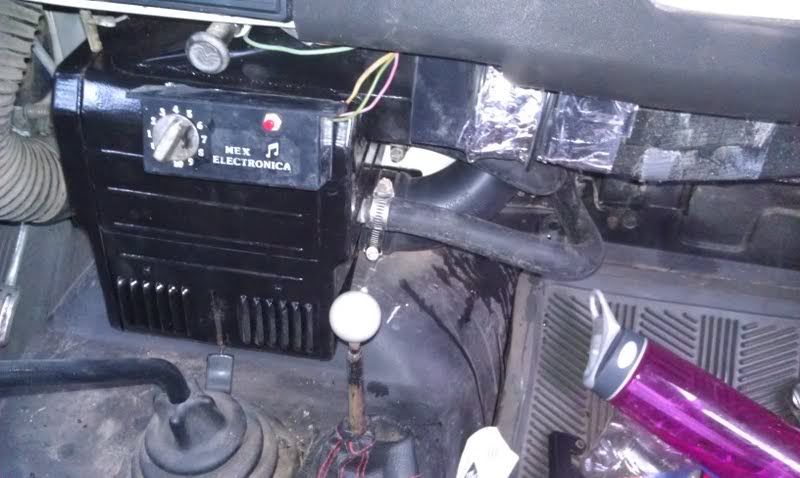
Sorry its been so long since I have posted. But thanks to some generous friends and some Home Depot engineering I have a working heater with 2 speeds and defrost.
Thanks MisfitDave whose parting out his rig.

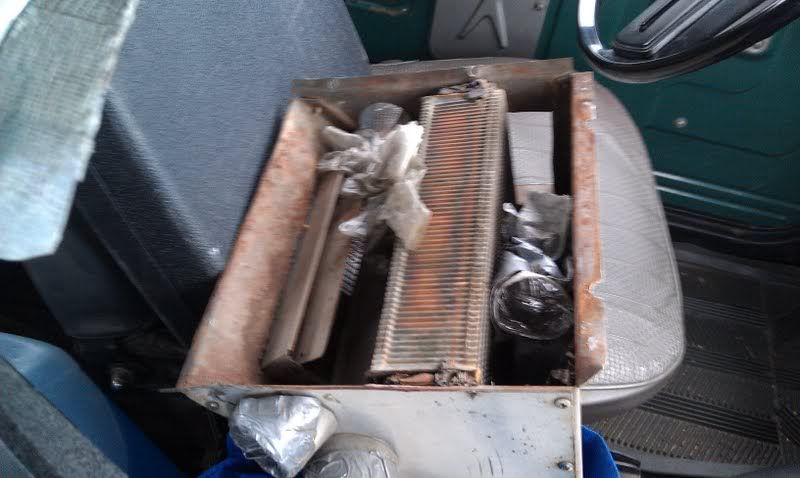
Step one pull the old ****!
http://i1130.photobucket.com/albums/m536/micahplatt/oldcrap.jpg
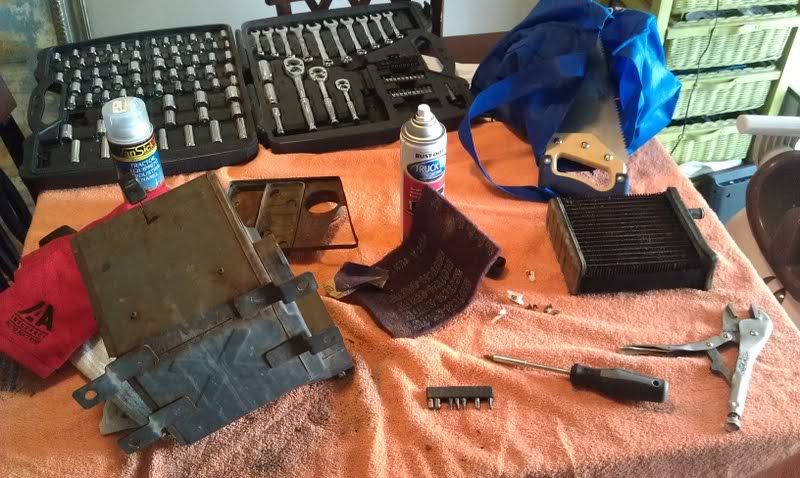
This was a universal kit that grandpa put in in the late 70's. I got this other heater from Dave.
http://i1130.photobucket.com/albums/m536/micahplatt/start.jpg
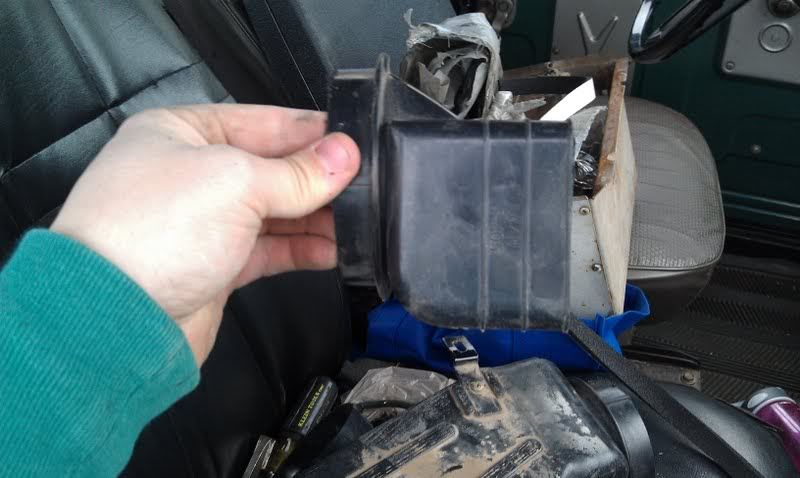
Then to Home Depot! So the magic rubber piece that everyone looks for was nowhere to be found. So me and the plumbing department with some redneck ingenuity got working.
http://i1130.photobucket.com/albums/m536/micahplatt/coupler.jpg
Two of these couplers and some aluminum tape and i've got a great looking unit. Its out of a 71 so it's got the simple design and I had to wiggle the defrost knob a bit to fit for reverse. But its all in and looking good.

All finished and looking great!
http://i1130.photobucket.com/albums/m536/micahplatt/heaterfinished.jpg
 
lookin pretty good guy. mex electronica heater control? is that what that is? Whats next?
jake
 
Back
Top Bottom