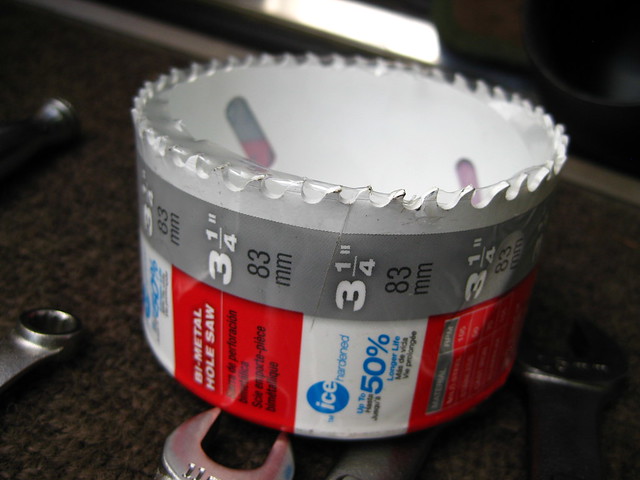
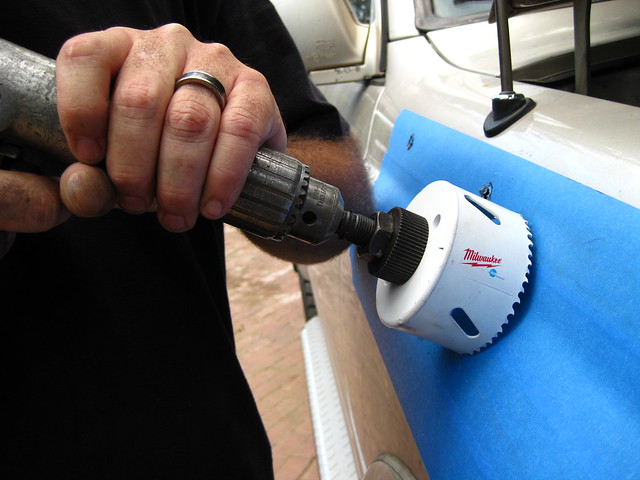
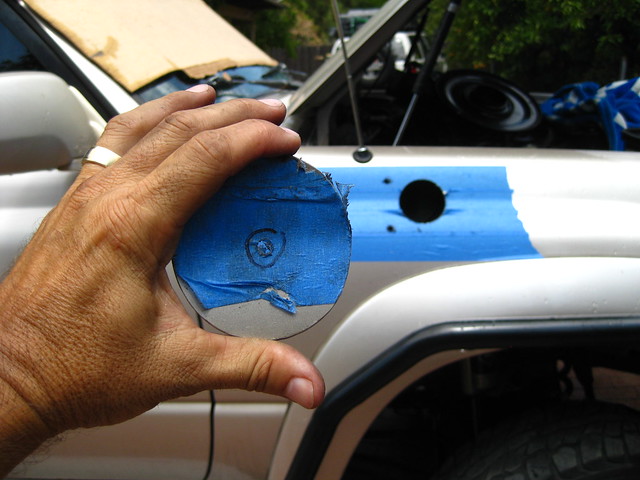
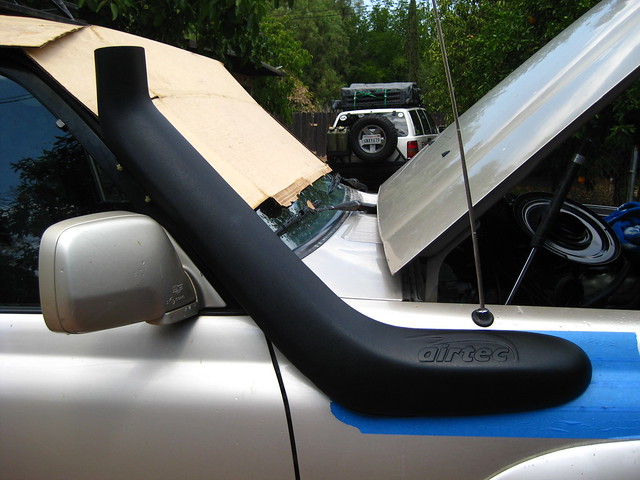
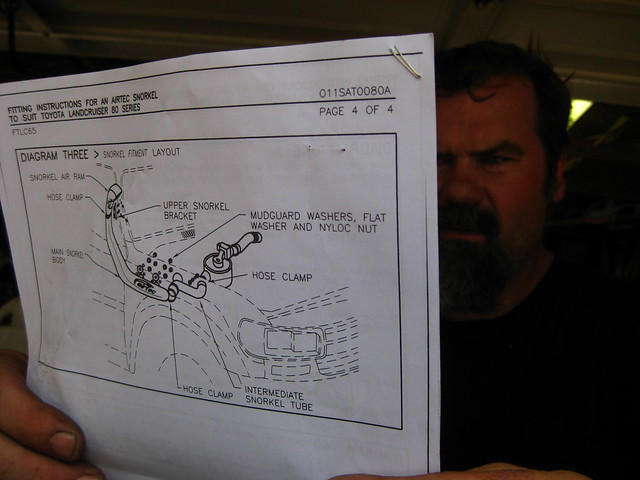
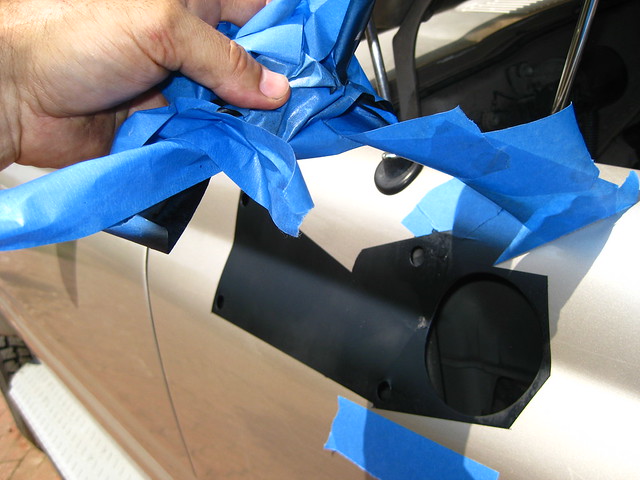
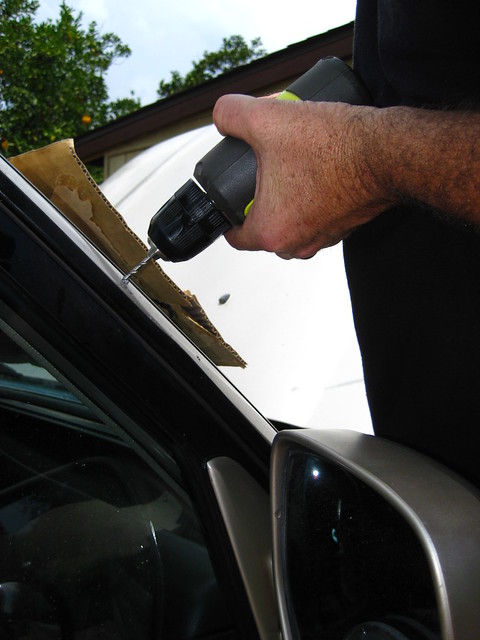
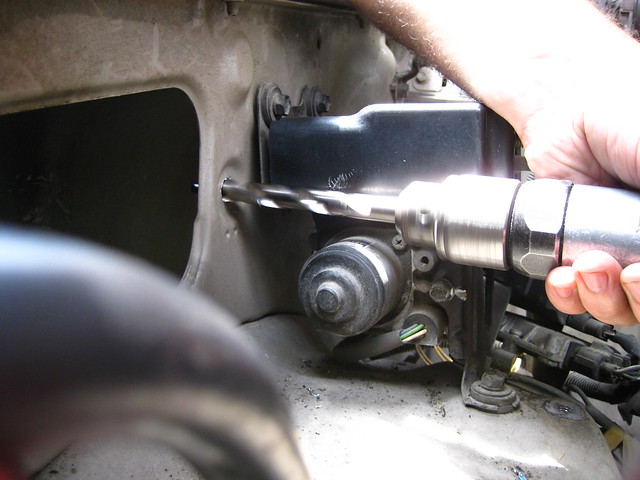
While reading the instructions it stated we would need a 83mm hole saw and I was just thinking Home Depot is not going to have metric hole saws. So I was doing all the conversions so I could see what would get me close. To my suprise, it was marked right on the display and each one! Awesome stuff!
Now for the ultra-serious business!
No, we didn't catch anything on fire.
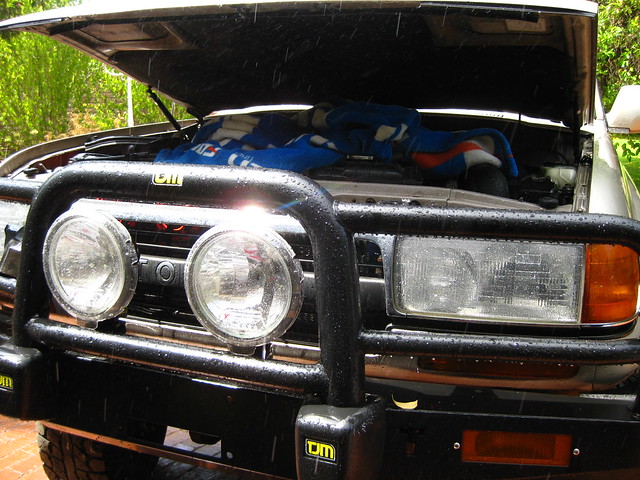
It simply started to rain - on - off in five minutes.
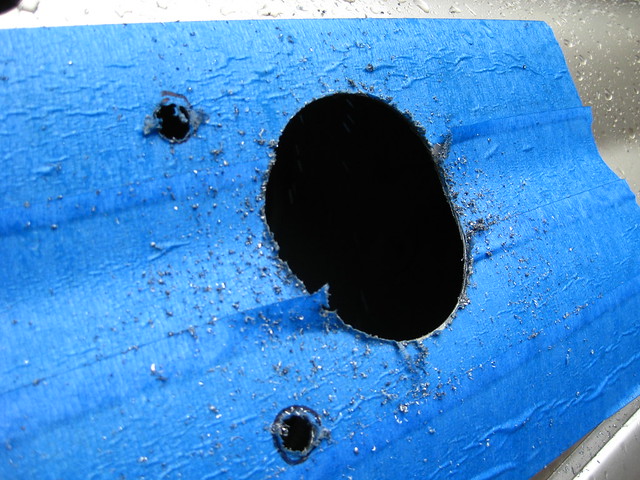
Just as I get the biggest hole ever drilled into the ADV80!!!
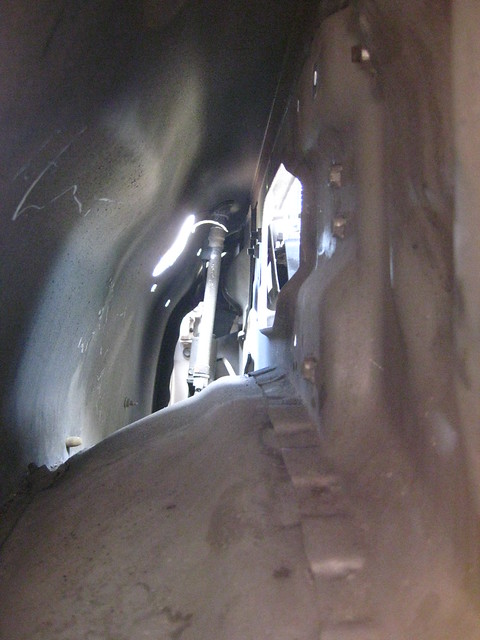
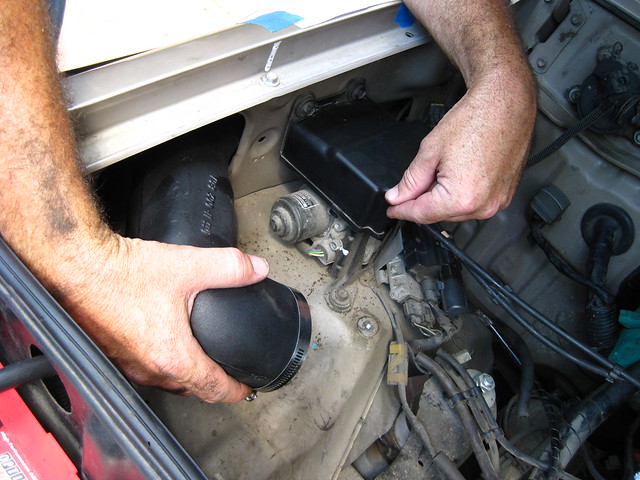
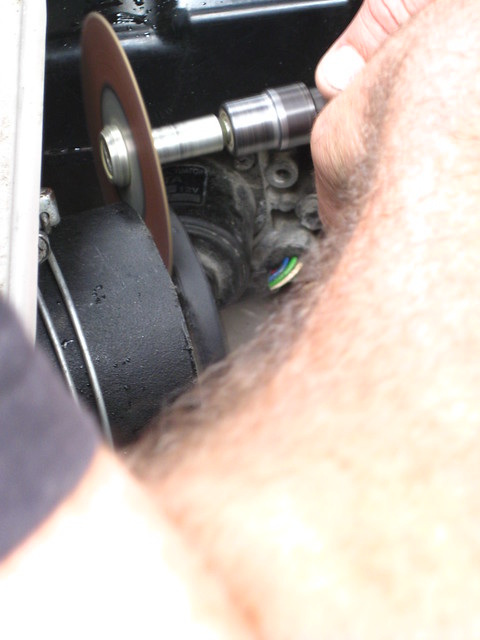
Looking inside the cavern where the Airtec eel will be living. But before he moves in, something else needs to come out...
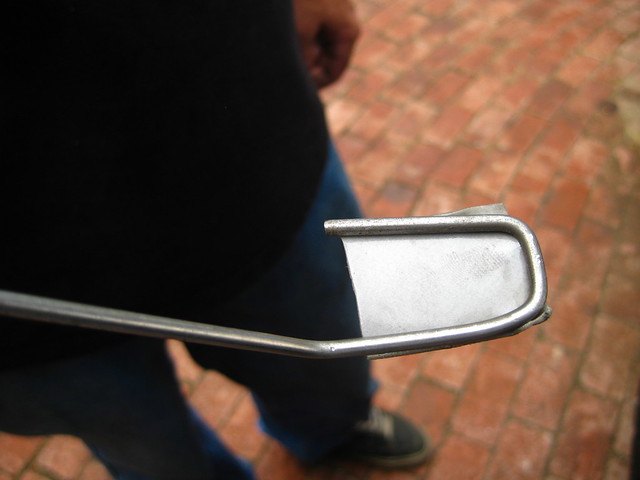
What is this super-specialiezed tool for?
FOR FISHING!
Fishing for what!?! What kind of fishing is Mr. Recce01 doing? Can we eat it? It's lunch time and I'm hungry!
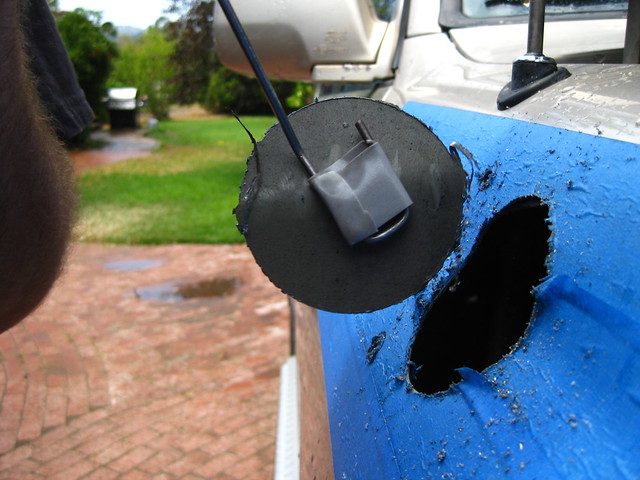
Flying saucer fishing! Not for human consumption. We was so gitty to be drilling holes into the rig we failed to place something in back to keep the disk from falling down way deep into the corner crevasse of the fender cavern.
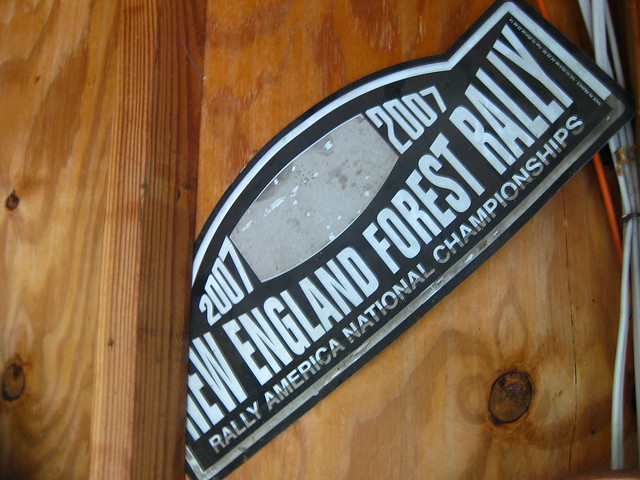
Just random rally momentoes from days past the the Recce01 compound.
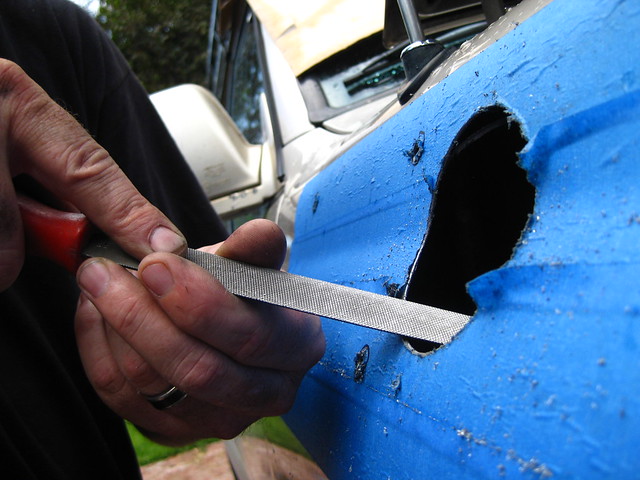
Time to file the edges as metal wins over poly plastics.
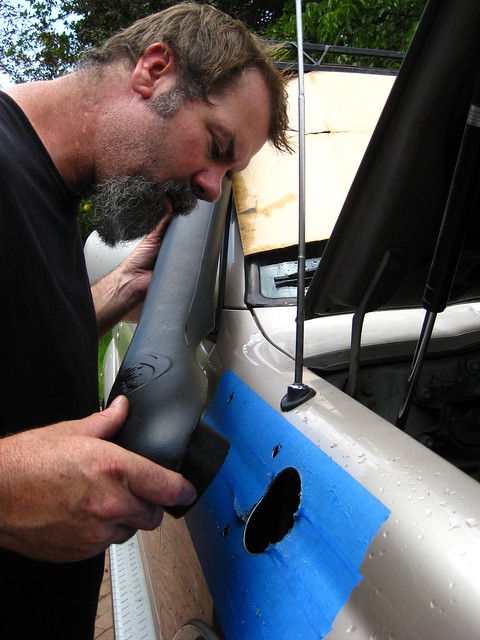
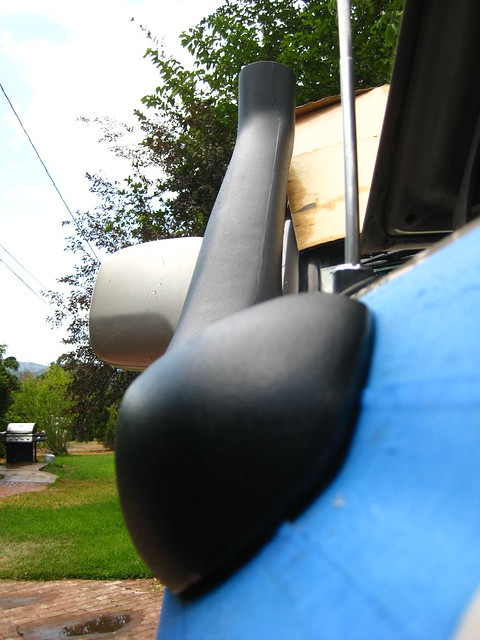
Testing 1 - 2 - 3. Looks like its going to fit just fine!!!
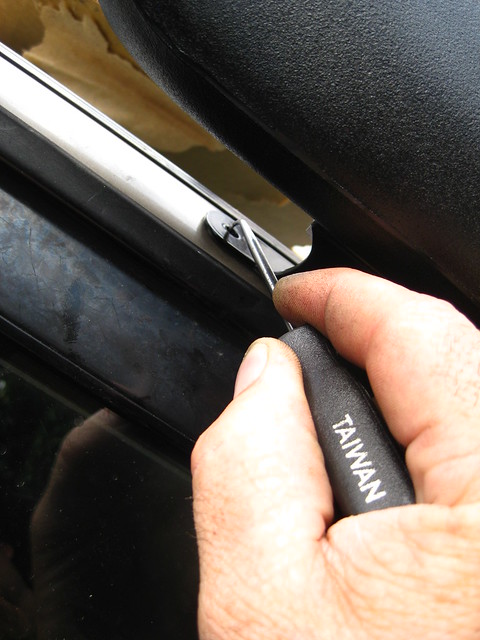
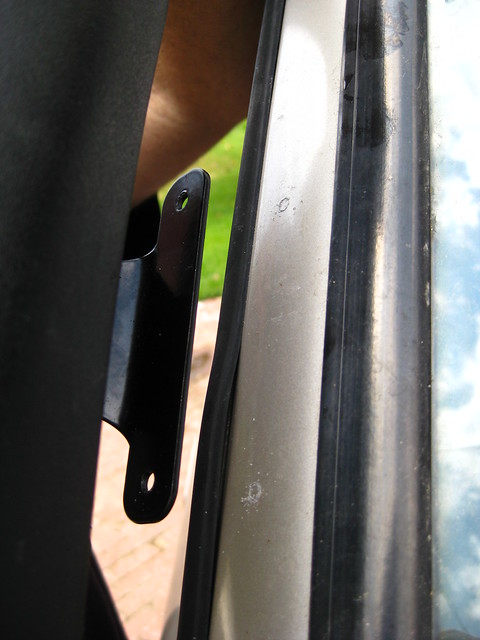
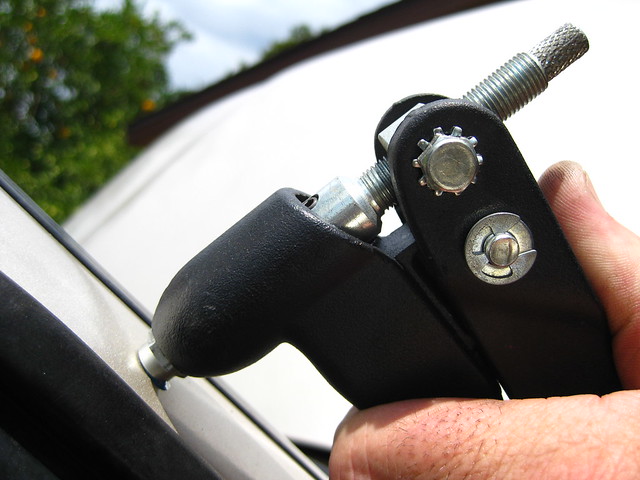
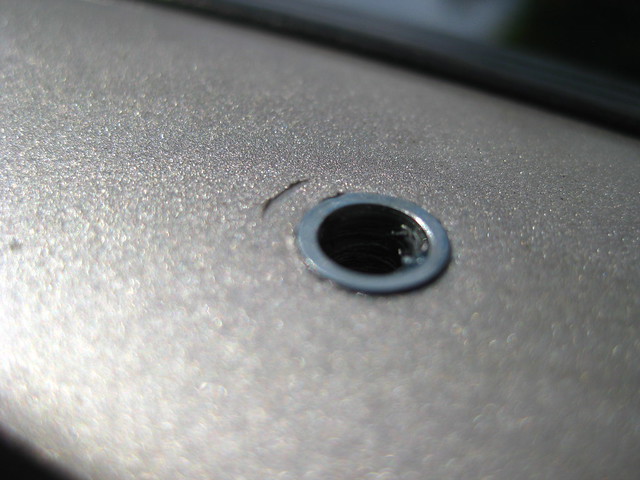
Next up is to secure to upper portion of the snorkel that runs up along side the windshield. We scribe the bolt hole locations.
Both holes are scribed.
Time for tea and crackers for Wallace and Gromit.
I like to use spray paint whenever I can, so I make a cool design around the holes we just drilled but make sure you don't go outside of the imaginary boundary of your snorkel or you will be showing off your colors. Make any design with any color you choose, just stay in between the lines! All in the name of a little rust prevention.
hole punch #1 location and #2 location - check check!
Here goes Recce01 with that drill again!! That is 5 + 2 more = 7 HOLES!!!
That is just enough I tell'ya!
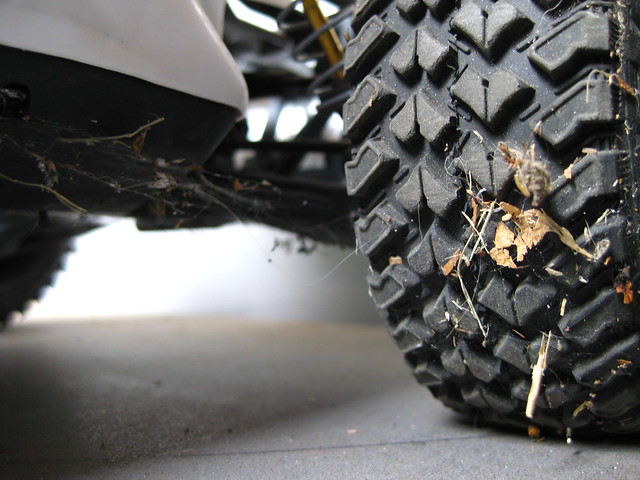
Dude, your EXO Terra Buggy has spiderwebs on it!!! I can mess with this while you are poking hole all in my truck!
We truly do love Australia! We would love to go one day!! We even read Australian 4WD Action magazine!
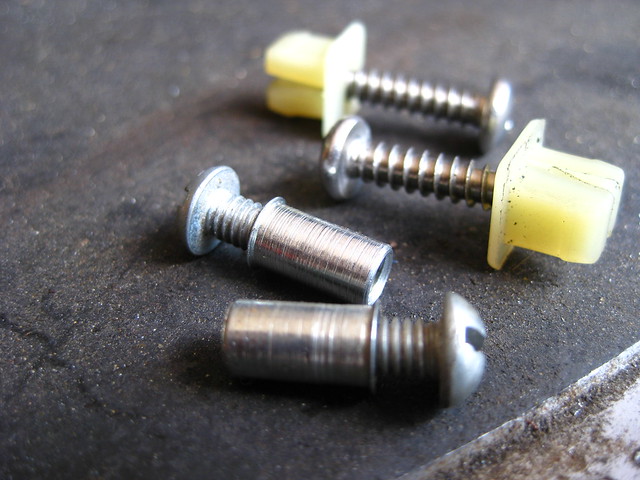
But over here in the good ol' USA, we have round drill bits. We could not find square drill bits... So we opted for these ROUND threaded inserts vs the square plastic bits provided with Scuba Steve's snorkel.
Threaded insert installing device AKA: pop pop pop Gloc Rivet Gun.
It will slap a slug in like this...
So you can do this!!!
So we can do this!!! I'm sure there is a perfectly good explanation for the square plastic pegs... but until we find it we will run with the round slugs.
Back in the engine bay:
Not a new hole so it does not add to the 7-holes list... Just made this one bigger as the supplied bolt is larger.
Im telling you that this is your new home now! No more cardboard box for you, all sheet metal housing for you now!
Back outside:
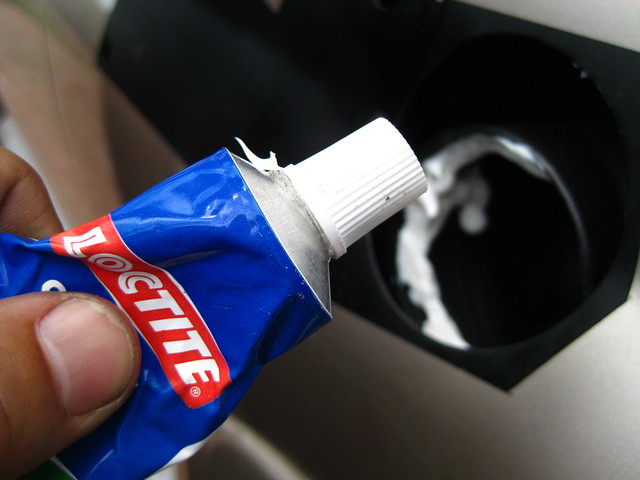
Always have to find an excuse to add in some Loctite! I am using it to seal in between the plastic eel that is now hanging out inside the sheet metal fender and the snorkel getting mounted to his new home.
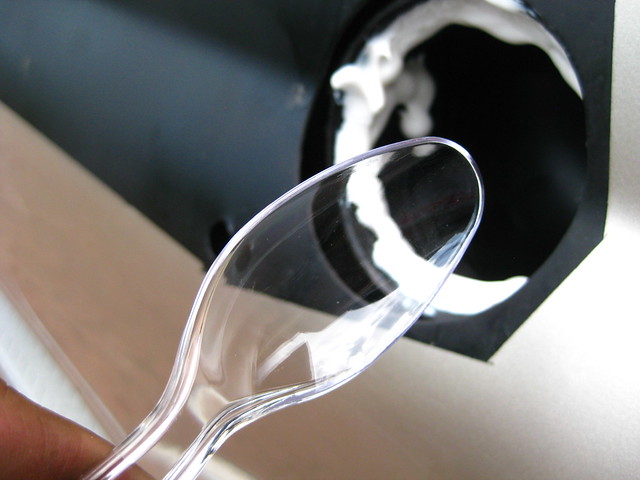
Take plastic spoon from pudding... lick clean...
Then smear it around in a circular motion making sure you get a nice 360-degree ring of sealant ready to mount the snorkel in.
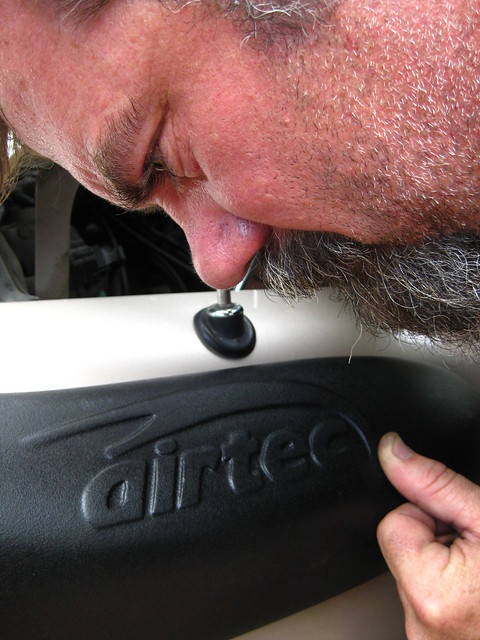
I KNOW - I have glasses!!! I know it say AIRTEC RIGHT THERE!!! But I got it from TJM USA!!! They import them... so chill!
The moment of concentration... the moment of BIG HAND into small hole and around the electric antenna [ that for some reason we could not figure out how to completely remove!!!
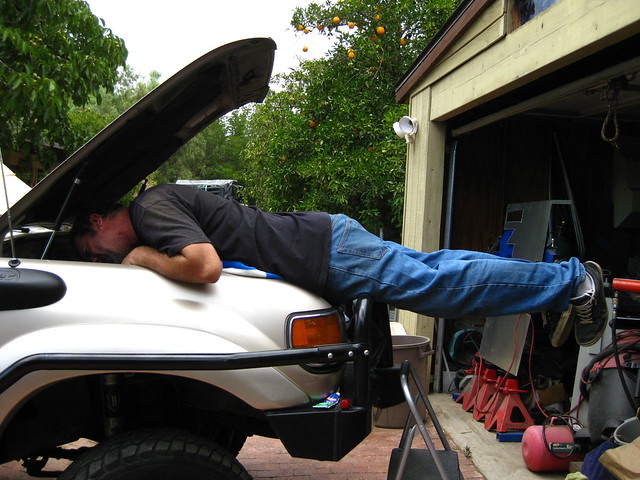
It was such a concentration moment that Recc01 disciplined himself by planking around on the ADV80!
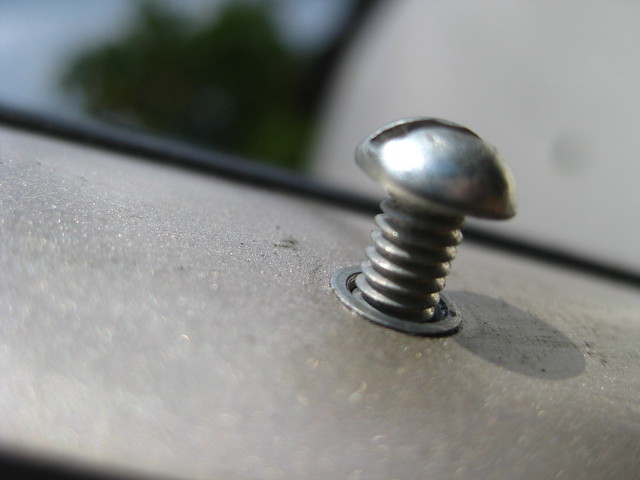
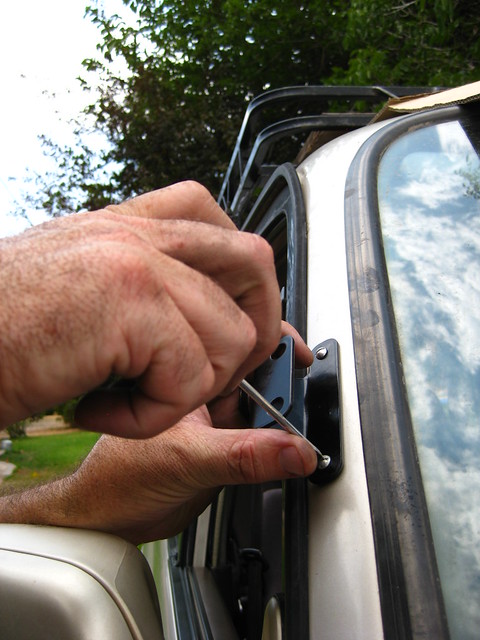
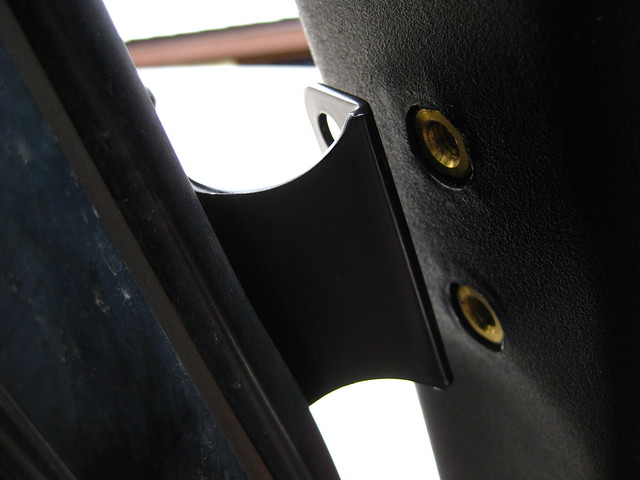
We are getting close to buttoning up this whole deal!!! Just a few more bolts to install... This is the upper mount that runs along side the windshield.
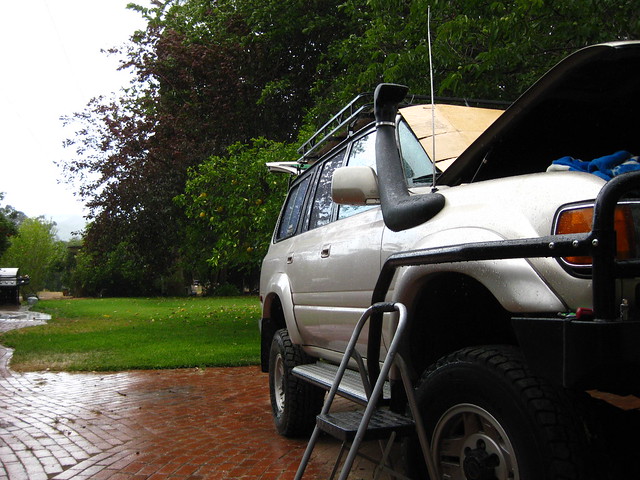
More rain drops for the snorkel snout test.
The last step was to put the air canister back in place but a little excess plastic needed trimming to get it back in smoothly.
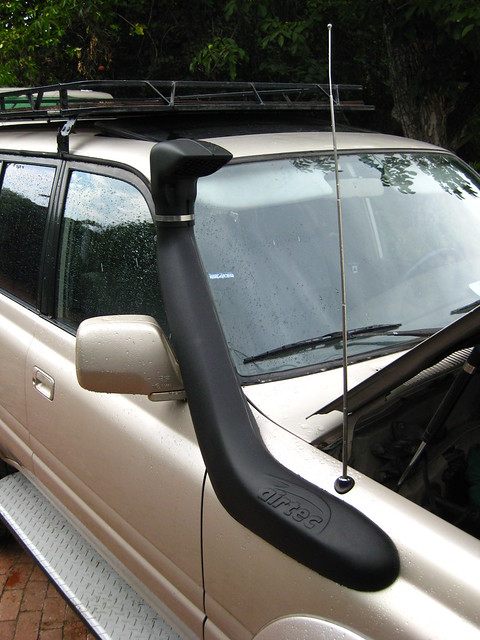
BAM! Snokelfied!!!
Note pad out, pencil in hand:
Extend diff breather vents
Silicone the distributor
Silicone the fusebox
Silicone anything else?
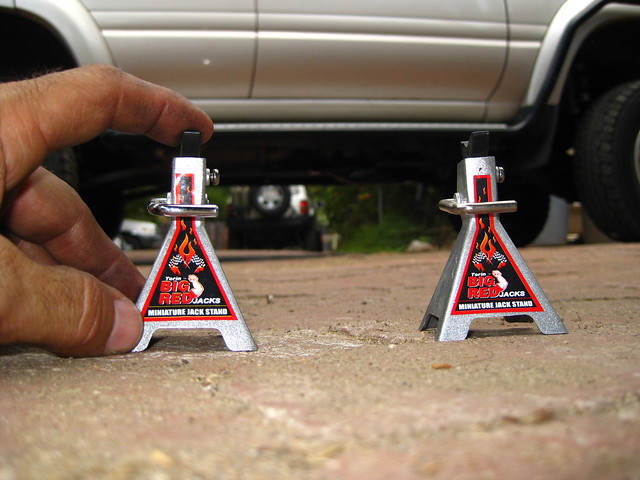
Don't forget to remove your miniature jack stands so you don't poke a hole in your sneaker.
lt1fire,
I finally got a call into Cascade Audio Engineering about the Thermal material. CAE said it is water proof. And recommended that if you are going to cover it with Rhino Lining material, make sure to put a good thick layer of it over the Thermalguard. Hope this helps with your decision making and sorry it took me so long to get you an answer!
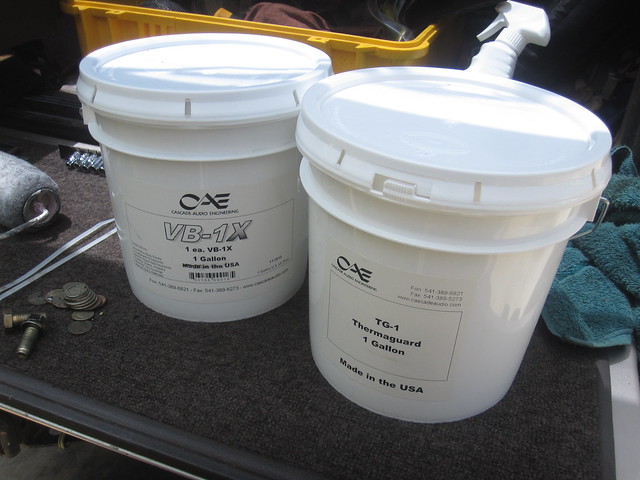
Layer 2: Cascade Audio Engineering TG-1 Thermaguard for for heat reduction [aprox $95]. I also bought 1-gallon of this.
Layer 3:
1-roll of Nashua Extreme Cold Weather Foil Tape $21.
1-roll of Enerflex Radiant Barrier foil $16.
Both of these items came from Home Depot.
With regards to "moisture proof" I needed a good excuse to contact Cascade Audio as I have not spoken to them in years, so let me see what I can find out as I never thought about it, but I know your rig is getting put to the ruff & rugged treatment! I would think if you are going over it with the Rhino Lining, it should be good, but let me get a solid answer from them before I reccomend you to just try it. Again, I needed a good excuse to call them so thanks again!
For all you reading my thread, fellow 'MUDmember Lt1fire has a '92 80-Series swapped to FF rear axle [source for my FF axle swap inspiration] and riding on massive rubber so check his thread out:https://forum.ih8mud.com/80-series-tech/288587-rotf-lt1fire.html
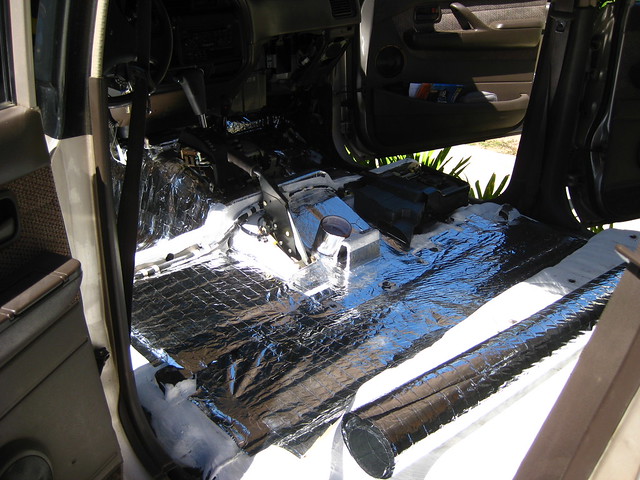
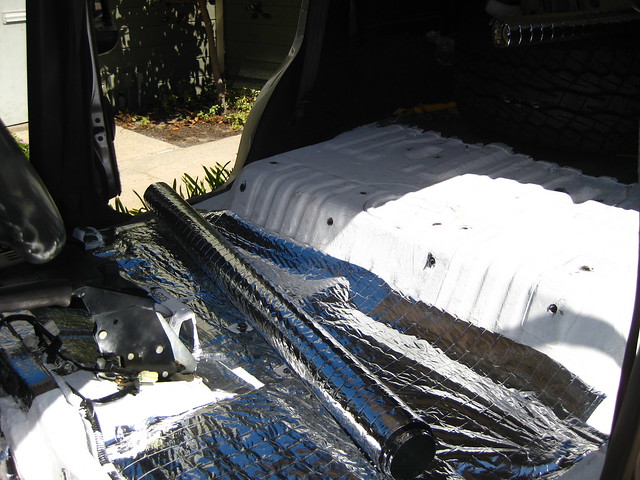
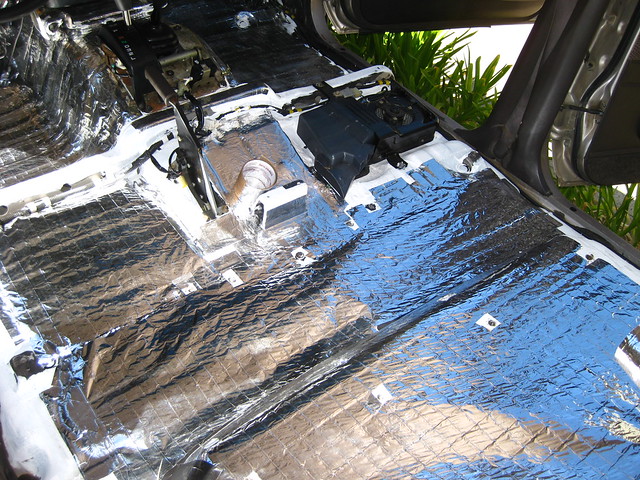
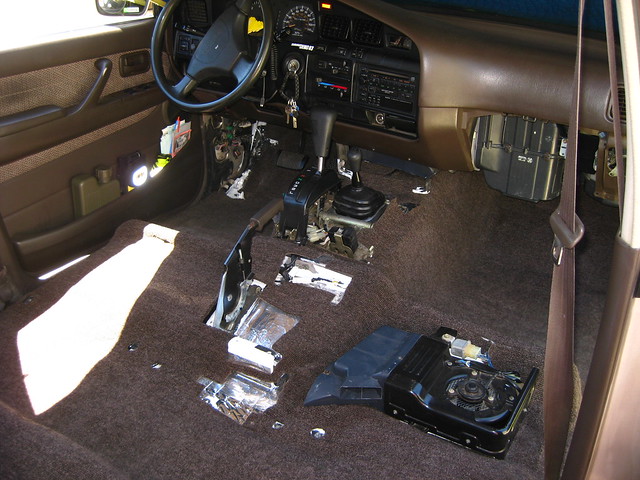
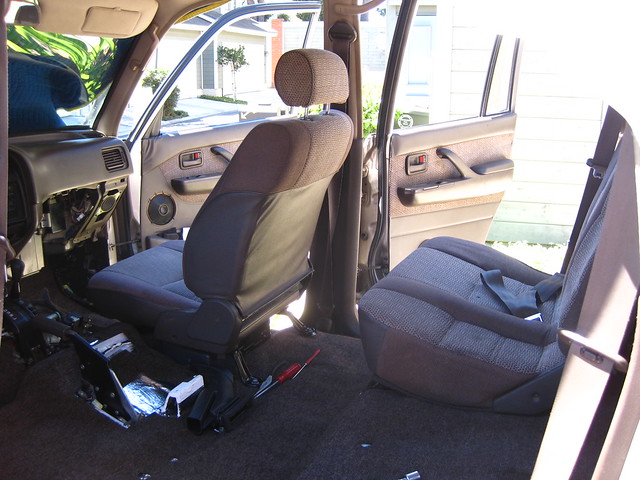
To pick up were I left off on post #209 & #210 with the radiant barrier film installation; its time get this project finished! With the front seats removed its time to get the film down under under the driver / passenger seat area. I don't know if this will reflect the hot air coming from above the seat, but for the heat under the vehicle; may as well block it.
Barrier film laid down in the foot well for the rear passenger seat too.
And under the rear seat too! For the $16 paid for this film, it goes a long ways! I have more left over, so I will have to see if it goes the entire length of the vehicle.
I did however use all of the thermal tape. I did not use it sparingly as I could have.
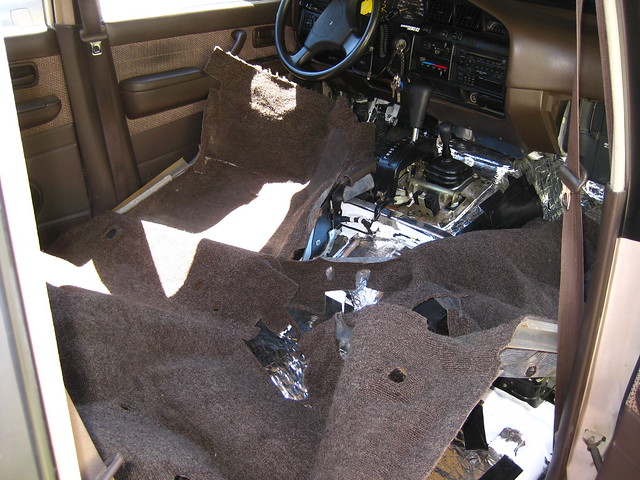
With the floor complete with Vibration coating, Thermal coating and Radiant barrier film; I can start putting the carpet back in!!!
I slowly settle it back into place as it has been rolled up for quite some time!
I almost forgot about this little piece that goes from the heater under the passenger seat and disperses heat to the back seat passengers. Luckily I had this piece and all the other little door trim bits and such together in a box so I could successfully put my rig back together as I had taken it apart without loosing bits. Such a satisfying feeling working on your own rig and even though it is the simplest of task, its still a good feeling!
All the seats going back in and Im getting gitty!!! Can't wait to take it for a ride and see if it was worth all the effort!!! I know it will be from past experience, but it's that initial accomplishment that is so gratifying!
lt1fire,
I finally got a call into Cascade Audio Engineering about the Thermal material. CAE said it is water proof. And recommended that if you are going to cover it with Rhino Lining material, make sure to put a good thick layer of it over the Thermalguard. Hope this helps with your decision making and sorry it took me so long to get you an answer!
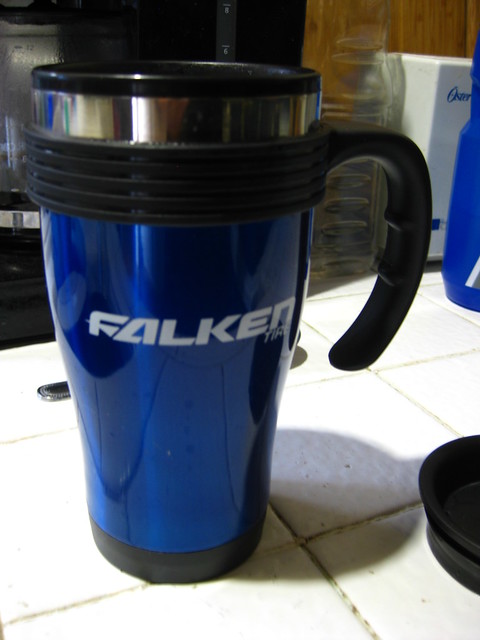
The coffee mug is filled and ready to hit the road. Its an early morning out of the house as is every day, but this one is about to be a scratch different. Its going to be a BIG DAY and most likely a LONG ONE TOO! And, it has been an anxiously awaited very long overdue day! Parts have been gathered one piece at a time. "Time" itself has came in off of backorder list, yes time! Time has now been scheduled for the ADV80 to visit the "BESTIST" Toyota service shop in all of Southern California - YOTAMASTERS!!!
When I say, "overdue," Remember about EIGHT MONTHS AGO my front end decided to not participate in the active duty of "All Time Four Wheel Drive?"
Full Memory Refresh - See post #154: https://forum.ih8mud.com/7369118-post154.html
This will give you the short and direct view version without going back and reading:
Well, today we are going to correct the front axles attitude about "All Time 4WD!"
FINALLY!
The adventure is going to be big but the trip will only take about 30-minutes - to my favorite serivce shop!
Yota Masters, 1336 w. Sixth St, Corona CA 92882, (951) 279-0220 www.yotamasters.com
The Crew: Eric Hansen / Jay King / Chris Besanson
YotaMasters is a small place and not a "glamper fu-fu" decorated white skirt waiting room type of shop. But, if you want to have REAL TOYOTA WORK performed - this is the ONLY PLACE!!!
I'm right at a 29-mile drive to their location and worth every $4.00+ per gallon @ 11-miles per gallon 80-Series drivers efforts!
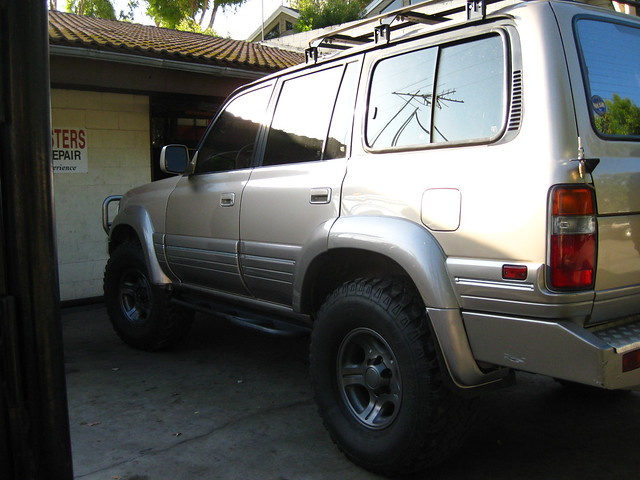
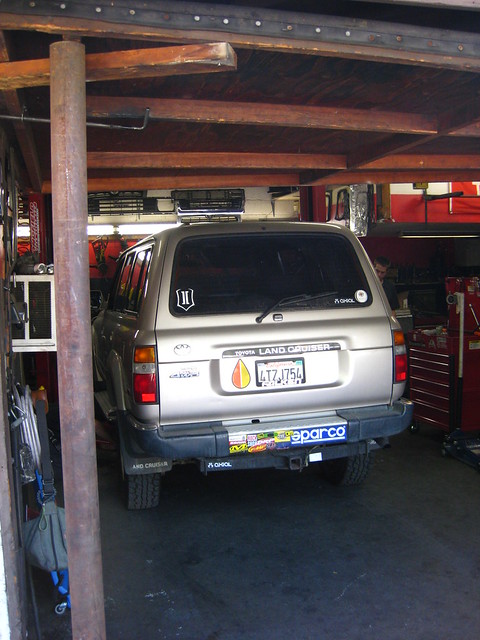
As I arrive I see this rig:
Obviously other 80-Series owners feel the same way I do about YotaMasters as this rig is in for some type of service.
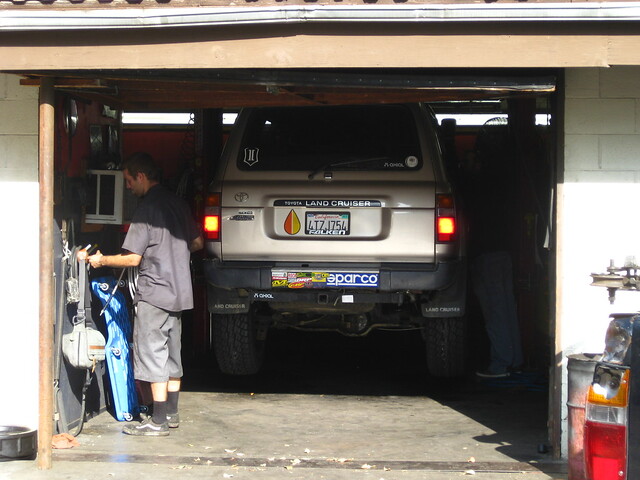
We roll the door open to the shop:
All hail glory to the FULL FLOATER REAR AXLE!!! While I have been talking about my front axle issues, I am also here to address the rear axle as well today!!!
But here is what has been going on in the background leading up to this glorious day!
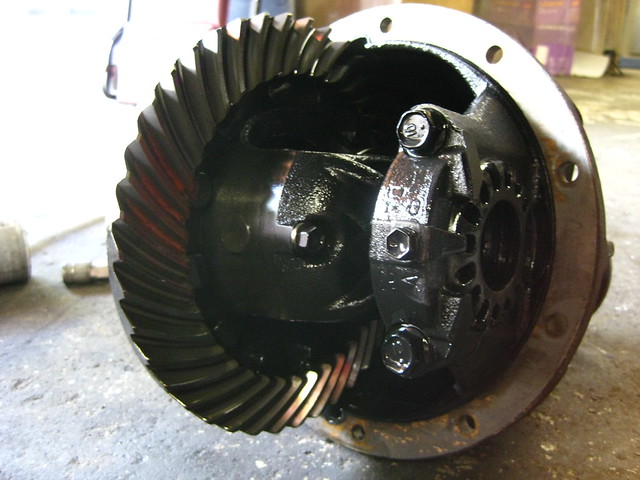
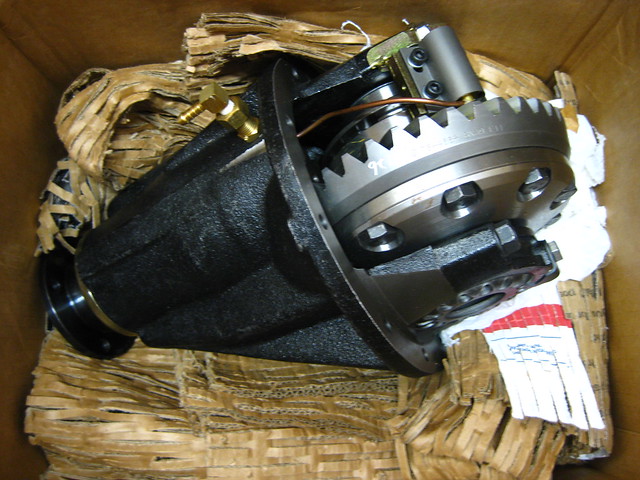
Bits Bits Bits - Bits have been collected!!! Toyota Landcruiser 9-1/2" 4.88 Ring & Pinion Nitro Gear by JustDifferentials.com
Just Differentials also carries TJM Pro Lockers!!! And they will do the complete 3rd member assembly for you!
A little background on the TJM Pro Locker:
In 2005 TJM combined a patented 20-year old locker design with extensive testing, mfg, outback testing to continually develop and design the best air locker possible. A unique air operated piston style air actuator eliminates possible oil to be pumped up into the air line as in other air activated designs. With the TJM separate pneumatic system, with no internal oil ring seals, this design adds to the simplicity and low maintenance. A simple bolt in installation without bearing cap modification makes for an easier installation of the TJM Pro Locker. The TJM external actuator design means less maintenance and easy service in the field if needed.
• Oversize locking ring, hardened gears and thrust washers make for for strong operation.
• All non-C-clamp models ship with hardened 4-pinion one-piece cross shaft.
• Thicker carrier SG iron compounds in comparison to most other differentials.
• No bearing cap grinding necessary / simple drill and tap for the bulkhead fitting.
• Recessed colored LED cabin switch
• Reinforced rubber external hose extension
TJM AirLocker set to 4:88 Nitro Gears for the ADV80!!! This is going to be a happy day!!! THANK YOU JUST DIFFERENTIALS!!!
JUST DIFFERENTIALS
5980 Goodwin Rd
Cashmere, WA 98815
509-888-2953
866-349-6801 www.justdifferentials.com
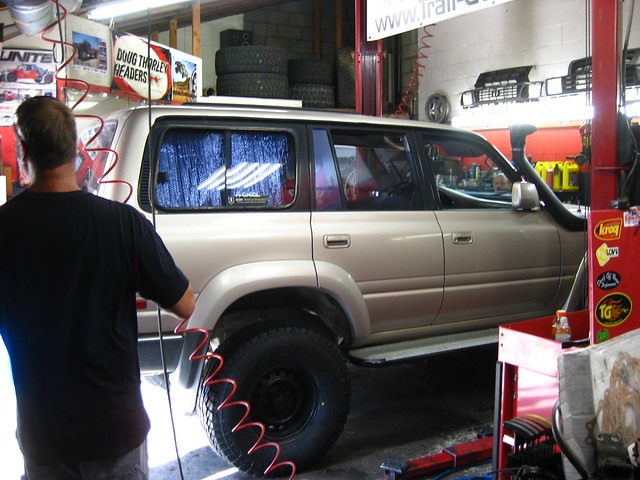
We removed my roof rack to fit the rig into the shop. I'm on a TJM 4" lift on stockers, but it is going to roll out on 34"'ers today! Eric of YotaMasters said they have had taller and have tricks for placing and extracting big rigs in and out of the shop.
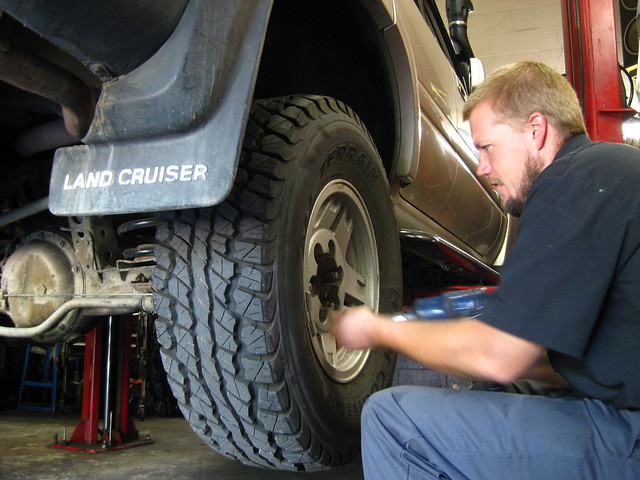
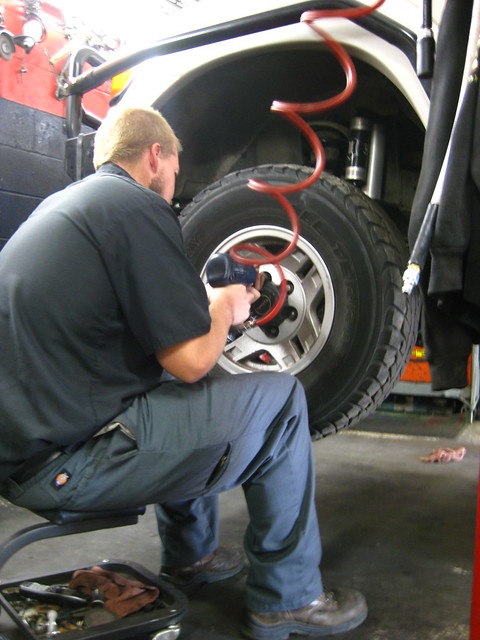
Eric Hansen, owner of YotaMasters start buzzing off the wheel nuts and I am going to truly miss these nice aluminum wheels. If only Toyota had made them in 16"!
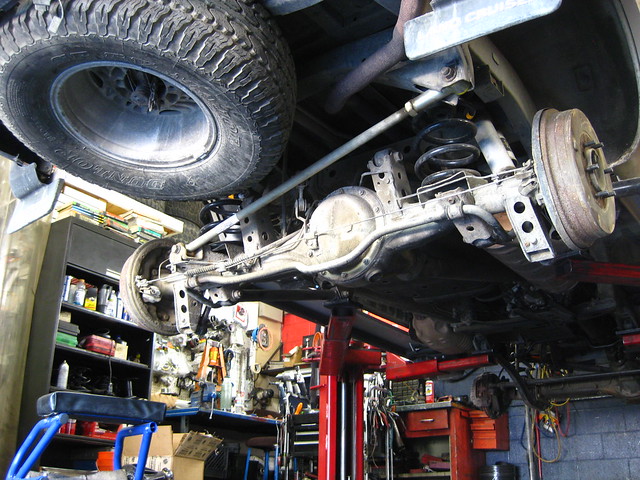
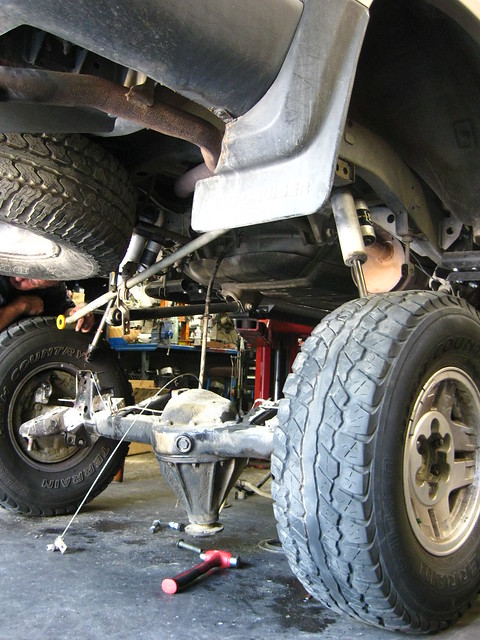
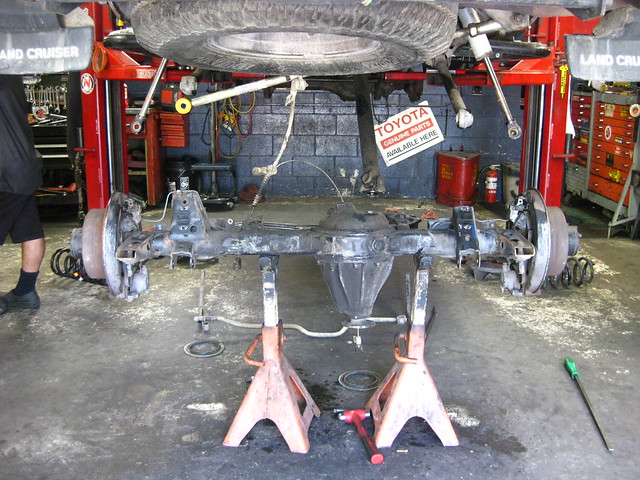
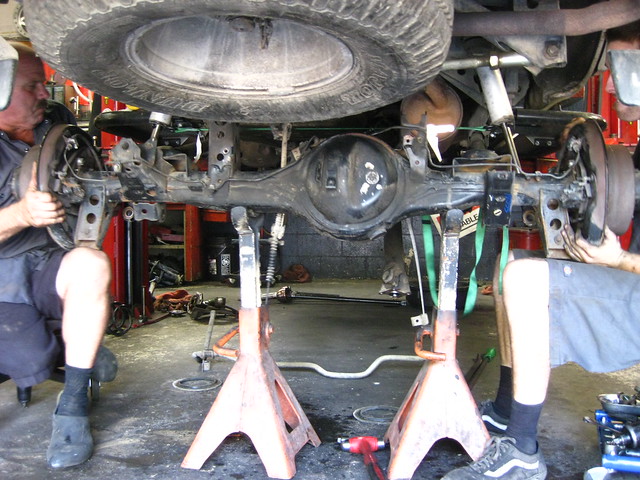
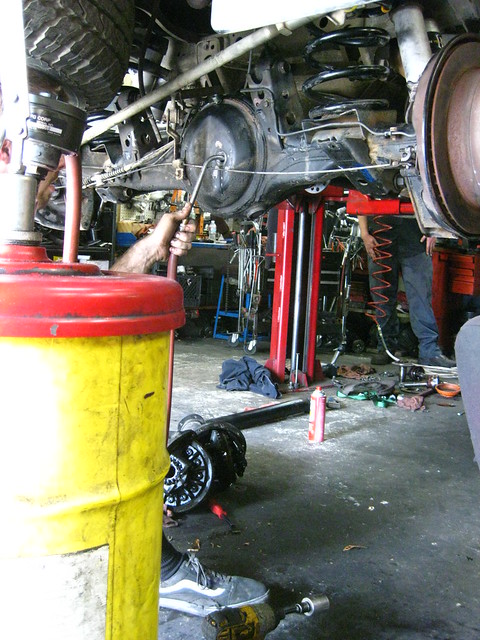
Rear axle is about to be extracted!
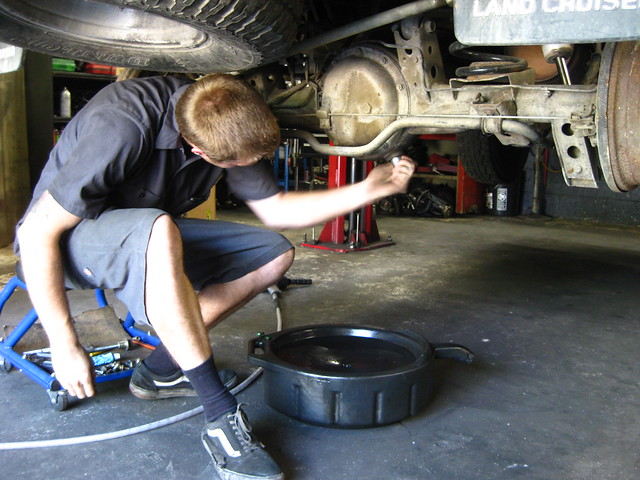
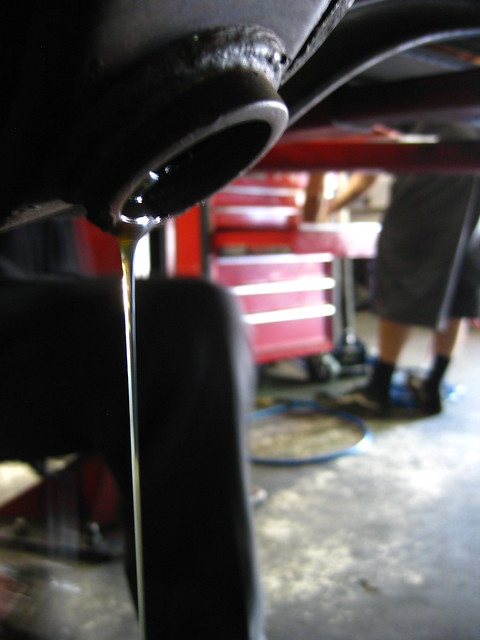
Chris Besanson Is the "youngun" at the shop and starts in on the stock rear axle removal, fluids are first.
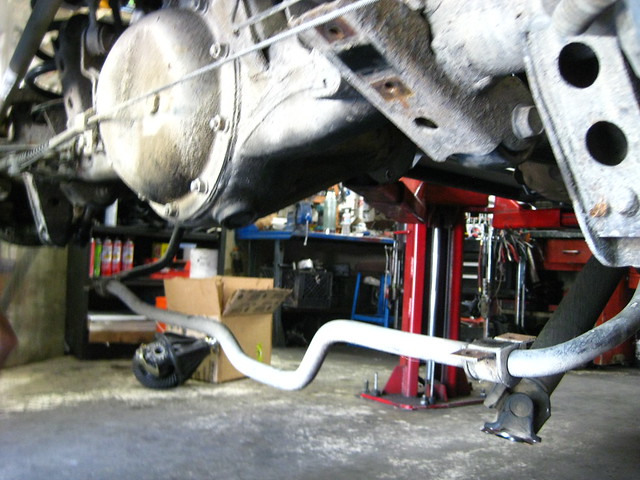
Then the sway bar and drive shaft get dropped out of the way.
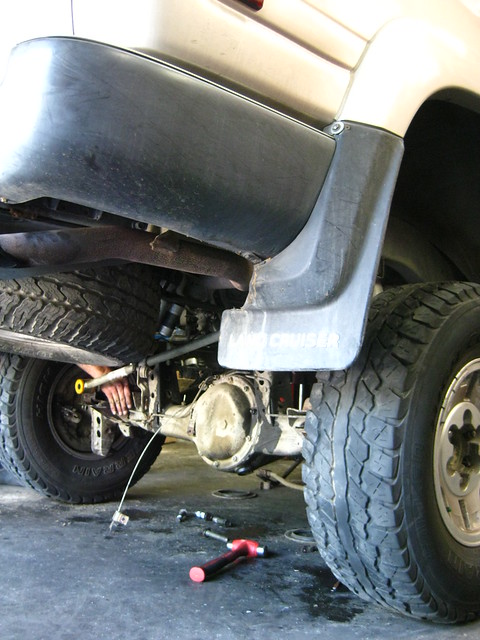
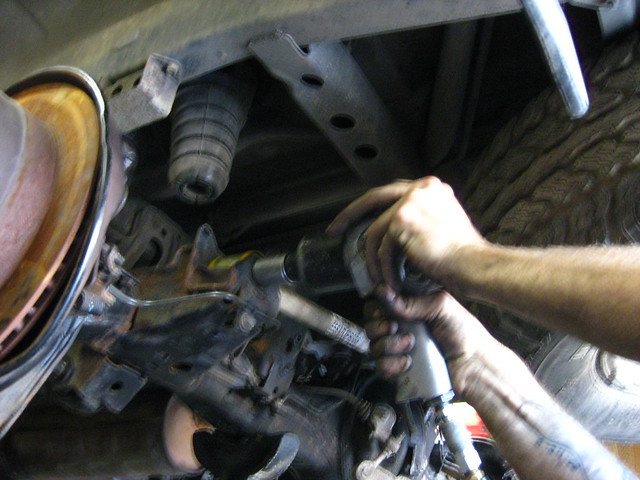
The rear panhard rod, shocks, E-brake cable and brake lines get disconnected. Tires are mounted back on...
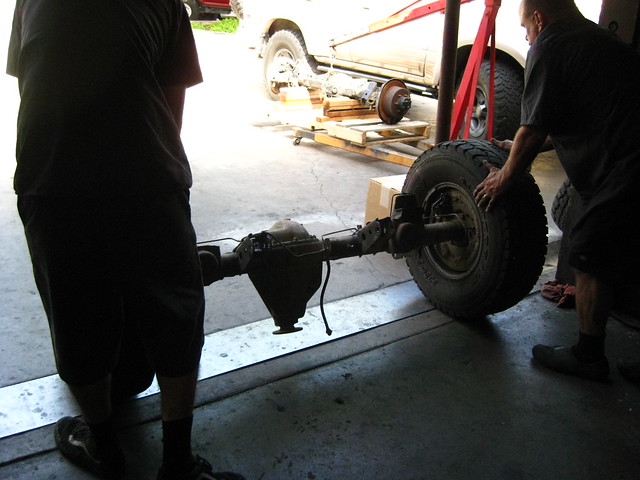
And sat back on the ground.
And then we LIFT!
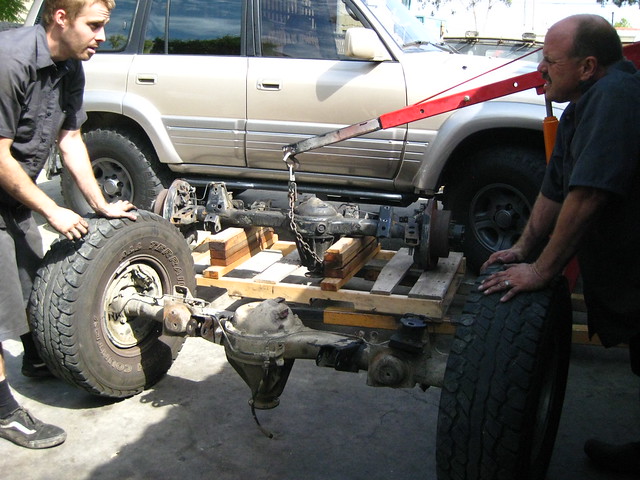
And ROLL!
The elder and wiser Jay King, Master Toyota Mechanic, looks at Chris and tells him, "now you know why we mount the tires back on!"
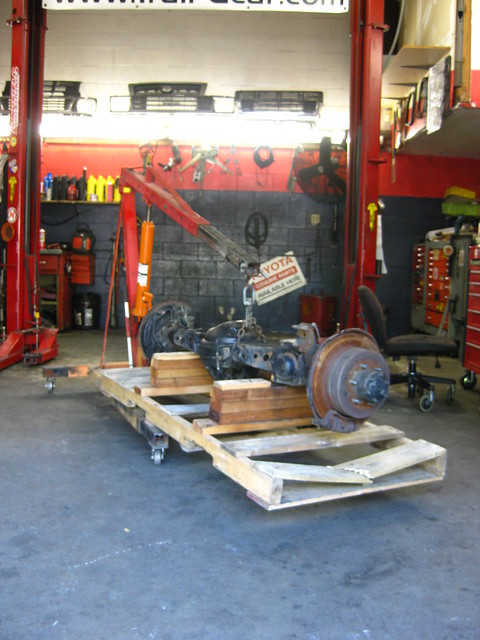
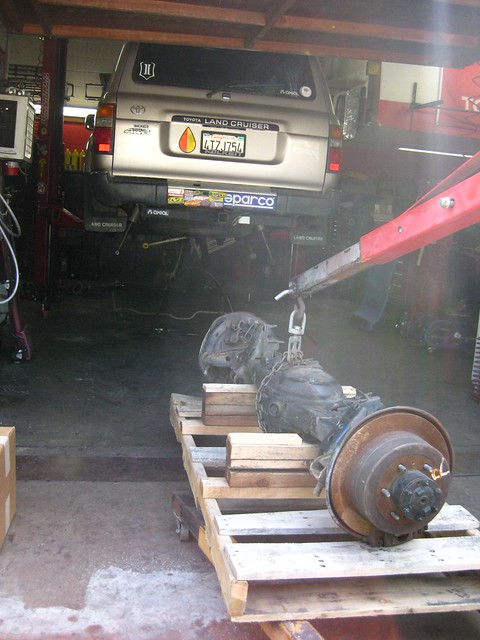
And we cart in the full floater axle! This is from a 1996 Land Cruiser purchased from LKQ Southern California. If you are calling in Southern California, ask for William Peargin!
LKQ Southern California
13642 Orden Dr.
Santa Fe Springs, CA 90670
Phone: (855)308-5318 www.lkqcorp.com
ice cream and axle time, ice cream and axle time!!!
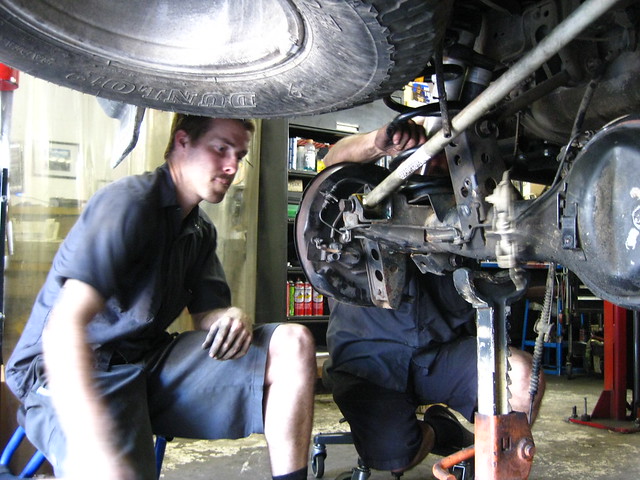
Then launch as Jay and Chris position the full floater into place.
With the axle in place, Chris starts by placing the panhard bar back on.
TJM 4" Springs are mounted back in place.
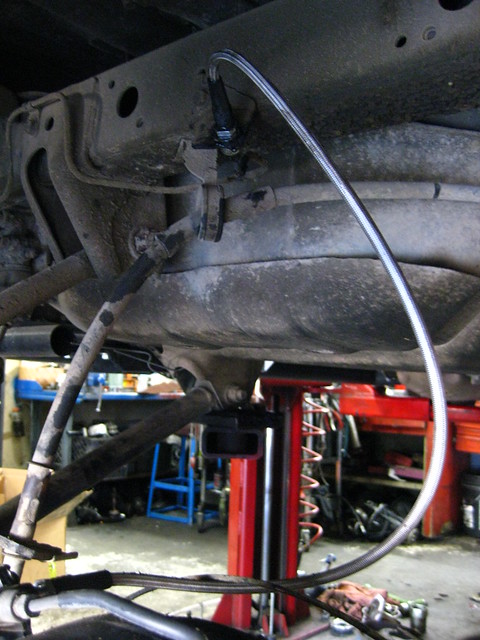
An extended steel braided brake line is test-fitted into place.
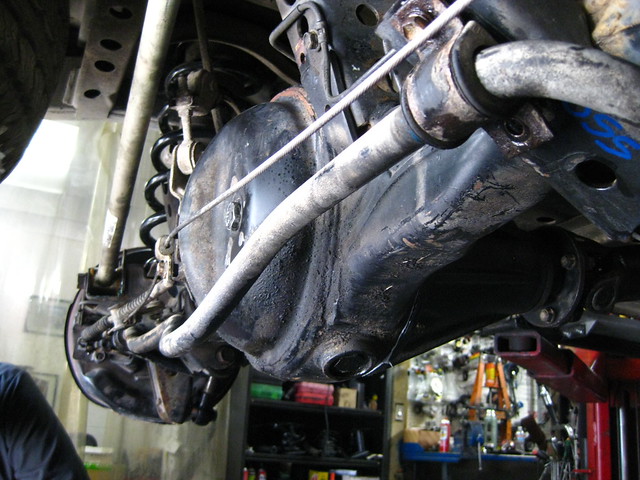
With the rear axle in place and everything sorted, there are two items that are not an exact bolt-up from the '92 to the '96 axle. The rear e-brake line has a lot of slack that is not able to adjust out so I will have to figure that one out at some point.
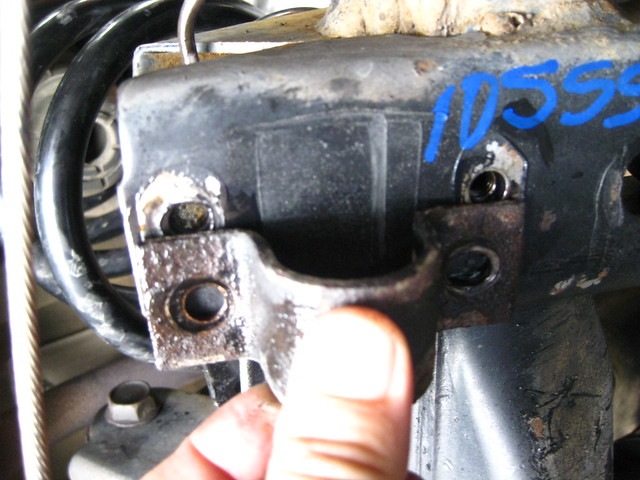
And the rear swaybar mounts do not line up exactly:
So we slotted open the front portion of the bracket so we could bolt it in.
With all the regular bits sorted, its pumpkin time!
The stocker is extracted!
Chris gets after the gasket cleanup detail.
And then he heaves in the new Nitro / TJM third member into place.
Chris gets it all bolted in...
Axles loaded and hubs sorted...
Chris is loading the rear axle with the juice and is sorting the other details...
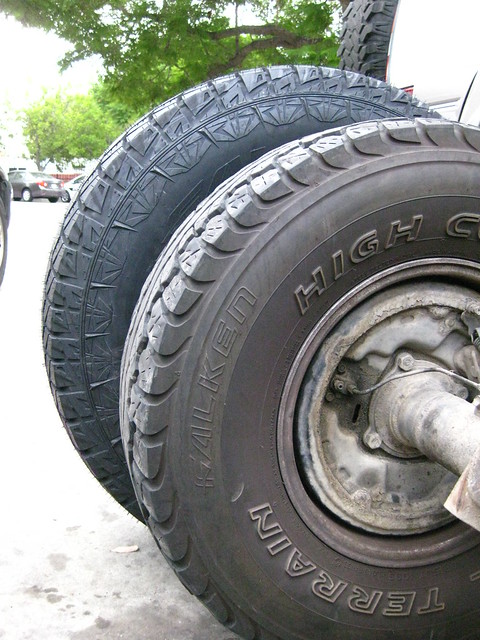
I start jumping ahead and start cross comparing the tires I took off and the tires I am going to be putting on the rig.
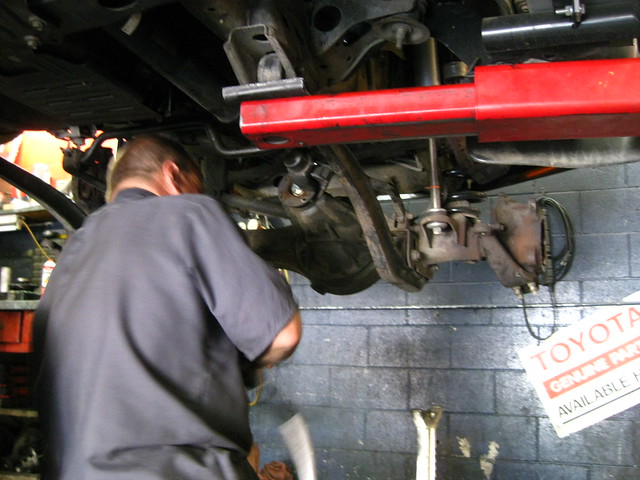
Eric, head Yota, starts in on the front side of the rig. HMMM - What will we find broken?
YotaMasters did my front axle rebuild back in October of 2009, almost three years later and the fluid looks as though it was put in yesterday! There can't be anything broken in here...
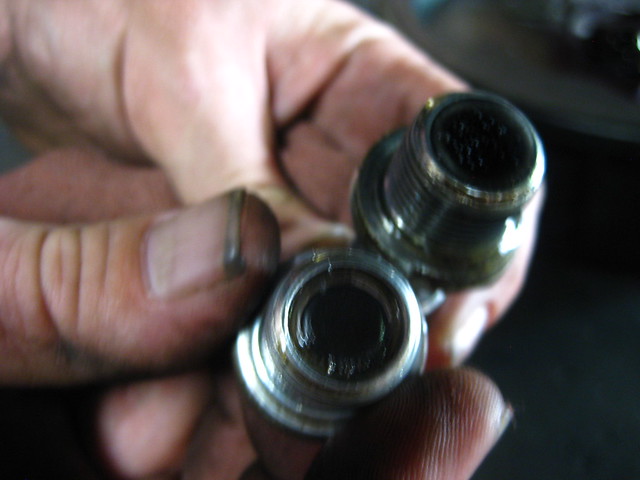
Eric drops the plug out of the front axle and cross compaires to the plug out of the rear axle. The plug at the bottom is the front and VERY CLEAN!!! We were expecting to find all sorts of shapes and sizes of bits stuck on the magnatized plug.
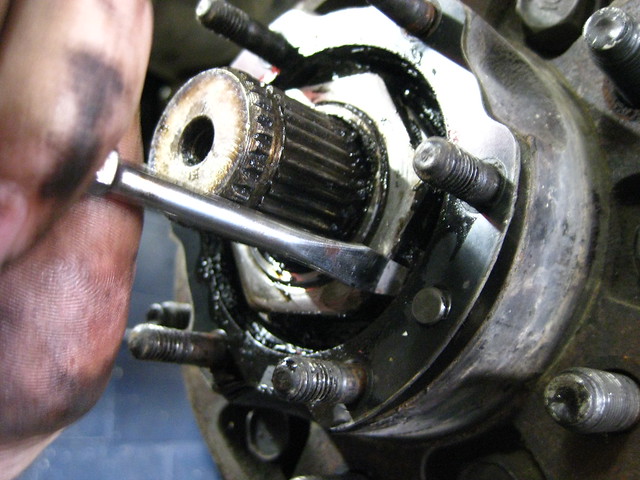
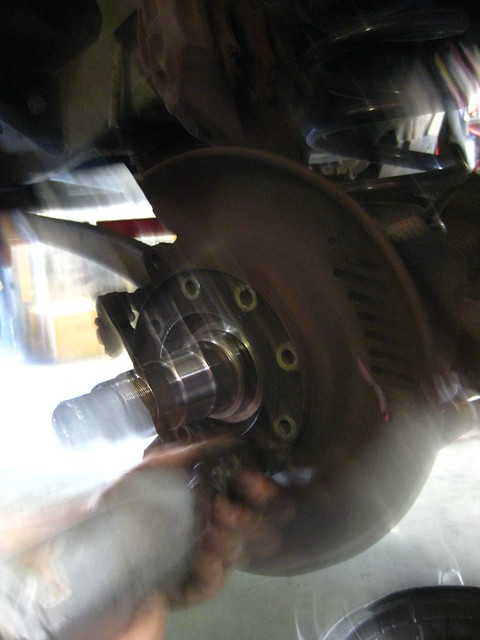
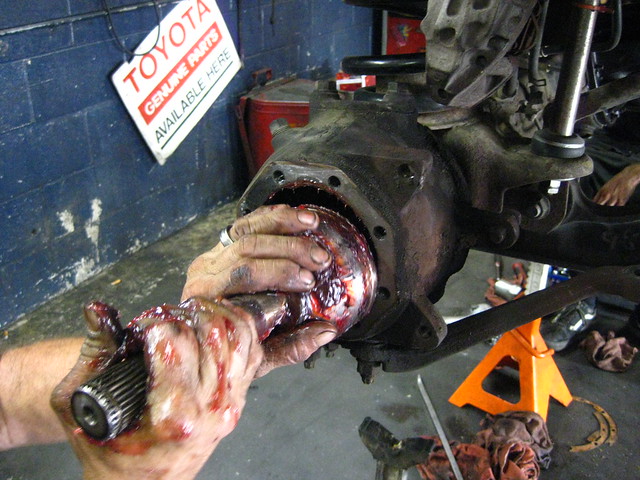
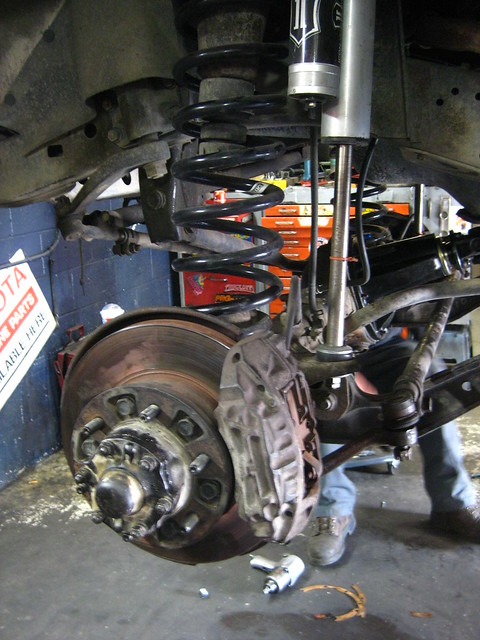
Eric starts the birfield removal process. I take notes as I may have to do this in the field one day.
These little cone washers need some vibration to work loose. Make sure you keep the nuts on the bolt so they do not go flying out! Especially in the field! Little Yota Tip.
There are two tab washers down here to fold out of the way.
Eric showing off how quick his full swivle head ratchet is.
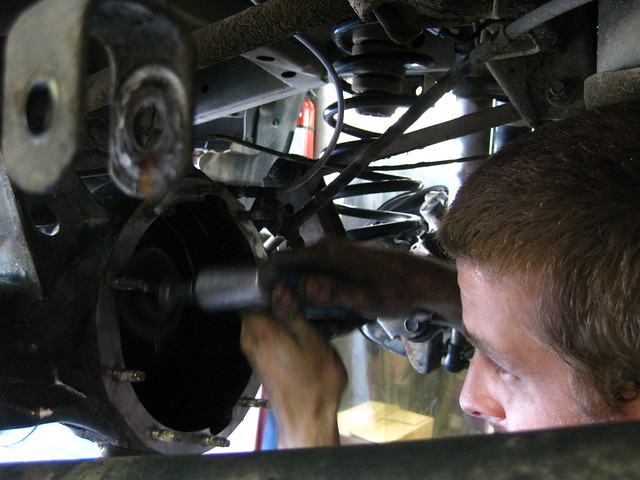
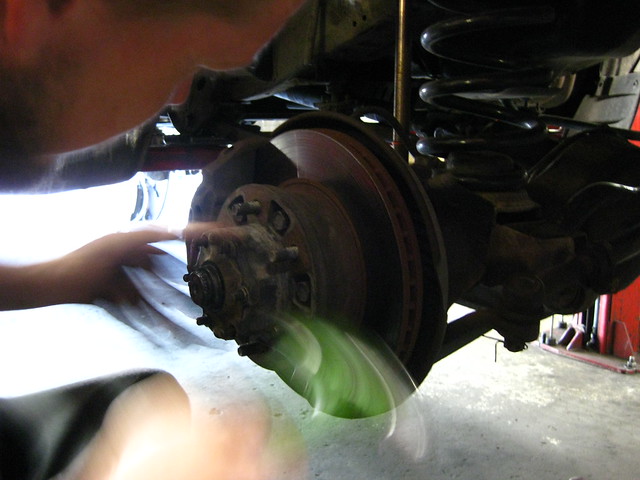
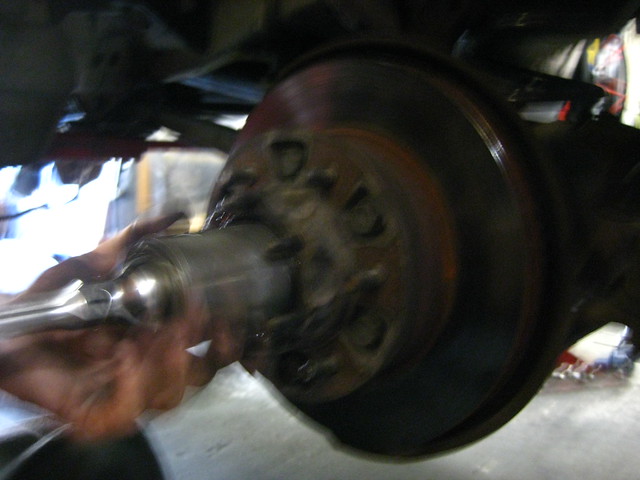
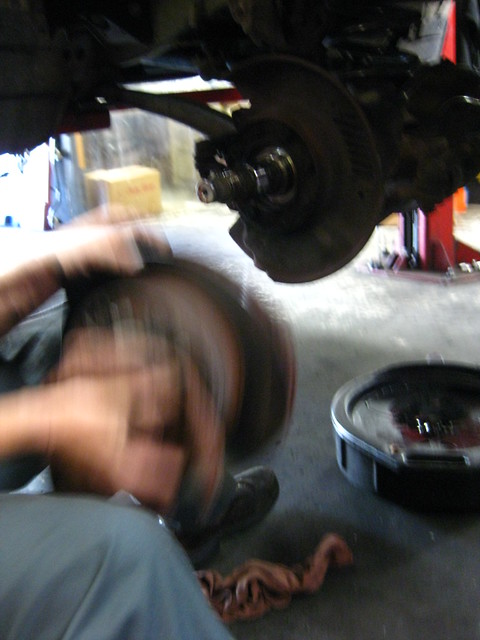
Rotor / hub is off. Eric makes quickwork of disassembling the front axles! No posed photos here - all action!
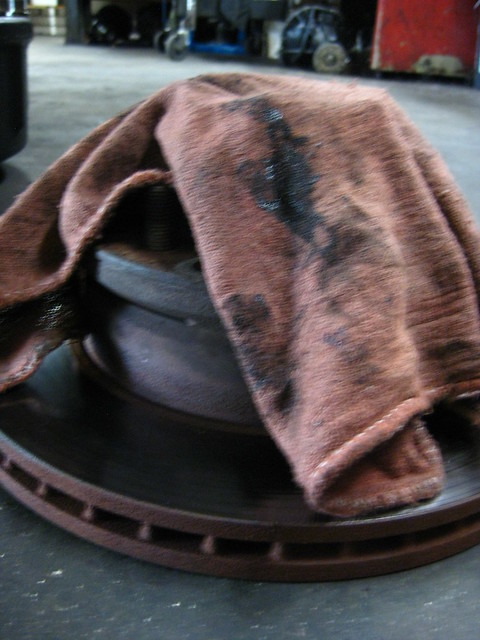
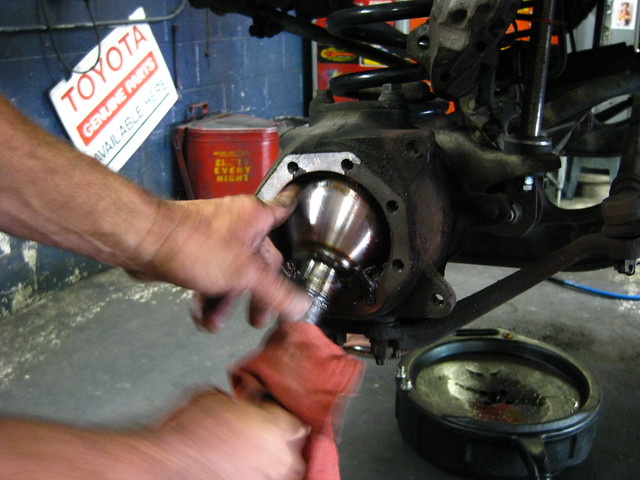
Toss a rag over the hub just to keep debris from getting inside. Again, especially in the field. I keep saying in the field as this will most likely be the first time and place that I will be doing a birfield replacement.
As I'm telling Eric I am orginally from Alabama, about that moment he thought he was at Talladega doing a speedy tire change lugnut session!
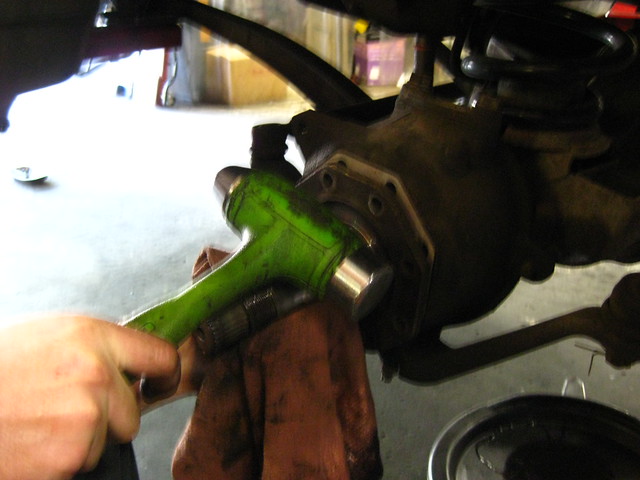
Sometimes you need just a little tap from Mr. Green to break loose the birfield.
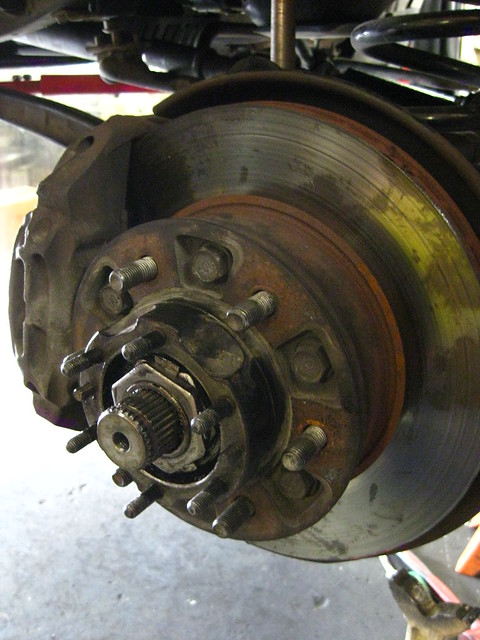
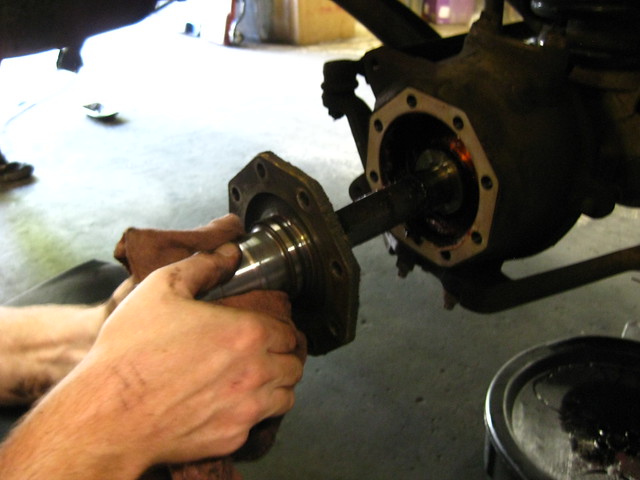
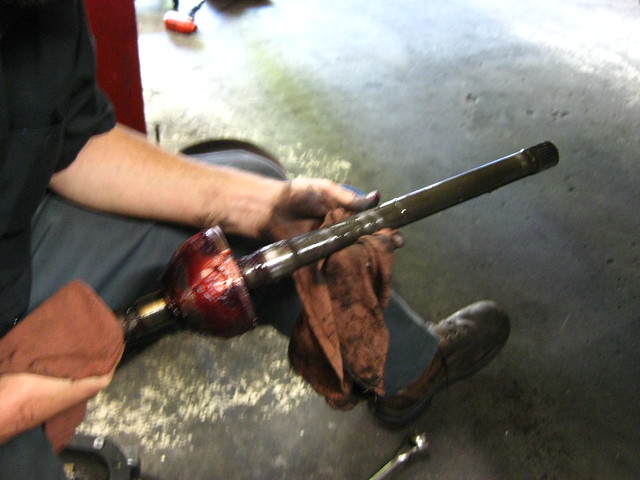
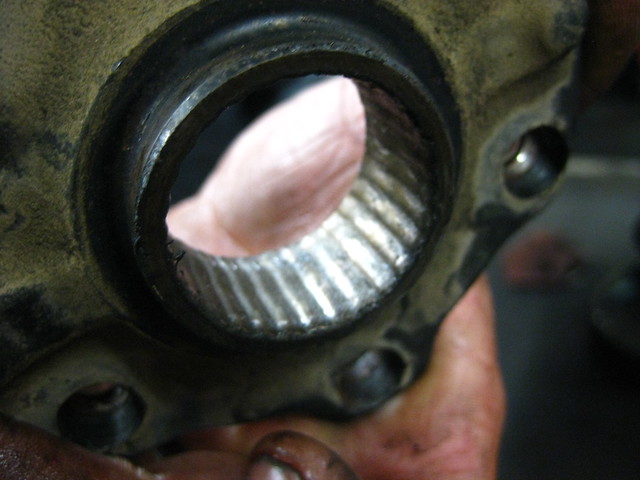
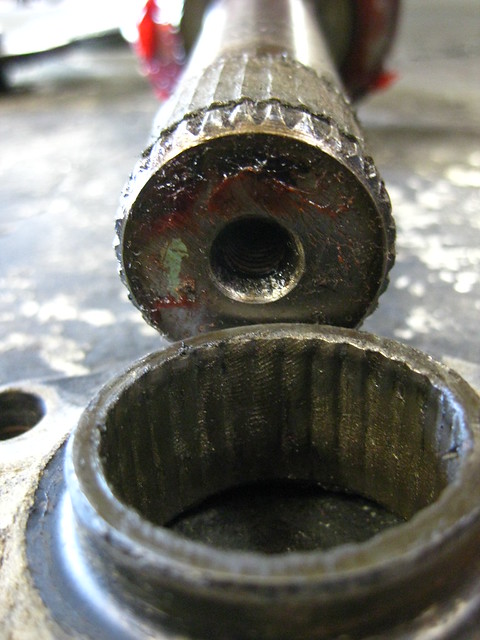
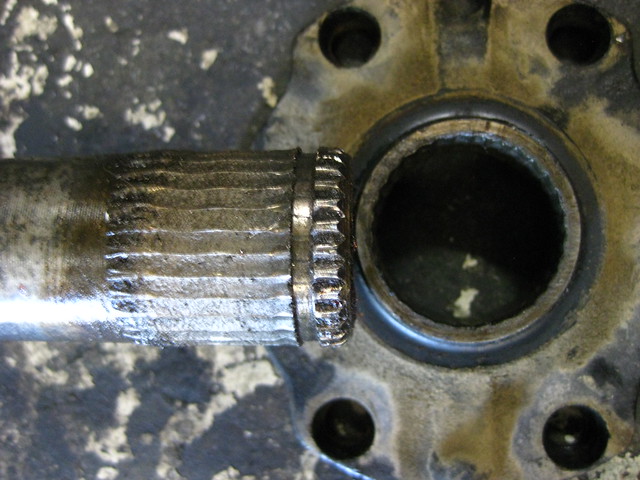
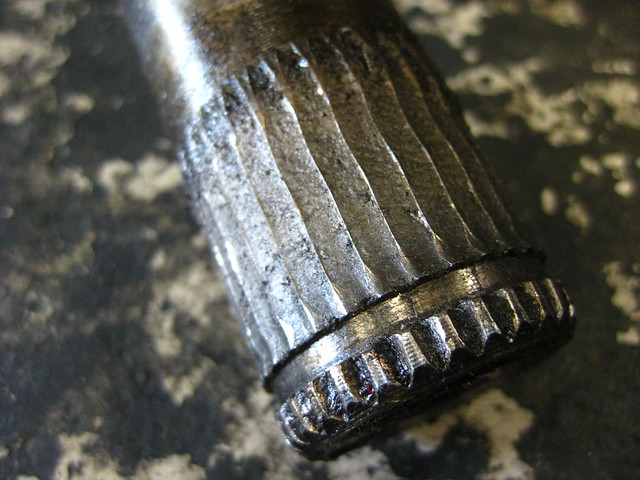
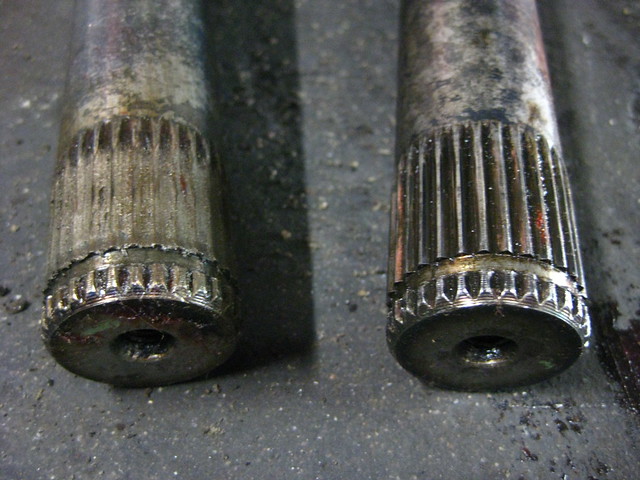
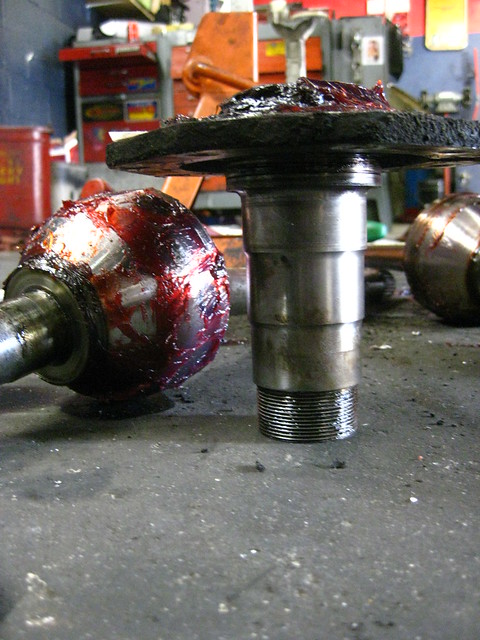
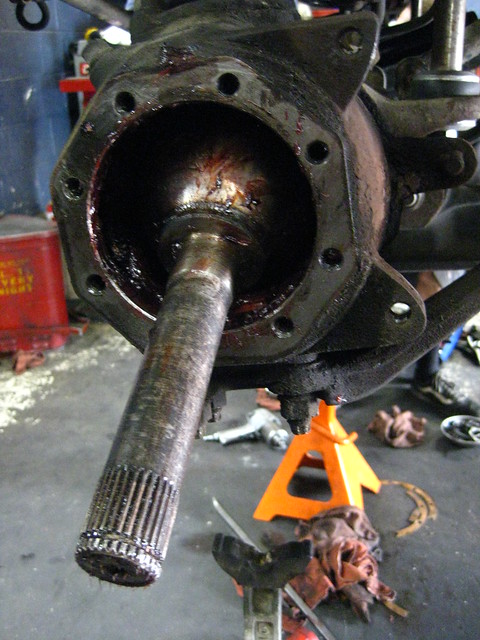
Earlier this year during the King Of Hammers while transporting media personel, something obviously broke. Yotamasters had no idea we would find the passenger side hub flange stripping like this, they had heard of a couple of times, but this is the first one they have personally seen.
The left splines, or the lack thereof are the result what it looks like with a few thousand miles grinding the broken bits away as I kept driving it daily - it is my daily ride! I was not in position at that time to get into repairing it and same time I was affraid that if I cracked open the driveshaft it would not be going back together thus rendering it undriveable. It was still drivable, a little noisy, but drivable - so I continued to drive.
Today we get to fix this issue and improve my rig overall at the same time!
Nice write up! I'm surprised that yotas had a problem with the ebrake adjustment. I didn't run into that when I swapped in mines. I did run the stock 94 sway bar on mine. Did you get the front from JT as well? 3rd member that is.
Nice write up! I'm surprised that yotas had a problem with the ebrake adjustment. I didn't run into that when I swapped in mines. I did run the stock 94 sway bar on mine. Did you get the front from JT as well? 3rd member that is.
Jay is starting the removal process of the front third member for the final inspection.
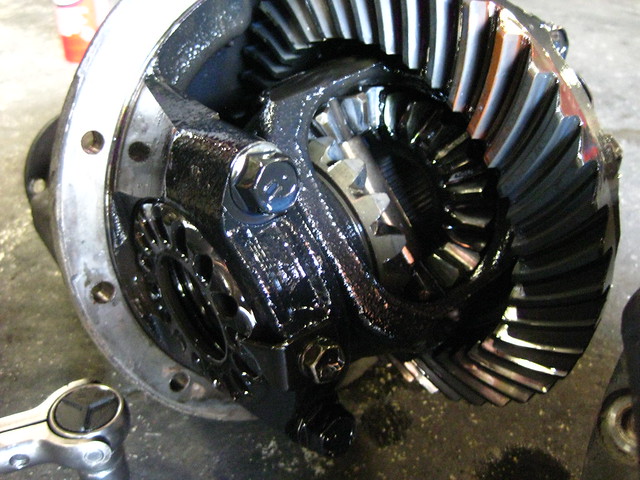
Front third is out and looks like a 200,000+ mile Toyota Land Cruiser third should - PERFECT!
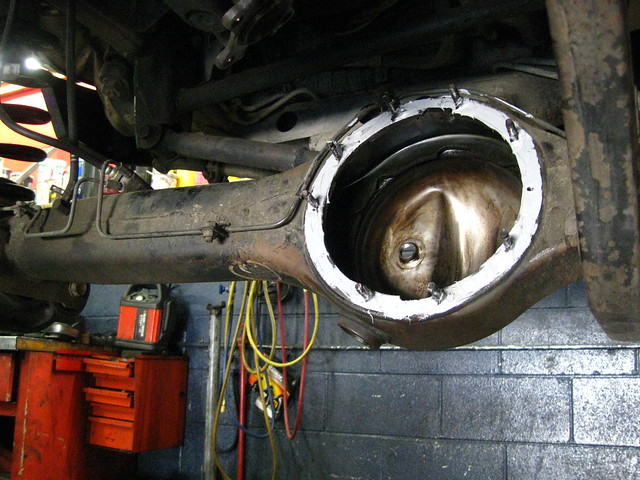
Jay applying the gasket sealer to the front housing.
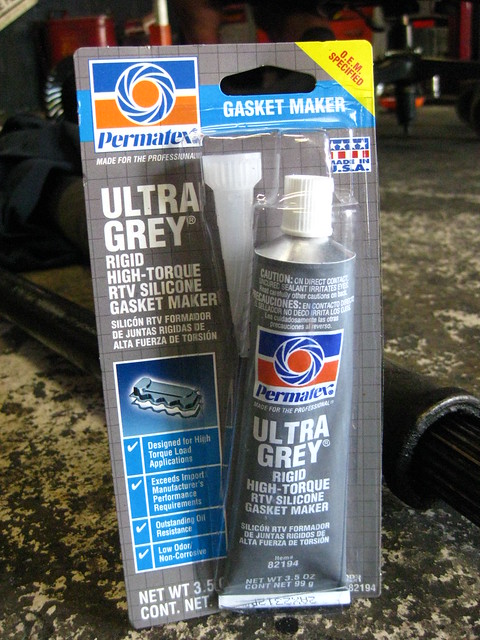
YotaMasters uses Permatex Ultra Grey for gasket sealer as we discussed the the extra care and length of time to properly install a factory Toyota "paper" gasket. Did you know you are suppose to soak it in water prior to installing?
Yea, neither did I!
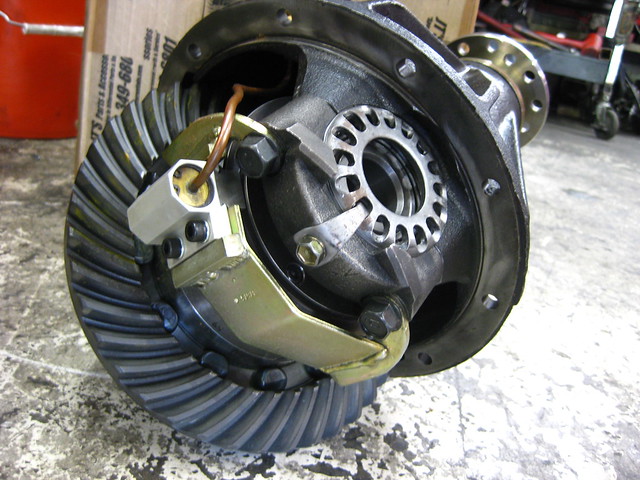
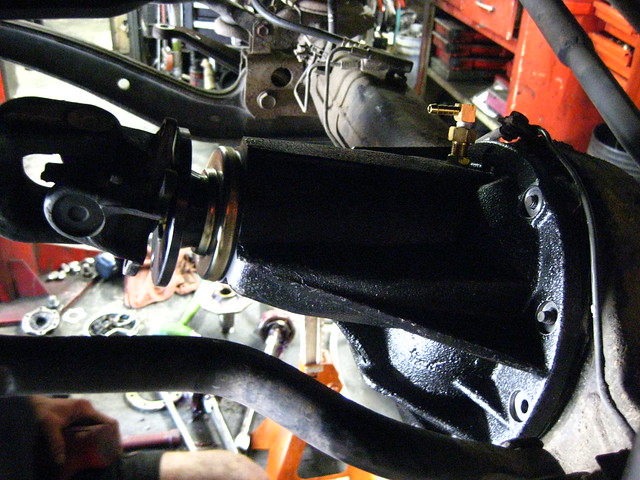
Front third back in... oh wait... what is that shiny brass fitting on top of the third?
A new fangled throw-back vent valve?
Nope, its a new ring & pinion...
Birf's loaded and duplicate on the other side. Eric had another stock 80-Series birfield to replace my busted one so we were able to button up the whole opperation in one day.
Side note:
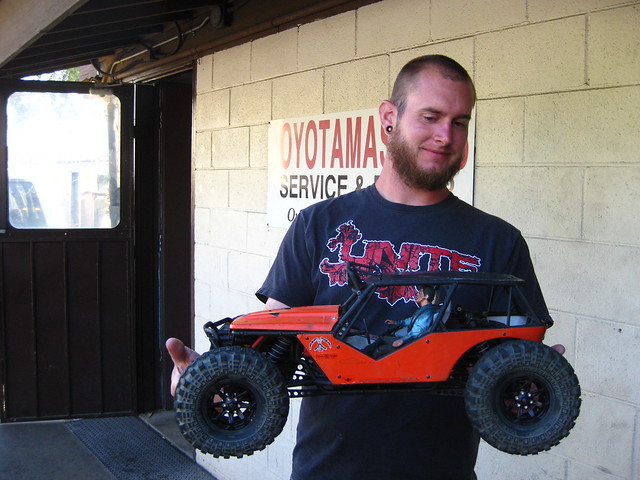
Justin of Chino Hills with his Axial Wraith at YotaMasters. You meet Axial customers at the darnest places! Like at YotaMasters in Corona! Go figure!
Now you know why it took nine months before this project got sorted! That is nine months of driving on a stripped axle stub/shaft with about four of those months the rig making a very nice hideous sound while driving! The noise would be tame while on-throttle, but at the time of letting off-throttle it would make a loud racket!! It was funny to see the car next to me look in fear that something was about to explode, especially during these summer months when the windows are down and noise is un-filtered by the glass.
Now the noise is gone, so is the wallet and the savings, but the ADV80 is driving great now - more on that soon.
Thanks again for checking out my rig and commenting!
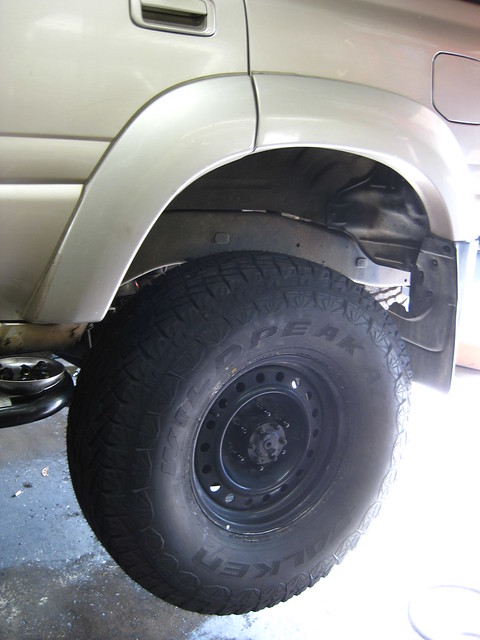
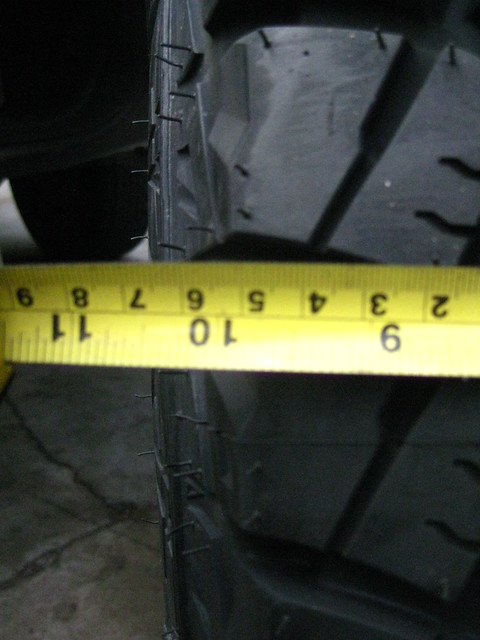
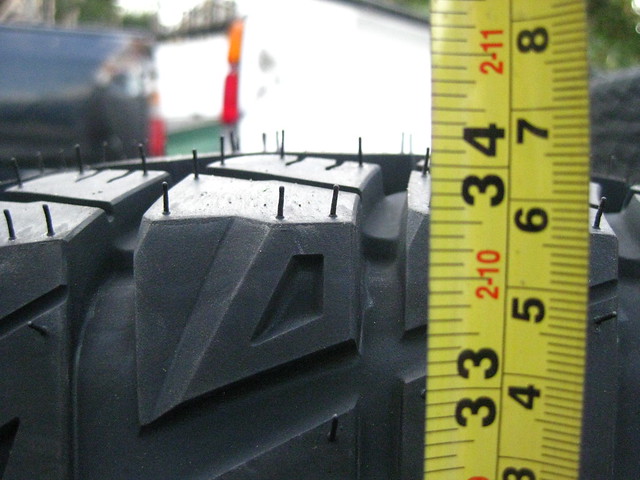
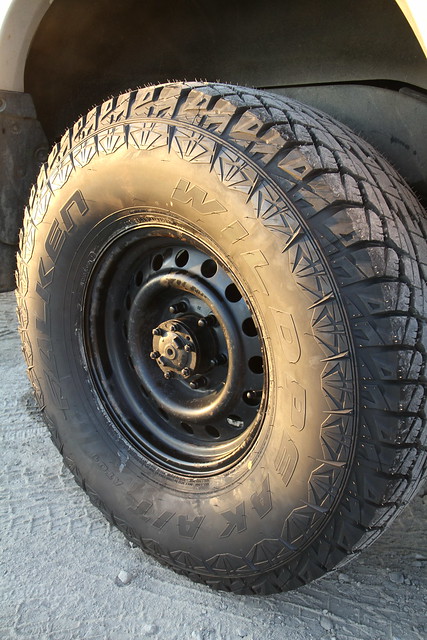
I wanted the steel wheel look and needed them for the 16" to clear the disk brakes that came on the FF rear axle. I really liked my Falken High Country tires so when I went back for 16"ers, Falken has discontined the tire as it was an older tire than the Wild Peak. So I started looking at Wild Peak fitment and settled on 315/75R16.
Thread Width is 10"
Overall Diamiter is 34"
It's not too wide and not too tall as I drive it daily. I would have like to have seen it in a 9" wide for the skinny tire look.
As a daily driver, its not knobby slapping loud and its on the freeway everyday here in Southern California! I like to call it a great "dual sport" tire and it has been KOH proven as well, so its good enough for me!
Falken Wild Peak meaty's mounted onto ADV80 and ready to roll it out of the shop so we can get a bettr look at it!
But there is one little thing to sort out and that is the new height and extracting it past the shop door.
We load everything and everyone we could into the rig. I'm standing on the back bumper to check the shop door clearance.
We cleared the "daggers" hanging off the shop door!
Eric was laughing at me as I was all seriously thinking we would have issues...
He said all he does when it truly is an issue is just air down the tires...
Go figure!!!
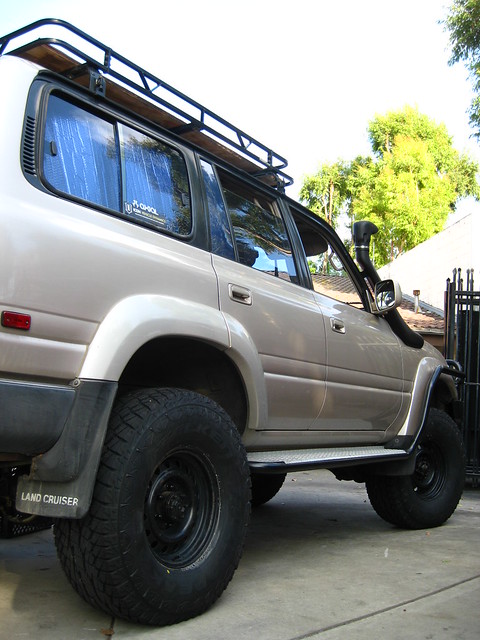
WITHOUT FURTHER ADIEU - I PRESENT ADV80's NEW STANCE!!!
It's been a long time since I have seen it without the roof rack - looks naked!
Better!
With that all sorted, only one more thing to do:
Give the ADV80 the Yotamaster credentials!
THANK YOU YOTAMASTERS FOR GIVING THE ADV80 ITS AWD BACK!!!