Tire research time!
With the TJM 4" lift making my truck look like it has bounced and stuck in the extended-to-the-moon position, I need to upgrade my tires to fill in the massive gaps. But what size?!
With much 'MUDsearching I think I have found my next size: 255/85-16.
This will also call for a wheel upgrade as the '92 80-Series has a stock 15" wheel.
Getting a little time to work on the A/C. Kinda' late as summer is blistering right now, but I have made it afew years without it, same time I'm missing another outting with my family & adventure partner as he is taking off tomorrow on a trip to the Sierra's! I have to get this A/C going!!!
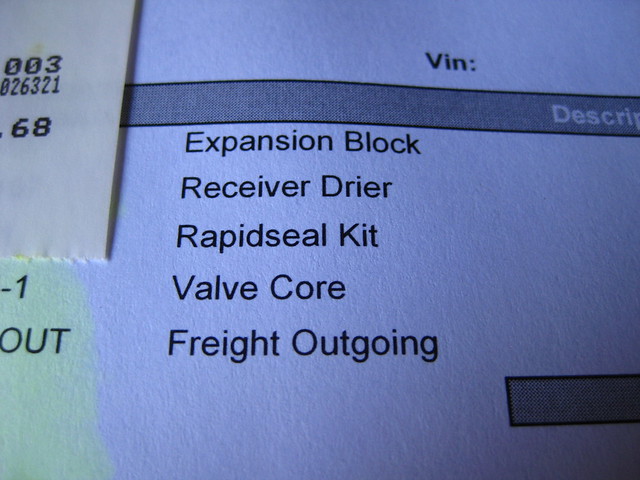
What I got from Coolstream A/C:
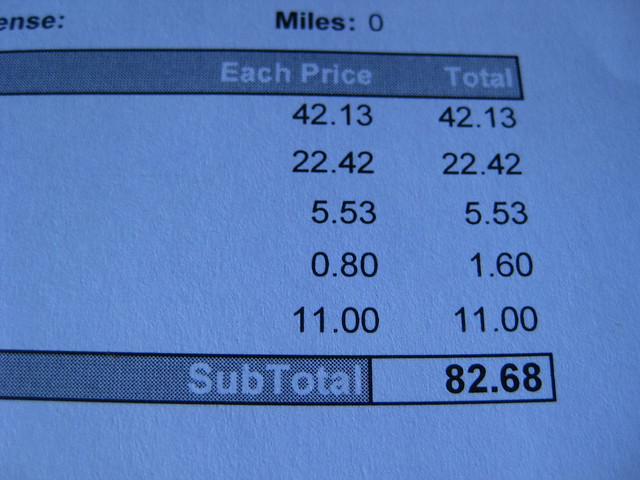
What I paid and when you do your homework you will see that will not even buy the one part from Toyota.
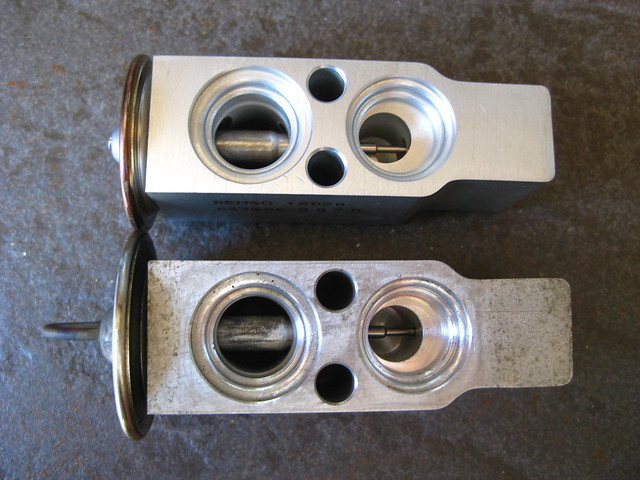
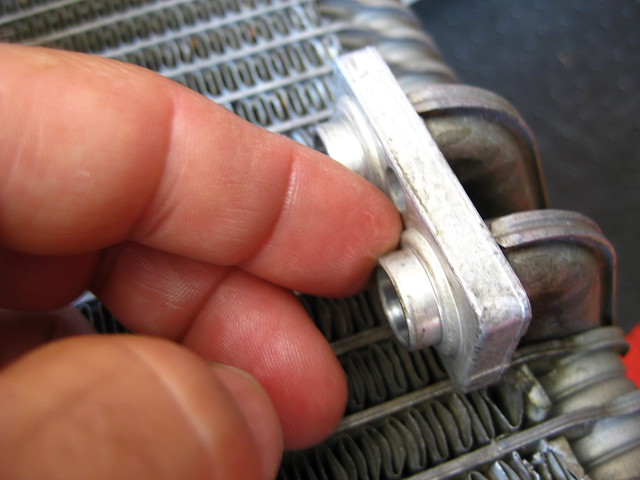
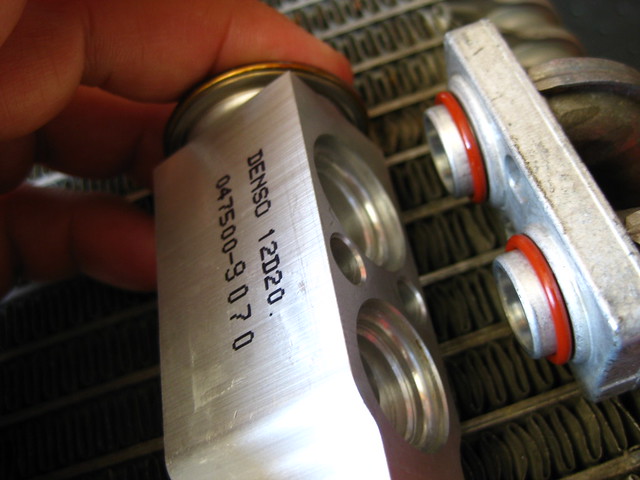
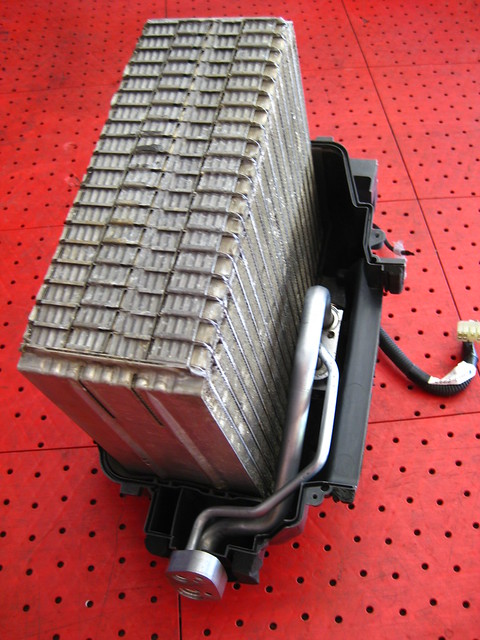
New expansion valve on top:
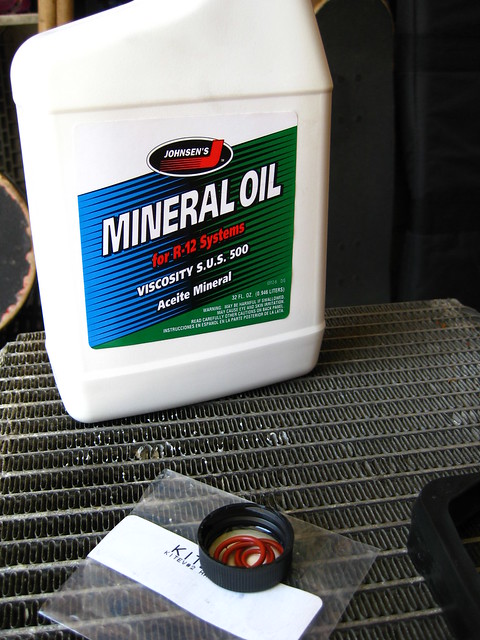
Bought the correct R12 Lubricant to start putting things back together - yes, I read instructions when I am doing things I do not know how or what I am doing. I had no idea there is special lubricants for A/C stuff:
Pep Boys did not have it, I had to go to Hub Auto on Harbor blvd, local old school parts supplier, so you might want to call around for it before you get started.
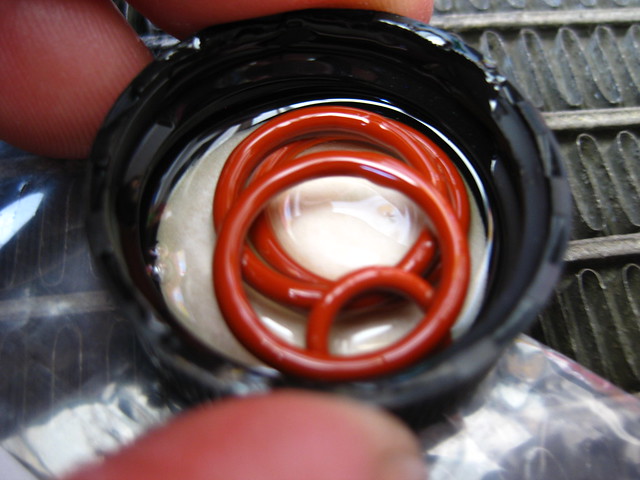
I juice up the o-rings.
I juice up the area where the o-rings will be fitted onto.
O-rings in place and slide the expansion valve in place.
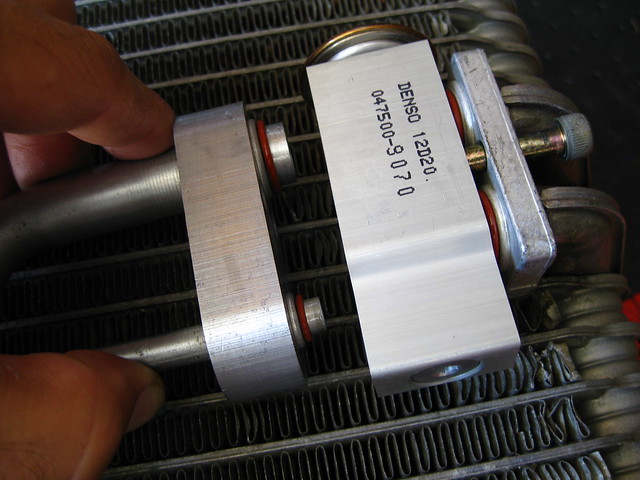
The cross pipes are next to be installed.
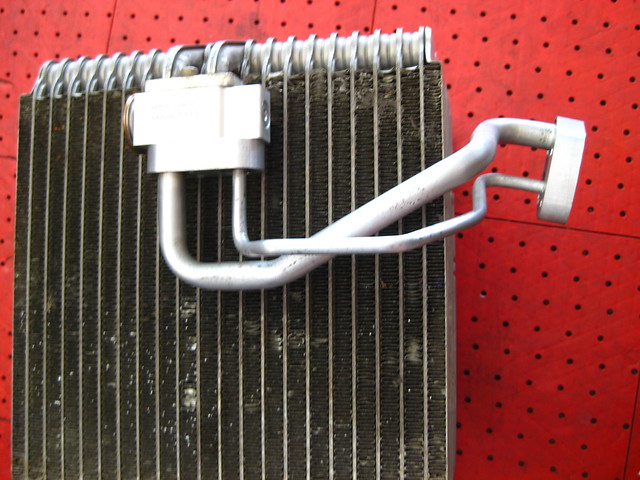
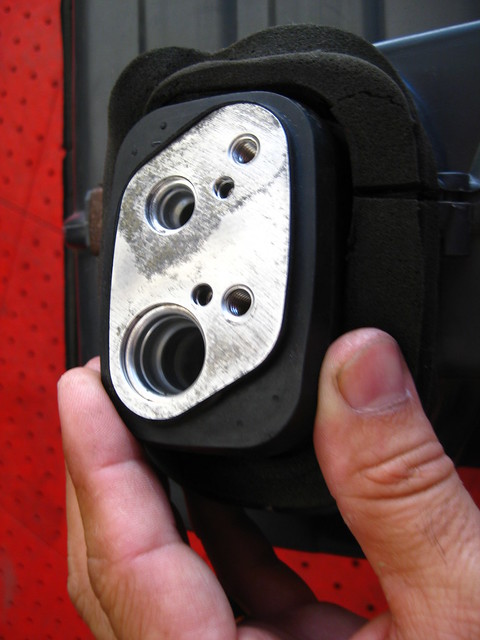
The expansion valve has two bolts that holds the cross pipes in place. Now its ready to go back into the housing.
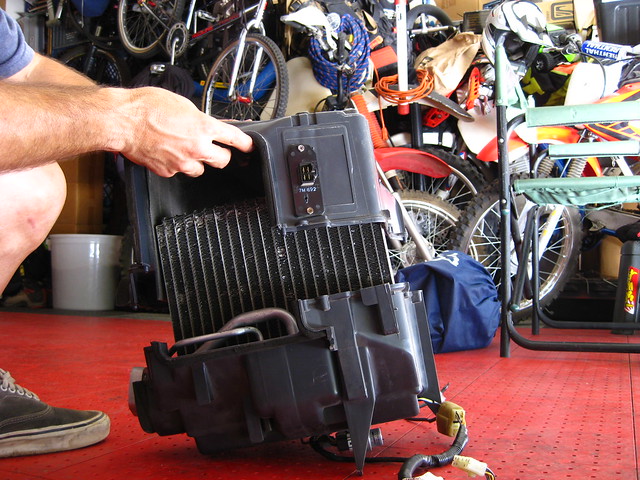
I drop the mini-rad into one side of the housing.
Slide the other half of the A/C housing into place.
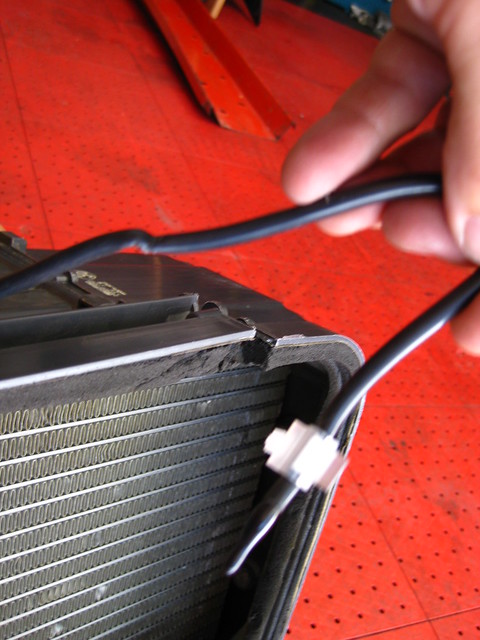
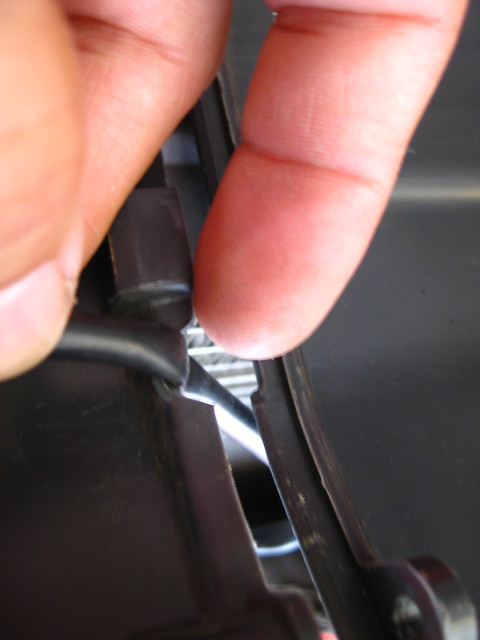
Don't forget to put this sensor back into place as it goes through a small cut-outs between the two housings, before it gets snapped and screwed together... yes, like I forgot to do...
Detail of the small cut-outs:
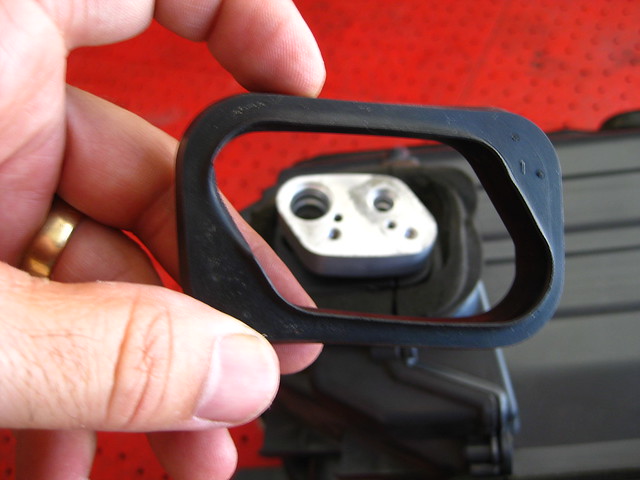
Then its time to install the rubber gasket.
This is the gasket that goes through the firewall.
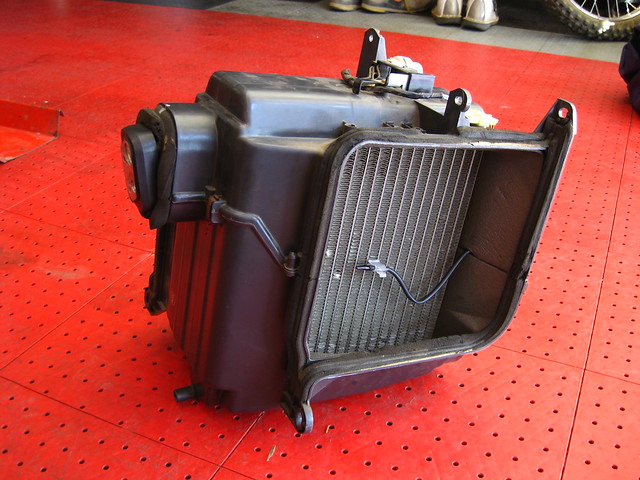
The "garage part" is buttoned up and ready to go back inside, but the truck is outside and it's hot out there... So much-much more to do!
Finally going to addess this hole in my boot! It's letting a lot of heat into the cabin of the truck from from all the heat coming off the motor & transmission.
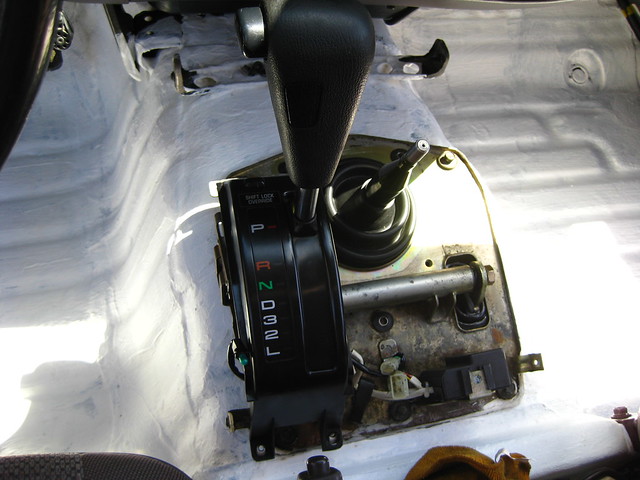
This shot is when the shifter is in Park.
This shot is of when it is in Drive:
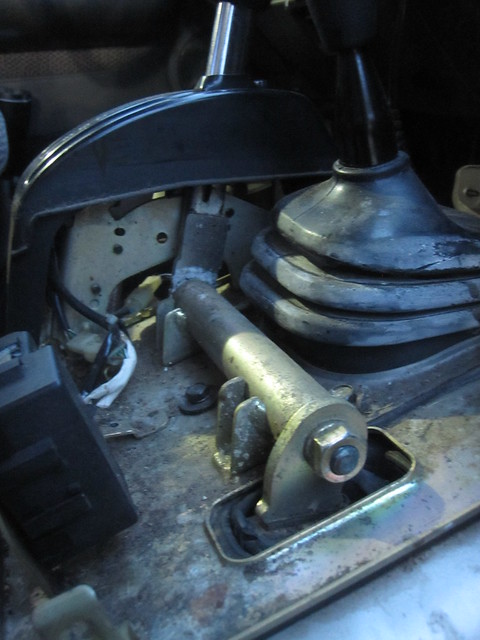
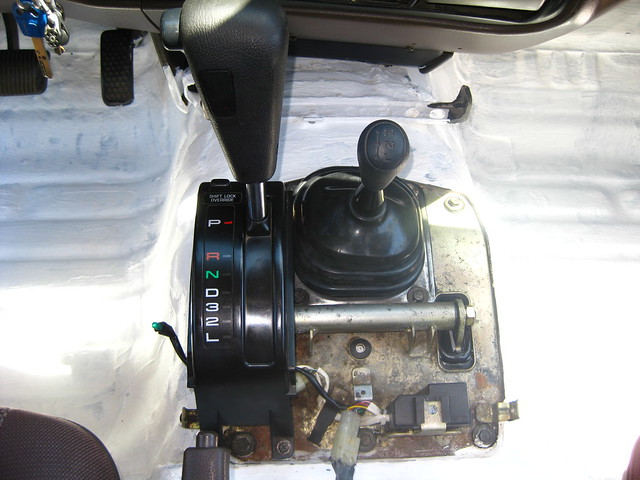
Here is a shot so you can see the boot location in the center console.
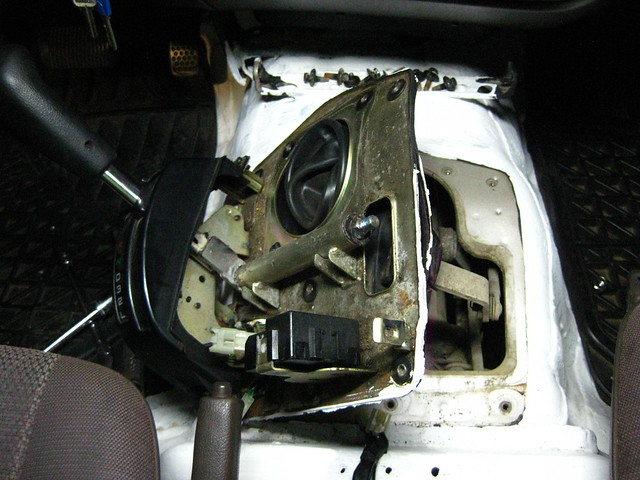
I start pulling out the center plate.
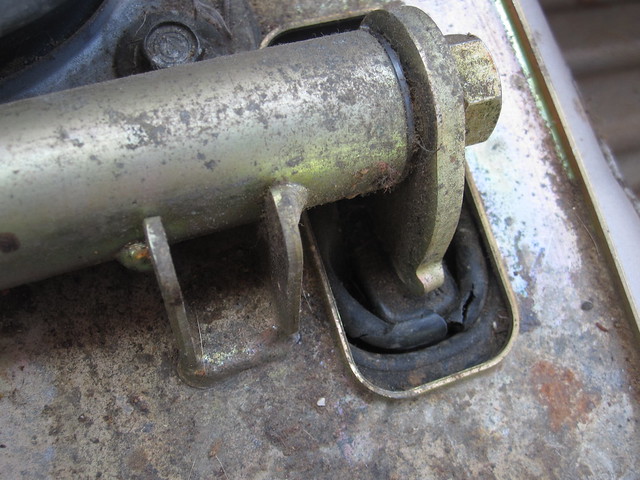
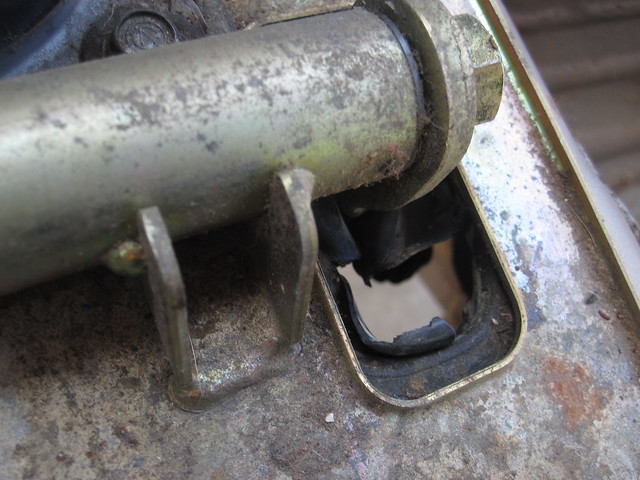
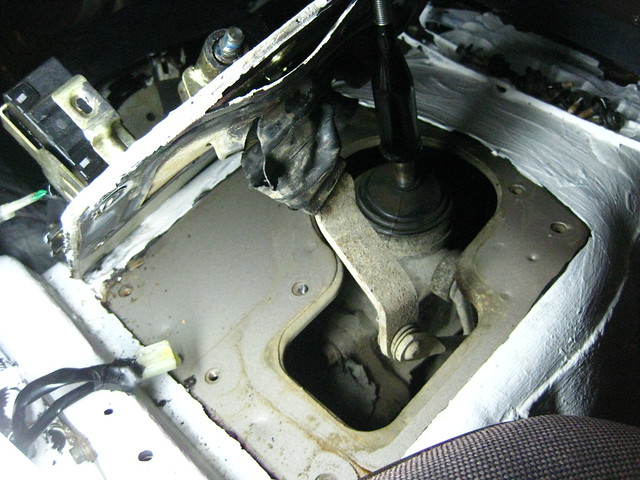
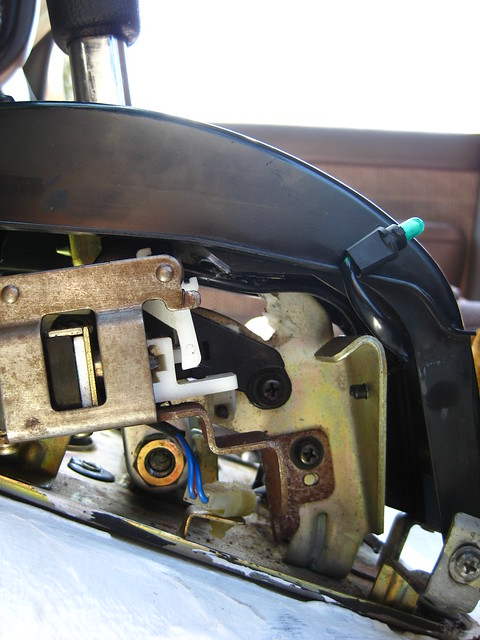
You can see the arm for the 4H/L shifter, this is where the big tear is.
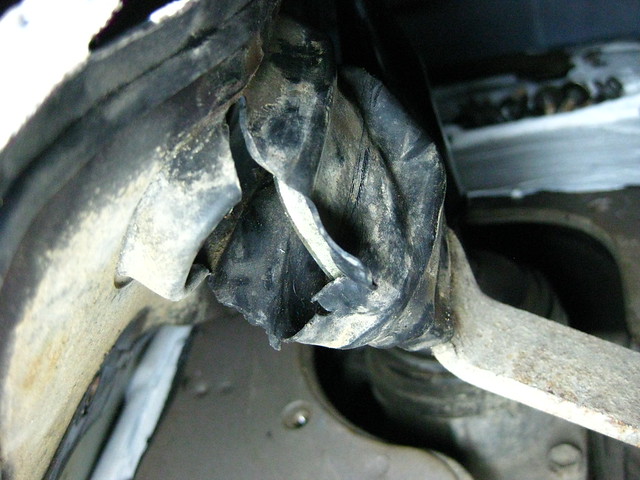
Here is the torn boot area and this was letting in a lot of heat from the transmission into the cabin.
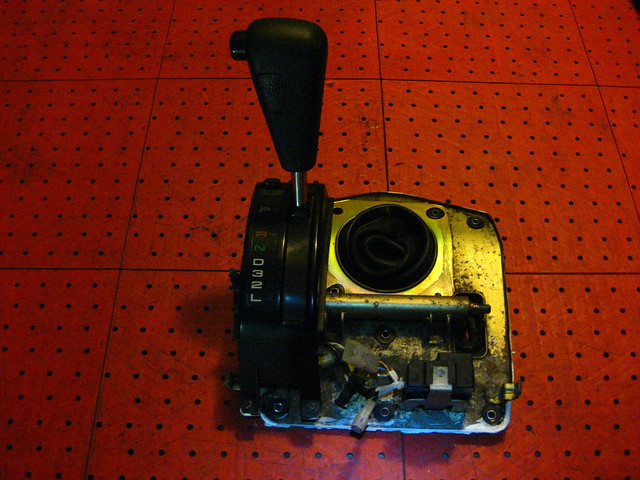
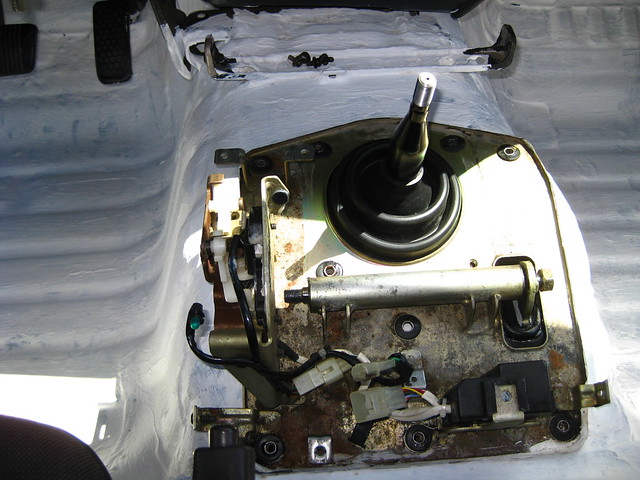
Shifter plate is out!
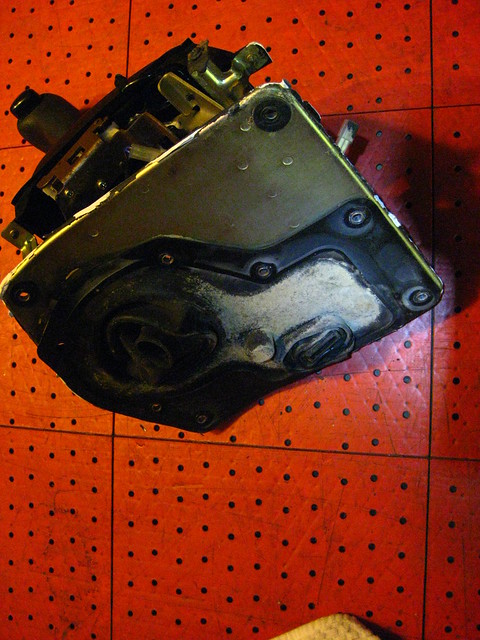
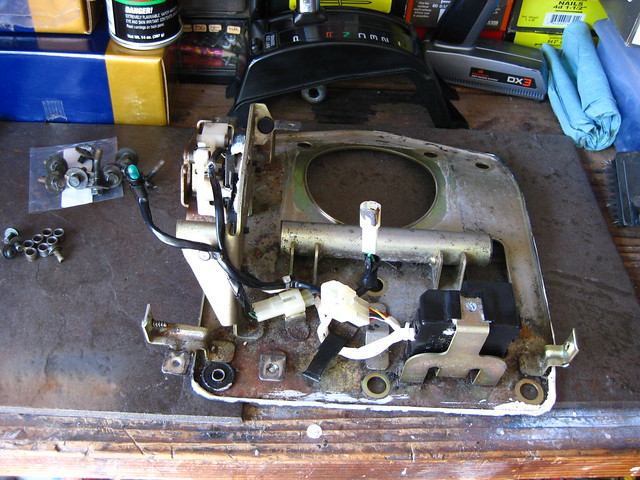
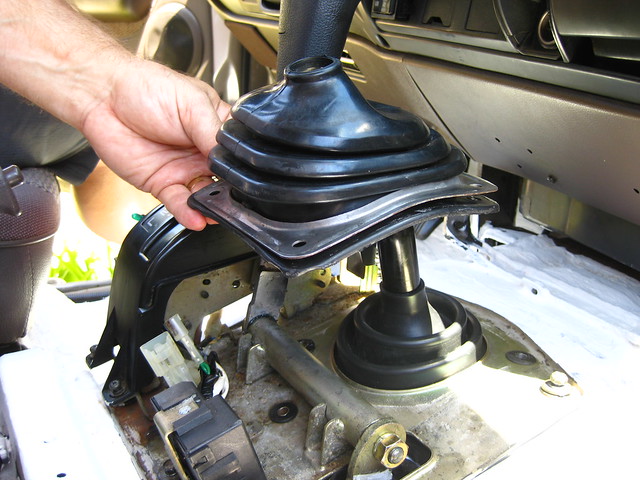
Underside of the shift plate and you can see the rubber boot.
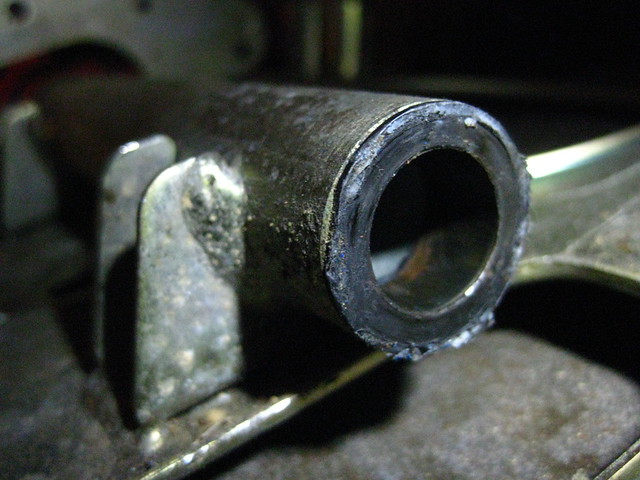
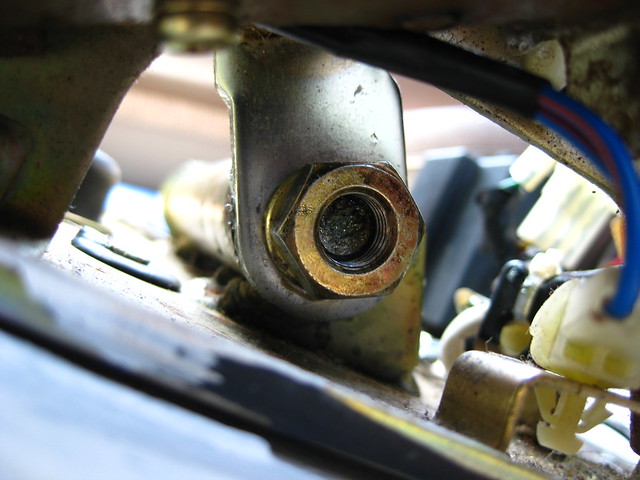
The through shaft is looking a bit rough and parched for grease.
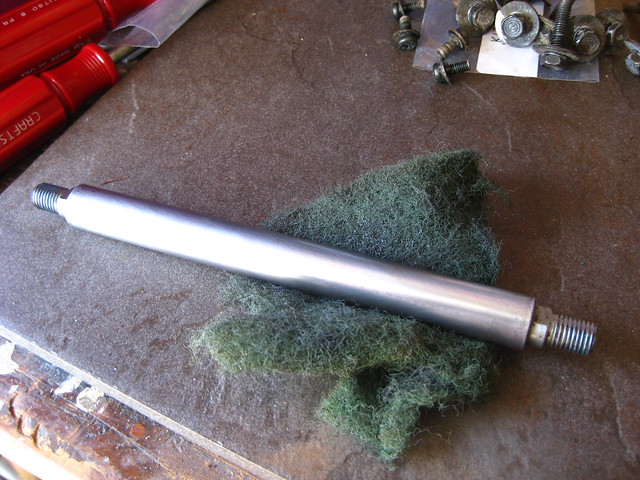
From my dirtbiking, the Baja racers like to have nice smooth detailed axles for quick changes. I do the same for my dirtbikes and so I figured it wouldn't hurt to do that here as well.
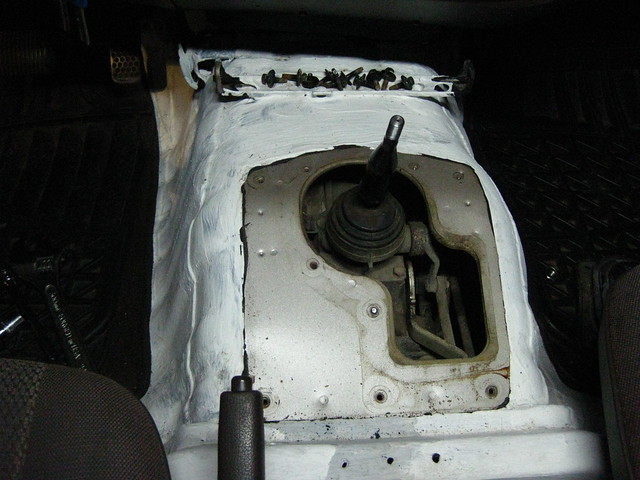
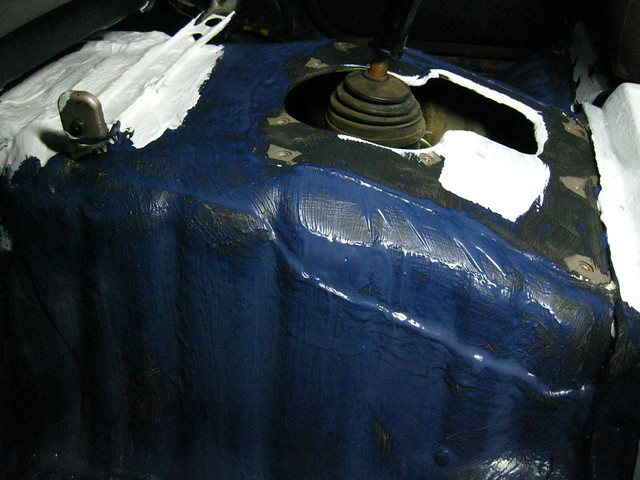
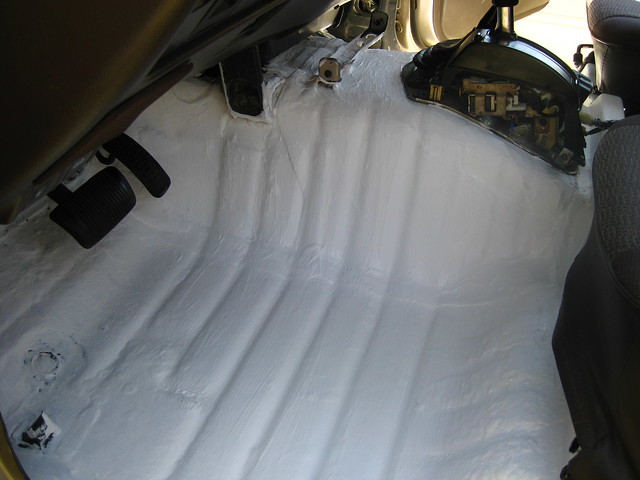
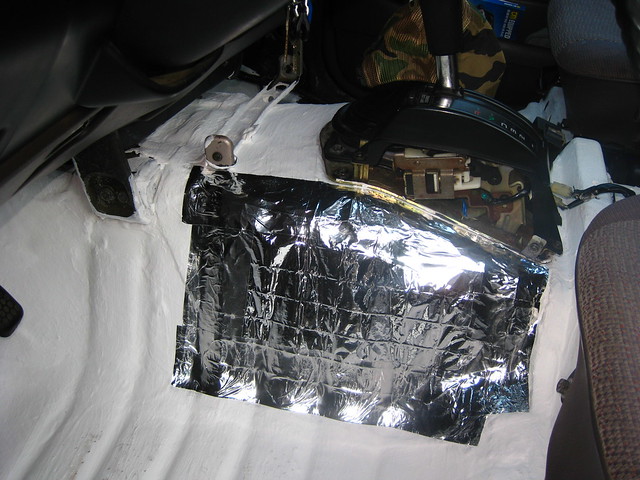
Center console area without the shifter plate in place. You can see my white Thermalcoat materal. Time to add a few layers and fill in the missing area too!
I add another layer of Soundcoating [black material goes on blue].
Little package arrives from SPECTER OFFROAD...
SPECTER OFFROAD 80-Series Land Cruiser Part.
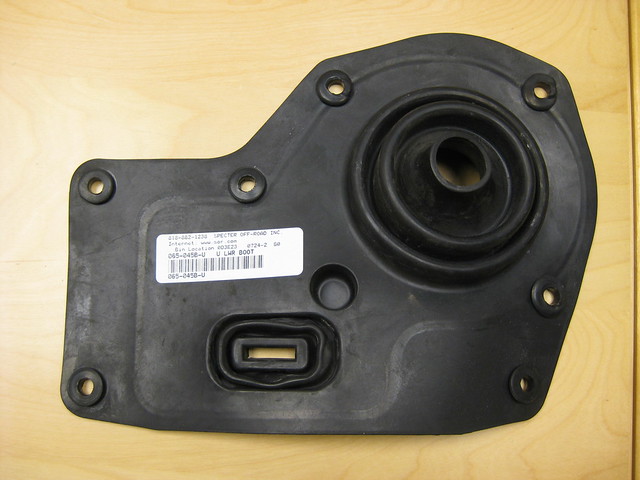
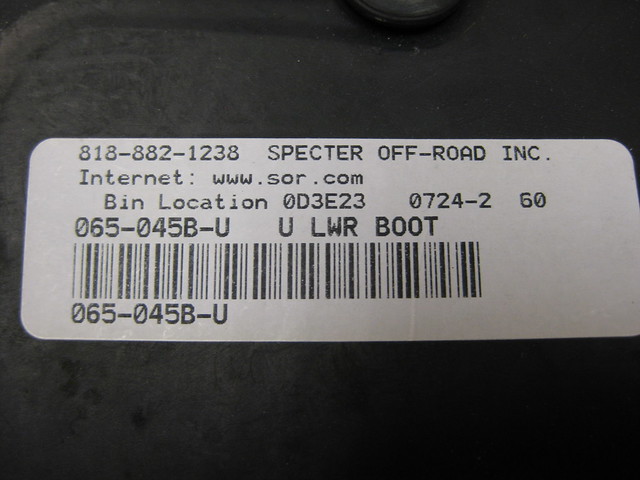
I got a used lower shifter boot P#: 065-045B-U $25 used or $51.70 new. I went for the used one.
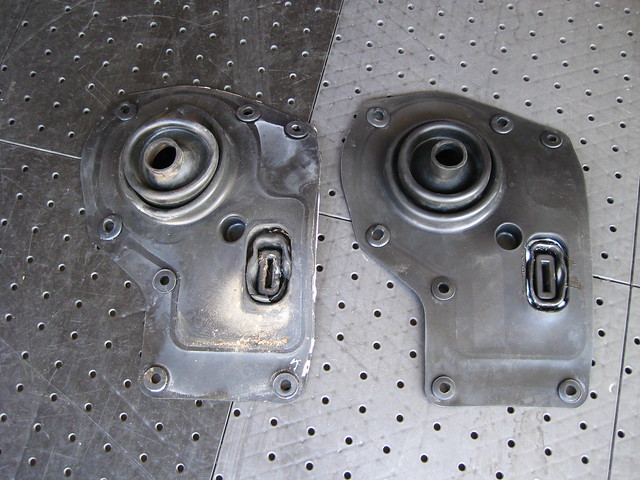
Old crusty boot on left, newer and or better condition boot on the right.
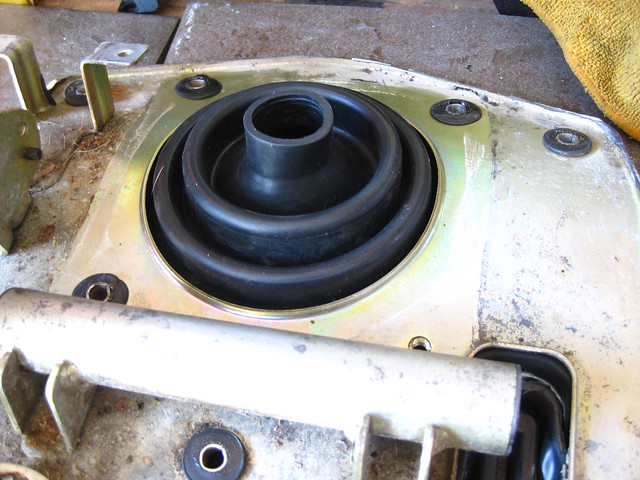
Fresh boot going back in!
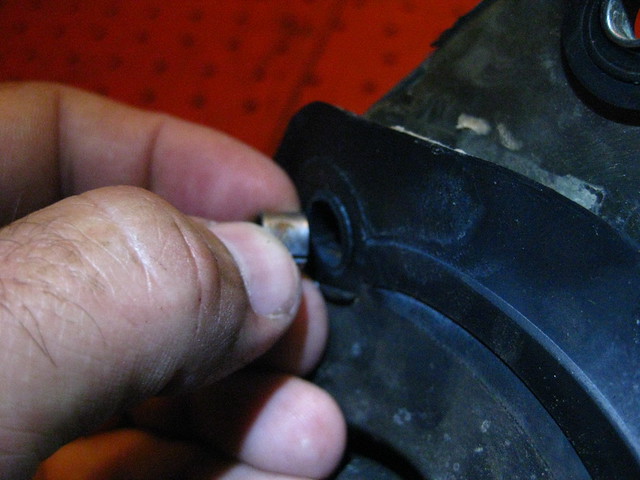
When you remove the rubber, there are these metal guide sleeves you will want to pull out and save.
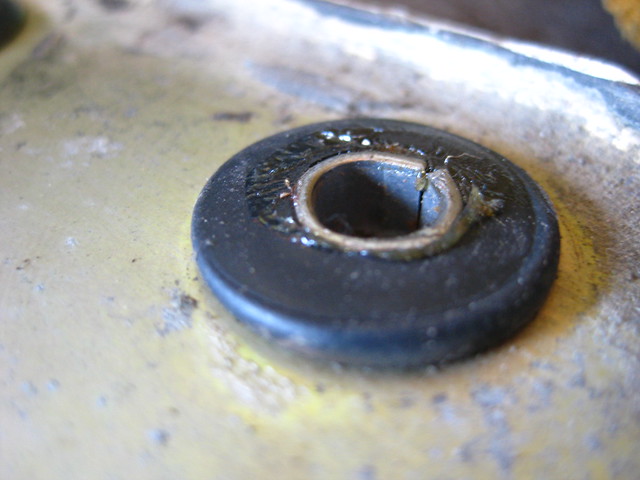
I dabbed a little grease on them going back in.
Shifter assembly going back in. Notice the main shifter is not installed yet to make the process go easier as you want to hook up the 4H/L shift arm to the shaft first.
Then install the main shifter.
Once the main shifter is in place then I installed the shaft bolt that holds it into place. Makes the installation much easier... How do I know? Yea, I had it all assembled and tried to put it back only to get frustrated! hehehe
Shifter Bulb & Cover is left out to remind me that it needs replacing. Anyone know of a LED replacement?
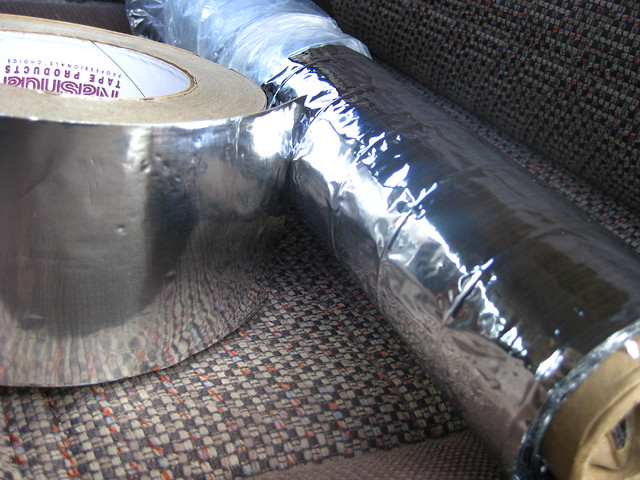
1-roll of Nashua Extreme Cold Weather Foil Tape $21.
1-roll of Enerflex Radiant Barrier foil $16.
I was thinking about that super-dope F1 gold heat protection foil and thought I would do the budget version test.
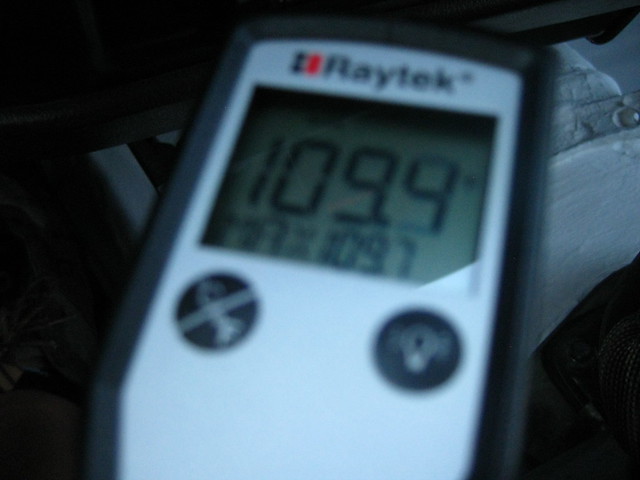
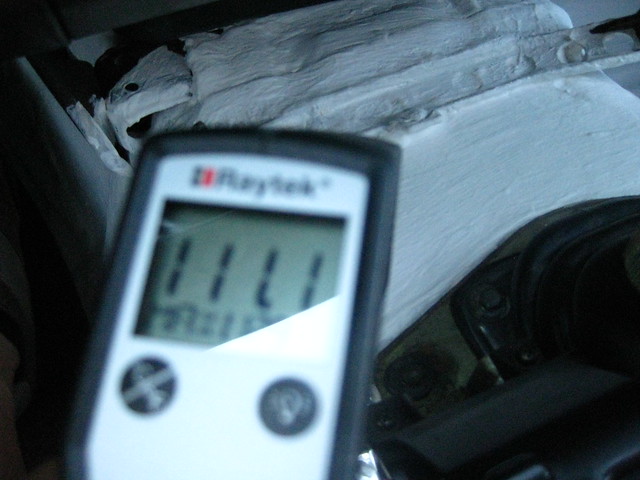
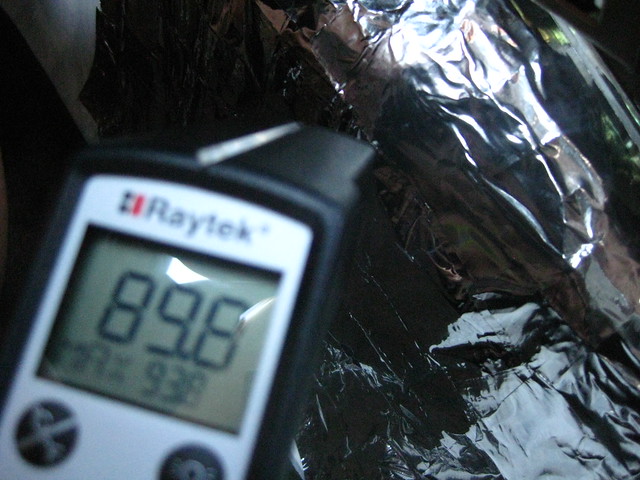
Temp Gun Readings from my first test yielded some good numbers, but we are human, we want MORE! So if I can drop from 138F to average 117.5F, then how much more can I drop. When I did this initial test it was June and still cool weather compared to what we are seeing right now. So I figured my original test could be a little higher with the higher outside ambient temps.
So I rigged up this little test panel so I can take temp readings on various spots before I just wrap the whole transmission tunnel.
While driving on the freeway [same type of test readings I did previously; I am taking a couple of readings from the previously Thermalcoat.
Here is my temp test reading from the thermal patch. I think I am getting somewhere with this!!!
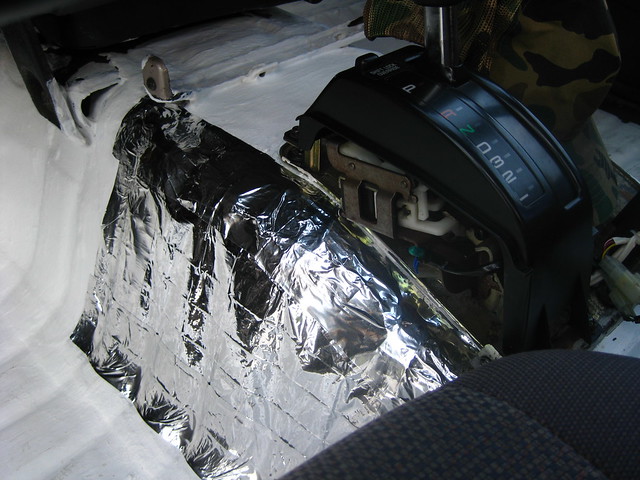
With my little experiment using Nashua Extreme Cold Weather Foil Tape and a roll of Enerflex Radiant Barrier foil seeming to work well at a whole wopping investment of sub-$40's, it was time to do $100+ worth of labor and get after installing more!
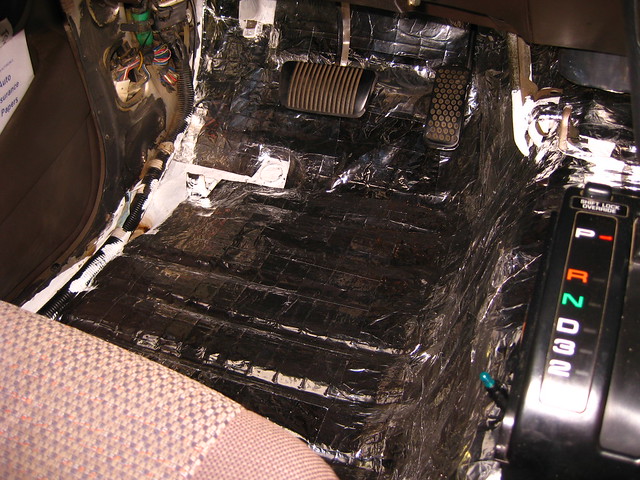
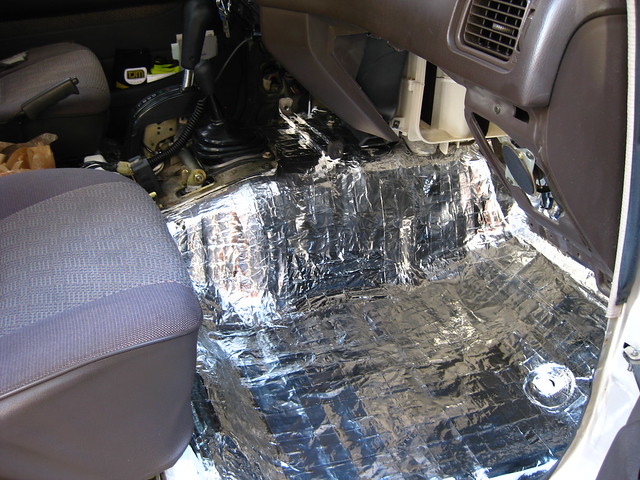
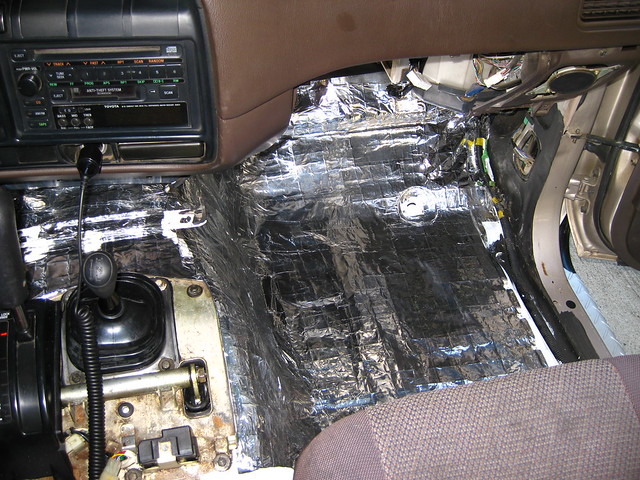
I do the whole drivers side:
And the whole passengers side!
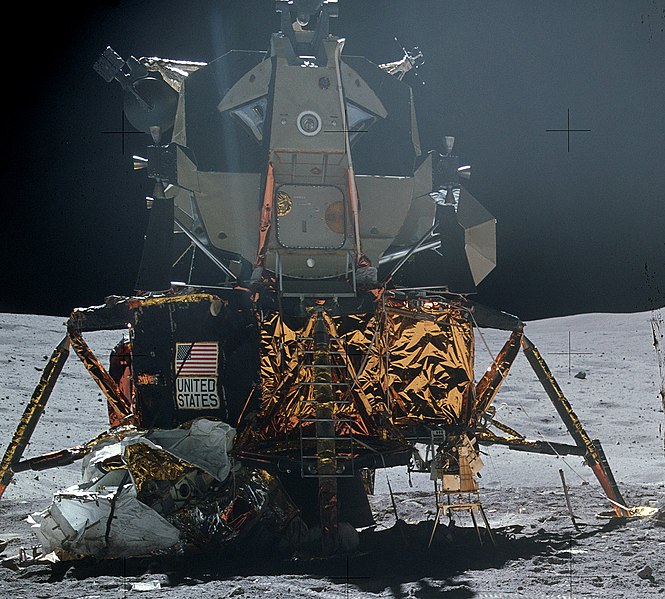
Can you say NASA APOLLO LANDER!?!??!
NASA actually used the cool Gold Thermal Foil that is available from Baker Precision!
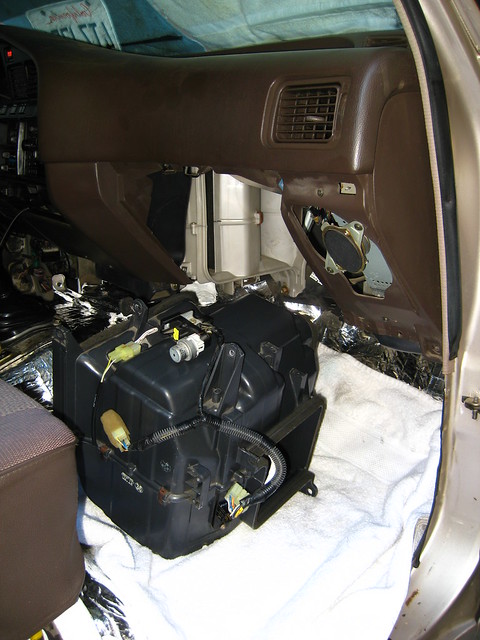
Now I get to put my A/C unit back in the dash! I'm getting so close on my A/C!!!
NEXT UP:
Purchased from Fourrunner:
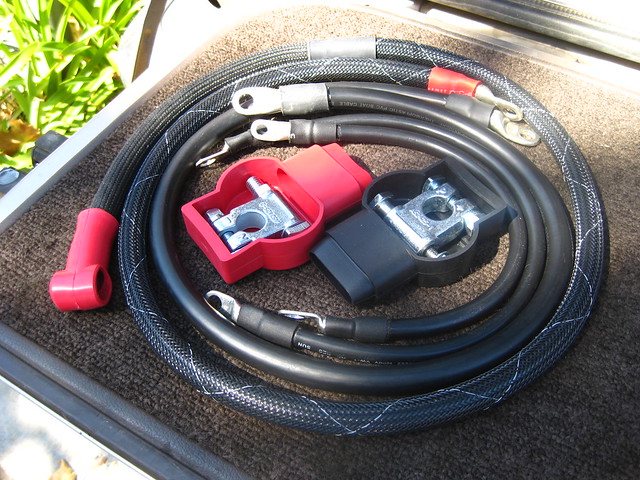
<a href="https://forum.ih8mud.com/merchandise-storefront/386775-fj80-heavy-duty-battery-cables.html" rel="nofollow">forum.ih8mud.com/merchandise-storefront/386775-fj80-heavy...</a> NEW POWER CABLES!!!!!
I would love to go with 33X10.50-15's! But, with the upcoming full float rear axle that includes an upgrade to rear disk brakes, the stock 15" rims that come on '91-'92'soutfitted with drum brakes will not fit over the '93up disk brakes. So 16" rims it will be.
I did get the gears, its been or is still a mass parts pile collection; axle, wheels, tires, lockers and gears to do all this! It's killing me! I still drive EVERY DAY with the broken front differential! So crazy this thing has not locked up on me! KNOCK KNOCK KNOCK on wood for good luck in hopes that it will just stay together a little while longer as I am almost there! Back to school for the kids is not helping my purchasing right now either! hehehe I'm pressing on as "desert season" is upon us and I want to have my rig in full action this season!
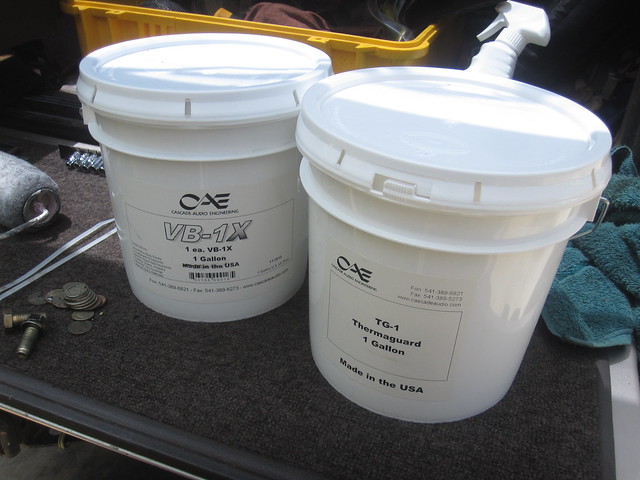
Layer 2: Cascade Audio Engineering TG-1 Thermaguard for for heat reduction [aprox $95]. I also bought 1-gallon of this.
Layer 3:
1-roll of Nashua Extreme Cold Weather Foil Tape $21.
1-roll of Enerflex Radiant Barrier foil $16.
Both of these items came from Home Depot.
With regards to "moisture proof" I needed a good excuse to contact Cascade Audio as I have not spoken to them in years, so let me see what I can find out as I never thought about it, but I know your rig is getting put to the ruff & rugged treatment! I would think if you are going over it with the Rhino Lining, it should be good, but let me get a solid answer from them before I reccomend you to just try it. Again, I needed a good excuse to call them so thanks again!
For all you reading my thread, fellow 'MUDmember Lt1fire has a '92 80-Series swapped to FF rear axle [source for my FF axle swap inspiration] and riding on massive rubber so check his thread out:https://forum.ih8mud.com/80-series-tech/288587-rotf-lt1fire.html
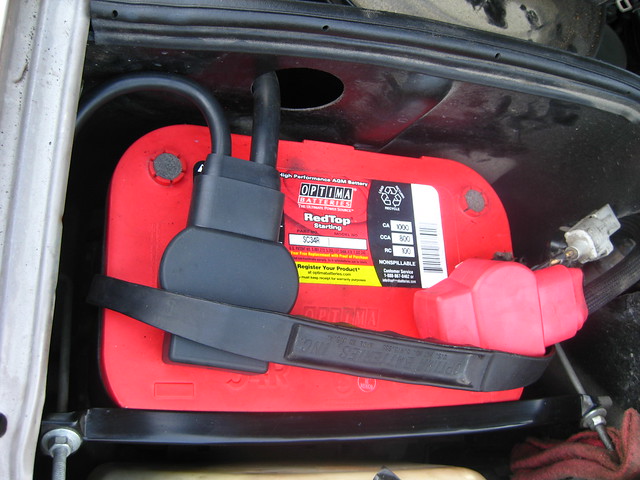
I purchased these heavy duty battery cable from 'MUD member Fourrunner earlier this year and just never got around to getting them in. FINALLY I am going to these put in as I was constantly having to pop the hood and wiggle the factory battery connector that has seen bettery days. I was just telling myself it was my security system...
For all who are looking to do a easy wrenching job, this is a good one. Not super technical and just enough to fill like you accomplished something!
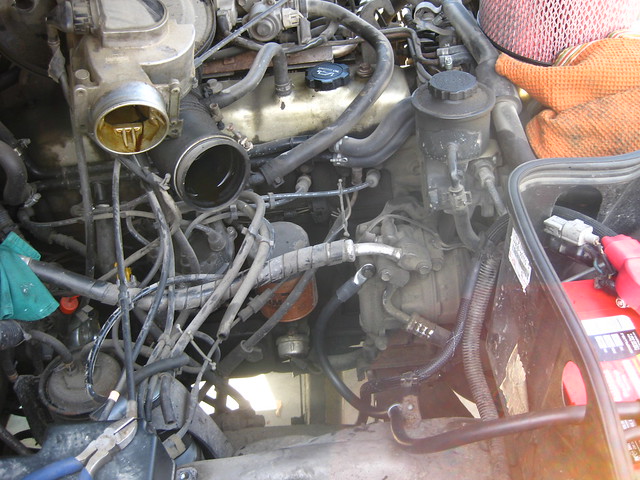
I disconnect the cables from the battery. Then follow the cables down to the starter.
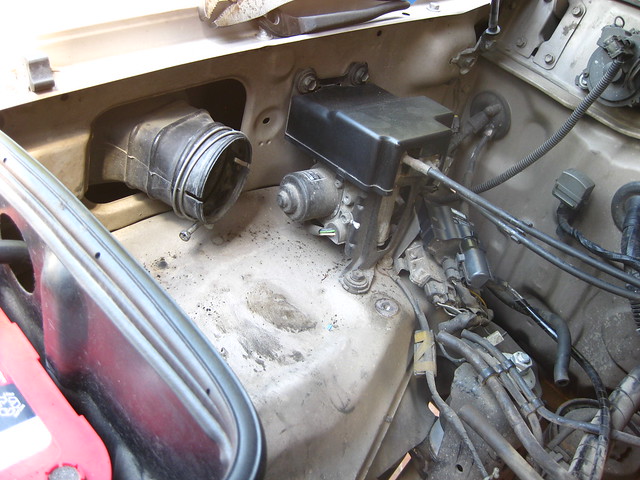
I found that it was best to just remove the air filter can so I can actually see where the wires were going and coming from. This whole compartment needs about a hundred hours of cleaning and a serious tune up is in order as well!!!
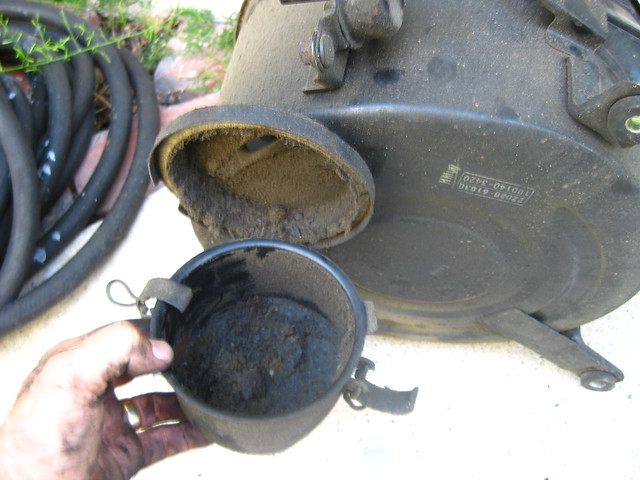
Removing the filter can revieled this little item:
I looks like some type of water/moisture catch can. It was serious crusty!!! So I gave it a massive cleaning and will put this on the "to check" list from time to time during air filter inspection/cleanings.
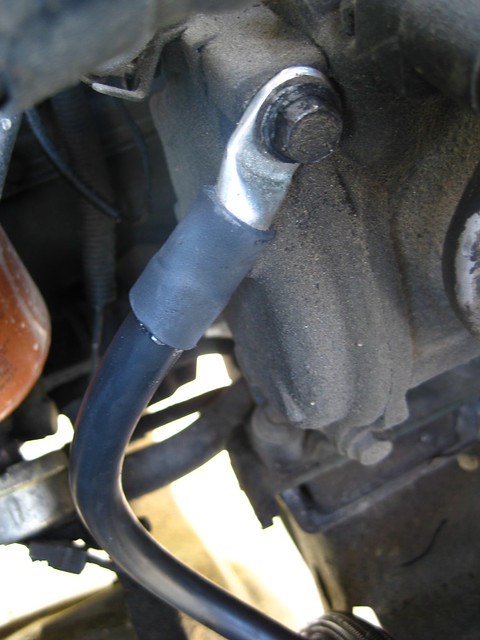
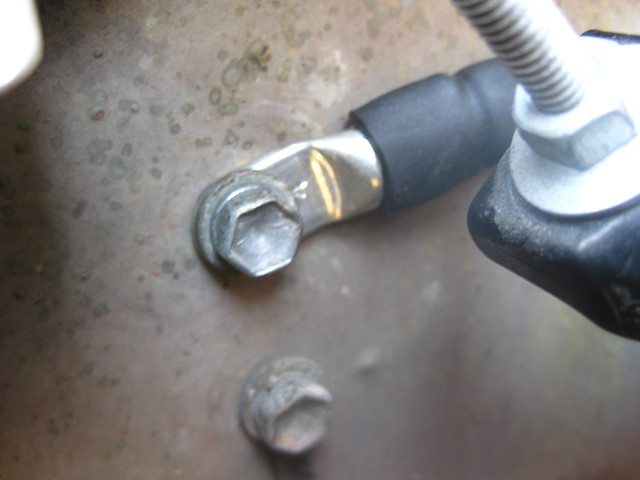
Unhooked the old ground and mounted the new ground cable.
After unhooking the old crusty power cable from starter, I install the new power cable back to the starter. I did this from underneath the truck as it was easier to lay on my back and get to the starter from there.
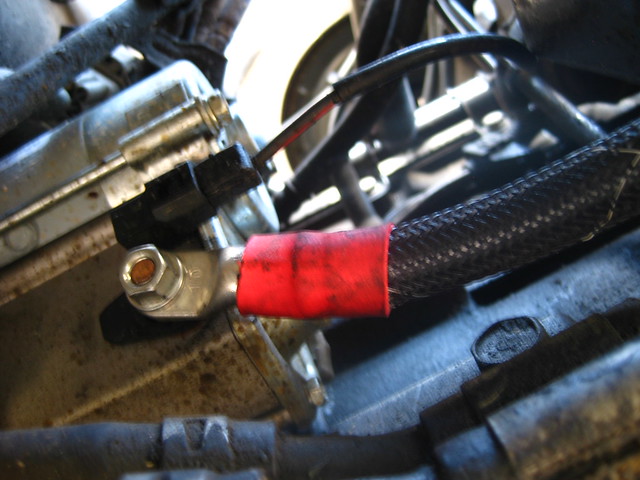
There is a smaller secondary ground cable, so removed the old and installed the new.
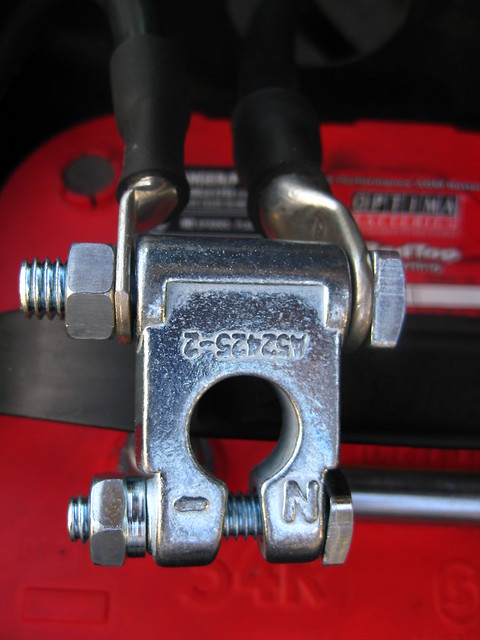
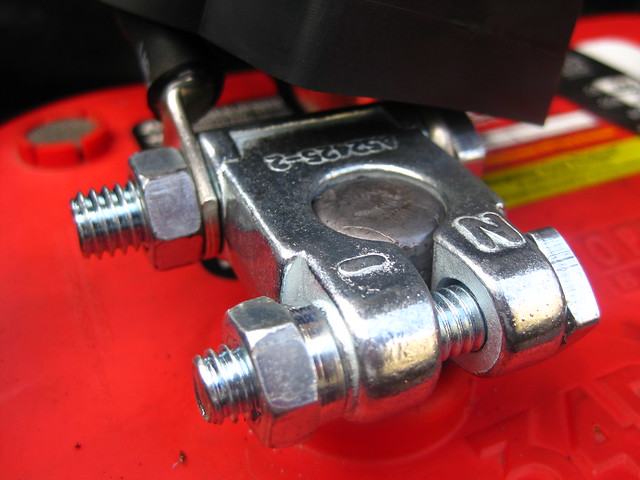
Installed the new ground connector.
Looks nice and rugged!!!
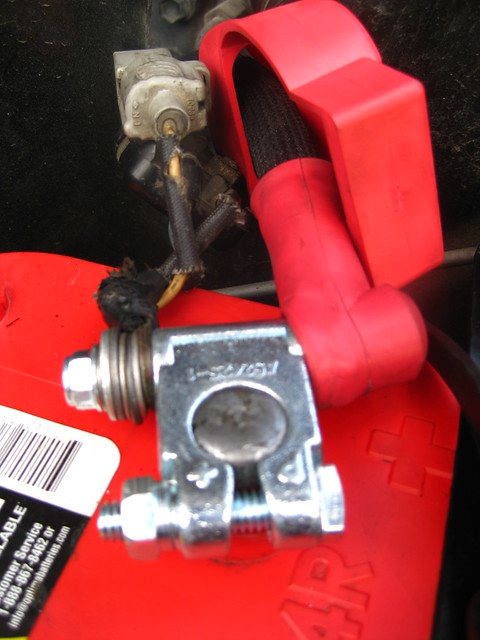
On the power side...
There are a couple of additional power wires with fuses and connectors and such. Looks like I will have to address this down the road, but for now just the master power wire is getting all the glory of new.
So, the cable are all mounted up!
The ADV80 starts stronger now and I noticed just a smidge of better window roll up. But, you know these 80-series windows, it could just be good weather allowing them to roll up a tid-bit quicker.
Yes, I know, inadiquate battery box! But I will be doing a dual-battery system here at some point and the batteries will get some more solid mounting.
Nice work need to do this as i noticed my lights go off momentarily when i hit the highbeams What battery connectors did you use and where did you get them? Or did it come with the kit? Thanks
Nice work need to do this as i noticed my lights go off momentarily when i hit the highbeams What battery connectors did you use and where did you get them? Or did it come with the kit? Thanks
Removing the filter can revieled this little item:
I looks like some type of water/moisture catch can. It was serious crusty!!! So I gave it a massive cleaning and will put this on the "to check" list from time to time during air filter inspection/cleanings.
That's what is normally called the "tuna" can due to its appearance.... it is used to for dirt and crap to get stuck in and not to the filter... another great design.... clean it out once a year when you do your air filter... I normally find bugs in there.
Thanks lt1fire and I still owe you a response from Cascade Audio with regards to the stability of the material. Hopefully this week I will make contact!
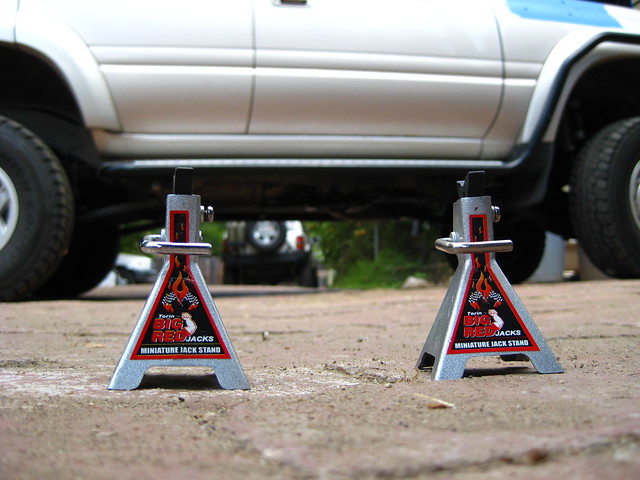
When doing technical work such as installing say a snorkel or windshield wipers, you will always want to play wrench safely.
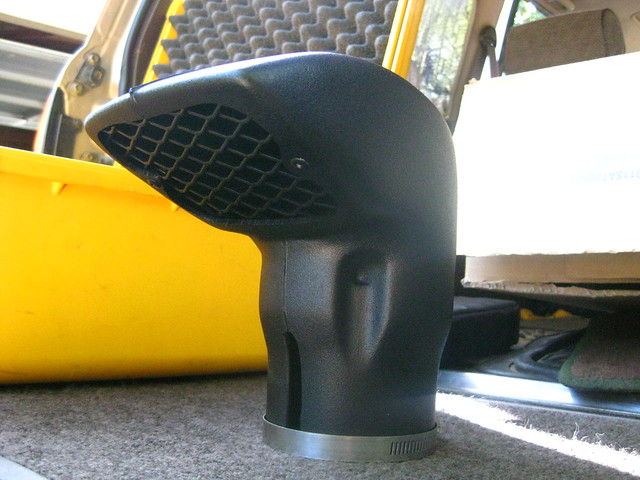
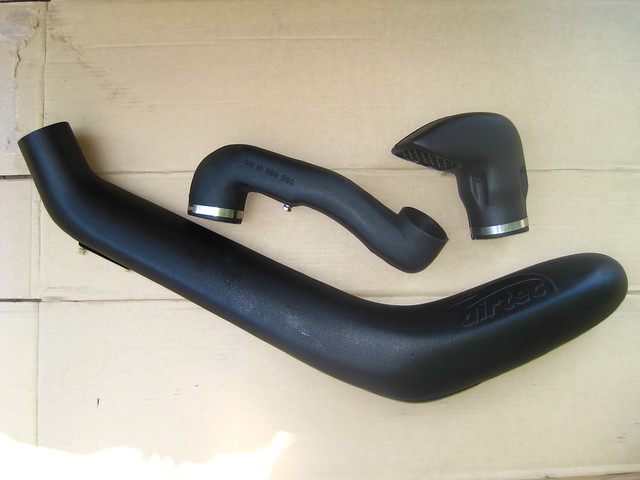
What we will be doing today is installing this apparatus to capture air from the outside and bring to the inside the engine. We can also hide a nitrous tank in the downtube for a quick little 80-shot for getting off the line! Ooops, wrong dream - this is a 3FE!
What we are attempting to install under L.U.C.K. Learning Under Correct Knowledge...
Correct will mean that this comes out correct the first time and if not, then do it over correctly. Thats learning...
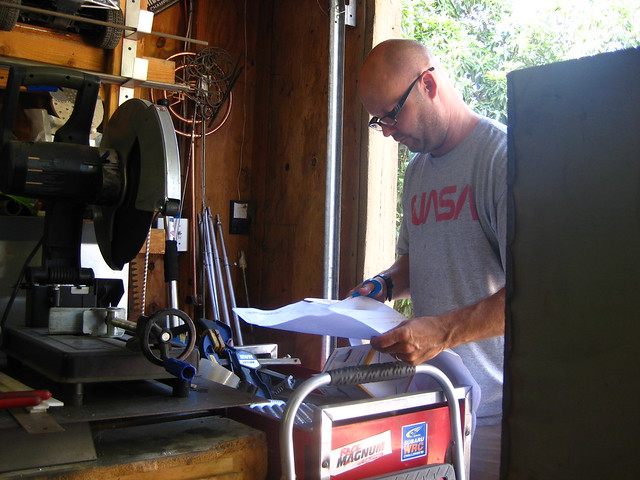
Im good with scissors. Recce01 keeps me away from all the other shop tools. I cut out the supplied pattern to mark the BIG hole +4 small ones that we will be cutting into the ADV80 sheet metal.
NASA shirt only for effect in "Studio 51.
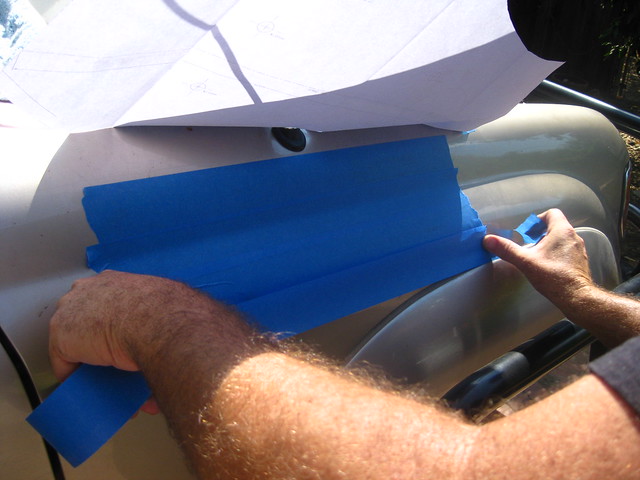
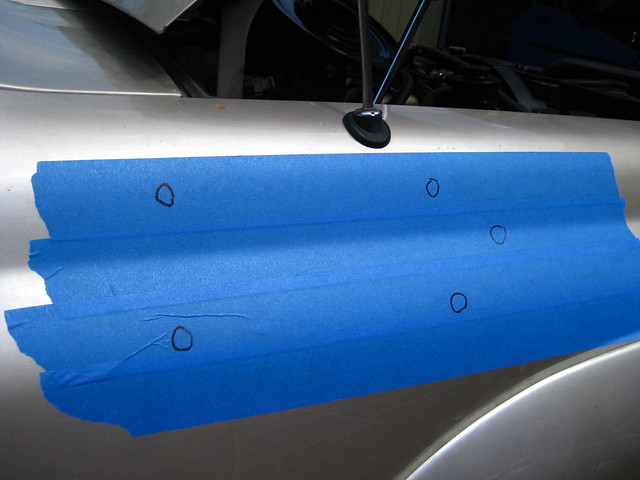
Add some tape of sort to mark where you will be drilling and cutting. Not sure why as we would just go straight to the metal, but I see everyone else doing it this way, so why change the game, don't player-hate, just participate and add the blue tape!
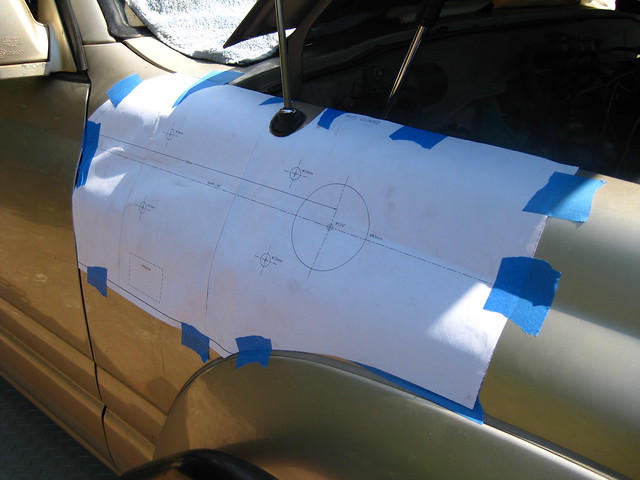
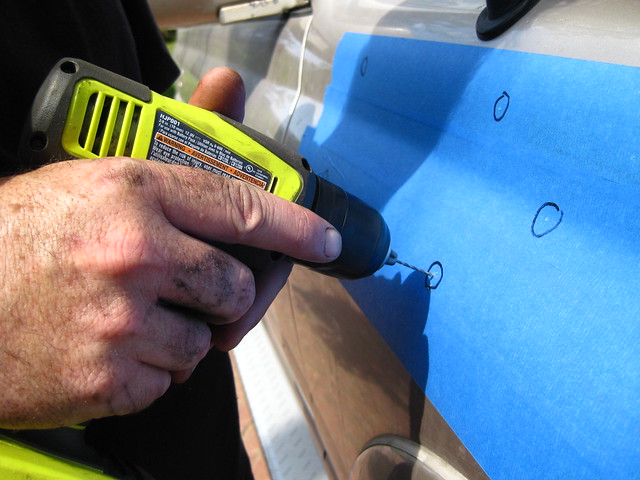
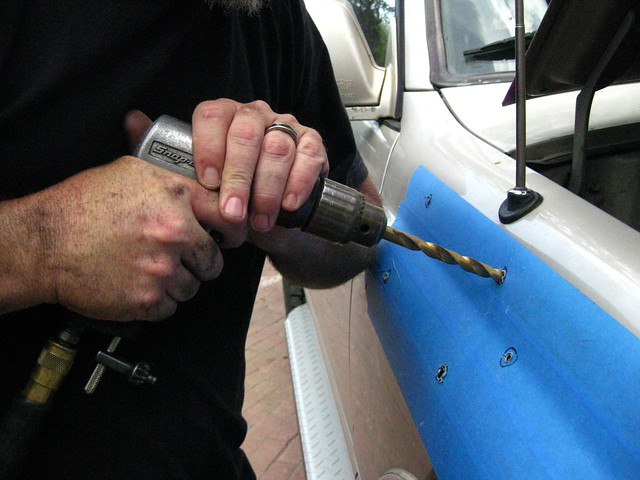
Now for the technical stuff!!! Adding the stencil onto the body and we are about to get jiggy and DRILL!
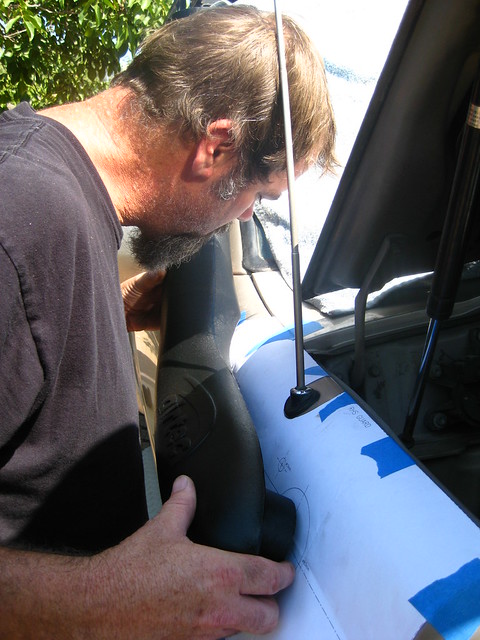
Looks like this is going to go up here, over here and in here...
We removed the air canister to make for a more friendly transition of the old plastic eel to come out.
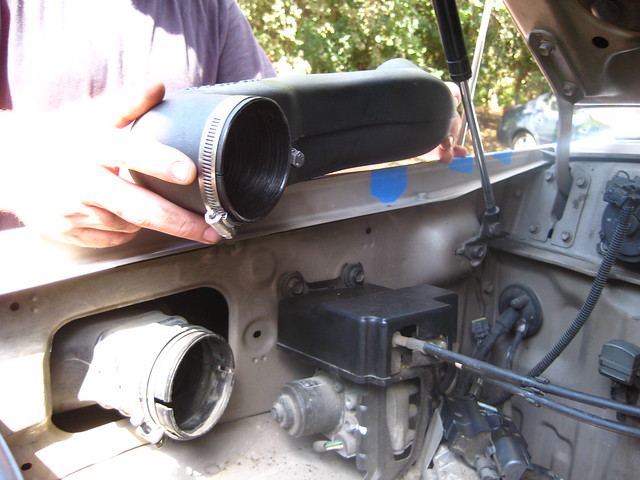
We have to chase out the old factory eel out of his hole and send in the new inhabitant in backwards because he is imported from down under. It's the only way he is going in!
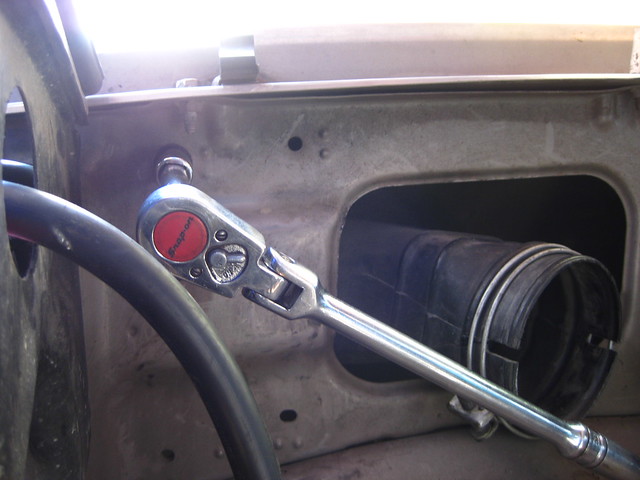
You are going to be looking for this security bolt to let him go. I'm short and the rig has a 4" lift so it took a minute to spot what was holding him back.
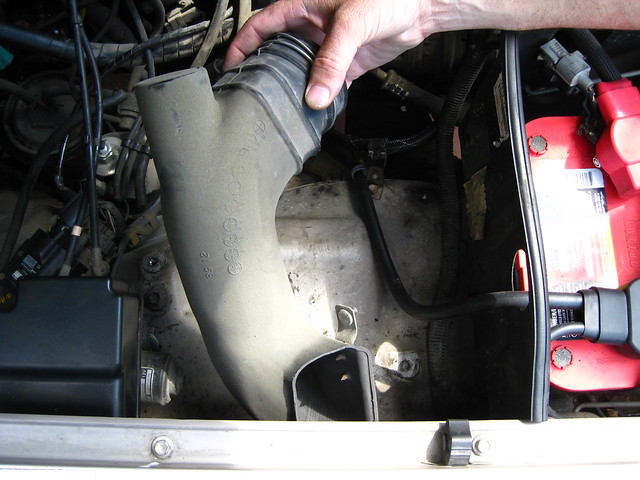
Out comes the old resident.
Now back to the paper placemat hanging on the side of the rig:
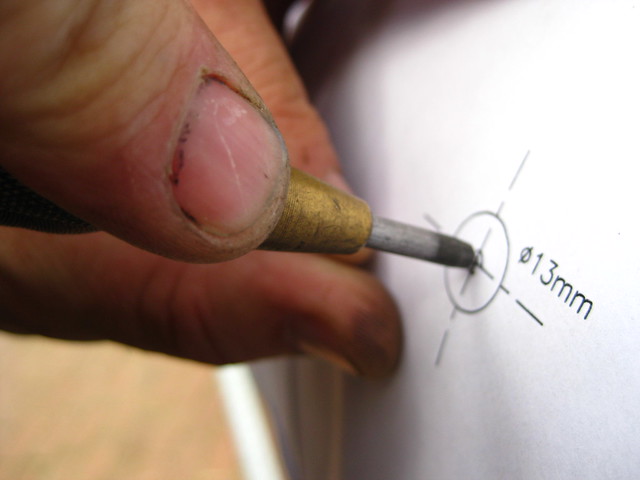
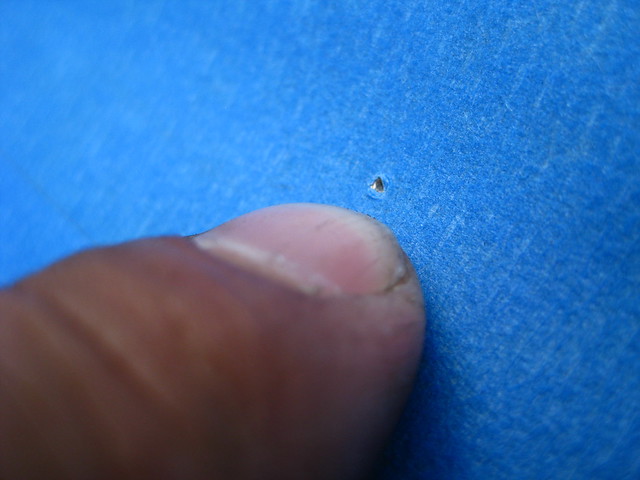
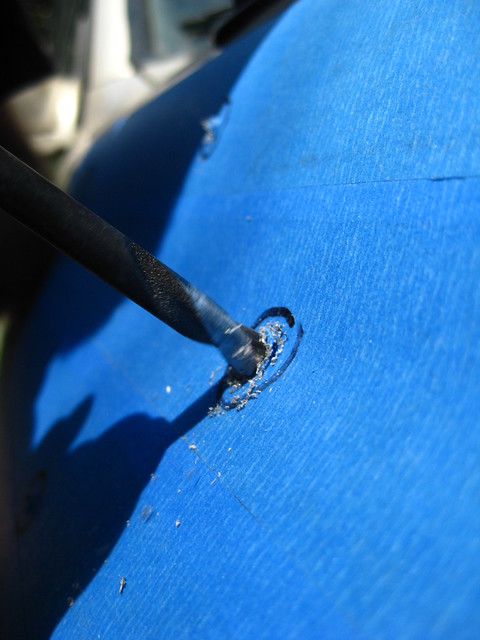
We hole punch mark the drilling locations. Do any of you remember the saturday morning cartoon that talked about "carefully poke the toothpick!"




 So much-much more to do!