Time to start a thread on my build, started this in Nov, but plan to put it in high gear now.
Picked this 1962 fj40 up off Ebay with a buy it now. Located in Roanoke Va, we went and picked it up for the 800 mile tow back home. PO bought this a few years ago and never even tried to start it. PO from him told him id was running. 2 PO's ago started a body off restoration all they did was take it apart and started some body work. The PO I got it from did nothing other then buy 2 other early 60's FJ40's and take a lot of the parts off of them, which were included with this. After a lot of searching on the ih8mub.com site I found this same fj40 being discussed when it was on Ebay at which the PO bought it, and even found posts from several years before that where somone was selling it on ih8mud, they even posted the vin number so I know it was the same one. So from these I figure probably 5 years since it has run.

Before the long haul home me and my son decided to assemble the parts, both to cover the engine as well as just have some
fun with out new toy.
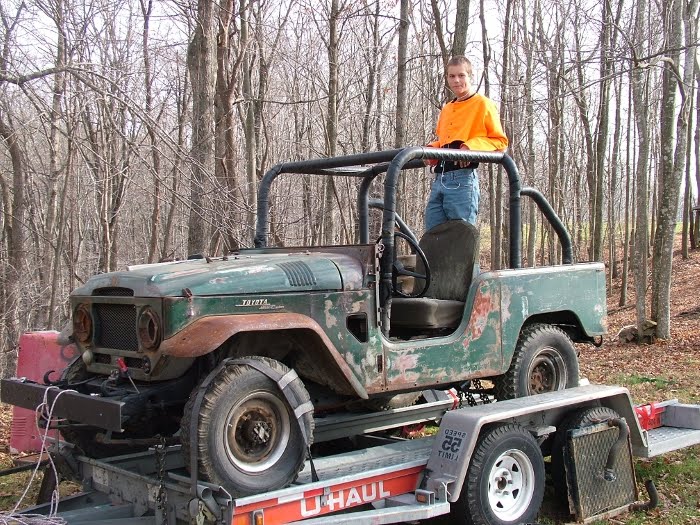
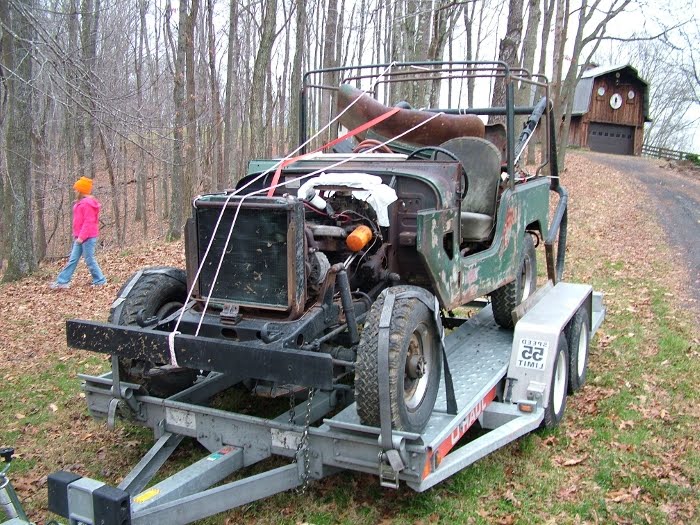
Looks much better with just a little work. Then we had to pile all the parts back into it for the long ride home. It came with lots
of extra parts.
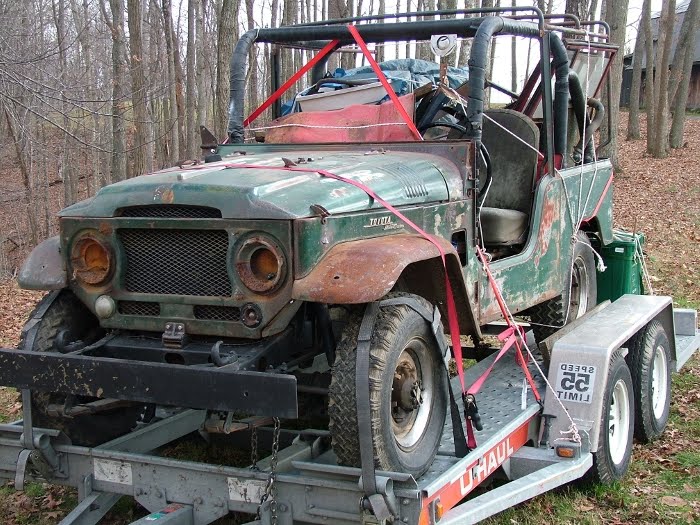
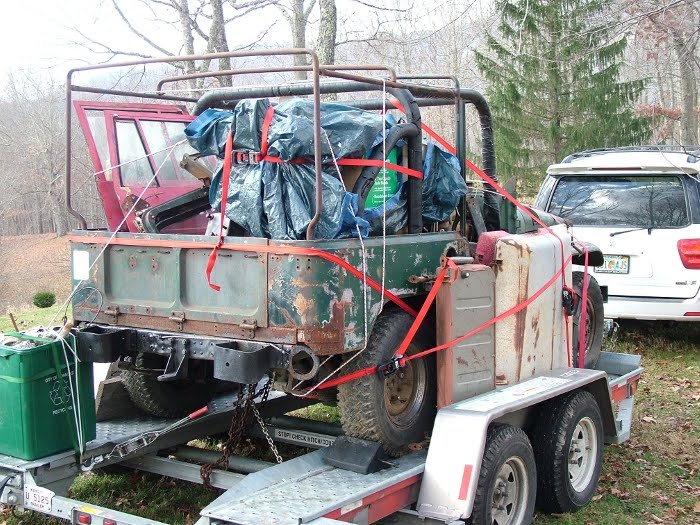
All full and ready to go. Did not get any pictures, but when we got up for the tow home it was snowing, made for a long drive
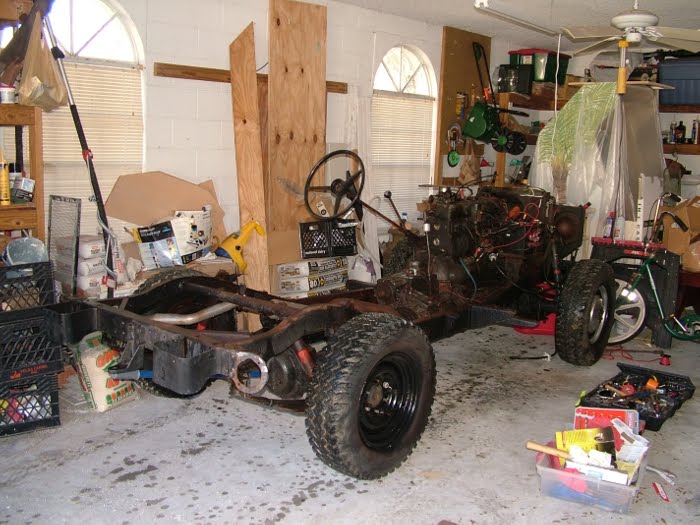
towing this over the high peaks of WV in the snow. But we made it, and unpacked it and got it into the garage.
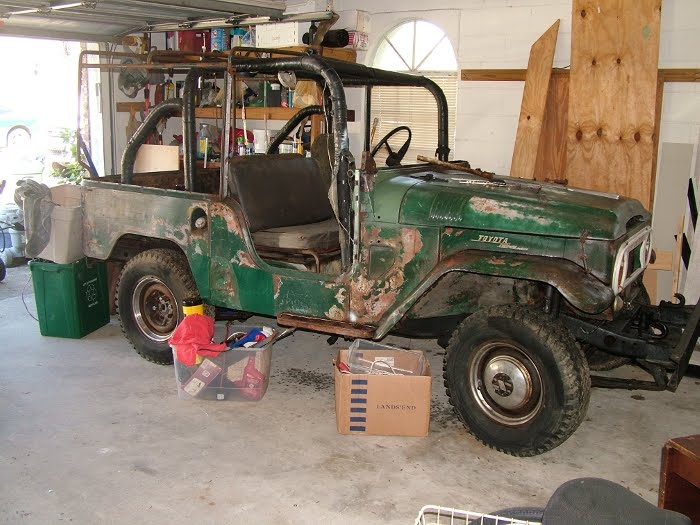
Once in the garage I wired up a universal ignition switch. I had put Marvel Mystery oil in the cylinders the day I picked it up
and more when I got it home. After a week of soaking we turned the motor over, charged up the battery did a compression test.
about 140 and up on each cylinder with a cold engine. So with that we turned on the juice and sprayed some starter fluid
down the carb and it fired right up. Ran a hose from the fuel pump to a gas can and started it up and it idled just fine, sounds
very good. Carb nees some cleaning, it will not start without starter fluid, but it runs very nice once started.
We had picked up a 1980 fj40 off CL months before. It came in the same shape, not running for a while and already taken apart.
We had not even started it yet, it got put on the back burner and is now a storage for all the extra parts.
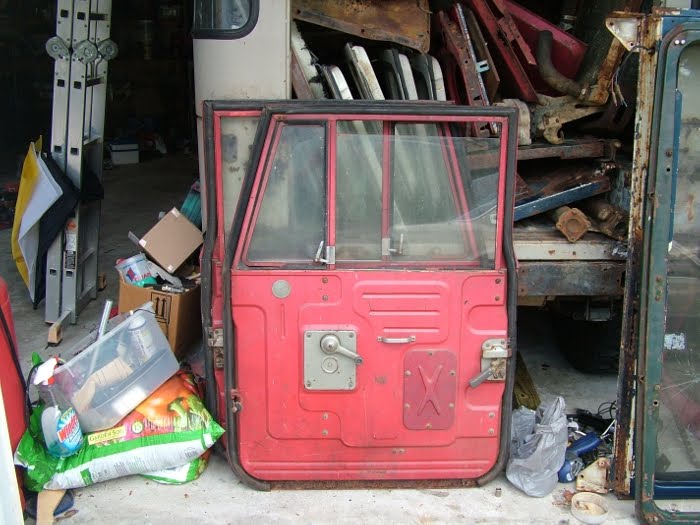
Poor fj, has several drive shafts, 2 sets of Ambulans Doors, barn doors, trans humps, spare tire carriers, etc etc etc. Once I get my 62 project
on the way and a plan for the 80 most of these parts will have to be sold to fund the projects.
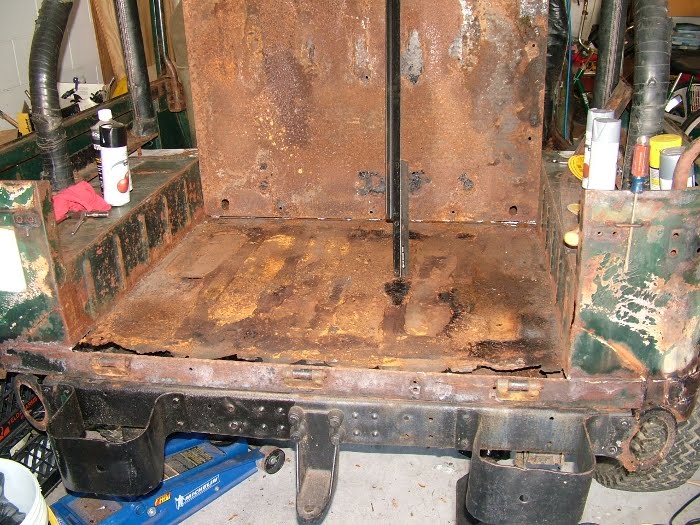
Rear floor had a diamond plate floor that was poorly installed. The welded the rear nicely but only tacked in the sides and the front.
Looked like the original floor was in good shape, but either way could not leave 2 layers not knowing what was between them.
Pulled up the diamond plate, and found the original floor toast. Due to not sealing the sides of the diamond plate water could get
under it, and they used some sort of sealant in between the two. Likely a water based caulk since it was dried out and rusted
worst under the caulk then where it was not.
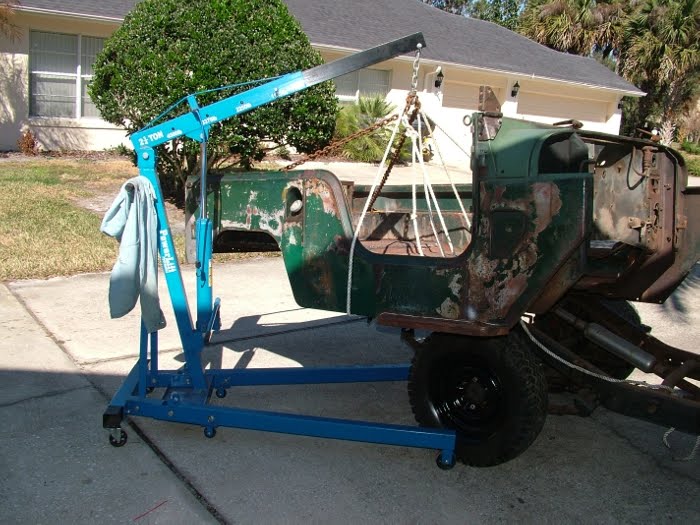
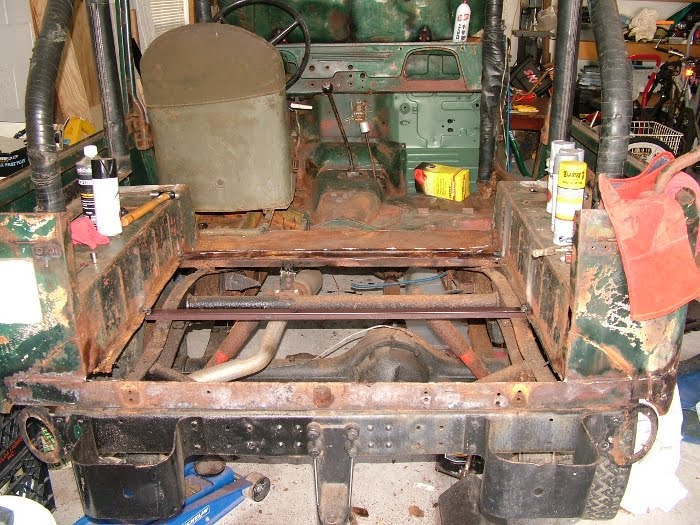
Decision was made to cut out the severely rusted floor pan and use the diamond plate as the floor pan. removed the floor and
channel supports, welded in some angle iron for support. I hate the channel supports that just end up being a place to collect
mud and rust.
Got the diamond plate back in and welded down.
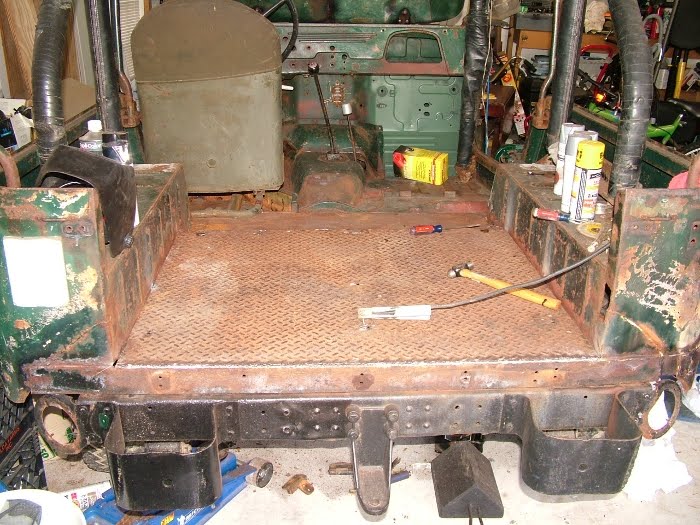
Several owners ago did some work on the rear, poor quality, but solid. Big solid angle iron was used for the rear sill. Main
problem is it is not centered. It sticks more off to the left. Very odd not to center it. Plan is to leave it and grind the left side
down to be flush with the body. Weld in a little more sheet metal to the right and make it look correct. Some areas will get
epoxy filler to level it all out then bondo skim coat to get a nice finish.
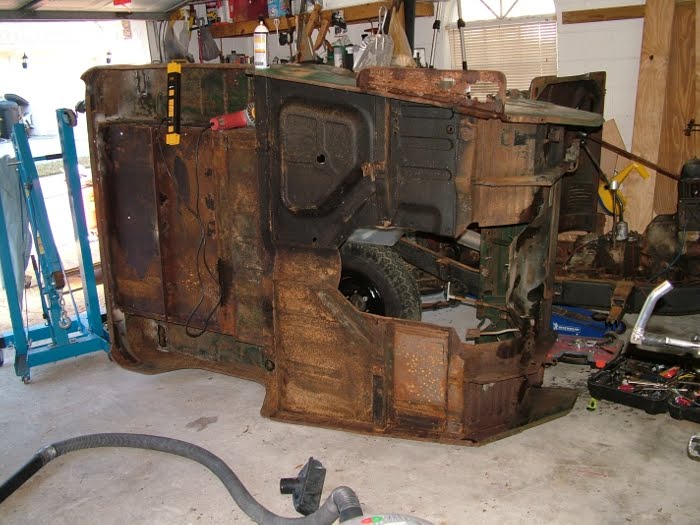
Next is to attack the center of the body

Once again a PO had put sheet metal over the center sections, I ripped it up and found the original floor in good shape.
just a few small areas on the flat parts that need to be cut and patched. All the beveling is solid so I will be able to
restore that and keep it looking factory. Under the gas tank and passenger floor are perfect.
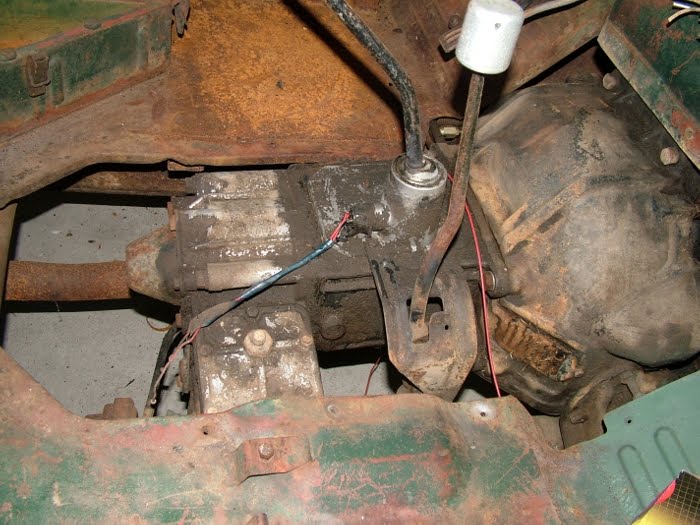
Driver floor has been patched, have not dug into that yet. Has a 3 spd on the floor. That has to go. Found two sellers
out west, between the two of them they have shipped me all the parts I need to convert this back to 3 on the tree and vacuum
shift transfer case. My first auto I ever bought when I was in High school was a 1970 fj40 with 3 on the tree. So getting this
back o 3 on the tree thrills me to no end. The 1980 will be 4 on the floor, so this absolutely has to be on the tree.
Picked this 1962 fj40 up off Ebay with a buy it now. Located in Roanoke Va, we went and picked it up for the 800 mile tow back home. PO bought this a few years ago and never even tried to start it. PO from him told him id was running. 2 PO's ago started a body off restoration all they did was take it apart and started some body work. The PO I got it from did nothing other then buy 2 other early 60's FJ40's and take a lot of the parts off of them, which were included with this. After a lot of searching on the ih8mub.com site I found this same fj40 being discussed when it was on Ebay at which the PO bought it, and even found posts from several years before that where somone was selling it on ih8mud, they even posted the vin number so I know it was the same one. So from these I figure probably 5 years since it has run.
Before the long haul home me and my son decided to assemble the parts, both to cover the engine as well as just have some
fun with out new toy.
Looks much better with just a little work. Then we had to pile all the parts back into it for the long ride home. It came with lots
of extra parts.
All full and ready to go. Did not get any pictures, but when we got up for the tow home it was snowing, made for a long drive
towing this over the high peaks of WV in the snow. But we made it, and unpacked it and got it into the garage.
Once in the garage I wired up a universal ignition switch. I had put Marvel Mystery oil in the cylinders the day I picked it up
and more when I got it home. After a week of soaking we turned the motor over, charged up the battery did a compression test.
about 140 and up on each cylinder with a cold engine. So with that we turned on the juice and sprayed some starter fluid
down the carb and it fired right up. Ran a hose from the fuel pump to a gas can and started it up and it idled just fine, sounds
very good. Carb nees some cleaning, it will not start without starter fluid, but it runs very nice once started.
We had picked up a 1980 fj40 off CL months before. It came in the same shape, not running for a while and already taken apart.
We had not even started it yet, it got put on the back burner and is now a storage for all the extra parts.
Poor fj, has several drive shafts, 2 sets of Ambulans Doors, barn doors, trans humps, spare tire carriers, etc etc etc. Once I get my 62 project
on the way and a plan for the 80 most of these parts will have to be sold to fund the projects.
Rear floor had a diamond plate floor that was poorly installed. The welded the rear nicely but only tacked in the sides and the front.
Looked like the original floor was in good shape, but either way could not leave 2 layers not knowing what was between them.
Pulled up the diamond plate, and found the original floor toast. Due to not sealing the sides of the diamond plate water could get
under it, and they used some sort of sealant in between the two. Likely a water based caulk since it was dried out and rusted
worst under the caulk then where it was not.
Decision was made to cut out the severely rusted floor pan and use the diamond plate as the floor pan. removed the floor and
channel supports, welded in some angle iron for support. I hate the channel supports that just end up being a place to collect
mud and rust.
Got the diamond plate back in and welded down.
Several owners ago did some work on the rear, poor quality, but solid. Big solid angle iron was used for the rear sill. Main
problem is it is not centered. It sticks more off to the left. Very odd not to center it. Plan is to leave it and grind the left side
down to be flush with the body. Weld in a little more sheet metal to the right and make it look correct. Some areas will get
epoxy filler to level it all out then bondo skim coat to get a nice finish.
Next is to attack the center of the body
Once again a PO had put sheet metal over the center sections, I ripped it up and found the original floor in good shape.
just a few small areas on the flat parts that need to be cut and patched. All the beveling is solid so I will be able to
restore that and keep it looking factory. Under the gas tank and passenger floor are perfect.
Driver floor has been patched, have not dug into that yet. Has a 3 spd on the floor. That has to go. Found two sellers
out west, between the two of them they have shipped me all the parts I need to convert this back to 3 on the tree and vacuum
shift transfer case. My first auto I ever bought when I was in High school was a 1970 fj40 with 3 on the tree. So getting this
back o 3 on the tree thrills me to no end. The 1980 will be 4 on the floor, so this absolutely has to be on the tree.
Last edited: