
Cedar's key fob build thread

This site may earn a commission from merchant affiliate
links, including eBay, Amazon, Skimlinks, and others.

Joined
Dec 26, 2016
Threads
14
Messages
298
Location
Seattle
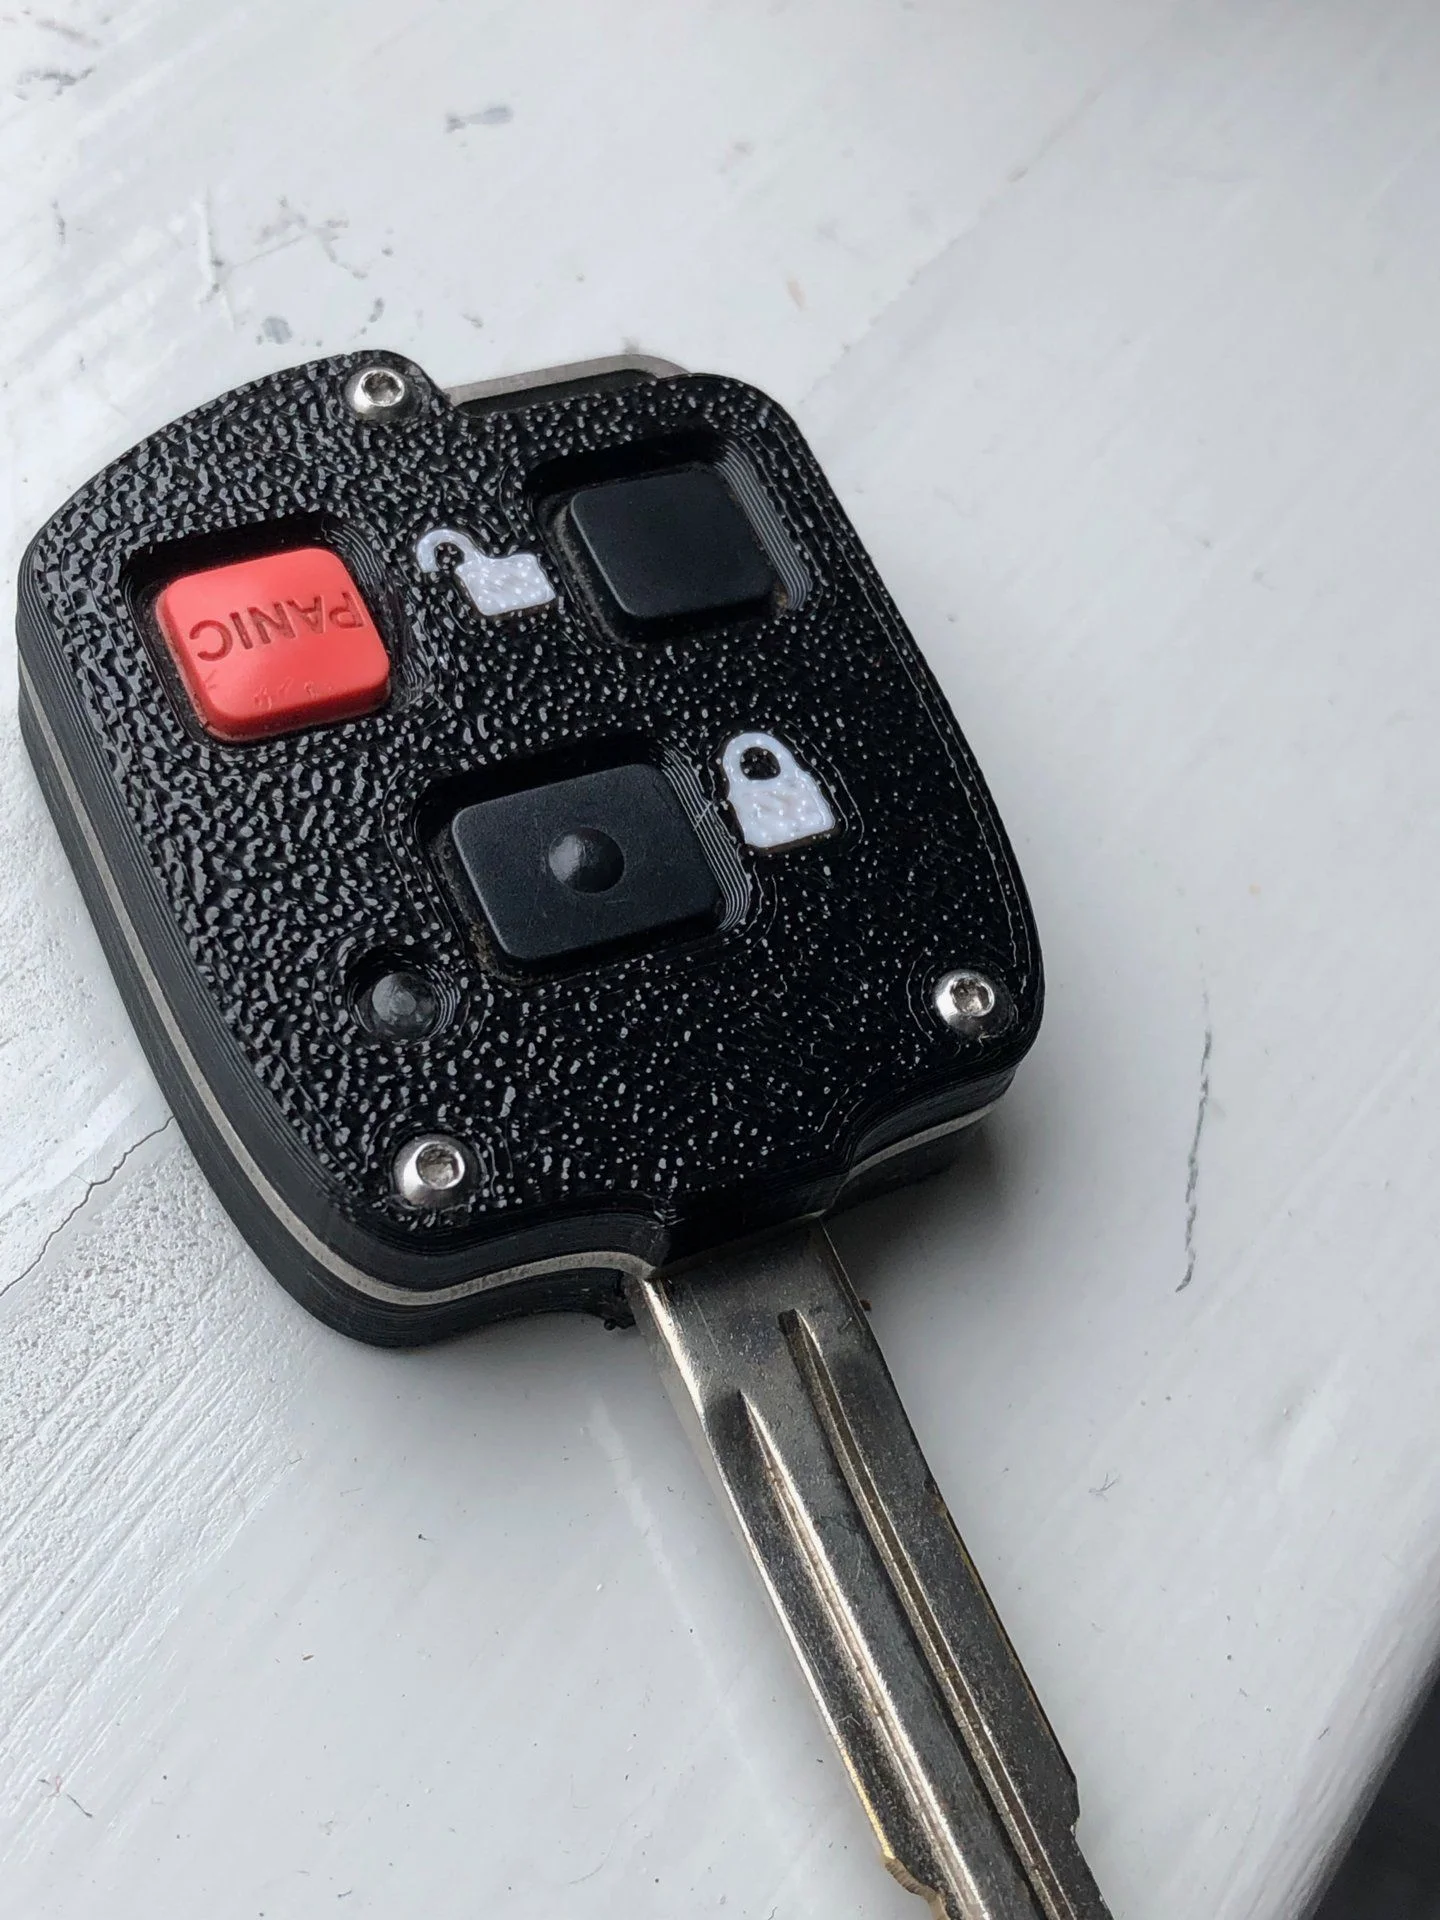
Hi all. Over the last year I've gotten into 3d CAD modeling, 3D printing, and cnc milling. I have access to the tools I need at the university where I work. I also had a cracked key fob, so I figured rather than buy one of YotaMD's excellent key fobs, I'd design and build my own as a learning exercise. I was inspired by his titanium frame, with clamshell concept, but otherwise am not "cloning" his design. I'm doing it from scratch, my own way, and it is turning out pretty different than his. I'm not finished yet, but I thought some might be interested in the project.

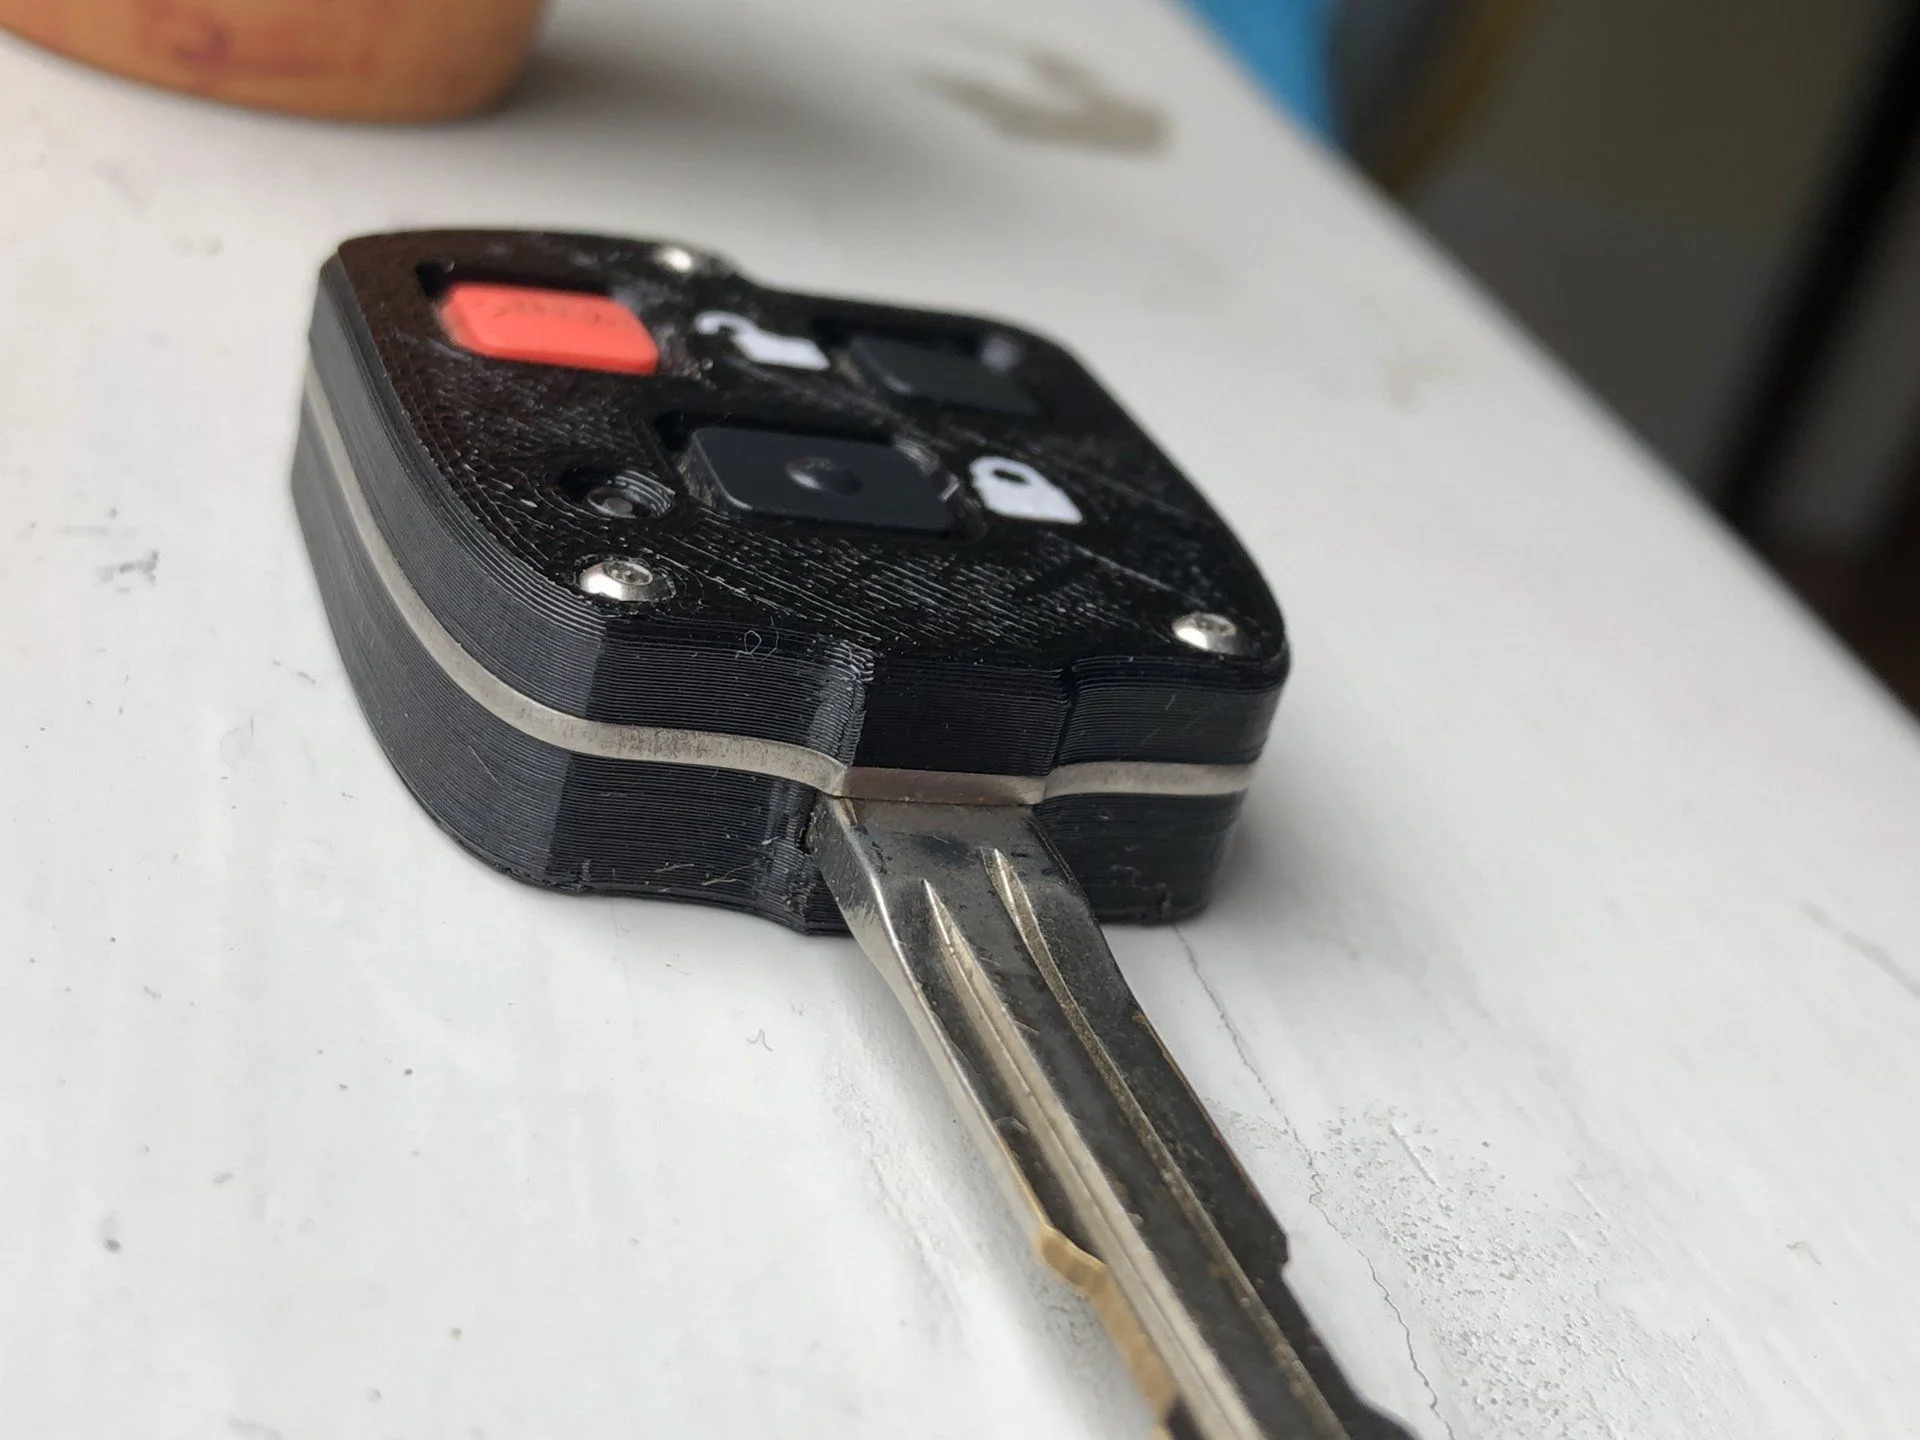
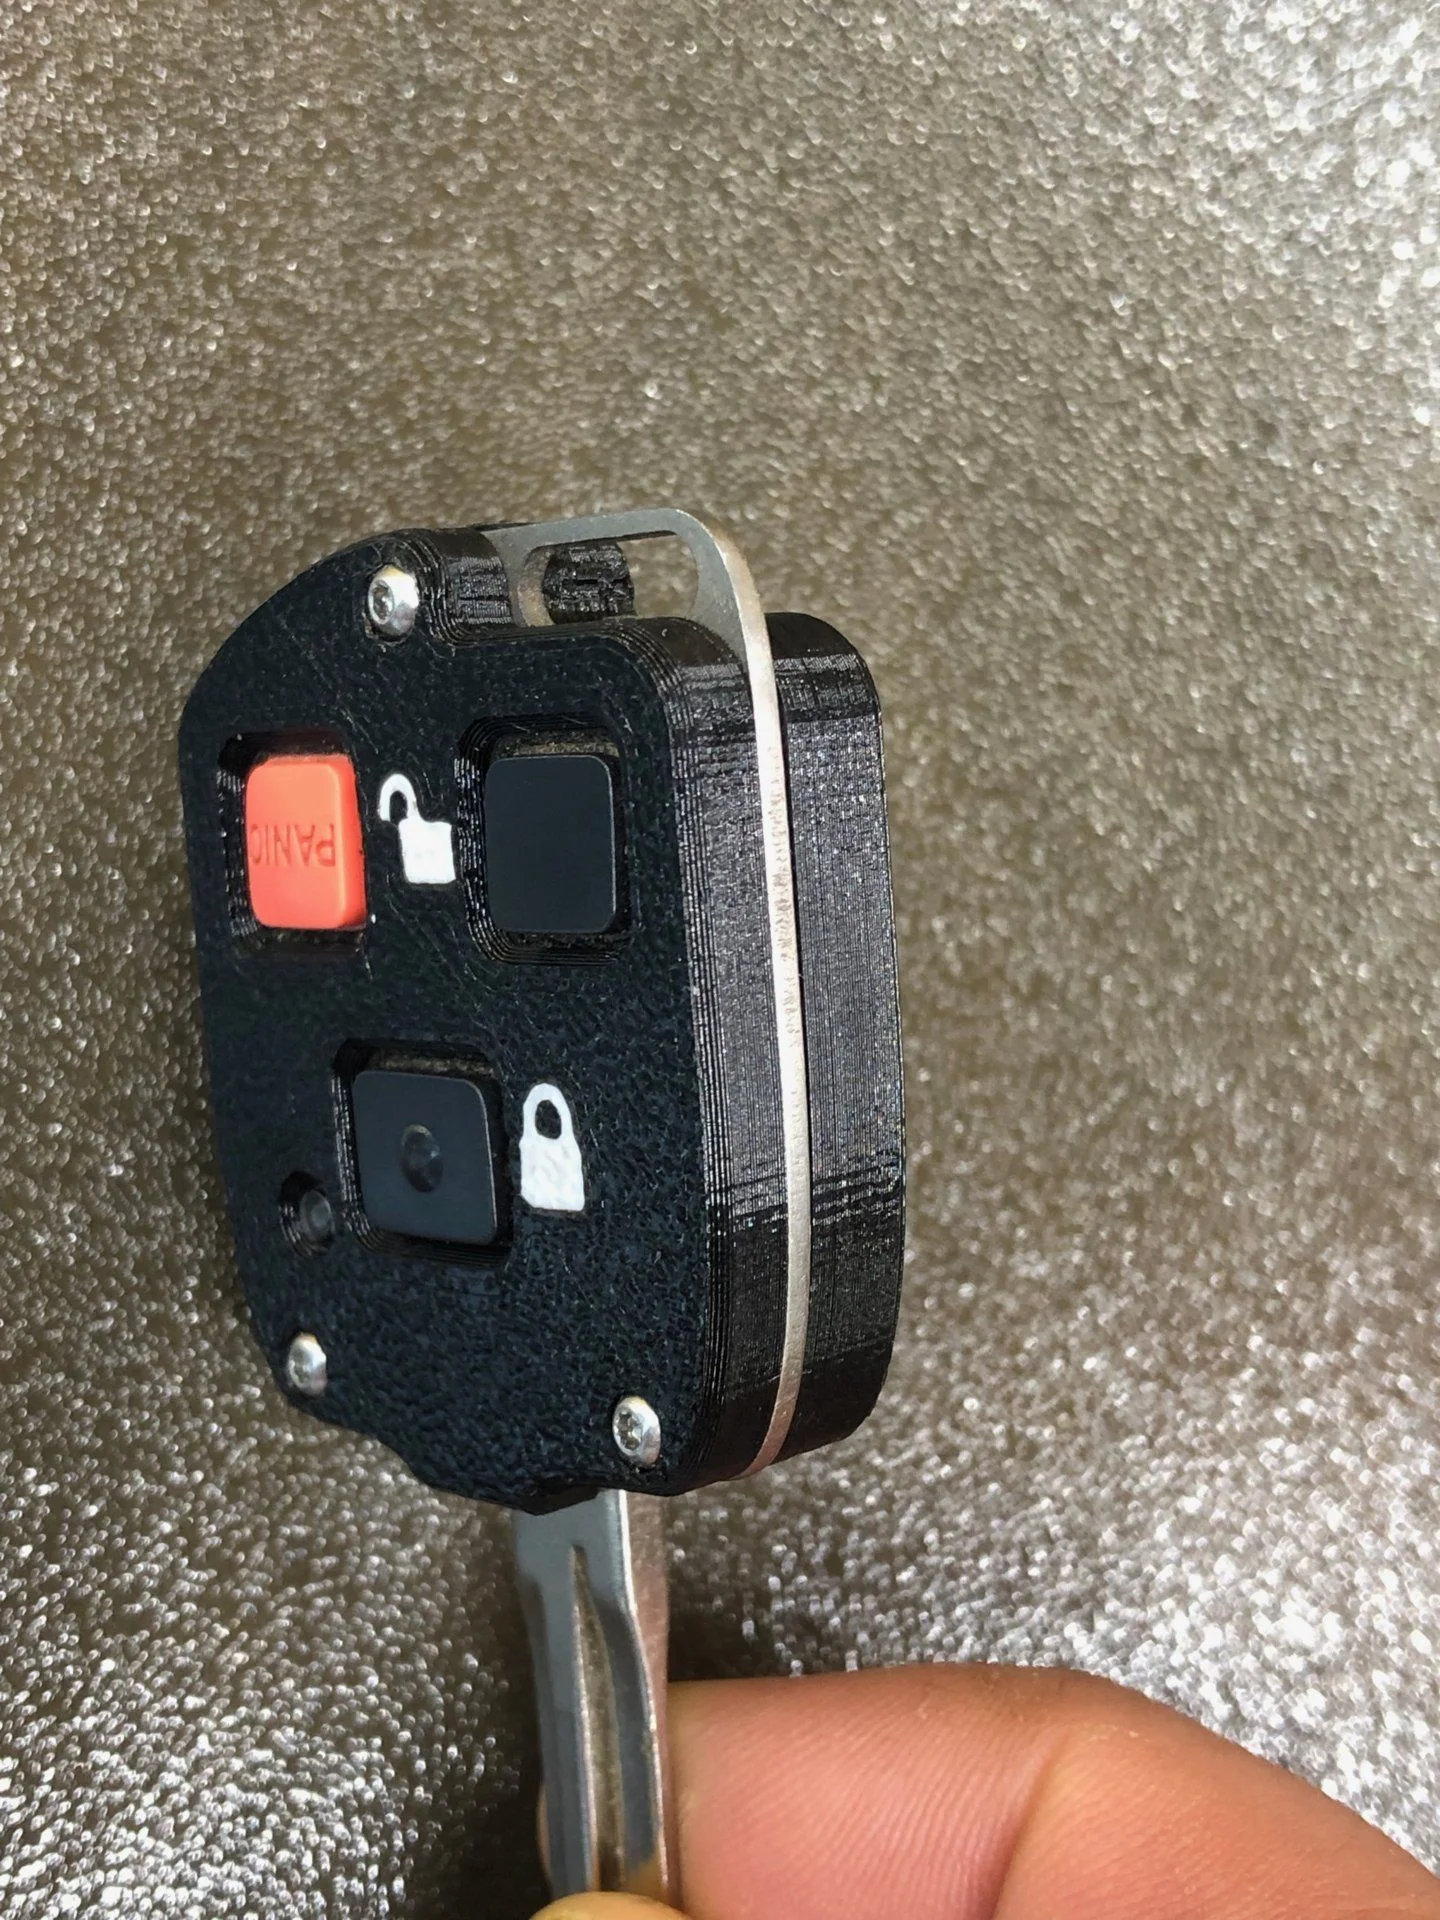
At the moment, after something like 30 iterations of my design, I have one that seems to work really well. I've been testing it over the last few weeks, including an overlanding trip, and it is rock solid. It features a water-jet cut titanium frame, and I've 3d printed the clamshell out of PETG. This comes in a lot of colors, so I'm able to do inlays, which is cool.

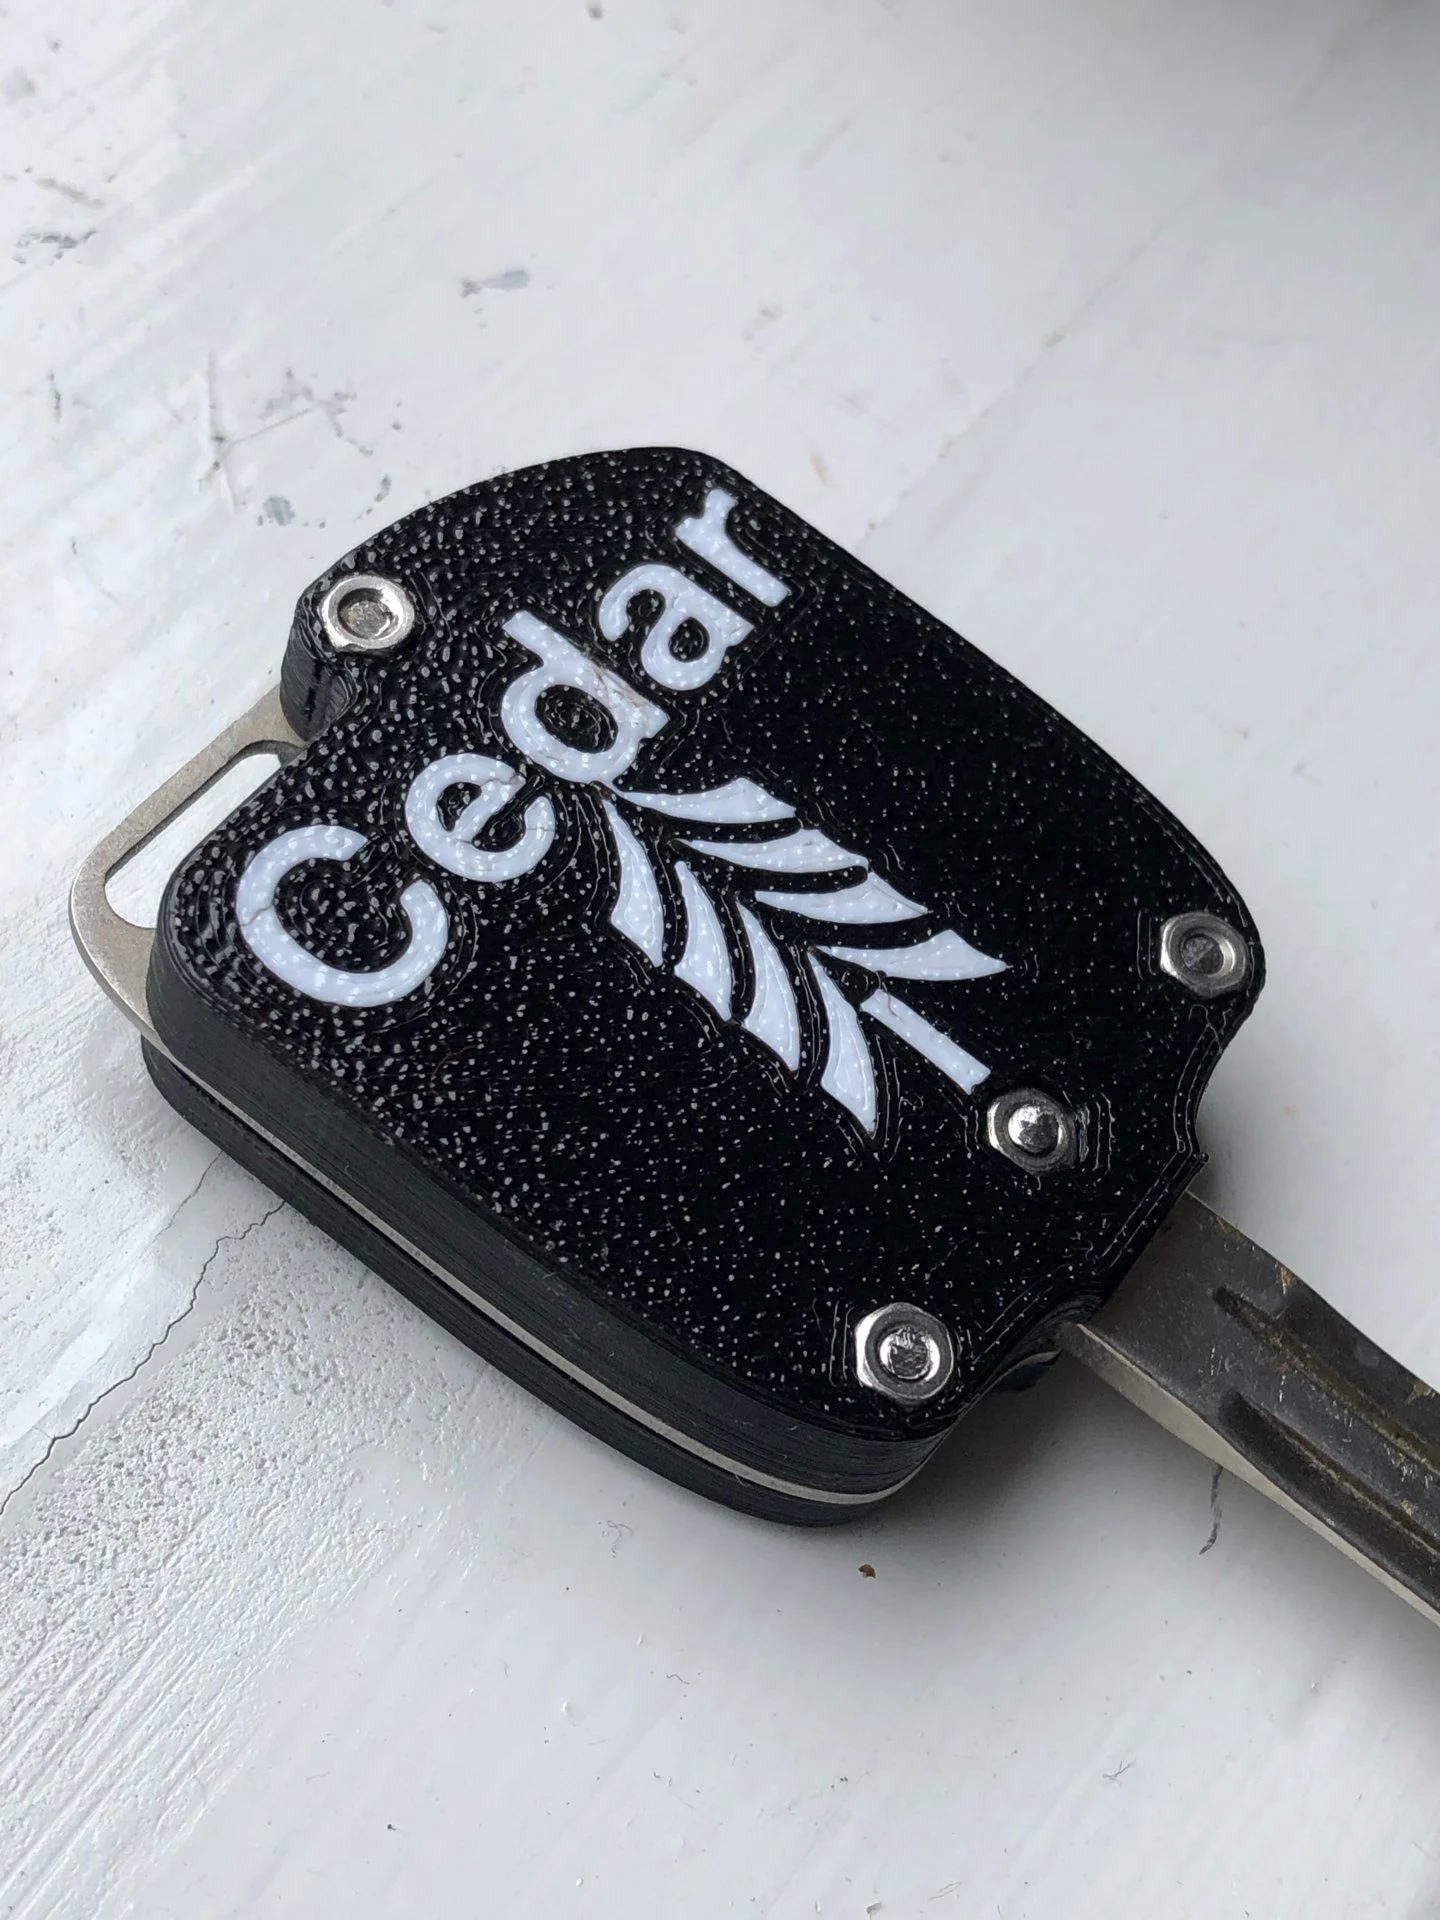
Here are a few pics of where I'm at right now, but I have a way to go before I'm satisfied. I'm also planning on cnc milling out of delran, and even milling out of aluminium or stainless for the back shell, and seeing how much it cuts down on my remote range. I've also ordered some smaller printer nozzles so that I can print finer detail designs, with less obvious lines.

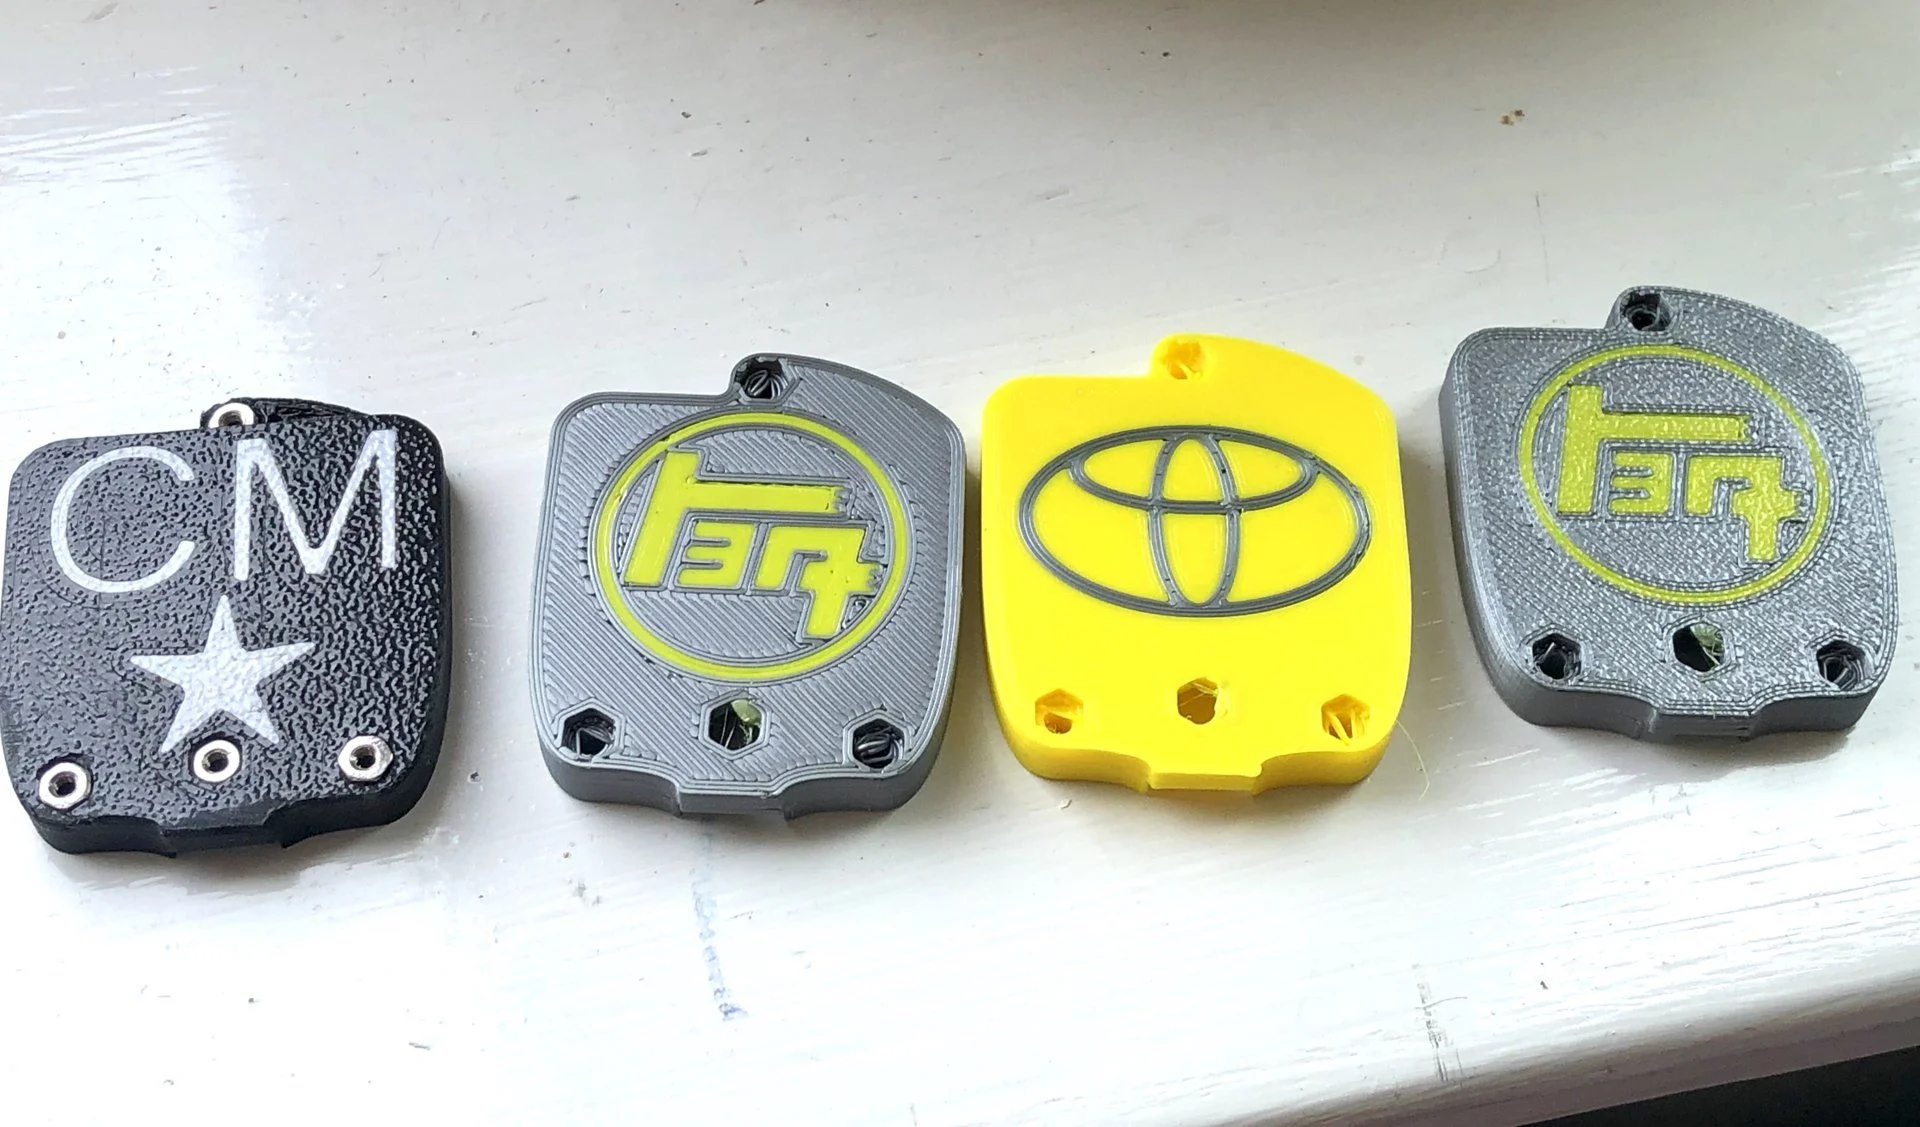
These are 4 different back case designs I did, before I settled on my name and a stylized Cedar tree design. There are two different textures I can do, a textured, and a smooth.
fullsizeoutput_2658.webp


IMG_8008.webp
IMG_8009.webp
IMG_8010.webp
IMG_8012.webp
 
I started in fusion 360 (which is awesome, and free for hobbyists, by the way) with a picture of my button assembly and key blade, then in fusion 360 I set the "scale" of the picture by taking an accurate caliper measurement from point to point on the assembly. You tell Fusion 360 what that distance is, then the picture is "to scale". Then I sketched the shape of these objects as accurately as I could.

Once sketched, I extruded the shapes, turning them into 3d objects. These were the items I had no power to change, and my design had to work around them.

More later...

Screen Shot 2019-07-04 at 3.15.25 PM.webp
Screen Shot 2019-07-04 at 3.16.17 PM.webp
Screen Shot 2019-07-04 at 3.21.15 PM.webp
Screen Shot 2019-07-04 at 3.21.42 PM.webp
 
I'm surprised the Toyota fanboy crew doesn't claim the OEM keyfob design is superior for cooling or some garbage.

Nice work.
 
To me your key only looks similar to the original toyota land cruiser master key.

I have the Eternity keys for both my LCs and I believe they were first to the land cruiser heavy duty key market but they are just a stronger version of the original. They’re bulky but tough.

That said, i appreciate your work and hope you can sell some of these at a decent price if thats your ambition.
 
To me it looks very similar but maybe I'm just missing some of the finer details. What else is different other than the key ring on the other side?
It does look similar on the outside by virtue of it being a metal frame with two clamshells. But the blade fastening system and internals are pretty different. Honestly, I'm not even 100% sure how his works, because I designed mine without referring to his.
 
That said, i appreciate your work and hope you can sell some of these at a decent price if thats your ambition.
Thanks! I have no plans to sell it. I'm mostly doing it as a learning exercise. When I have it to my satisfaction, I'll probably release the model files so people could potentially print their own.
 
Those look great. I love DIY projects. :cool:

I'm also probably on the bandwagon for making one for myself if/when you make the files public.
 
Thanks! I have no plans to sell it. I'm mostly doing it as a learning exercise. When I have it to my satisfaction, I'll probably release the model files so people could potentially print their own.

That’s awesome. I too like to experiment with software and design. I can’t learn something unless I have an objective to accomplish that requires me learning something. I started with Inkscape and moved to affinity designer as well as sketch up. Fusion 360 sounds like something I need to try.

I hate the creative cloud BS that the developers are going to.

Props for your work. Looks great. I need to get a job at a university just for the perks it looks like.
 
Fusion 360 sounds like something I need to try.
Definitely, I love the program. It is free for hobbyists and small business with revenue up to $100K (but have to renew each year) and free for education users (renew every 3 years).

It's just more flimsy than I thought it would. E and turnung the key doesn't feel as solid as OEM
I've never held the yotaMD key in my hand, but it has a very good reputation. I wonder if something needs to be tightened up? I can tell you that mine is absolutely rock solid. Zero flex, blade locked in place.
 
Continuing....

After I had the guts defined, I defined the metal frame. It had to be a balance between strong enough to support he whole fob very strongly, but slim as possible, and with pleasing shapes. Once I had my sketch defined, the extrusion into 3D was simple.

Screen Shot 2019-07-05 at 3.59.04 PM.webp
Screen Shot 2019-07-06 at 10.26.45 AM.webp
 
Continuing....

From there, it was a matter of designing the top and bottom clamshells. I went down many dead ends. I played with interlocked top and bottom, I tried multiple metal frames, I tried thick metal frames. Some of them were pretty cool, but didn't seem very easy to manufacture.

LC_Key_Shell_2019-May-23_07-48-30AM-000_CustomizedView1662789609_jpg.webp


LC Key Shell v22.webp
 
Continuing...

Finally I settled on my current simple design. Basically, I continued the profile of the metal frame up and down, then "subtracted" the shape of the key blade and the button assembly from the shape. I did a bunch of iterations of 3d printing it, and making tiny little adjustments to the design to get the blade held really firmly, and all the parts fitting sweetly. I also decided to add a second small piece of titanium below the blade so the blade is sandwitched between two pieces of metal, and bolted, all with no plastic layer. This 3 layer sandwich of frame, small lower frame, and blade are then clasped in between the plastic clamshells.
Screen Shot 2019-07-06 at 10.06.00 PM.webp
Screen Shot 2019-07-06 at 10.06.21 PM.webp


Screen Shot 2019-07-06 at 10.07.22 PM.webp
 
Back
Top Bottom