
Build Thread - Basic Camping Truck

This site may earn a commission from merchant affiliate
links, including eBay, Amazon, Skimlinks, and others.

Joined
Aug 24, 2026
Threads
1
Messages
8
Location
texas
Hey all! New to the forum and land cruisers, and wanted to put a thread together to keep track of the build. Already found a lot of good info around here and hope to contribute a bit.

Background -
I’ve owned way too many cars over the years of all types. First was a ‘73 super beetle I fully rebuilt with my dad at 14, and most recently a ‘70 c10 with a 5.3 that started as a body/frame I built in a two car garage. I like to tinker and prefer to DIY what I can, and hoping to do a lot of that for the LC.

Goal -
Build a dependable truck to go camping in remote spots. We’re in south texas, and really enjoy big bend or national forest camping in Colorado/New Mexico.

Here’s what we’re replacing with it:

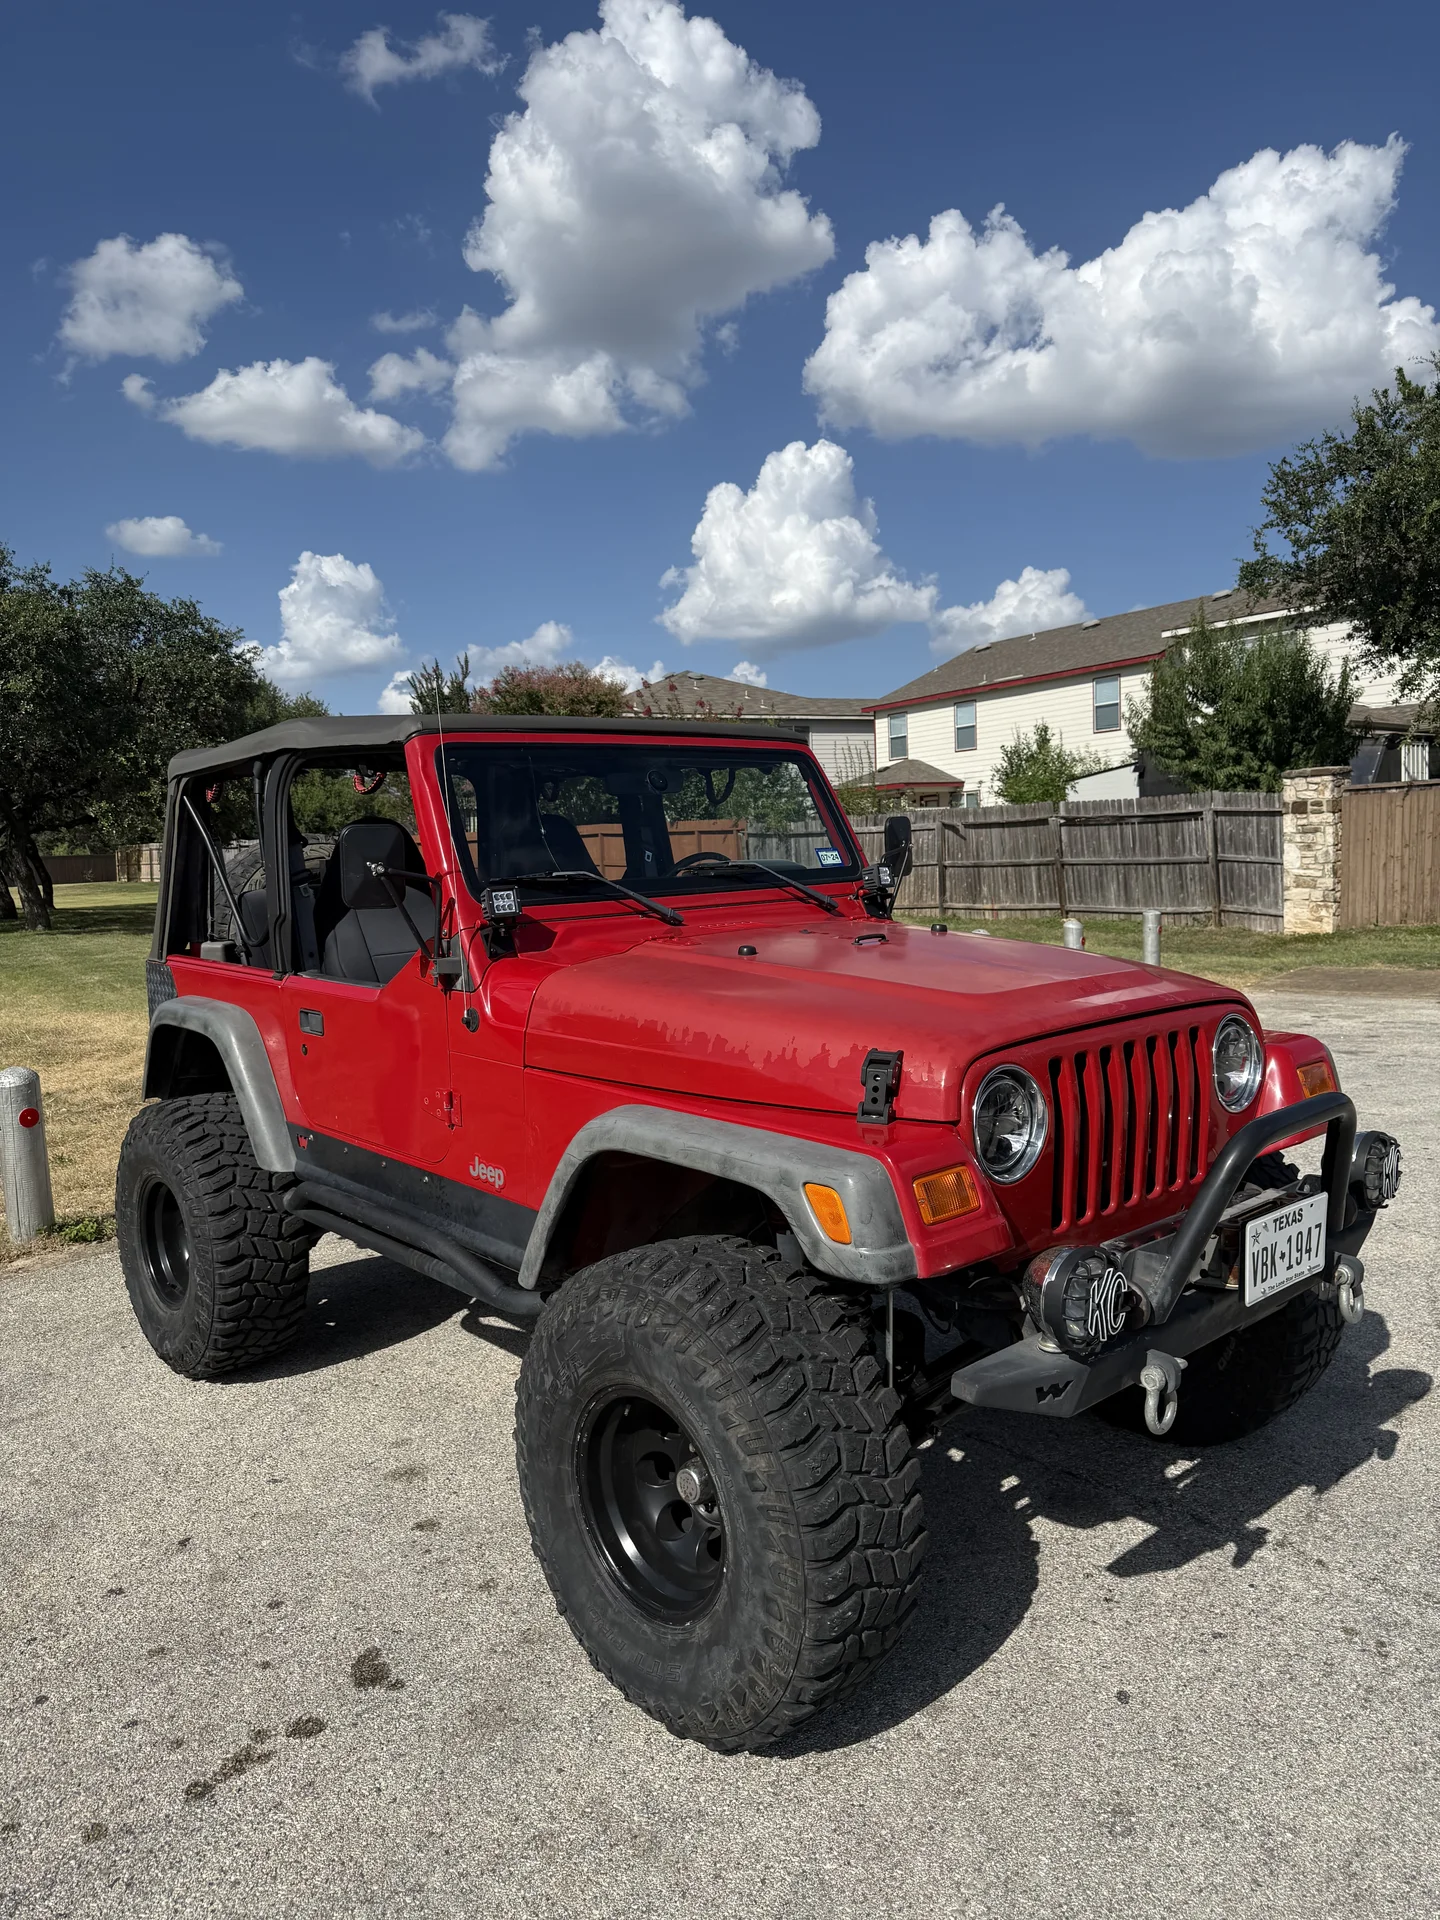
2003 TJ, locked on 35s:
IMG_4447.webp


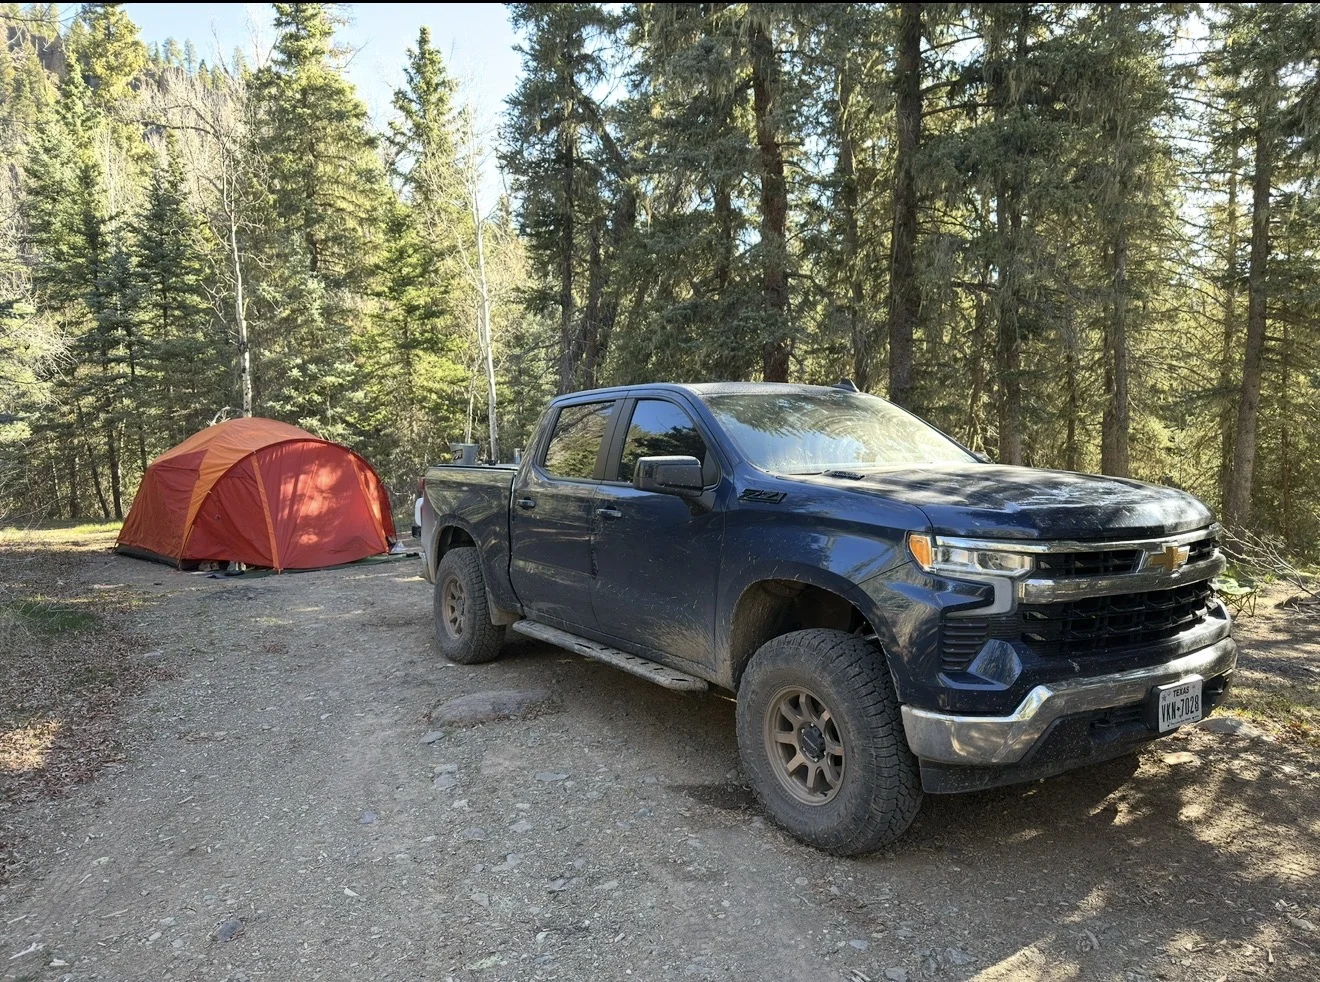
2023 Silverado babymax on 35s:
IMG_5067.webp


The jeep was great for rock crawling, but I was always fixing something on it and it is way too small to fit everything we bring camping, the dogs, and the kayak.

Conversely, the truck is too big. Multiple 4 point turns to get around forest roads, and with the dogs in the backseat there’s very limited room inside. I debated building a roof/bed rack for more storage and the kayaks, and then the intercooler went out driving home from CO and decided it’s time for something more reliable.


And now for the LC:

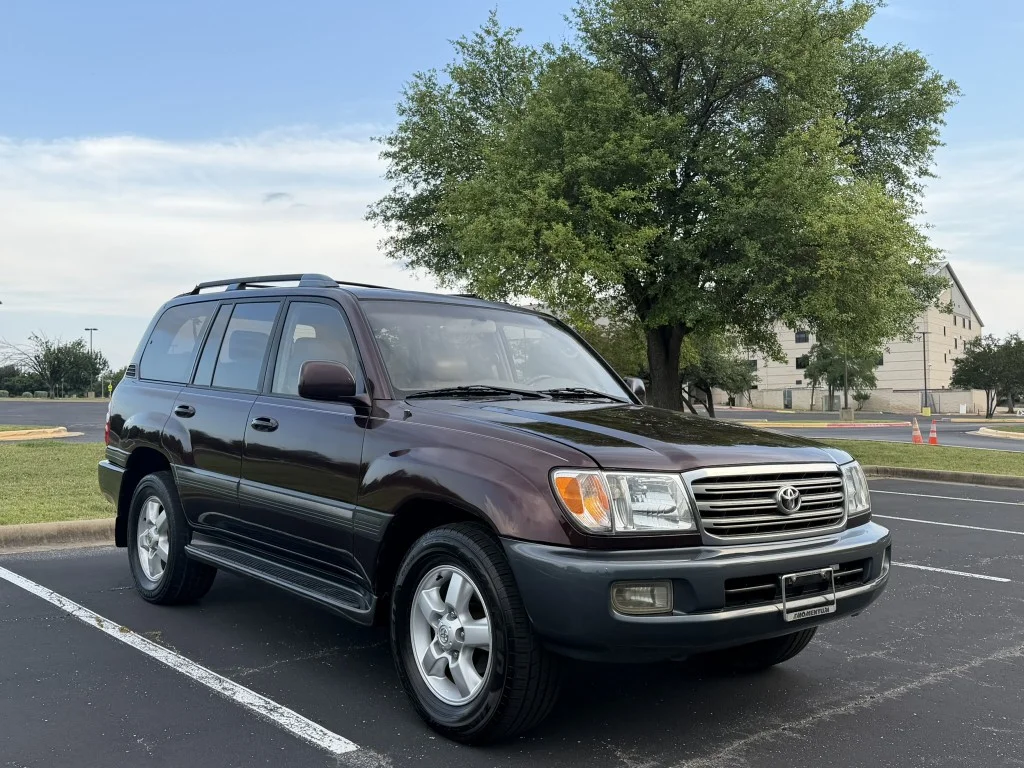
Here it is the day we bought it:
IMG_4876.webp

2003 LC w/ 194k miles. Spent its entirely life in south Texas, and not a spec of rust underneath it. Fresh timing belt/water pump and tons of maintenance history.

Initial plans:

Fix the sunroof
Matching spare + new tires
Built a set of sliders, bumpers, and roof rack
Build a drawer system for the rear
Maybe a lift, depending how heavy it gets
Non nav swap
Paint/wrap it green
 
A good choice for your goals. Now you just have to decide: Sleep on top, in the back or in an “overlanding” tent. All have their benefits…it basically comes down to your bladder.
Tent for us! We have a large Marmot Halo 6p for 'car camping' and a northface stormbreaker 3 for backpacking. I do plan on making sure the rear drawers are the same height as 2nd row seats folded so we can have a make shift bed for those 3 hour rest stop naps on a roadtrip.
 
The first few 'mods' were all pretty straightforward, so won't go too indepth here - but links below. Had the truck for 2 weeks now, so playing catch-up:

Found a matching spare off Ebay, "AAA Wheel Source" for a $170 so grabbed that.

Also grabbed some floor mats from OMAC off Ebay, don't love the black but we'll see how they look in person. Note these are for an LX470, but I couldn't find any reason the interiors were different and these wouldn't fit.

Replaced hood struts with a cheapo Amazon brand, will see if they last. So far so good, held it up for a week while its been in the garage.

Grabbed a sunshade from HeatShield (TX is HOT) and have it scheduled for tint next week.

Did the 9011/9012 HIR headlight/brights upgrade. Link here for how to modify to fit.

Got a Blue Sea Fast Charge USB charge to replace the 12V Lighter. That panel is a bit hard to remove, use good trim tools and a firm tug. I just cut the wires and crimped new connectors on. You do have to dremel the hole a bit to get it to fit nicely, but all said and done looks fairly OEM. I may take the rubber cover off, we'll see how annoying it gets.

unnamed.webp


Bought the Yatour BT Car adaptor (the TOY-45 looks to be discountinued) and Y-splitter. Incredibly easy install, just pop out the side vents, 4 screws, and pull the radio forward. Remove the 6 pin to the CD changer and wire everything up. I mounted the module behind the glovebox to make it easier to access in the future - double sided 3M and a zip tie. Also started removing the old faded stuck on 'wood trim'...and cracked one of the side vents.

IMG_5069.webp
IMG_5070.webp
 
Next up was the sunroof. We bought it with the glass out and at a discount - Dealer claimed it worked but was a faulty motor, replaced motor, still stuck. Got them to come down another $600 on price because I didn't want to wait for them to "find a replacement from a junkyard". As such it's been living in the garage and not being driven any...

Really relied heavily on guides from here, so won't add too much detail. DBFW's Guide and Joe Wagnell's Guide cover it great detail. Only one of my sides was seized but I'd rather replace it all and not have to do this again. I will note, you don't have to remove all the side trim or the seats, but next up was a deep cleaning of the interior so I figured why not. A few points to emphasis from their guides though:

  • The motor takes a bit of force to come out. Genuinely felt like it may break with how hard it was to remove
  • Don't skip #14 / #19 (red box) in DBFW's guide, it took me forever to realize that is how I aligned the marks up.
  • When dropping the sunroof casette there is a pin on the passenger side through a 'easy nut' (not sure what these are really called). Give it a good tug and it'll come down.
  • Trim tools and somewhere to keep the hardware you remove is a lifesaver

I replaced these parts, all from this Ebay seller - they were a bit more expensive but arrived weeks ahead of anyone else.
63221-60030 - Cable Guide Case
63224-60030 - Drive Cable Assembly, LH
63223-60030 - Drive Cable Assembly, RH

Cleaned up the main assembly, gave it a good helping of lithium grease, re-installed everything and clcoked the motor/sunroof per the guides linked and we have a working, sealed sunroof again!
IMG_5054 (1).webp


After that, finished removing all the seats and trim pieces. Found an absolute mess behind the passenger seat that I can only assume was from the DVD player install, but ripped all that out as they were missing anyway. I need to source some non-dvd headrests to replace them.

Next up is a good shampoo and to put everything back in. Then we'll get onto some exterior mods, i.e. tires and sliders. I still have my Warn 9.5XT from my Jeep and will eventually make a bumper for it.

Tires will be Wildpeak AT4W's, I have them on my truck and they've been fantasic. My buddy in the UP uses them as well and hasn't had any problems in snow. I was suprised to see the LC were a 5x150, so I couldn't mount my 6-lug 35's off the Silverado to see if I wanted to go that big. This will be more of a road tripper anyways, so we're sticking with 275/70r18s. Just need to figure out if the higher load rating is needed...

IMG_5059 (1).webp
 
Not too much to update over the last few days, but got a lot of planning out of the way. Right now immediate goal is to road trip ready by the 15th for a weekend trip to Sante Fe National Forest to catch some fall colors.

Deep cleaned the whole interior and got it all back together and pulled the factory steps off. 1/4" ratchet and swivel socket is necessary to get the rear most bolts out. That alone got it looking much better, so decided to raise the torsion bars up a bit. Started at 18" (center wheel to fender) on FL and 20" on FR sides. Unfortunately only got 5 turns out of the left side before bottoming out and raised to 19".

Then the problems came...decided to re-index the front left real quick. Southern truck, no rust, should be easy? Well the adjustment bolt stretched or stripped coming out and then adios the rest of the threads. Went real easy with a 1/2" ratchet until it didn't, then a breaker bar for a half turn. Gave up and grabbed the 1/2" milwaukee and out it came. Took half the threads of the swivel nut with it as well. Ordered a replacement set from CruiserPatch Sunday, and paid for expedited shipping hoping it'll be here by end of week.

IMG_5091.webp


As such, decided to switch gears and work on the sliders and leave her in the garage for another week. Fingers crossed we have time to get new tires and an alignment before we leave, if not we'll likely take the truck again.

Note - front is on jack stands, this is not ride height.
IMG_5092.webp
 
Drew up some plans for the sliders, taking a lot of inspiration from Zane's build here.

Decided to go with the same main steel structure, and drew some basic plans up to get an idea of how much steel this would take and start qouting it out.

Material List for those that can't read my notes:
  1. Steel flat bar: 3" x 1/4" x 48" (6 8" scab plates)
  2. Steel tube/u-channel: 1" x 2" x 3/16" x 144" (12 12" supports, on average)
  3. Steel tube: 3" x 2" x 3/16" x 150" (2 70" sliders w/ extra)
  4. DOM: 2" DOM, 188" (90" x 2 bent steps)
  5. 6" U-Bolts (McMaster Carr Link)
Local place came back at $550 so I tried a national supplier with full-size sticks and they were $450...plus $150 to ship it. This didn't include the $80 in U-Bolts or Tube Bender I need to purchase, or the general time to cut, measure and put all of this together.

I started looking at some DIY kits and came across HotMetalFab's weld-together kit (link here) for $450 and free shipping. I went with 70" and 2x2" square, and still plan on getting 3" flat bar + U-bolts for mounting. Realistically this saves me from needing a tube bender and some thinking, but still saves 50% from buying a pre-built kit. We are in the middle of moving and I'd like to avoid collecting to many more things for the garage until after that.

So now the plan is:
  1. HMF 70" slider kit
  2. 3" x 3/16" x 4' flat bar from Lowe's
  3. 6 6" U-Bolts from McMaster-Carr

Will update another post when everything come's in and how it all came together.

IMG_5094.webp
 
Busy few weeks, but back intown with some updates and hopefully time to start making a few more things for the truck over the next few weeks.

First things first - got the torsion bar bolt in and finished re-indexing it. Ended at ~21.5" from center hub to fender. Started working on the sliders, and realized I should have gotten ~6.25" ID U-Bolts instead of 6". So we opted for the difficult route, and bought another 4' section of steel plate and some threaded rod. Back to drilling holes in 1/4" steel...

ALSO scored a set of 5 methods and KO2's (off a fellow member in the classifieds) in near brand new shape. Method 309s, 17x8.5, 0 offset w/ 285/70r17s. Little bit of massaging to get them to fit - hammered the pinch welds over re-heat molded the fender liner. Also had to trim about a 1" triangle off the front passenger bumper, but we have clearance all around now!

IMG_5265.webp


Did an oil change and added a Pro-Clip phone mount for road trips as well. Will need to do the heater tees at some point, but visual inspection looked good / recently replaced so I'll get them in the next few weeks. Packed for the trip, and realized we need to do a lot for storage space... pic's of that in the next one! You'll see the spare in the trunk - learned that someone cut the mounting cable off so we couldn't put it under the truck. Now to decide if we do a rear bumper next or just fix the spare mount, decisions decisions.

IMG_5296.webp

IMG_5297.webp
 
With that it was time to take the trip up to NM and the Sante Fe mountains. Truck did fantastic, cruised at 70-75 the entire way. Definitely drinks gas, but with the cost of diesel it was about on par to the babymax. Ended up finding a nice lonely mountain to camp on and some nice fall pictures and views. Cooked some steaks and settled in with a bottle of wine to the sound of rain. Unfortunately got stuck in some thunderstorms the next morning and opted for a Cabin the second night - which ended up being the right call as a tornado came through!

IMG_5306.webp


IMG_5310.webp

IMG_5321.webp


Camp coordinates, up Dalton loop: 35.67952, -105.72625
IMG_5330.webp

Definitely cemented a few planned upgrades and we re-did the priority list before our next outting:
- Drawer system for storage / sleeping platform
- Better roof rack for clothes storage and misc other items
- 2" lift for the rear (had about 2" gap between tire and fender fully loaded)
- Relocate the spare out of the trunk

IMG_5309.webp
 
Back
Top Bottom