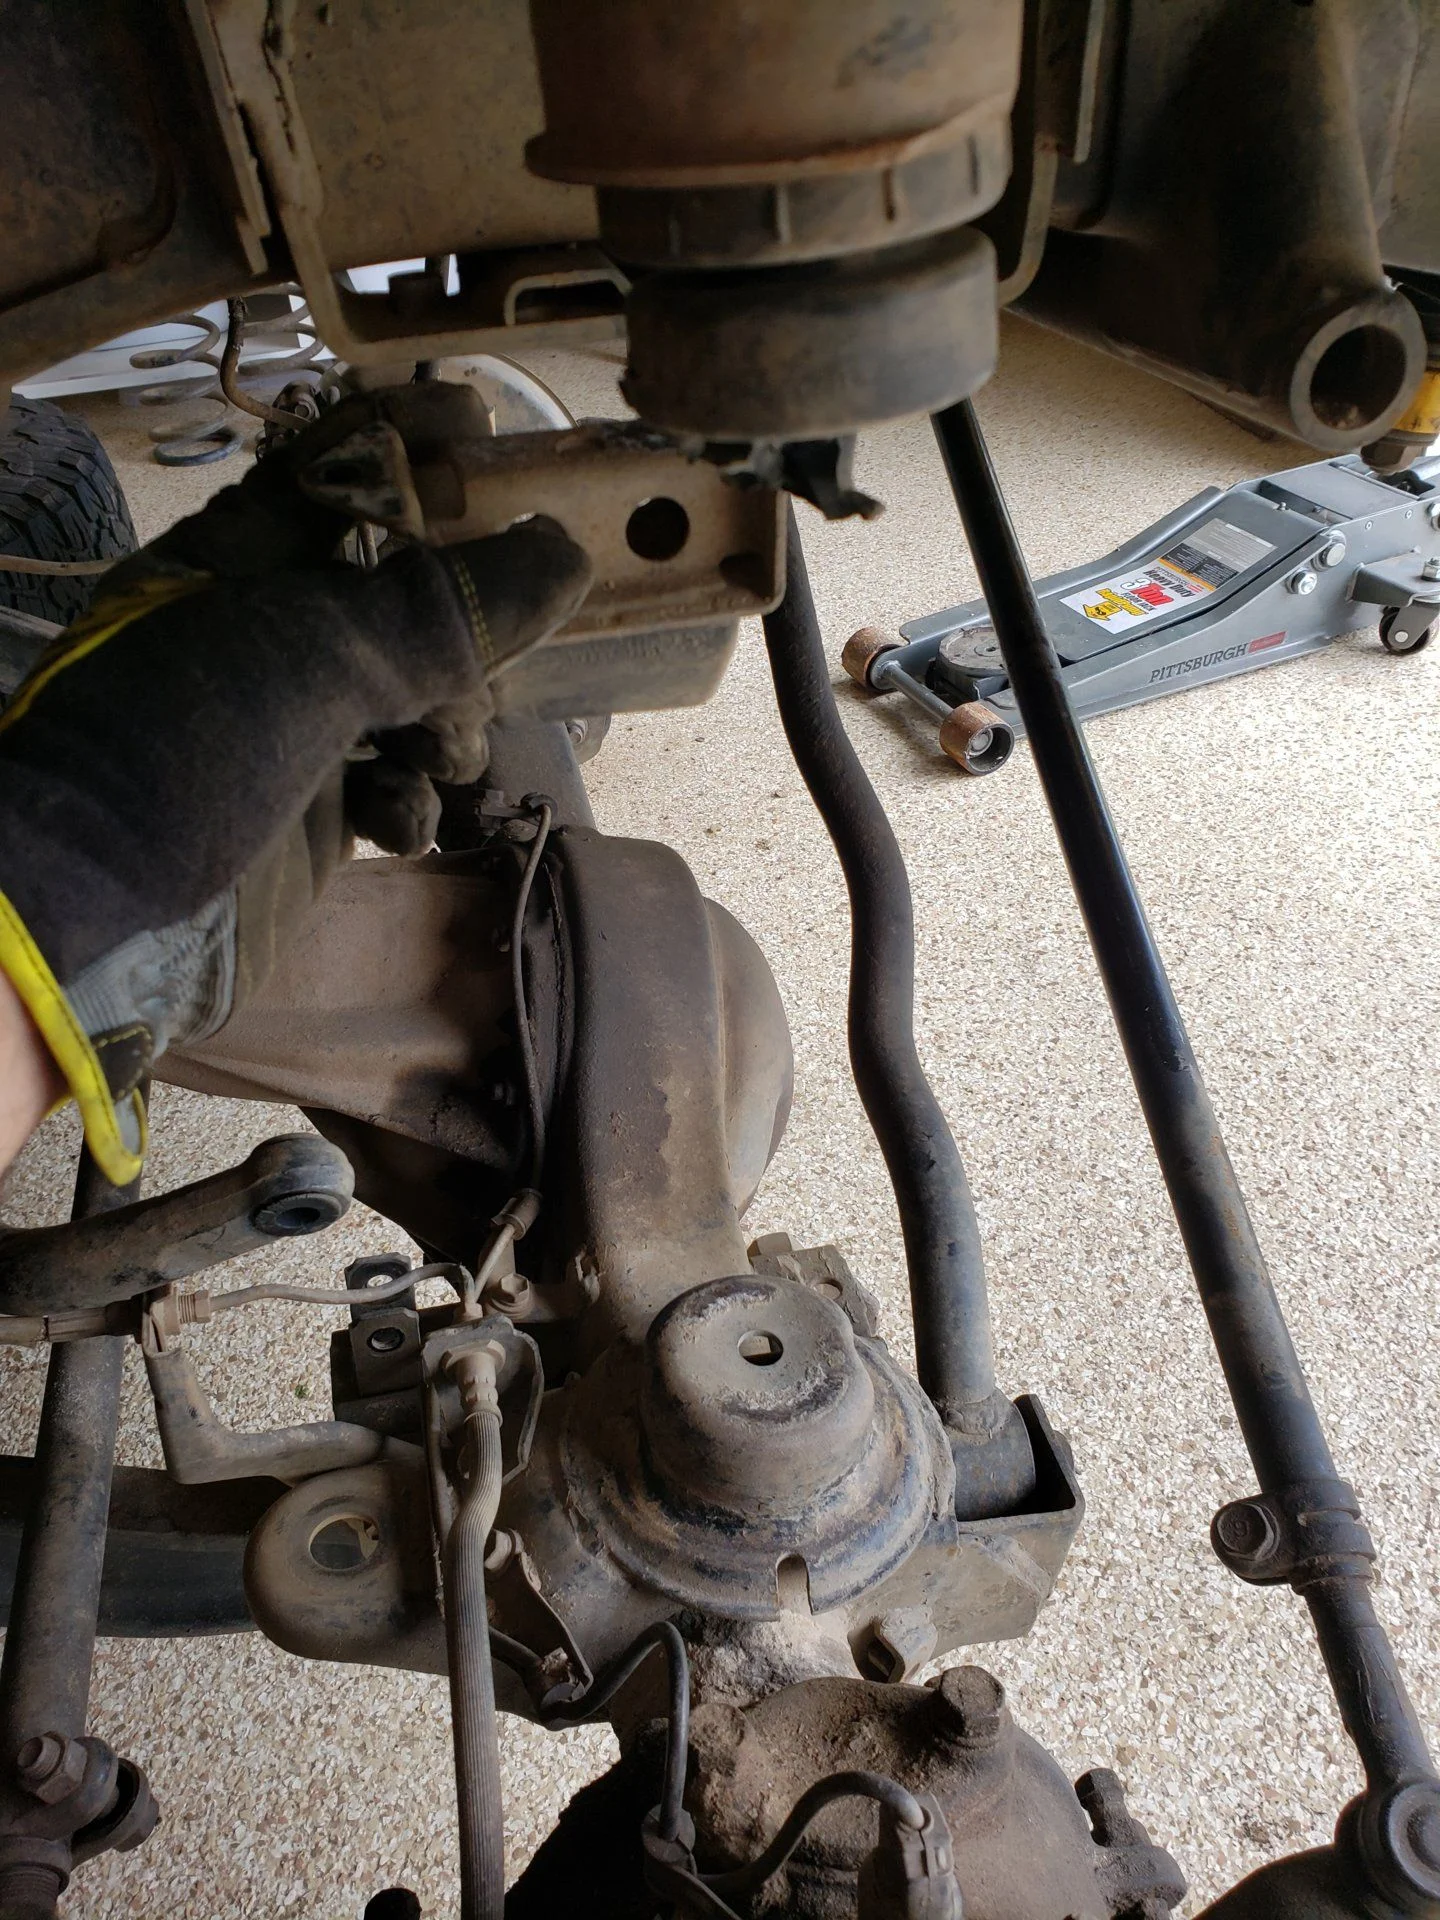
Adding front frame bumpstops and deleting inner spring bumpstops

This site may earn a commission from merchant affiliate
links, including eBay, Amazon, Skimlinks, and others.

Joined
Dec 8, 2008
Threads
25
Messages
110
Installing a slinky stage 4 kit and deciding if I should go to frame mounted bumpstops and delete the inner spring bumpstops. I have slee plates so I've had some contact issues and the bumpstops are pretty chewed up.

I noticed the rear OEM bumpstops would bolt up to the frame mounting holes in the front but I'm not sure if the height is correct.

Is this a good idea or should I just replace the inner bumpstops with OEM and call it a day? Thanks!

20190624_124036.webp
 
I just did this for the same exact reason. I have dobinson plates with 4" springs BTW. I have not extended the frame stops yet. I would assume they need 2" spacer as well.
 
Frame mounted bumpstops are always preferred since the frame is much stronger than the coil buckets. More than one person has bent coil buckets on hard impacts. Up front with the Slinky kit, no additional bumpstop is required. In the rear, a 1" taller 79 series factory bumpstop will bolt up in the stock frame location and works great with 35's. (this could also be used in the front if you want, but wasn't necessary on my truck with 35's).

here's the taller factory bumpstop in the rear when I first did my install. Like I said, I didn't change anything in the front. This setup worked great with 35's.
IMG_0649.webp


Since I added 37's during the winter I needed to make some changes. Darren suggests with the 3" Slinky kit and 37's to use the taller bumpstop like the one pictured in the front. It will bolt up to the factory frame holes. He also recommends adding an additional 1" spacer to the already taller bumpstop in the rear.
Here's the taller factory bumpstop in the front on my truck.
Slinky Parts by Adam Tolman, on Flickr

I did just what I described but still had some minor rubbing in a few spots. I got a good deal on some Timbren bumpstops and decided to try those as I made adjustments. Remember that the Timbrens compress A LOT more than the solid rubber OEM bumpstops pictured above so I have the Timbrens spaced off the frame farther. The end result is very close to what Darren recommended. Compared to the taller OEM bumpstop in the front, the timbren is like spacing off the frame another inch approximately at full compression. In the rear, compared to the tall OEM bumpstop (with no spacers) the Timbren is approximately the same as using a 2" spacer with the tall oem frame bumpstop at full compression.

Here's the Timbrens
Slinky Parts by Adam Tolman, on Flickr

Front Timbren installed
Suspension by Adam Tolman, on Flickr

This pic shows the difference of the taller OEM frame bumpstop compared to the inside the coil one.
37’s and bumpstops by Adam Tolman, on Flickr

This is the rear Timbren installed. Rear suspension is compressed just to the point of the bumpstop touching the axle. The Timbren will compress about 60-70% which is an additional 2.5", that's the same distance to where the inside the coil bumpstop would start touching the axle. So far this has been working nicely on my truck with 37's and minimal trimming.
37’s and bumpstops by Adam Tolman, on Flickr

 
Frame mounted bumpstops are always preferred since the frame is much stronger than the coil buckets. More than one person has bent coil buckets on hard impacts. Up front with the Slinky kit, no additional bumpstop is required. In the rear, a 1" taller 79 series factory bumpstop will bolt up in the stock frame location and works great with 35's. (this could also be used in the front if you want, but wasn't necessary on my truck with 35's).

here's the taller factory bumpstop in the rear when I first did my install. Like I said, I didn't change anything in the front. This setup worked great with 35's.
View attachment 2012079

Since I added 37's during the winter I needed to make some changes. Darren suggests with the 3" Slinky kit and 37's to use the taller bumpstop like the one pictured in the front. It will bolt up to the factory frame holes. He also recommends adding an additional 1" spacer to the already taller bumpstop in the rear.
Here's the taller factory bumpstop in the front on my truck.
Slinky Parts by Adam Tolman, on Flickr

I did just what I described but still had some minor rubbing in a few spots. I got a good deal on some Timbren bumpstops and decided to try those as I made adjustments. Remember that the Timbrens compress A LOT more than the solid rubber OEM bumpstops pictured above so I have the Timbrens spaced off the frame farther. The end result is very close to what Darren recommended. Compared to the taller OEM bumpstop in the front, the timbren is like spacing off the frame another inch approximately at full compression. In the rear, compared to the tall OEM bumpstop (with no spacers) the Timbren is approximately the same as using a 2" spacer with the tall oem frame bumpstop at full compression.

Here's the Timbrens
Slinky Parts by Adam Tolman, on Flickr

Front Timbren installed
Suspension by Adam Tolman, on Flickr

This pic shows the difference of the taller OEM frame bumpstop compared to the inside the coil one.
37’s and bumpstops by Adam Tolman, on Flickr

This is the rear Timbren installed. Rear suspension is compressed just to the point of the bumpstop touching the axle. The Timbren will compress about 60-70% which is an additional 2.5", that's the same distance to where the inside the coil bumpstop would start touching the axle. So far this has been working nicely on my truck with 37's and minimal trimming.
37’s and bumpstops by Adam Tolman, on Flickr

You left the inner spring bump stop in place? Is there ever contact between the coils and timbrens? They look very close together.
 
You left the inner spring bump stop in place? Is there ever contact between the coils and timbrens? They look very close together.
Yeah, I left the inner bumpstop in place. It's not hurting anything by being there, but it could be removed if I wanted to remove the springs etc to get to them. No contact between the Timbrens and the coils BUT they do need some minor modification from how them come from Timbren. There are 3 pieces to the Timbrens, the bracket that bolts to the frame, a metal "cup" that sits between the bracket and the rubber portion of the bumpstop, and the rubber bumpstop itself (and a bolt and washer that holds them all together if you want to count those too).
The cup needs to be trimmed on all 4 bumpstops. The fronts only need one side trimmed, the side facing the coil. There's no interference potential toward the inside. The rear's need both sides of the cup trimmed a little so there is no interference with the coil on the inside and the tire on the outside. The rear also needs to bracket/tower trimmed. The plate that the cup sits on is round and needs the sides trimmed as well.

Here's how the bumpstops come from Timbren after being assembled.
Slinky Parts by Adam Tolman, on Flickr

Here's one of the front bumpstops after trimming the cup. The bracket doesn't need to be modified but you can see the flat edge on the cup where it was trimmed.
Suspension by Adam Tolman, on Flickr

Suspension by Adam Tolman, on Flickr

Here's the rear with the cup as well as the bracket trimmed on both sides. The tower looks HUGE in this picture but it's only a bit taller than the OEM 79 series bumpstop.
37’s and bumpstops by Adam Tolman, on Flickr

Hope that explains and answers your questions.
 
Thanks for the pics and explanation. Those timbrens look good and I may go that route in the future.

Staying on 35s, so I installed the slinky bumpstops in the rear and moved the OEM rear bumpstops to the front. The bumpstop mounting holes weren't spaced the same so I enlarged them to 1/2 in with a step bit. May need to trim the bumpstop a bit on the ps to prevent contact with ps coil at full droop. I removed the metal cup from the OEM coil bumpstops to prevent it from hitting inside the coil. They're not doing much anyway at this point.

With caster plates, the coil bumpstop alignment is pretty wack. Maybe new extended radius arms would solve this.

20190624_143257.webp


20190624_143334.webp


20190624_145903.webp
 
Thanks for the pics and explanation. Those timbrens look good and I may go that route in the future.

Staying on 35s, so I installed the slinky bumpstops in the rear and moved the OEM rear bumpstops to the front. The bumpstop mounting holes weren't spaced the same so I enlarged them to 1/2 in with a step bit. May need to trim the bumpstop a bit on the ps to prevent contact with ps coil at full droop. I removed the metal cup from the OEM coil bumpstops to prevent it from hitting inside the coil. They're not doing much anyway at this point.

With caster plates, the coil bumpstop alignment is pretty wack. Maybe new extended radius arms would solve this.

View attachment 2012671

View attachment 2012672

View attachment 2012673
Yeah with 35's you should be set up really well the way you have it. The alignment of the inside the coil bumps and the axle pads is partly due to the caster correction and the lift accentuates it too because the axle moves in a arc with the fixed length of the radius arms. The more lift, the more misalignment. Aftermarket radius arms, like the Delta ones have correct caster built in and they are the correct length. There are also other arms that will do the same. Or you could use the axle relocation plates and move the axle forward an inch or so. I did that as part of fitting the 37's but it would work with 35's as well and give better firewall clearance in addition to realigning the axle with the bumpstops. Pretty simple mod really with a welder.
 
Yeah, I left the inner bumpstop in place. It's not hurting anything by being there, but it could be removed if I wanted to remove the springs etc to get to them. No contact between the Timbrens and the coils BUT they do need some minor modification from how them come from Timbren. There are 3 pieces to the Timbrens, the bracket that bolts to the frame, a metal "cup" that sits between the bracket and the rubber portion of the bumpstop, and the rubber bumpstop itself (and a bolt and washer that holds them all together if you want to count those too).
The cup needs to be trimmed on all 4 bumpstops. The fronts only need one side trimmed, the side facing the coil. There's no interference potential toward the inside. The rear's need both sides of the cup trimmed a little so there is no interference with the coil on the inside and the tire on the outside. The rear also needs to bracket/tower trimmed. The plate that the cup sits on is round and needs the sides trimmed as well.

Here's how the bumpstops come from Timbren after being assembled.
Slinky Parts by Adam Tolman, on Flickr

Here's one of the front bumpstops after trimming the cup. The bracket doesn't need to be modified but you can see the flat edge on the cup where it was trimmed.
Suspension by Adam Tolman, on Flickr

Suspension by Adam Tolman, on Flickr
Here's the rear with the cup as well as the bracket trimmed on both sides. The tower looks HUGE in this picture but it's only a bit taller than the OEM 79 series bumpstop.
37’s and bumpstops by Adam Tolman, on Flickr

Hope that explains and answers your questions.
I went to the timbrem site this morning and the first thing I thought was that they would need to be trimmed exactly as you described. Thanks for all the info.
 
Back
Top Bottom